
DIY Bat Hair Clips (with Shrinky Dinks!)
Happy Halloween!! We’ve made it to October 31st, I can’t believe how fast this year is flying by. But I’m very excited to be in the midst of my favorite festive months of the year. But before I transition entirely to holiday content, I wanted to bring you one more DIY Halloween idea. It might be too late to try out this project for yourself, but you can definitely get some Halloween inspo for next year! :)
So today I’m sharing this super easy project to make your own bat hair clips using Shrinky Dinks! I found there were times throughout the month that we would be doing a festive Halloween activity (like attending Halloween Horror Nights or a Halloween dinner party) where a full-on Halloween costume was not necessary but I wanted to add a touch of spooky cheer. So cue a cute pair of hair clips! Follow along below for this super simple tutorial.
Affiliate disclosure: This post may contain affiliate links. When you buy from these links, I may earn a small commission, at no additional cost to you. As an Amazon Associate, I may earn commissions from qualifying purchases from Amazon.com. Thank you for your support!

HOW TO MAKE YOUR OWN BAT HAIR CLIPS WITH SHRINKY DINKS!

Supplies:
Black Sharpie marker
Super glue
Scissors
Tape
Parchment paper or aluminum foil
ETI’s Bat Shrinky Dinks Template (download below!)

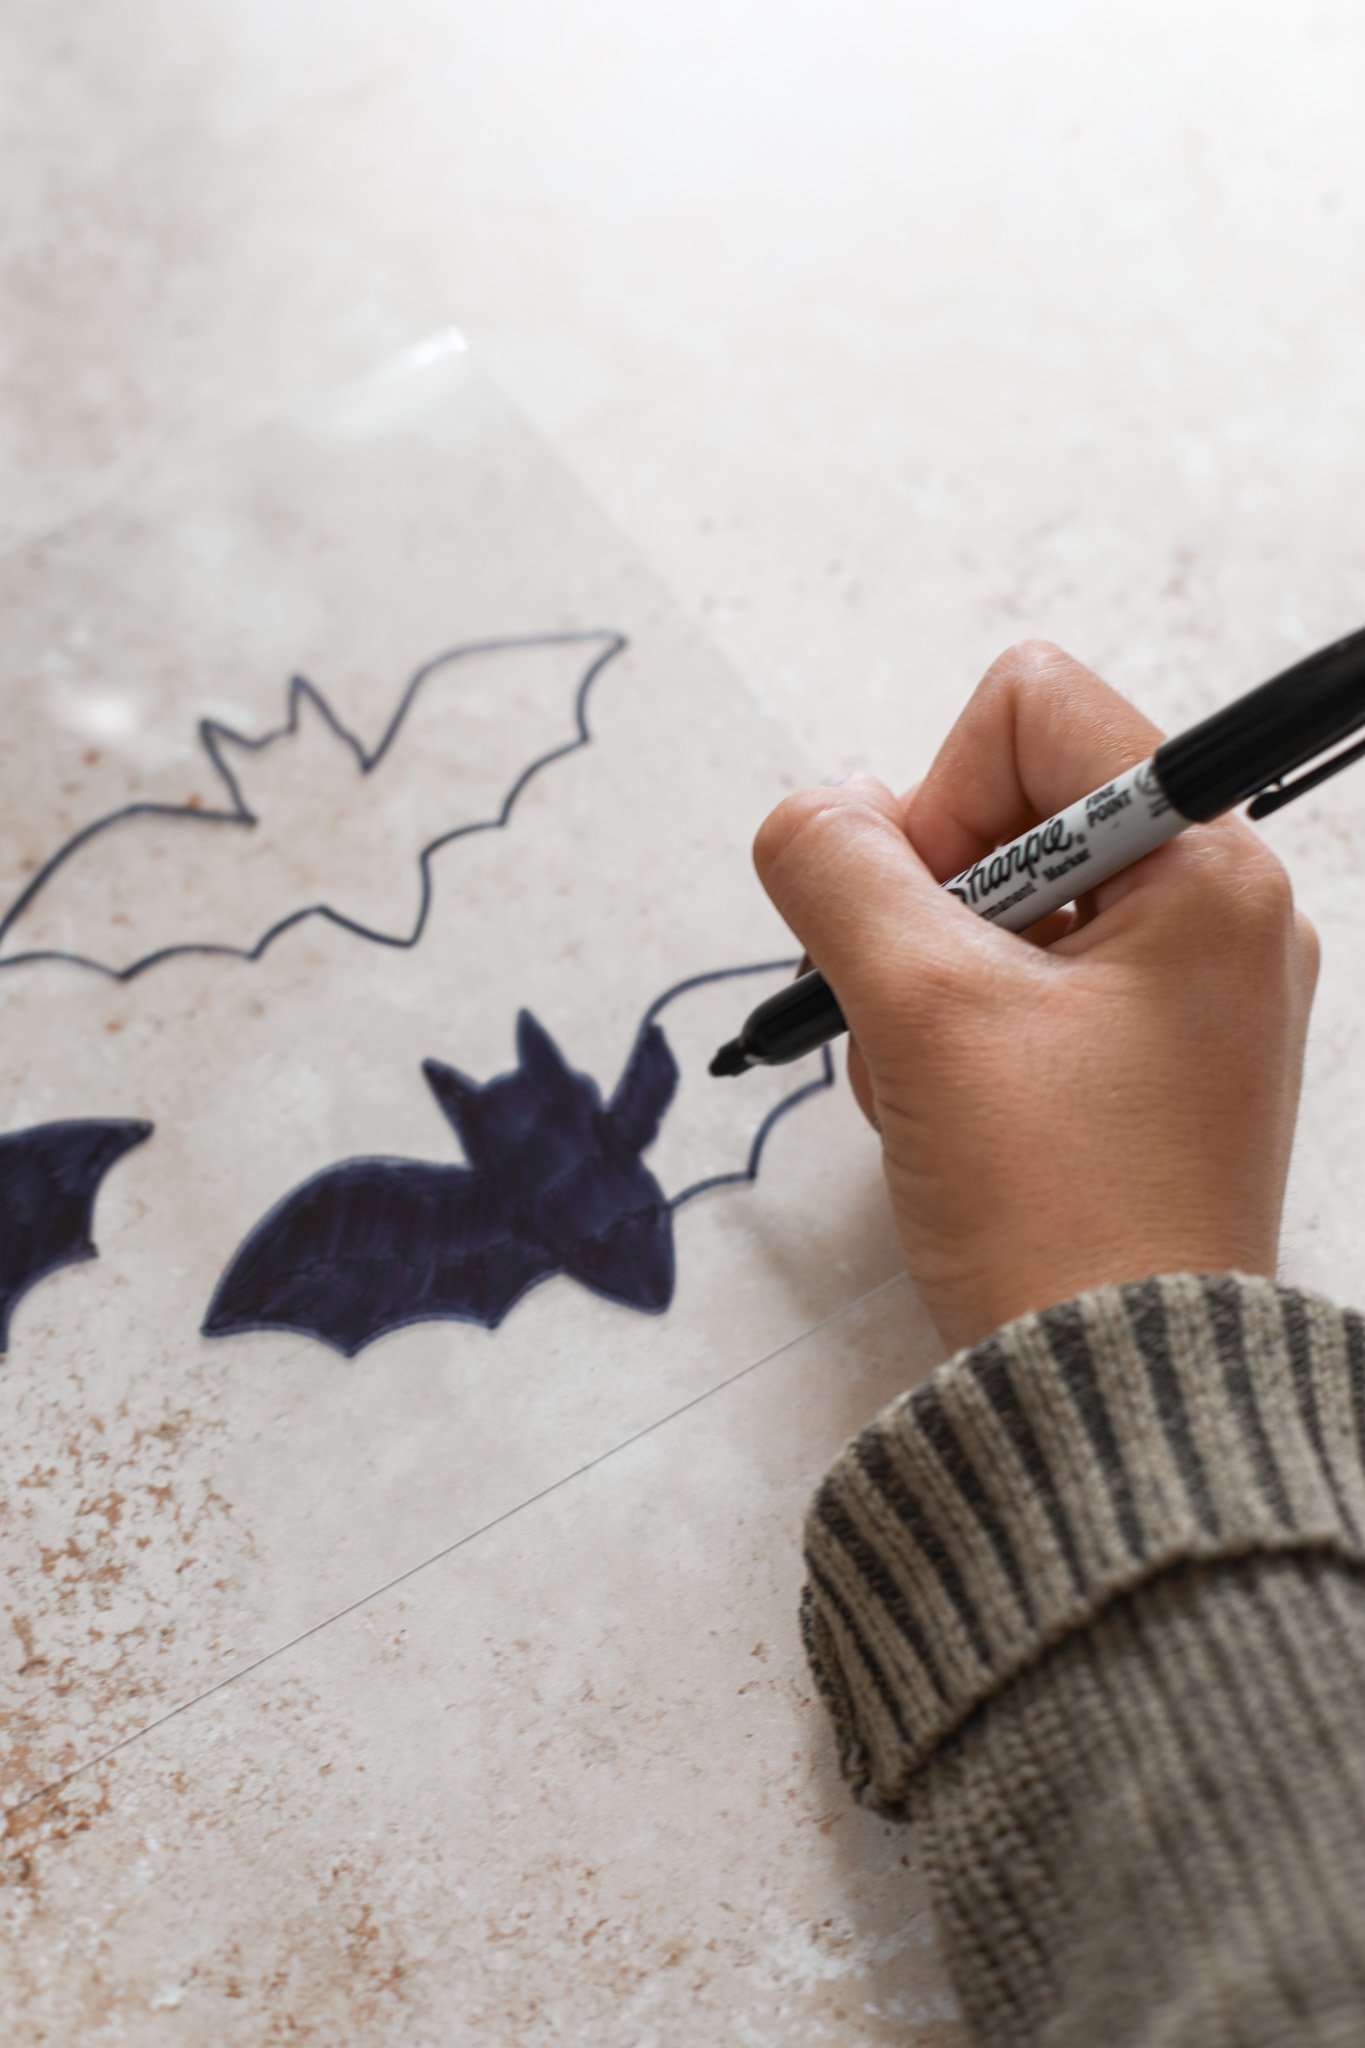
STEP 1: Download and print the ETI Bat Shrinky Dinks Template PDF (available to download above). Set one sheet of Shrinky Dinks plastic on top of the bat template and tape down both sheets to your work surface to secure in place.
STEP 2: Use a black Sharpie marker to carefully trace the outline of the bats. Then color in the bat shape completely.


STEP 3: Carefully cut along the edge of each bat, removing any excess Shrinky Dinks plastic.
STEP 4: Preheat your oven or toaster oven to 325 degrees F. Lay out your cut out bats on a piece of parchment paper over a baking sheet. Place the baking sheet in your pre-heated oven for 2 minutes.
After 2 minutes, remove the tray from the oven and your bats should now be about 1/3 their original size. If you find any of the sides of your bat shapes are curled up, immediately place a flat object (like a glass lid or plate) on top of the Shrinky Dinks for about 20 seconds. The pieces should flatten out and harden.

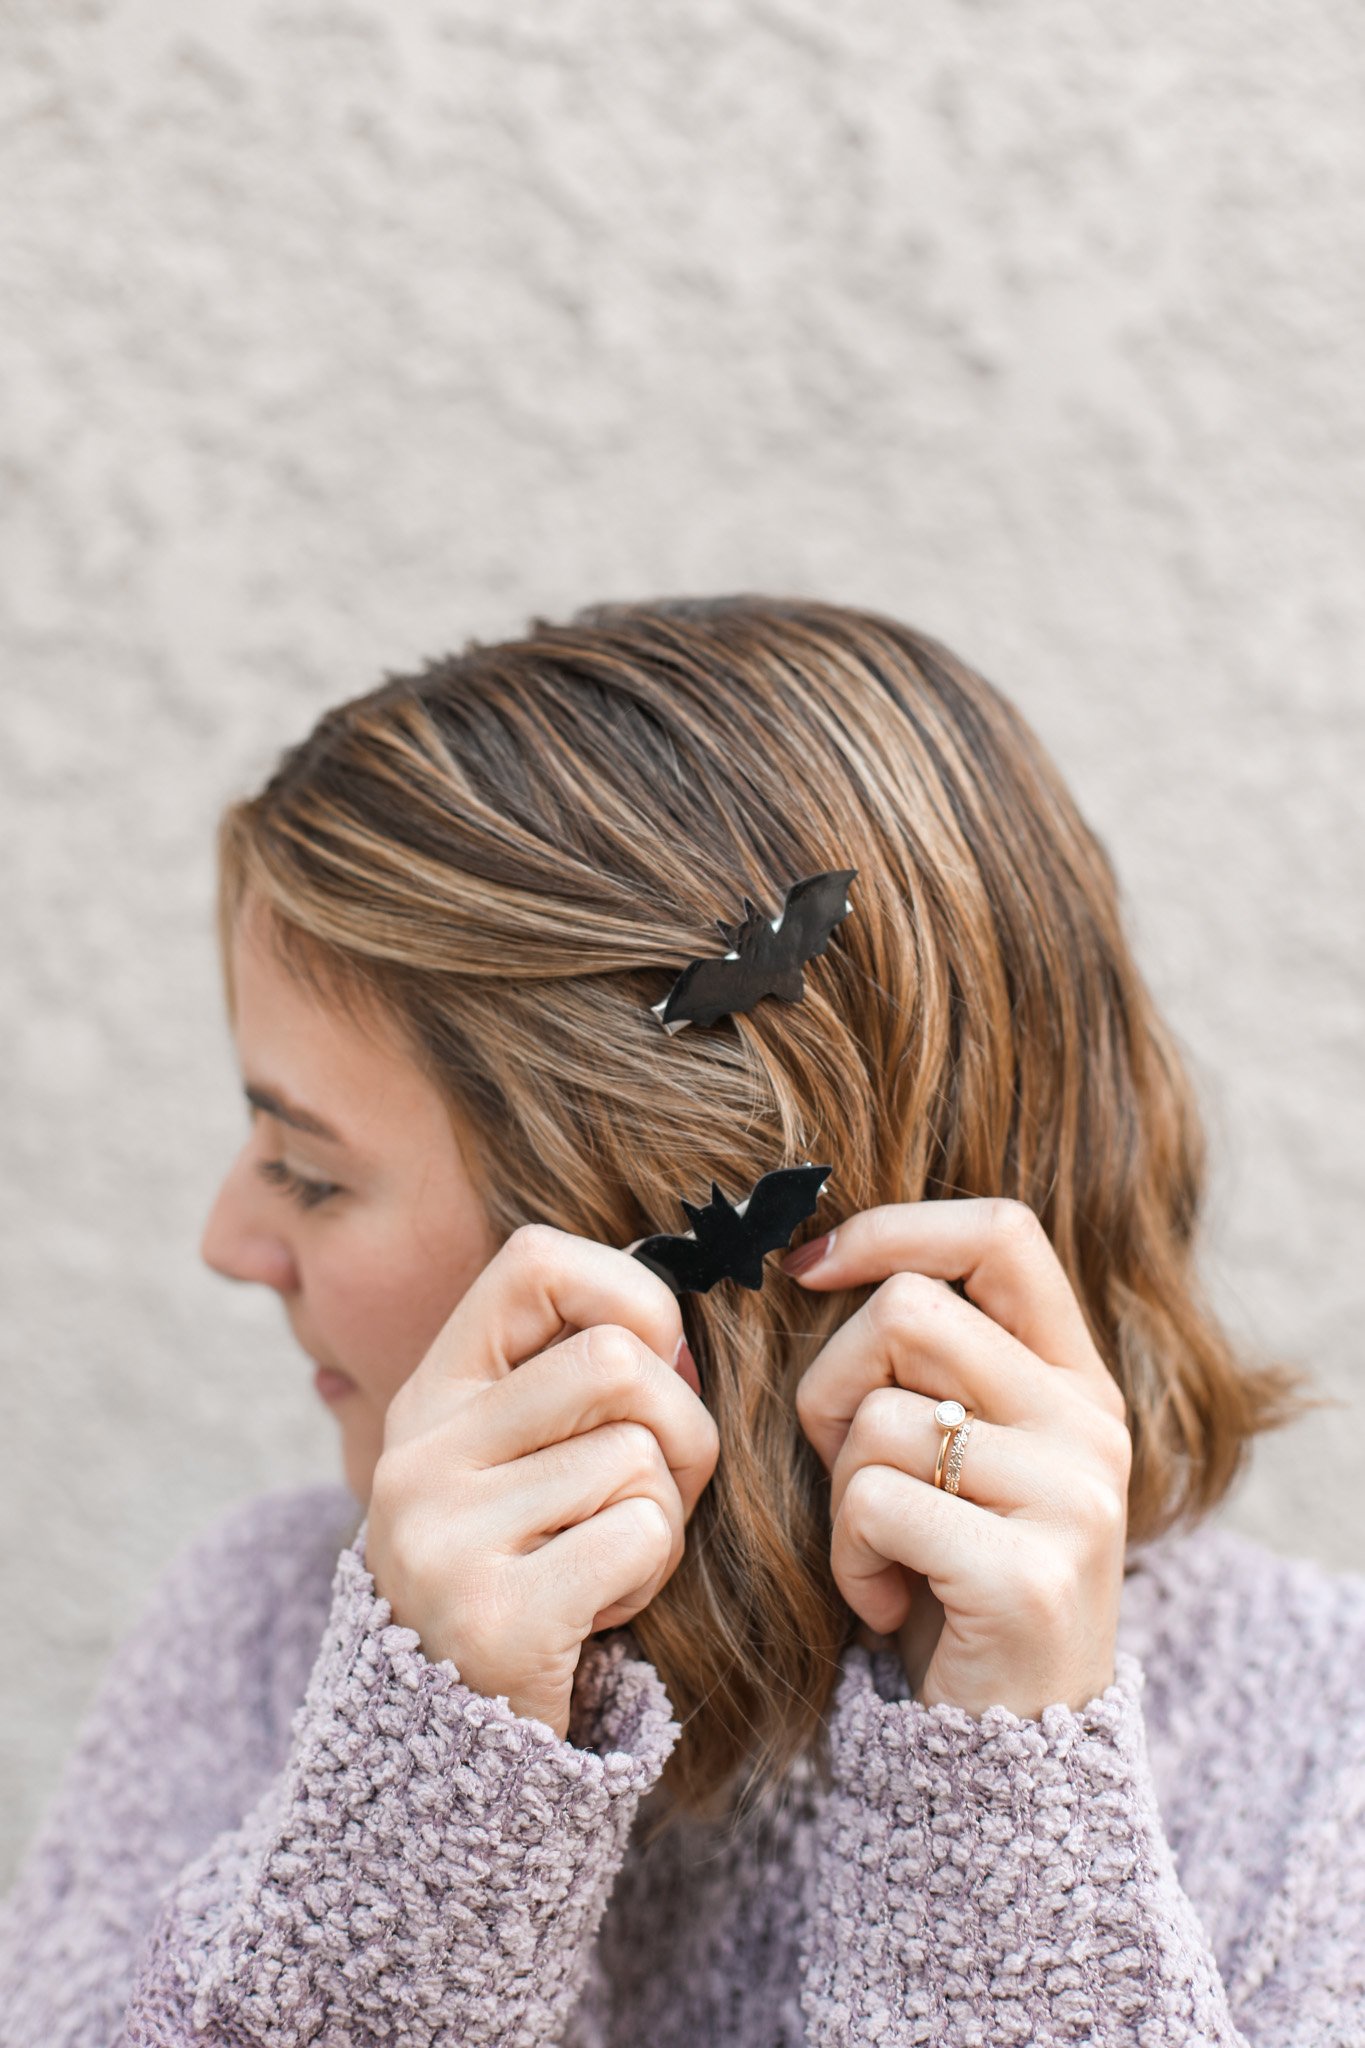
STEP 5: Finally, attach your bat Shrinky Dinks to your alligator hair clips. Squeeze on a small line of super glue along the flat side of the metal hair clip, then press the bat in place. I would recommend doing some hair clips with the hinge side on the left and some with the hinge side on the right so that you can wear the clips on either side of your head.
Allow the glue to dry overnight, and your hair clips are ready to wear!


You can do this project with any shape that you would like, but I think the bats are a nice subtle Halloween touch. Should I make a turkey hair clip for Thanksgiving?!
I love finding fun ways to use craft supplies I already have around the house, and I happen to have the Shrinky Dinks sheets & the metal alligator hair clips from a few past projects. So if you’re looking to use up your leftover supplies, check out these past blog posts.
Projects with Shrinky Dinks:
DIY Spring Bug Pins (with Shrinky Dinks)
Shrinky Dinks Ornament Gift Tags (& Printable Template!)
DIY Hair Clip projects:
DIY Checkered Beaded Hair Clips
Make Your Own New Years Eve Hair Clips
I hope you all are having a fun Halloween! What are you dressing up as this year?
xo Rachael

