
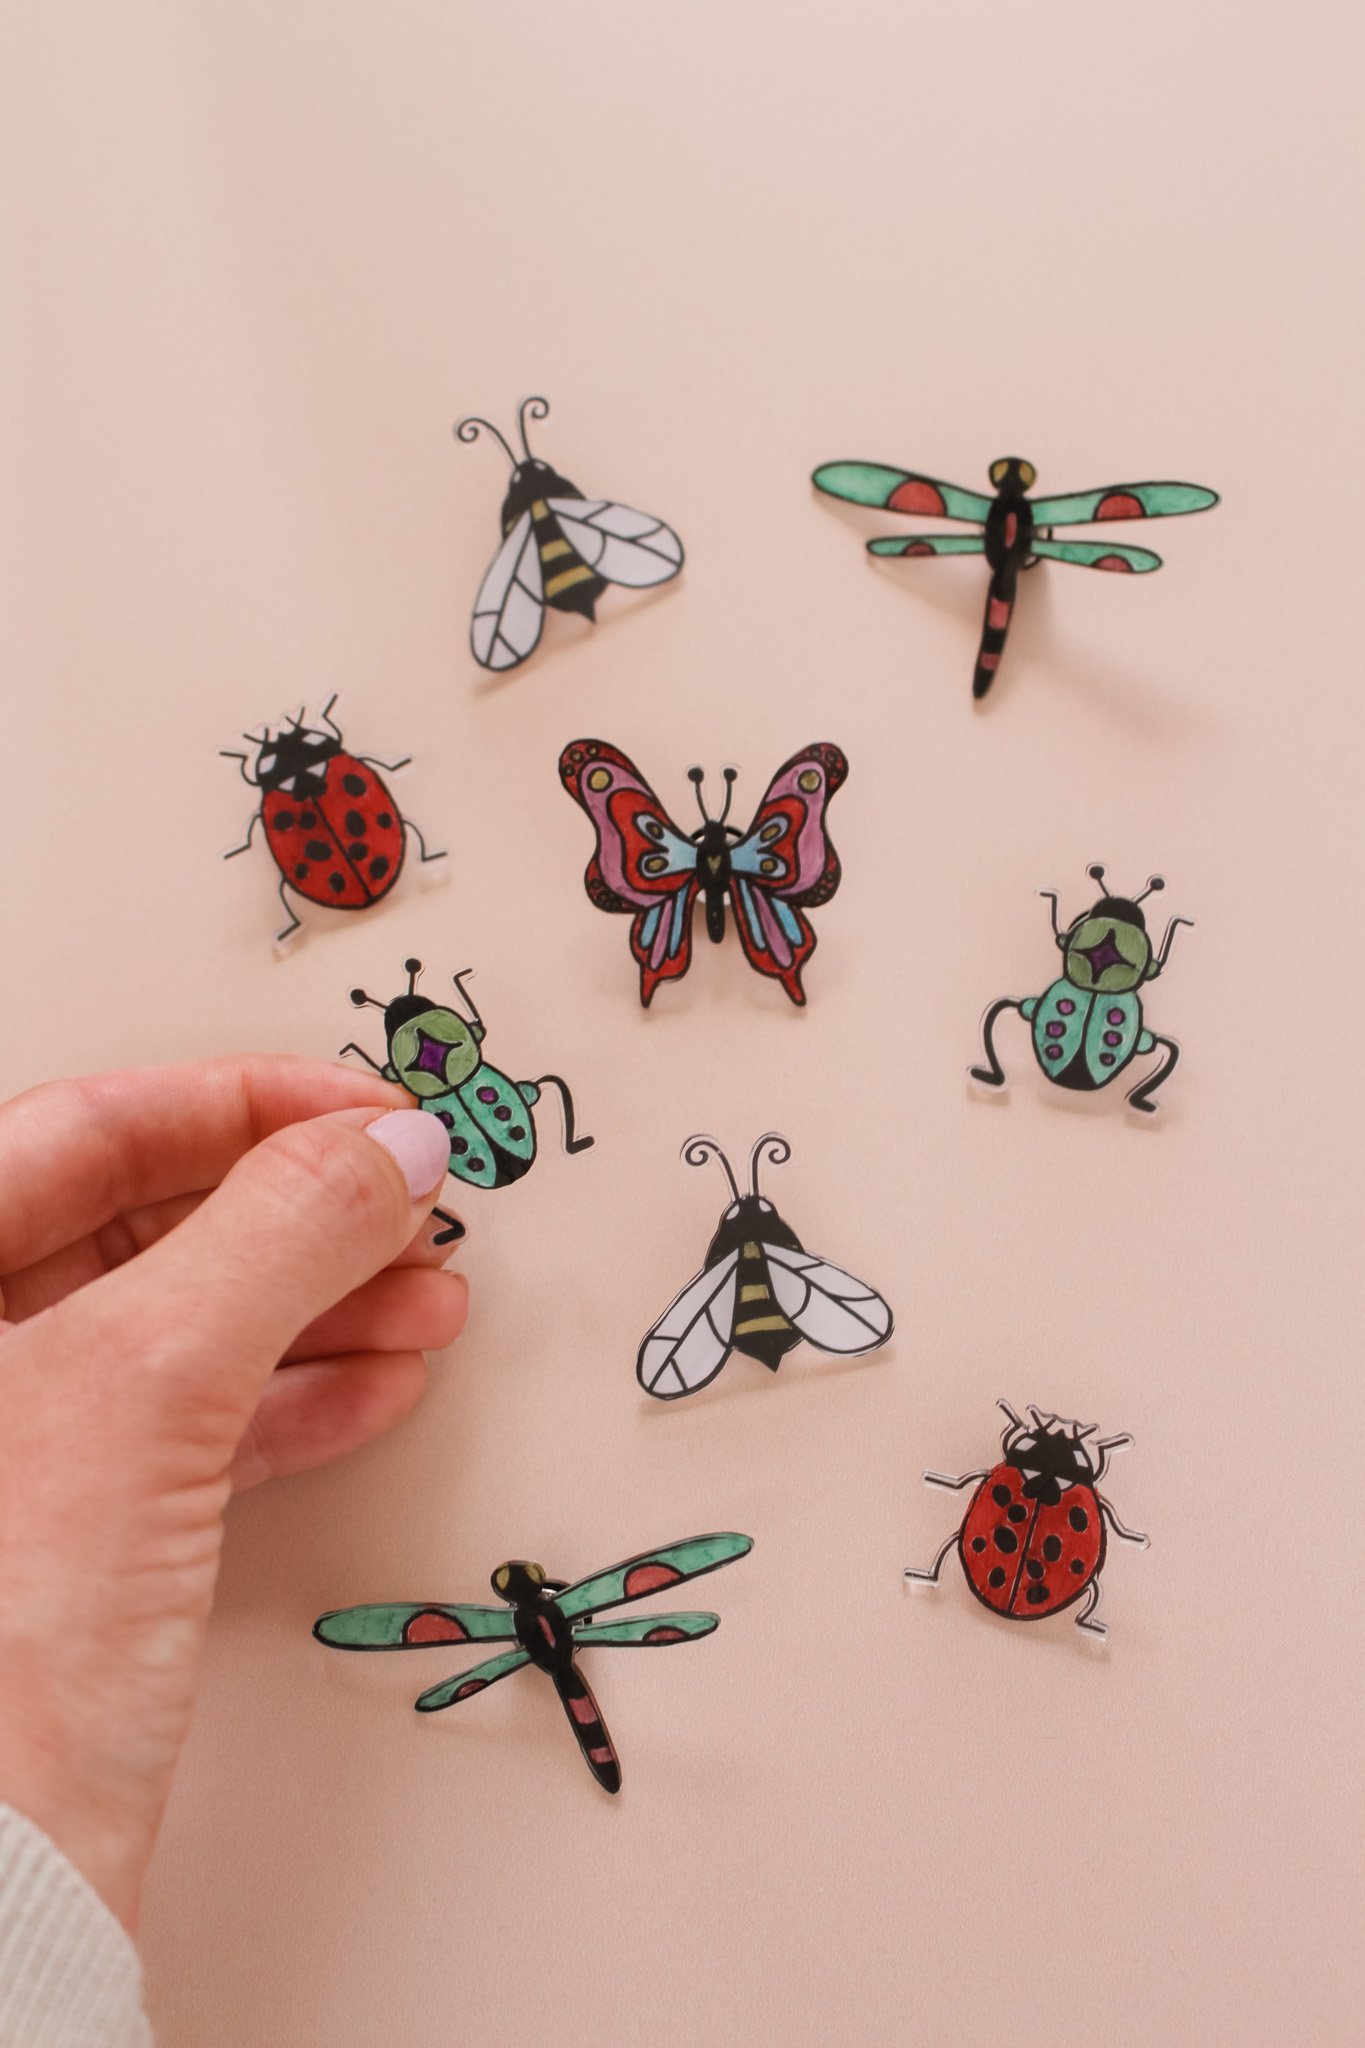
DIY Spring Bug Pins (with Shrinky Dinks)
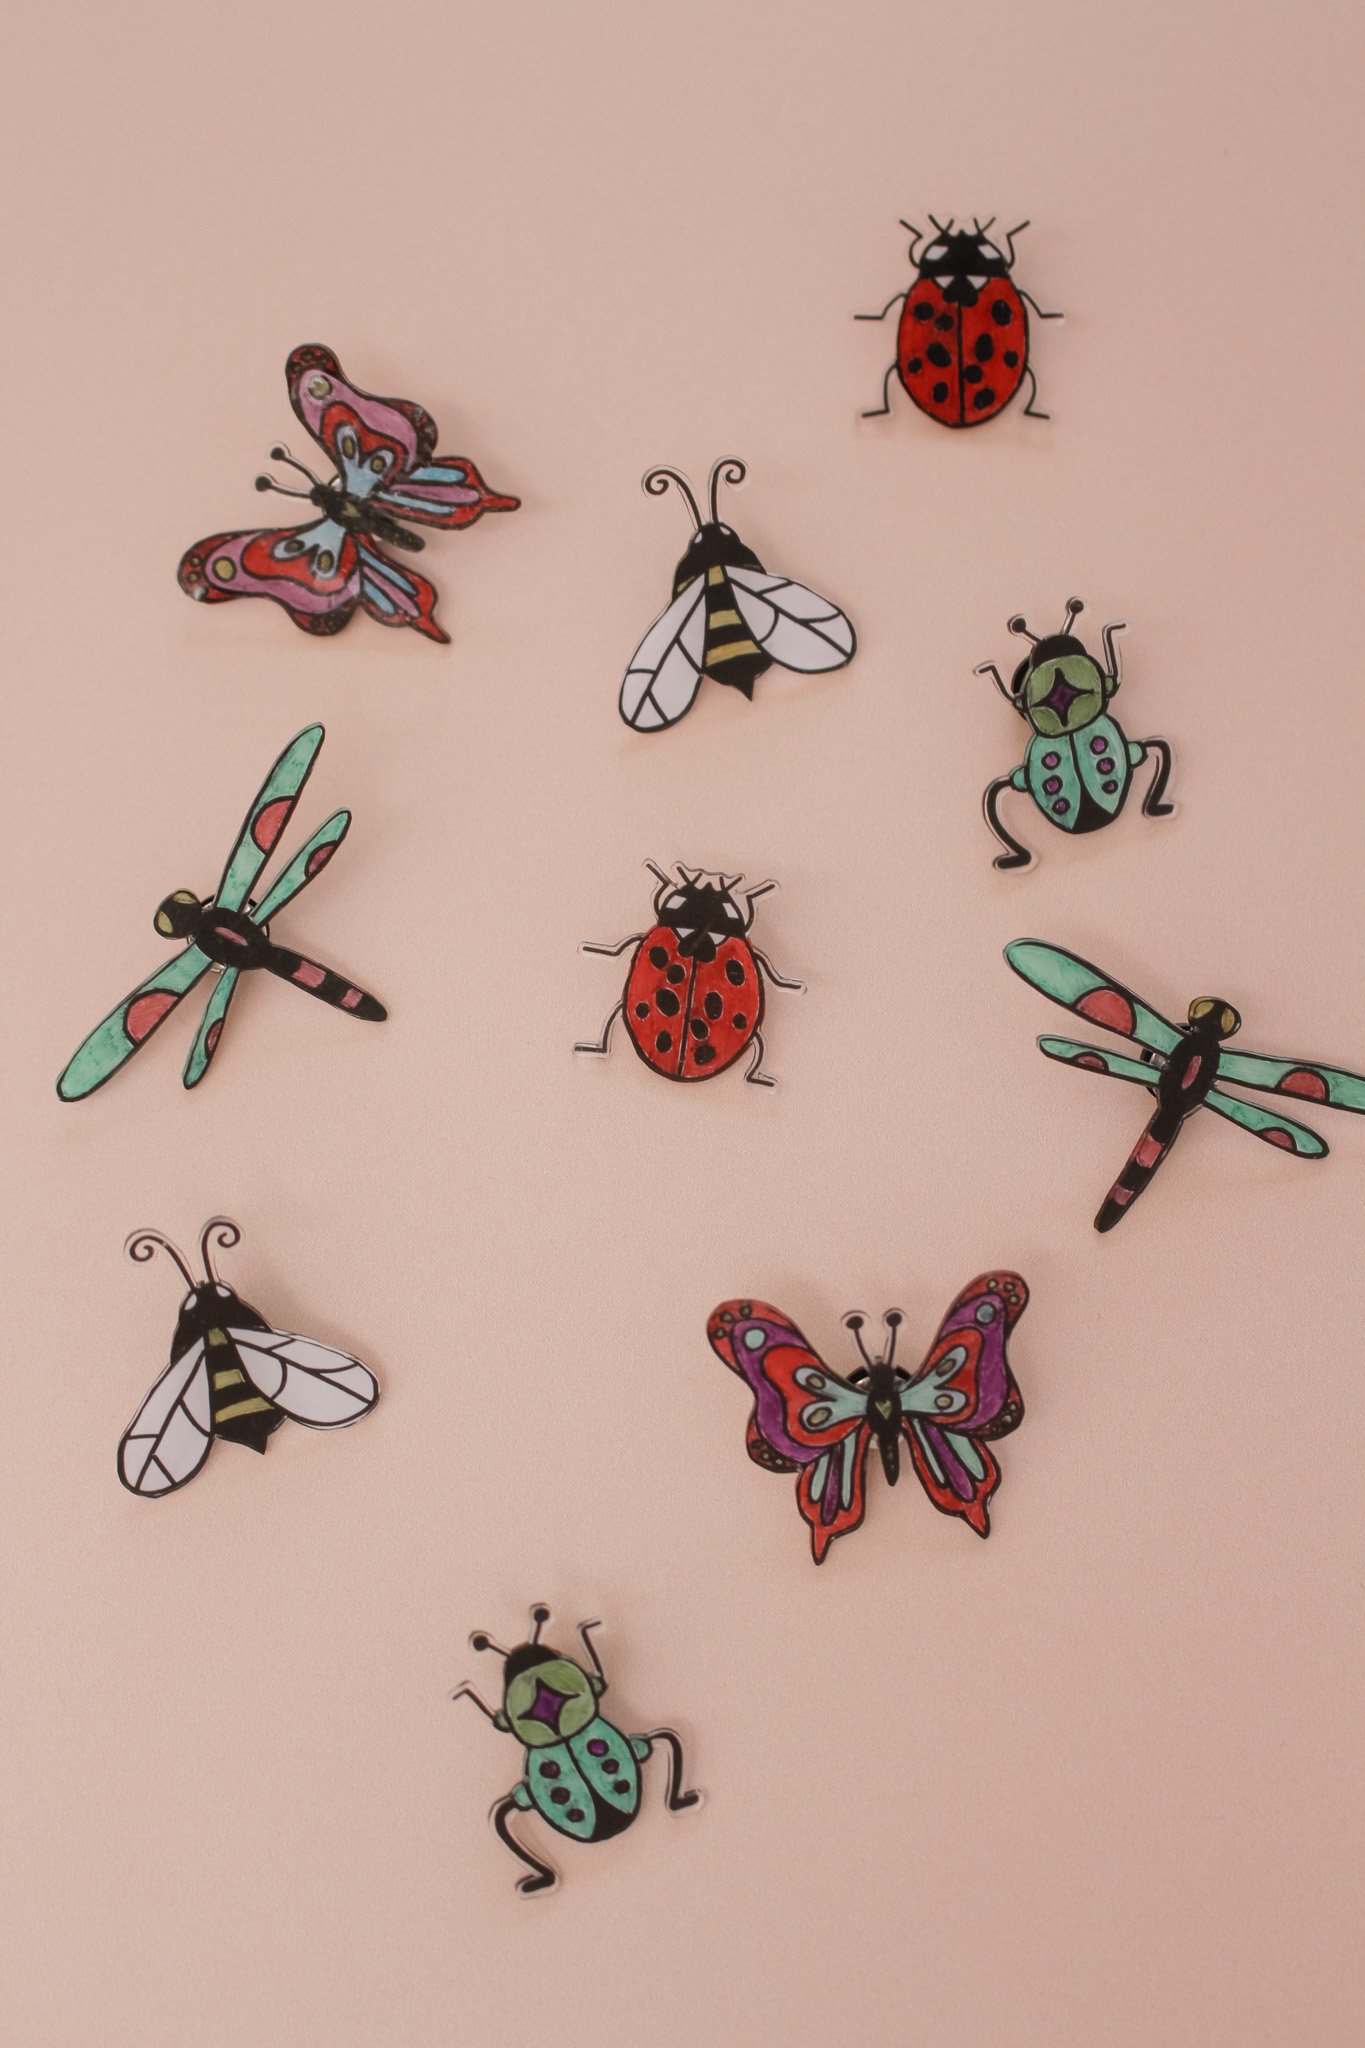
Spring is here! And while I’m not normally the biggest fan of the insects that begin to make their way out of hiding in the warmer months, I am a big fan of these cute little bug characters :) Find out how I made these spring bug brooches/pins in today’s DIY tutorial below!
& if you’re inspired by this project and want more Shrinky Dinks crafting, be sure to check out this other project from the ETI blog archives — Shrinky Dinks Ornament Gift Tags (& Printable Template!) — a fun idea for Christmas crafting later in the year and a way to utilize any leftover Shrinky Dinks sheets you have after this project.
But without further ado, let’s get into this spring craft tutorial!
Affiliate disclosure: This post contains several affiliate links. As an Amazon Associate, I may earn commissions from qualifying purchases from Amazon.com. Thank you for your support!

HOW TO MAKE BUG BROOCHES OR PINS WITH SHRINKY DINKS (AND FREE PRINTABLE TEMPLATE!)
DIY Spring Bug Pins Supplies:
Black Sharpie marker (for outlines)
Colored Sharpie markers (I used this Mystic Gems pack for more pretty pastel colors)
Masking tape
Scissors
Aluminum foil or parchment paper
Oven
White paint or white paint pen
Mod Podge (optional for sealing the backside of the pin)
Glue gun, craft glue, or E6000 glue
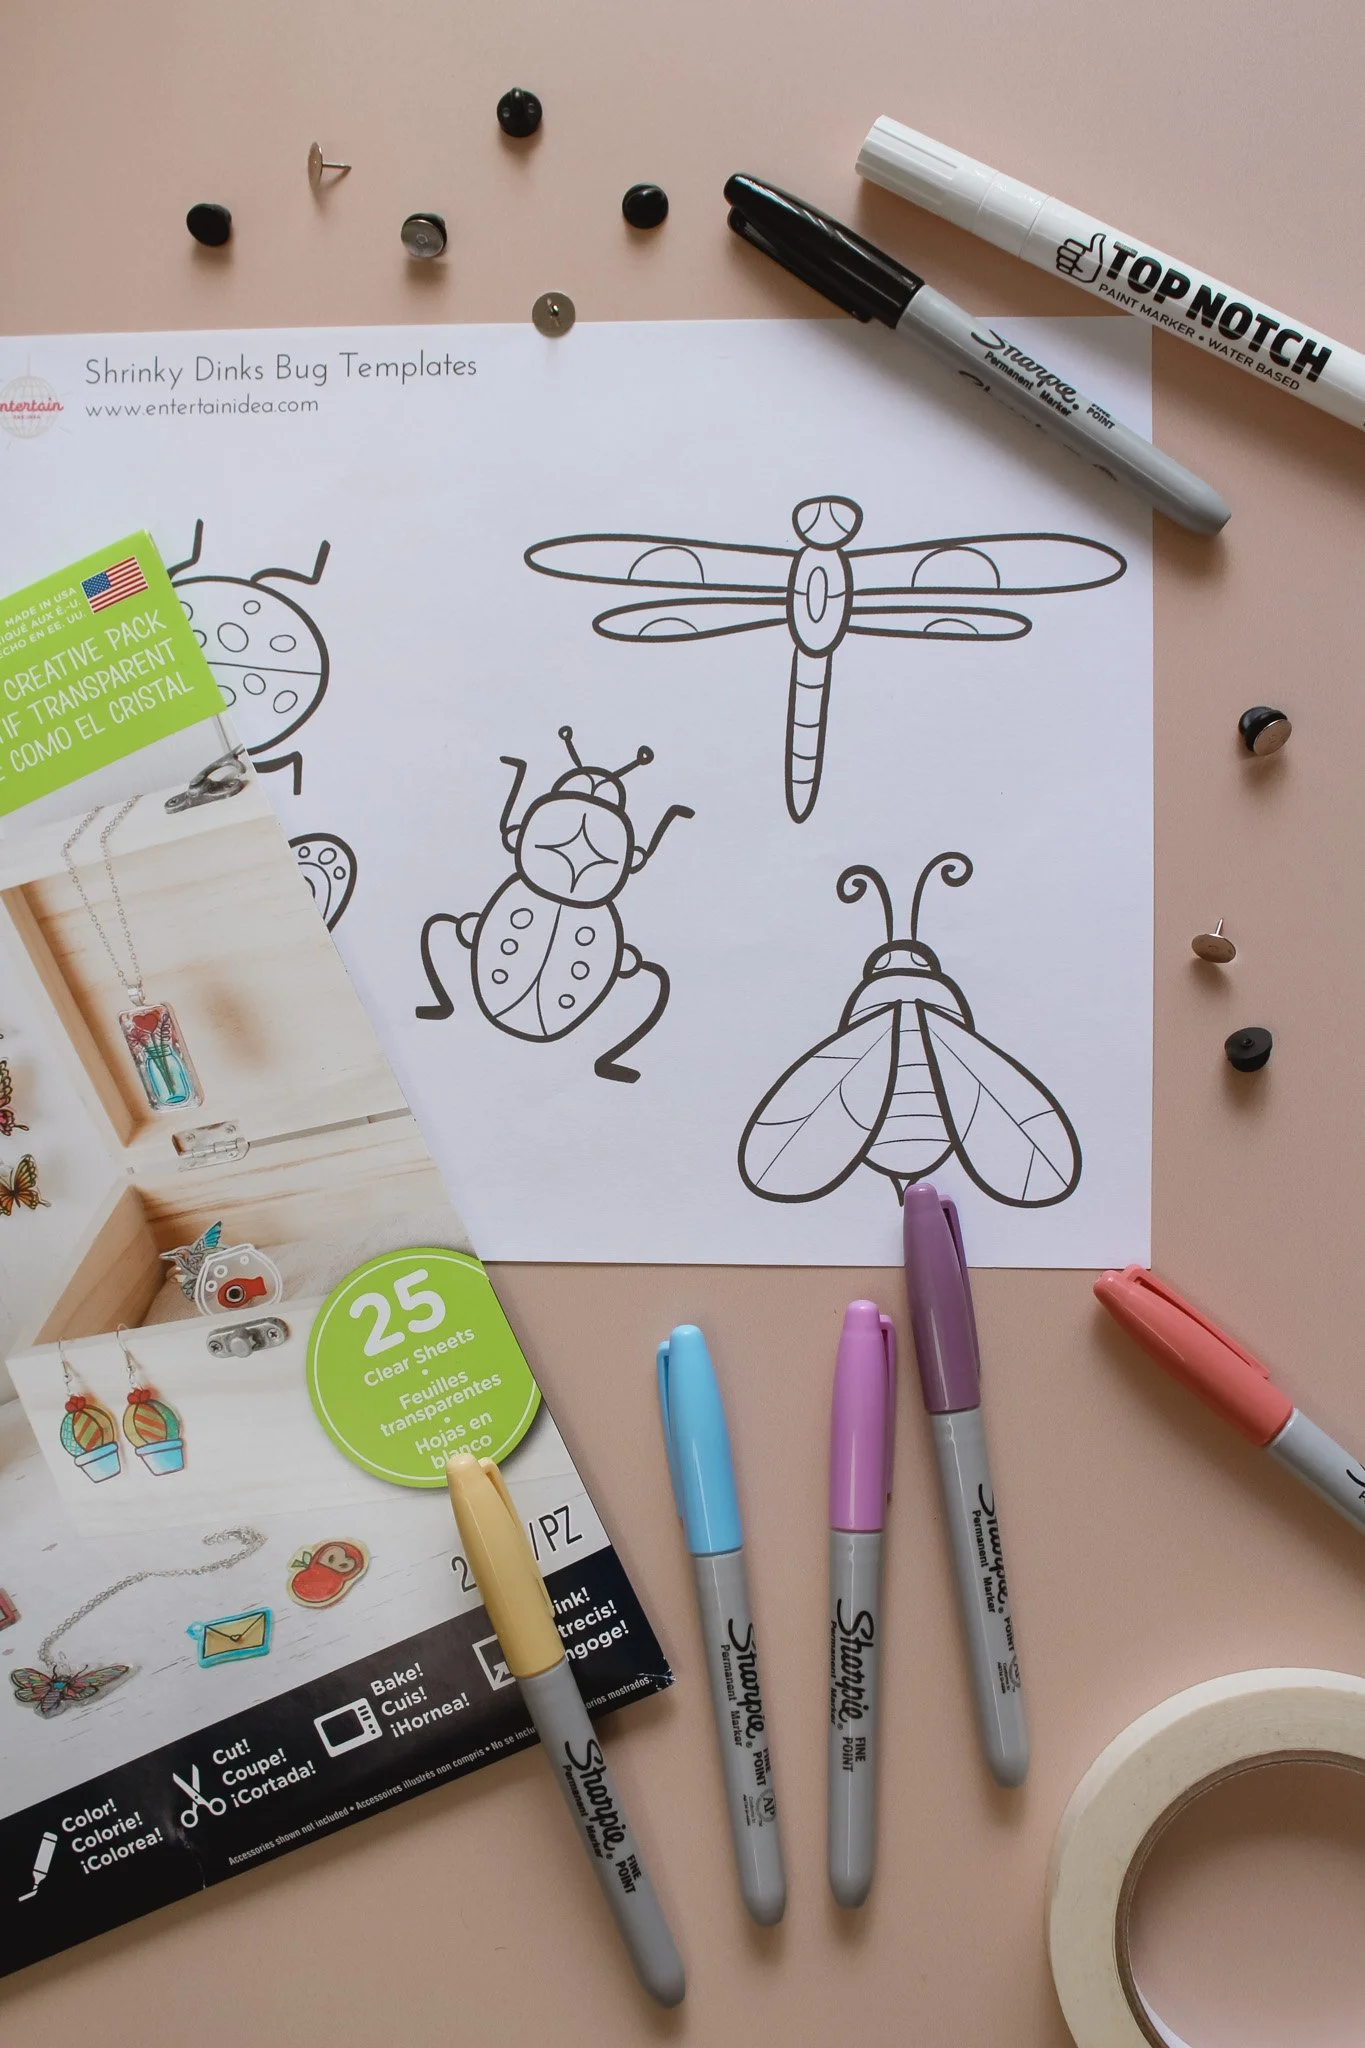
ETI’s Shrinky Dinks Bug Template PDF (download below!)

STEP 1: Download the ETI Shrinky Dinks Bug Template PDF printable (above) and print!
STEP 2: Lay your bug template on your work surface and lay a sheet of clear Shrinky Dinks on top. Use masking tape to hold both pieces in place together.
STEP 3: Use your black Sharpie marker to carefully trace over the outlines of whichever bugs you would like to make. Be sure to trace both the exterior and interior lines.

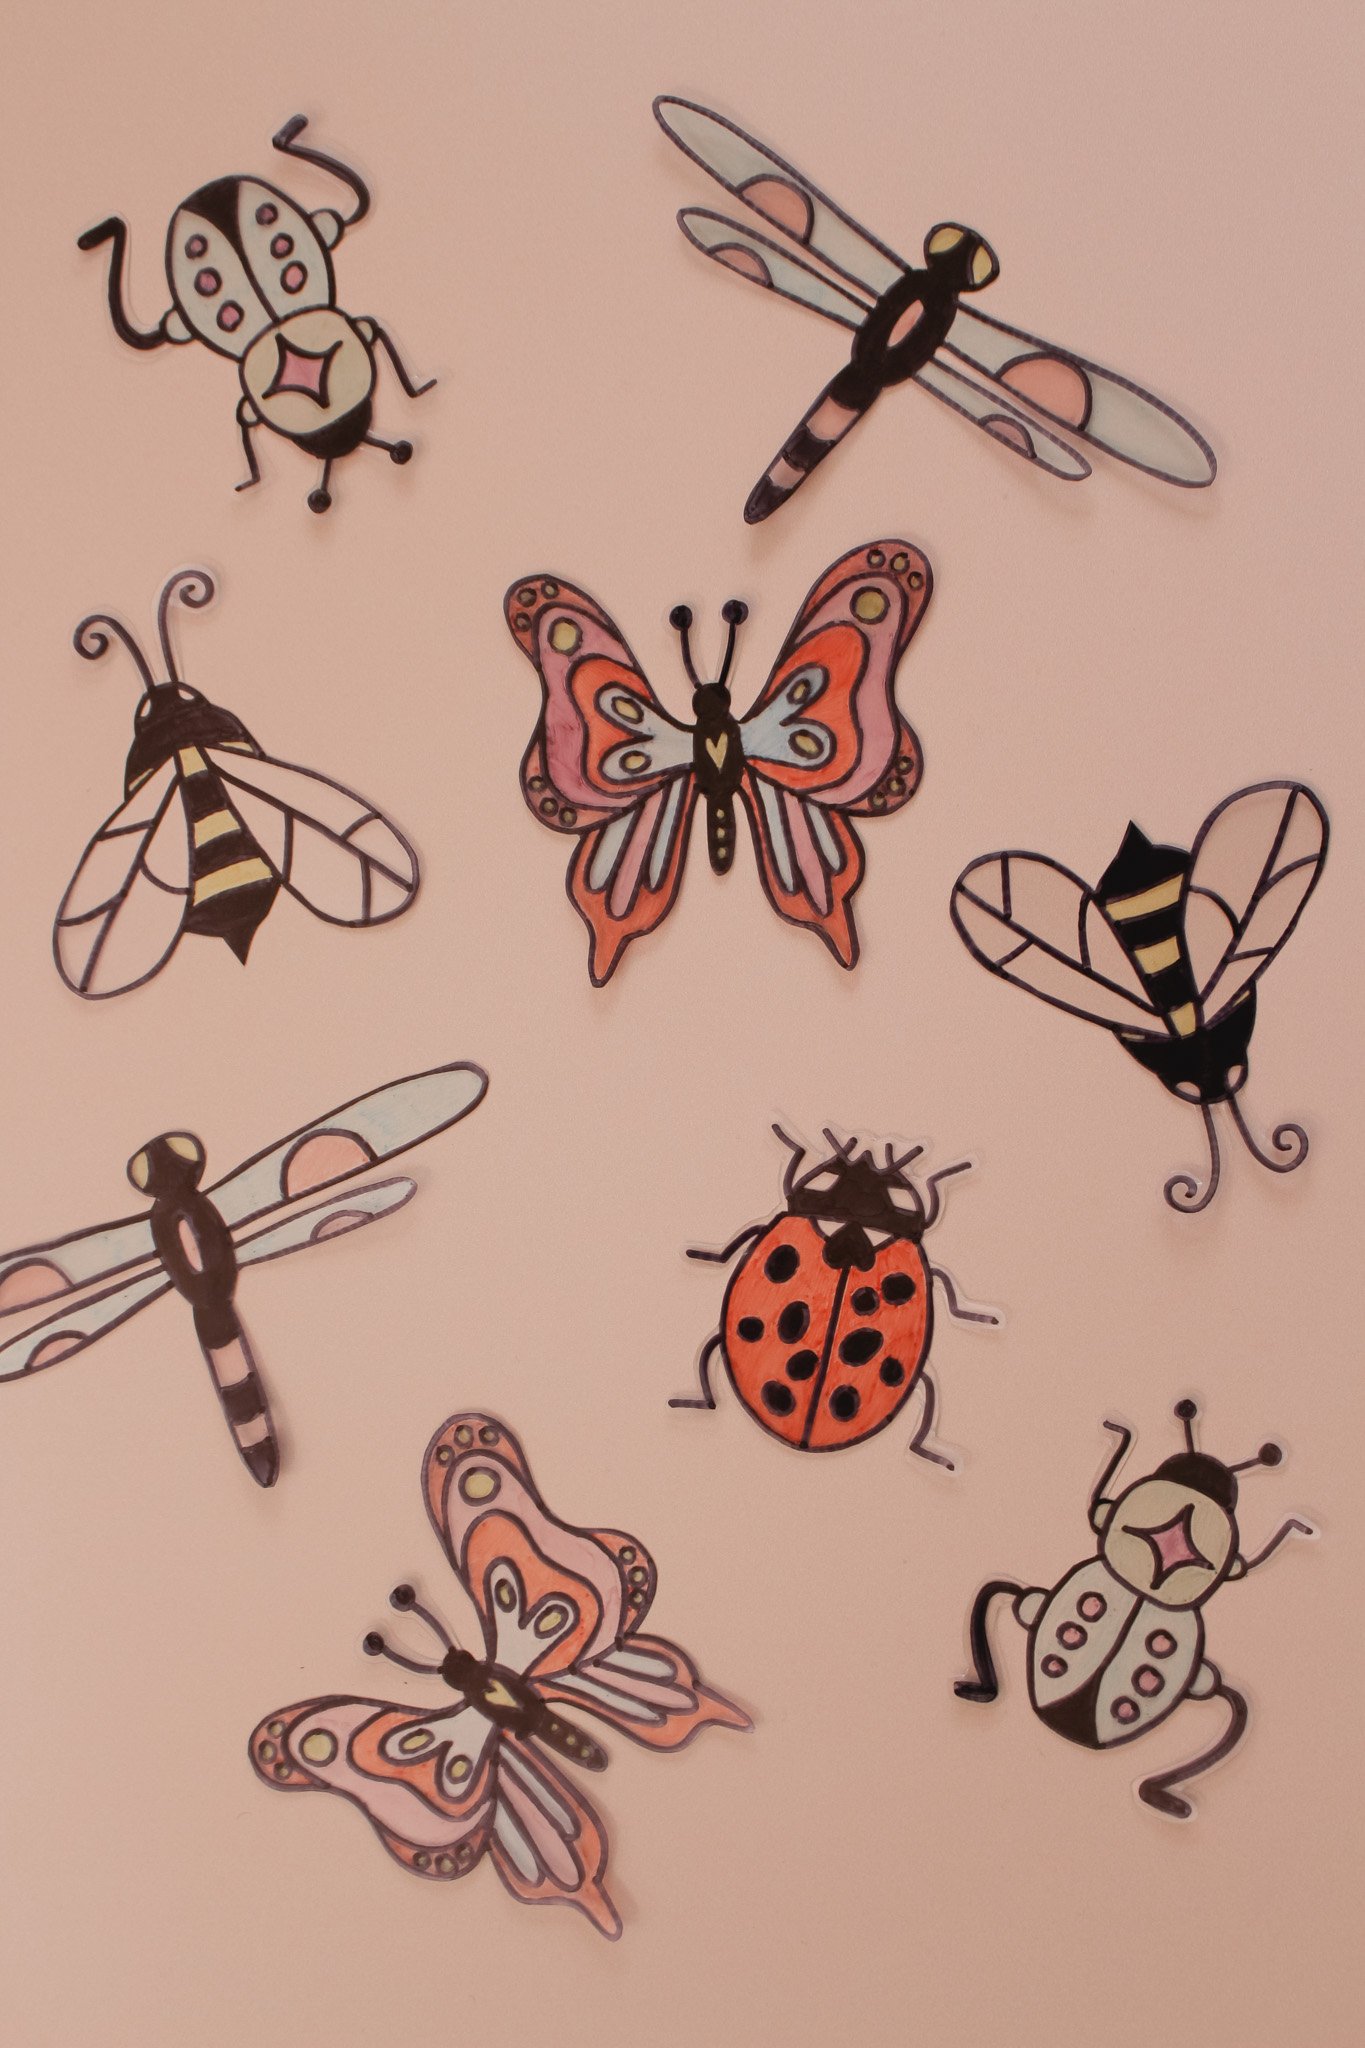
STEP 4: Next, you will go in with your colored Sharpie markers and color in the bugs however you would like! A light even layer of marker will turn out best.
STEP 5: Preheat your oven or toaster oven to 325 degrees F.

STEP 6: Once the bugs are colored in to your liking, pull the tape off the clear sheet and carefully cut out the bug shapes keeping as close to the outer lines as possible. For thin items like the bug’s arms, legs, and antennae, I just cut with a bit of excess space around these thin lines.
STEP 7: Cover a baking sheet with tin foil or parchment paper. Place your Shrinky Dinks bugs on the baking sheet and bake in the pre-heated oven for 2 minutes each. After 2 minutes, remove the tray from the oven and the bugs should now be about 1/3 their original size. If you find the Shrinky Dinks to be curled up or not laying flat, immediately place a flat object (like a glass lid or plate) on top of the Shrinky Dinks for about 20 seconds. The piece should flatten out and harden.
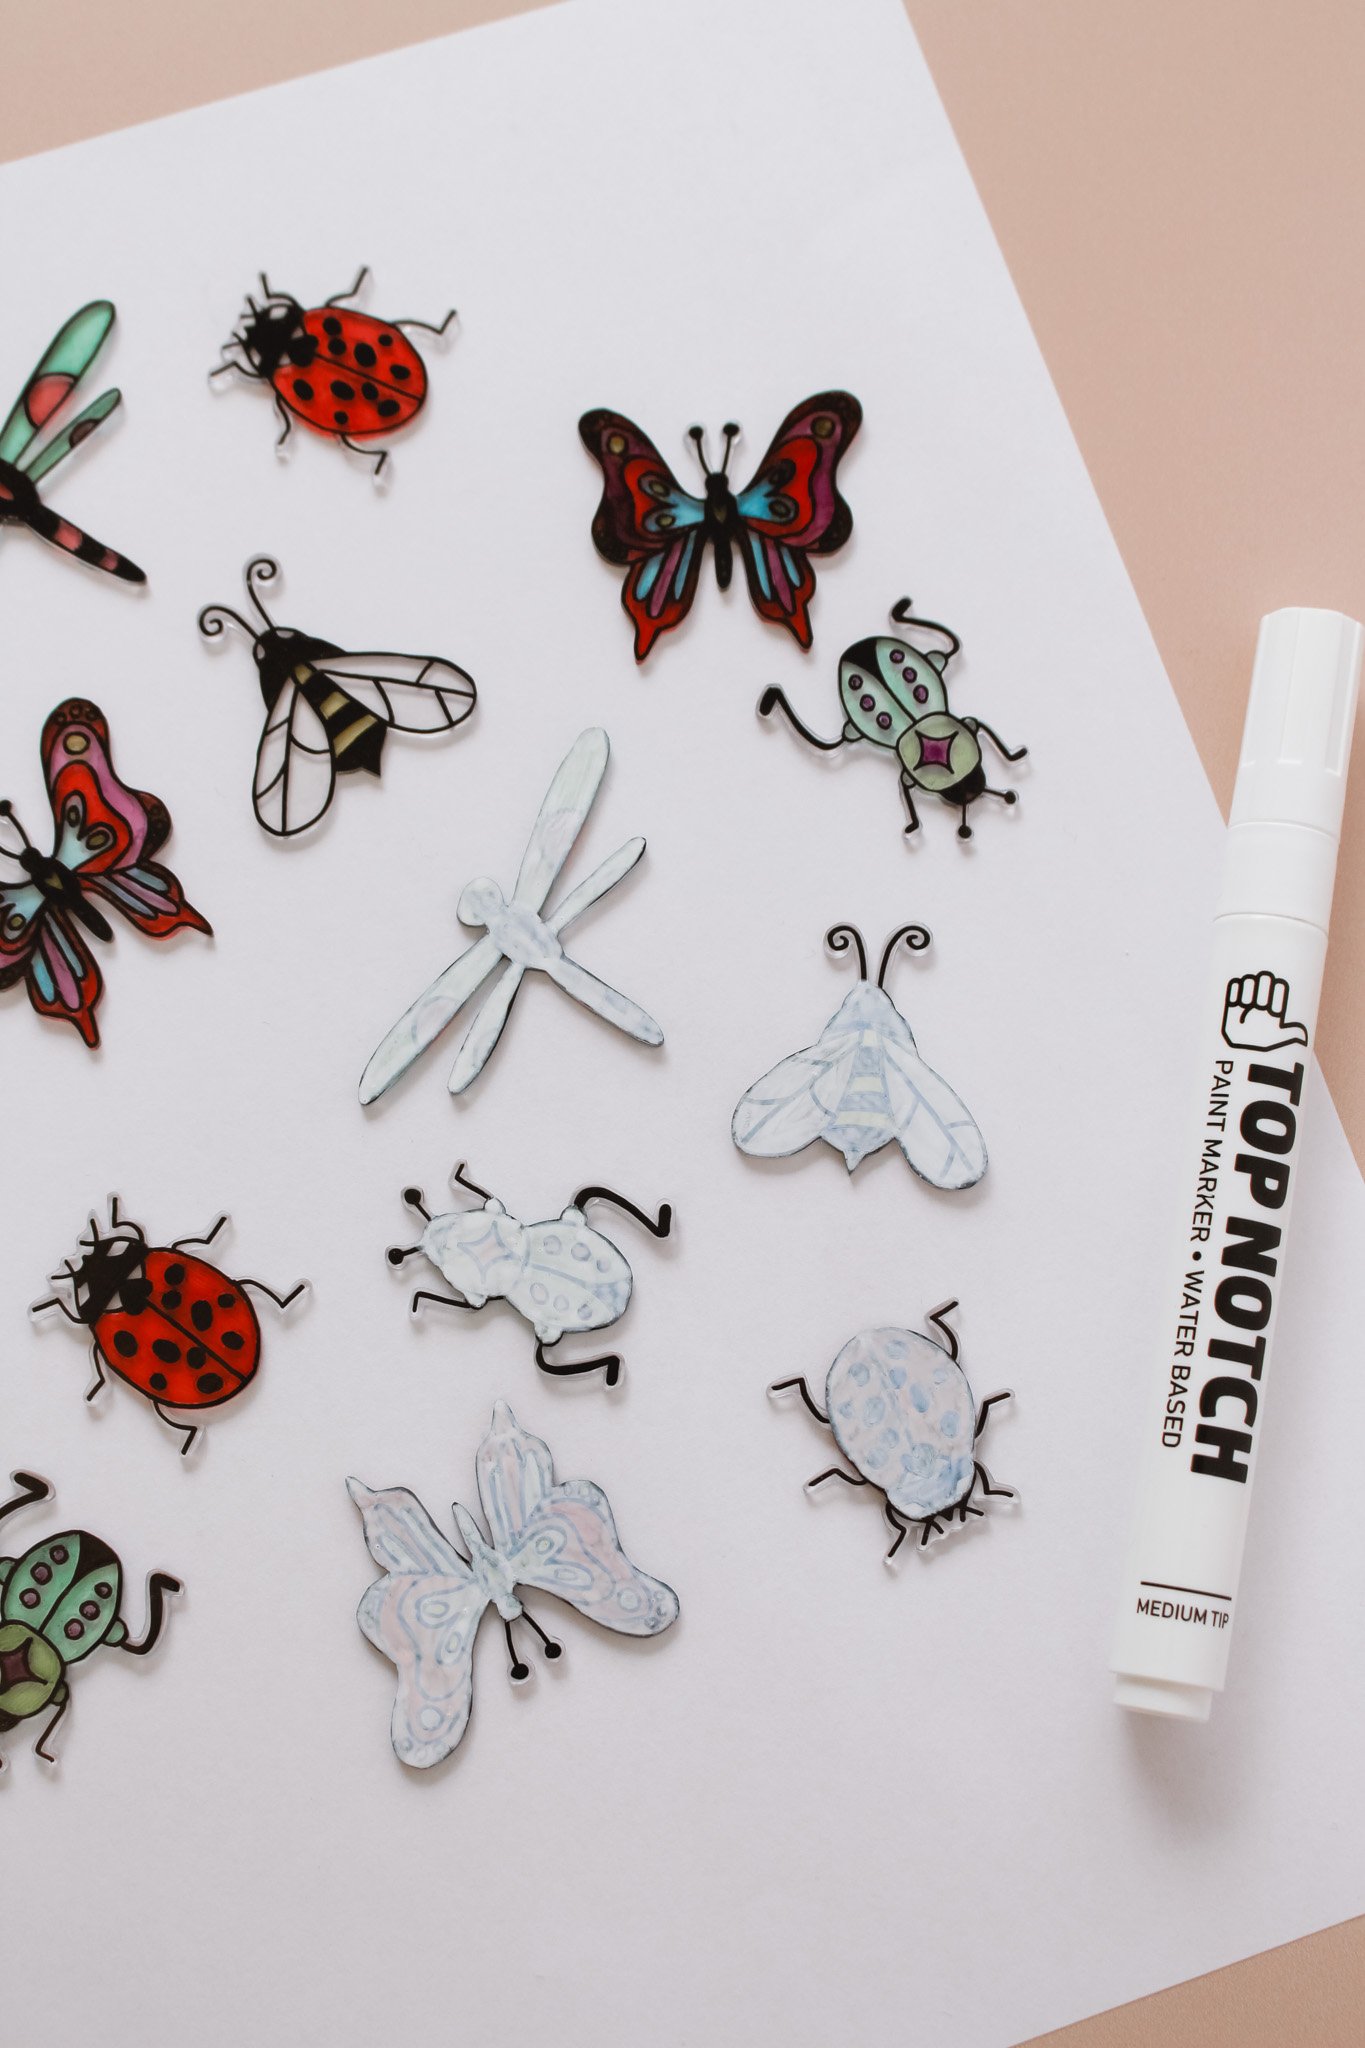
STEP 8: Since the Sharpie marker tends to leave a more transparent color on the bugs, I decided to paint an even layer of white paint on the back of each of the Shrinky Dinks (on the same side that you colored on). This will make the coloring more bright and opaque while also better concealing the pin backing we are about to add. I did about three coats with a white paint pen.
After the paint has dried, you can decide at this point to coat the backing with a layer of Mod Podge, if you want to seal the white paint from getting scratched. This isn’t totally necessary, but will probably help your pins to hold up for longer.
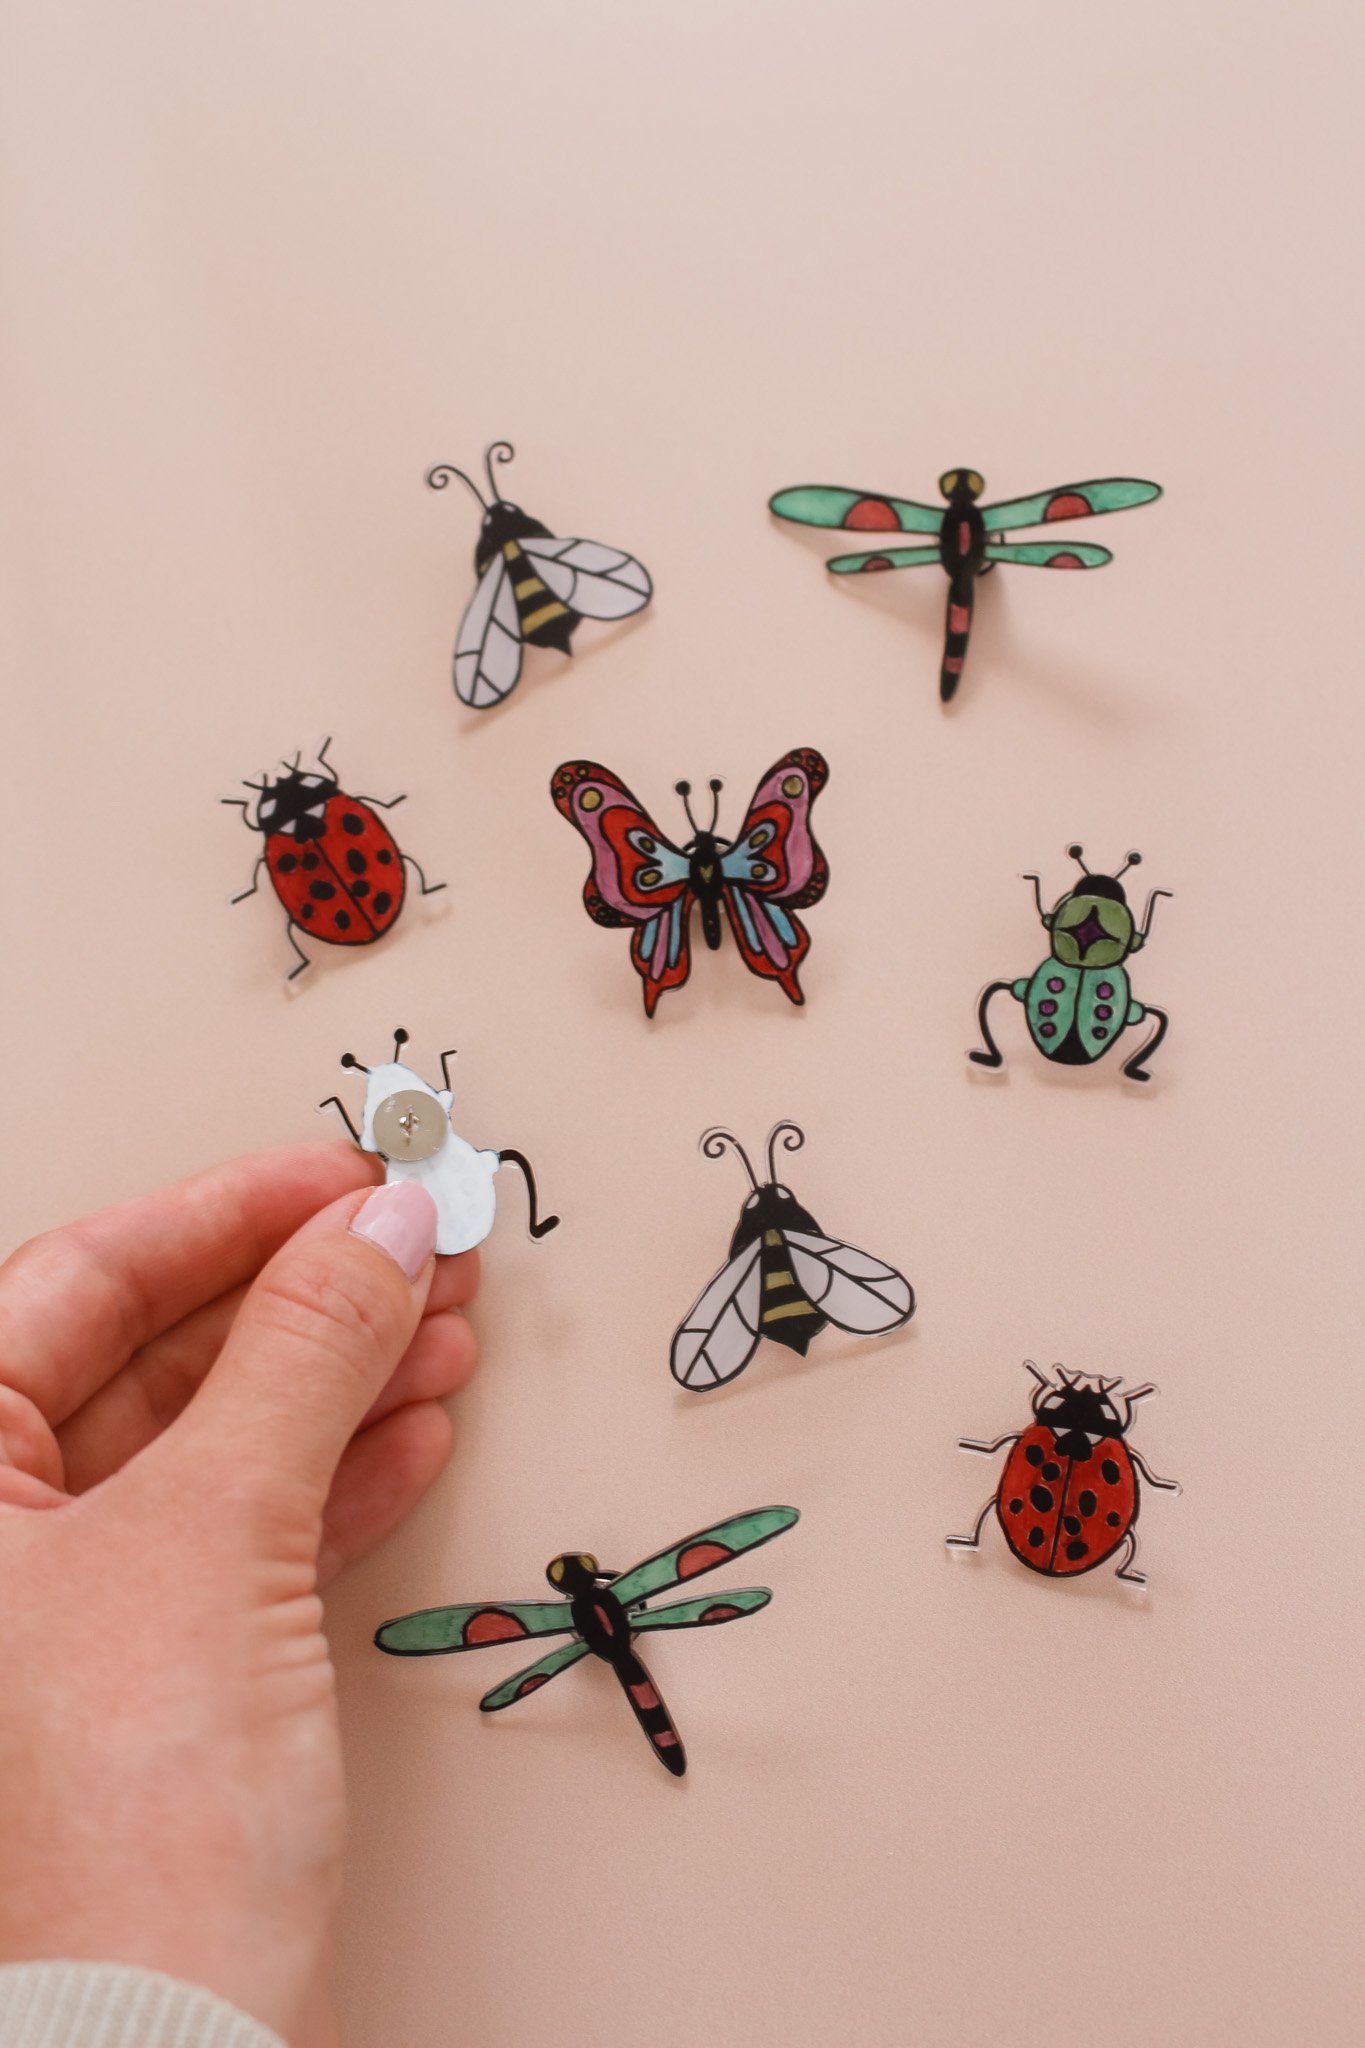
STEP 9: Using a hot glue gun, you can now glue the flat metal side of your pin backs to the back white side of the bug Shrinky Dinks. Let the hot glue fully set and pull off any leftover hot glue strings. And your pin is now ready to wear!
**Tip: I found that sometimes when I tried to pull the rubber backing off the pin, it pulled the full pin backing off the bug, so I would recommend using a stronger adhesive like E6000 if you purchase these exact pin backs.
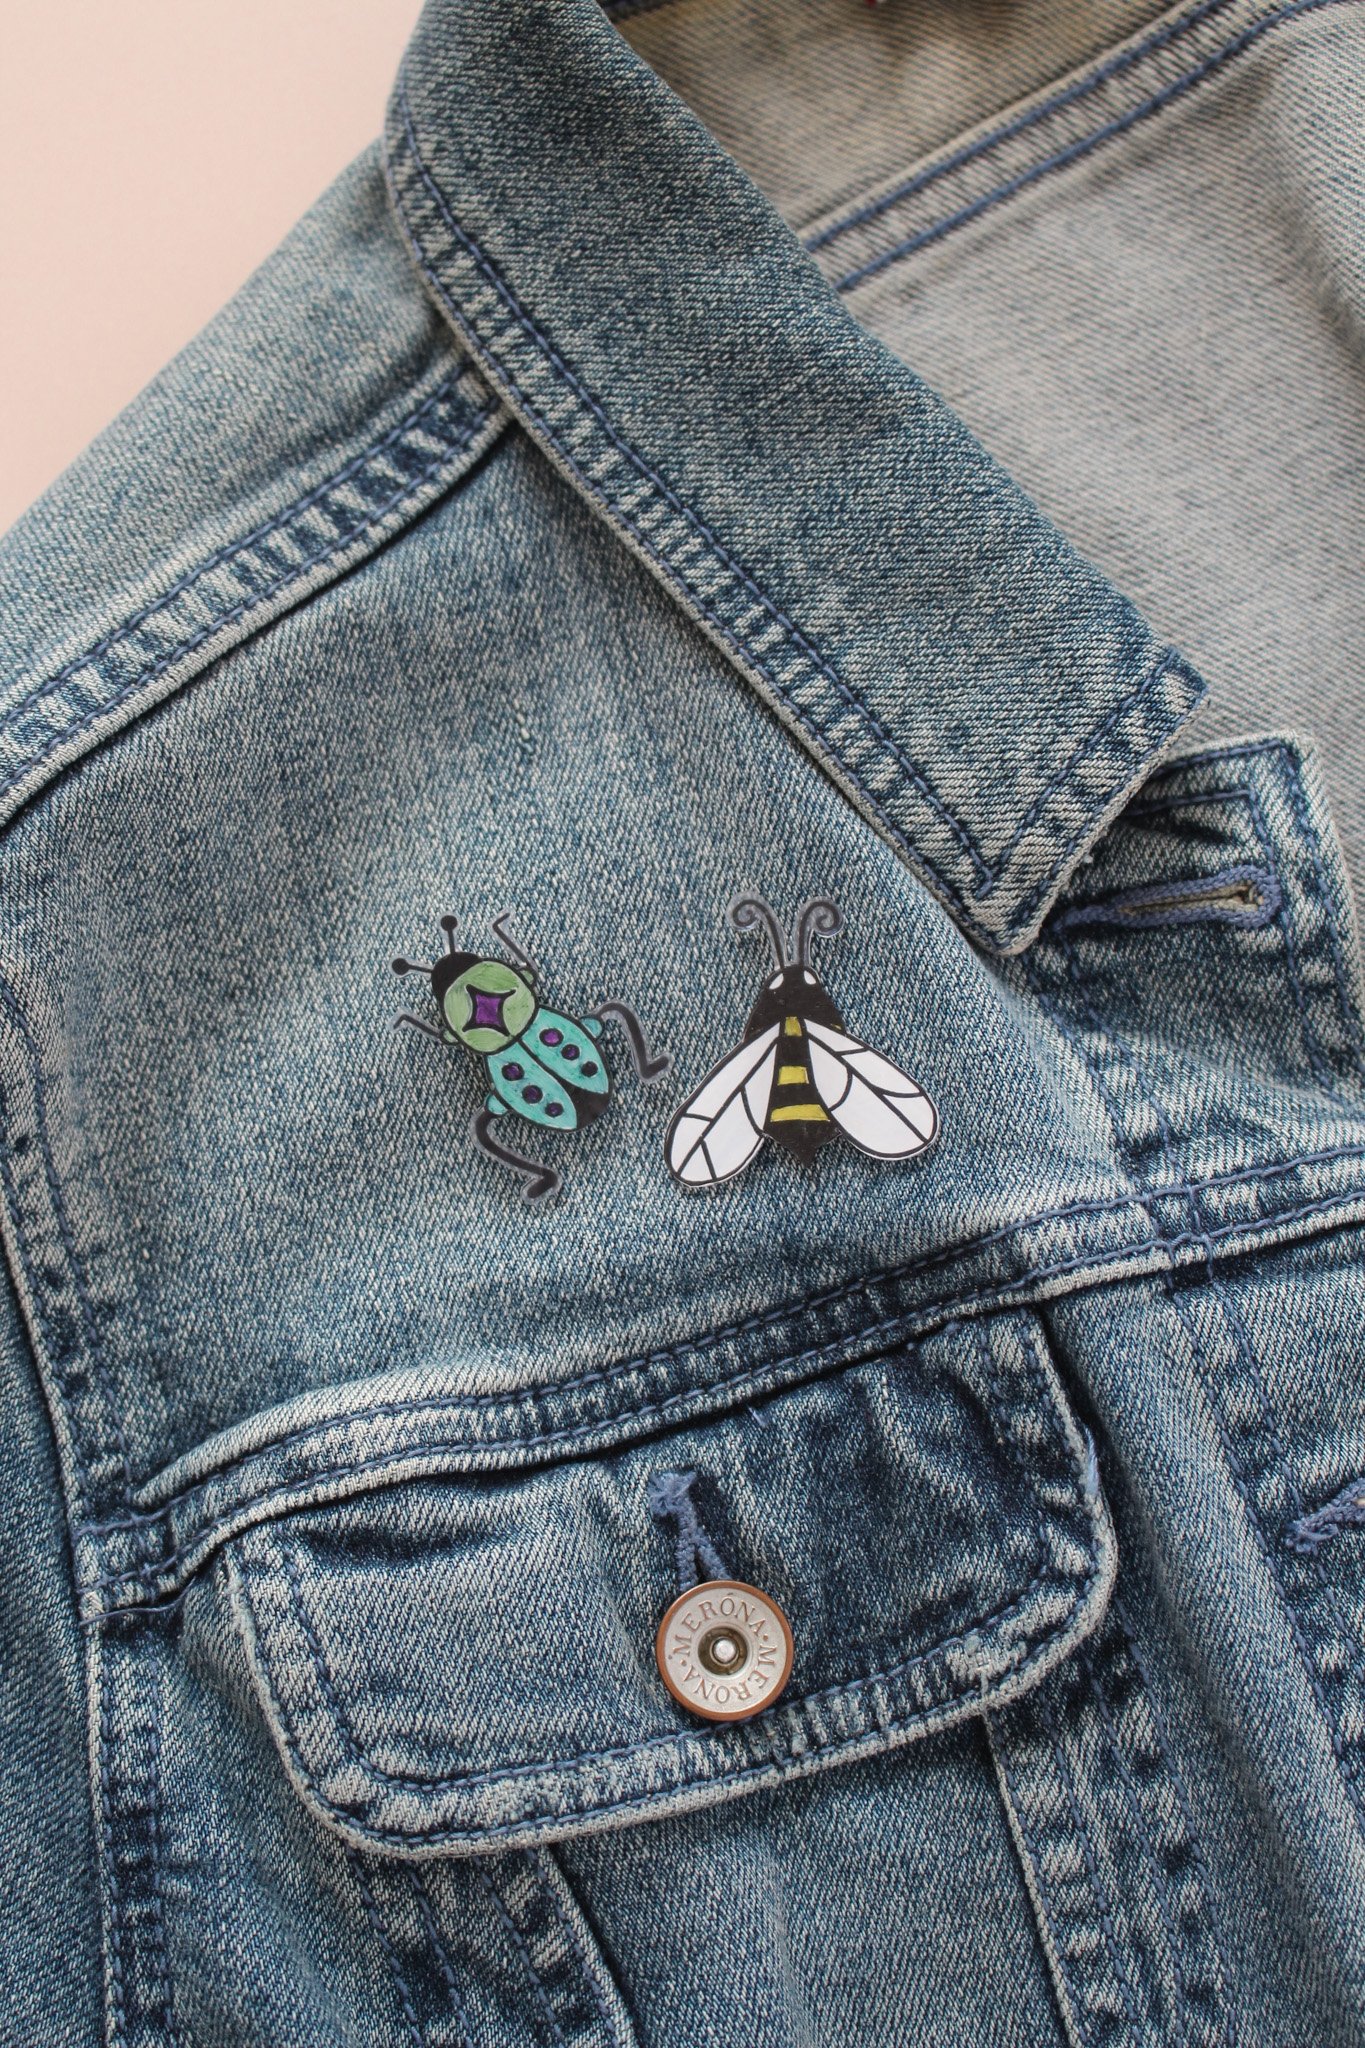
These bugs look super cute when pinned to a jean jacket, a hat, or even the strap of a tote bag. They are the perfect addition to add a unique spring touch to your wardrobe! And they are a great craft for both kids and adults alike.

How will you be sporting your new bug pins? If you try out this project, be sure to tag us on instagram @entertainidea or #entertaintheidea. We would love to see your completed masterpieces! xo Rachael

