
Painted Wooden Christmas Tree Bottle Stoppers
I’m so happy to be bringing you my first holiday craft of the year! And it is one that I’m very excited about! With all the upcoming entertaining and celebrating that is bound to be happening over the next two months, it is important to have a well-stocked bar cart. Whether it be a bottle of wine, your favorite spirits, or even a fun bottle of sparkling cider, you are definitely going to want to offer your guests a fun beverage.
So today’s craft idea is a mix of useful bar cart essential and fun holiday season activity — these painted wooden Christmas tree bottle stoppers!

I think this project would be such a fun idea to do with a group of friends if you are hosting a festive holiday season kick off party or just want to get in the Christmas spirit at your next get-together. It is a super simple craft project that anyone can do, and you also end up with a useful piece of holiday decor to brighten up your countertops.
Follow along below to see how I painted and put together these sweet little Christmas trees!


Affiliate disclosure: This post may contain affiliate links. When you buy from these links, I may earn a small commission, at no additional cost to you. As an Amazon Associate, I may earn commissions from qualifying purchases from Amazon.com. Thank you for your support!
HOW TO MAKE PAINTED WOODEN CHRISTMAS TREE BOTTLE STOPPERS

Supplies:
Acrylic paint or paint pens (I loved all the colors in this set)
Paint brushes
E6000 glue (or any kind of strong glue)


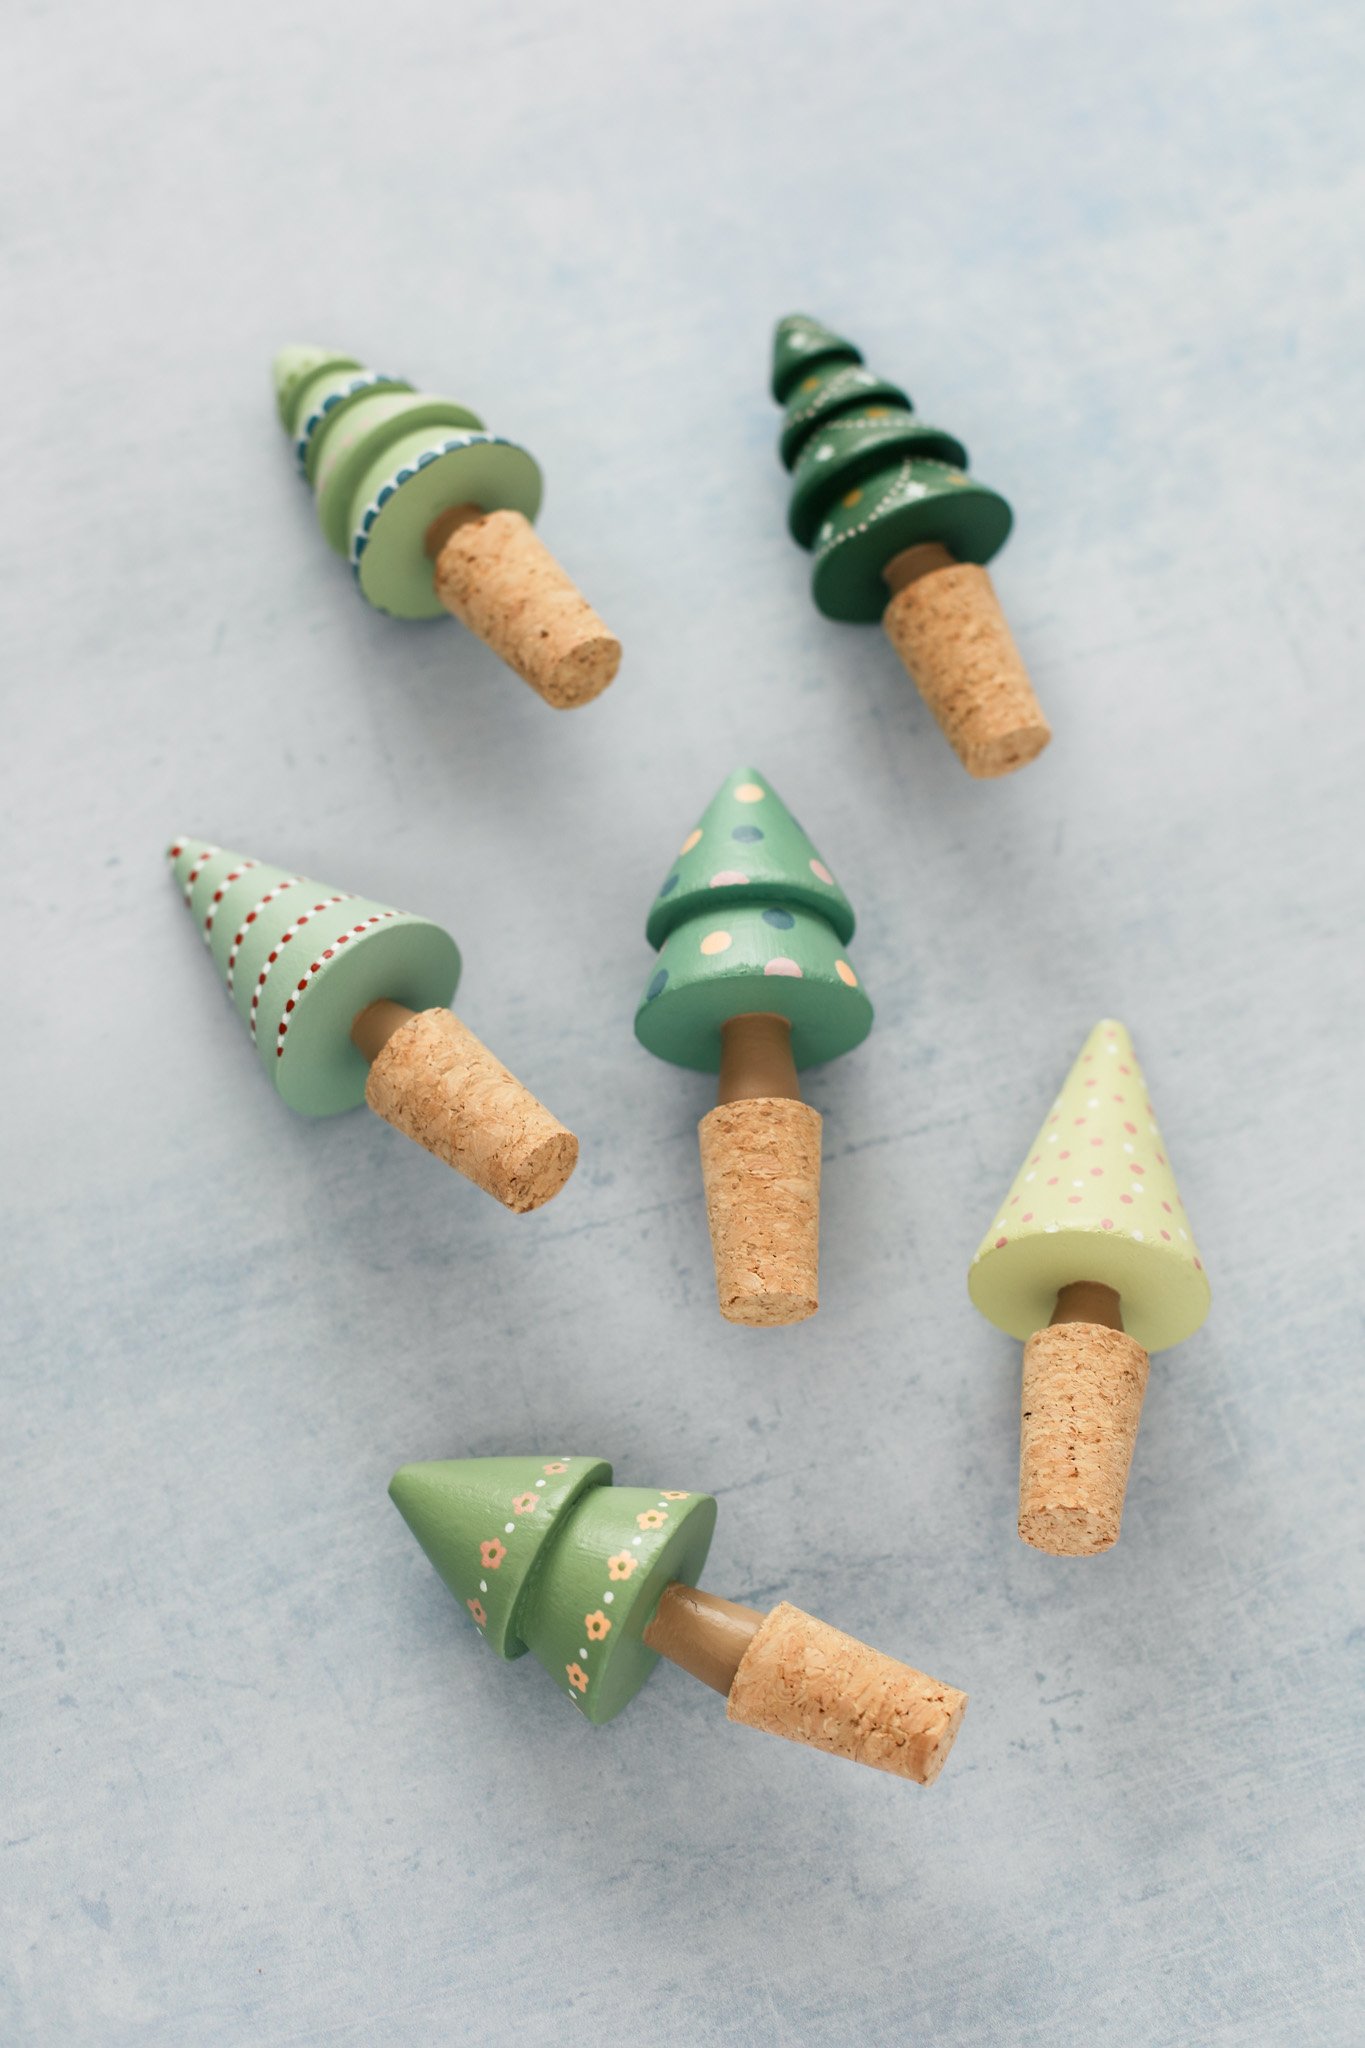
STEP 1: Can we take a minute for these adorable little wood Christmas trees? I’m obsessed. Start by giving the blank wood trees an even coat of paint in whatever base color you would like. I mixed up a variety of shades of green using a few different green acrylic paints I had in my craft stash. Then I painted the bottom trunk of the trees with a tan/brown Fawn color. I used about 2-3 coats of each color of paint to completely cover the wood surface.
STEP 2: Now comes the creative part — decorating your little trees! Use a thin paint brush or paint markers to draw on all the tiny details to bring your Christmas trees to life. I found that these acrylic paint markers worked really well. They have a very fine tip that was useful for all the small details and they painted on super smooth (I will warn you that they seem to run out really fast though).
There are so many different patterns you can do, polka dots for ornaments, string lights by adding lines of dots, scalloped edges, etc. etc. And the best part is if you mess up or you don’t like your original design, you can just repaint the whole tree again and start over (I did this several times lol).

STEP 3: Once you’re happy with your Christmas tree designs, and you have allowed the paint to fully dry, it is time to seal and protect your work. Take the trees outside and give them a few even coats of a satin clear spray paint. This will help seal and protect the surface for continuous use.

STEP 4: Once the clear coat has fully dried, you can glue your Christmas trees to your cork bottle stoppers. To do this, place your corks upright on your table with the narrow side down. Now squeeze a tiny dab of E6000 glue (or any kind of permanent adhesive) to the bottom of each Christmas tree trunk. Then gently press the trees onto the center of each cork and leave the glue to dry overnight. Because E6000 glue takes a little while to set, it is best to leave the trees standing in the upright position overnight while the glue dries.
By the next day, your bottle stoppers should be ready to use.
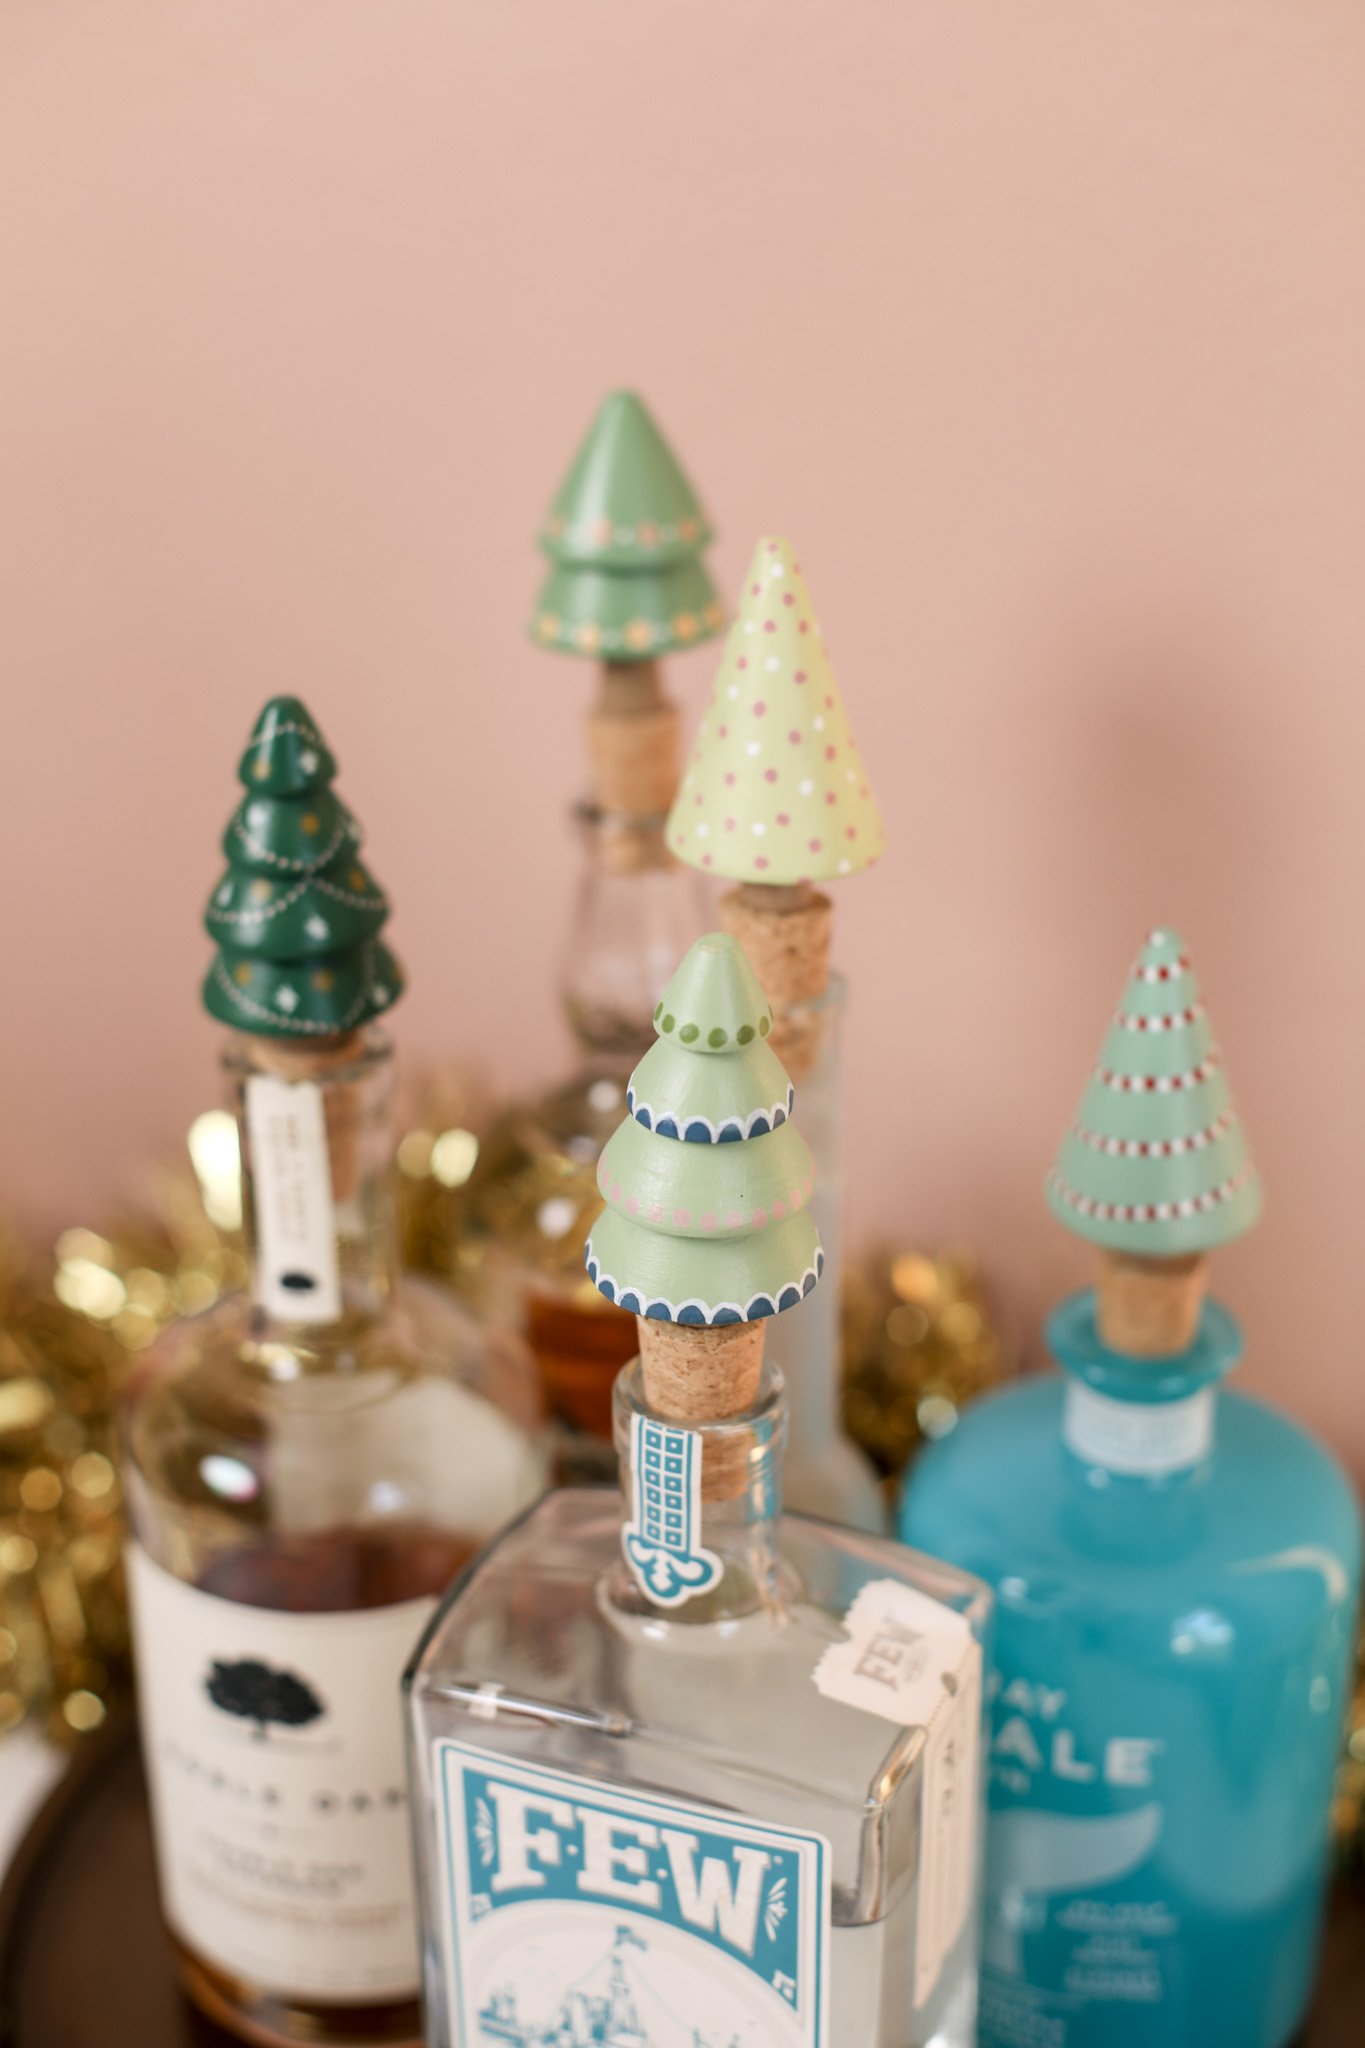
I’m so happy with how these trees turned out! And I love how they look grouped together on top of my liquor bottles. It looks like a tiny magical holiday forest!


The pack of wooden Christmas trees that I used came with 9 trees, which means you could easily share these with a group of friends and make a fun craft night out of it. Or if you’re feeling super creative yourself, you could make a whole bunch and give them out as gifts this holiday season. Everybody loves a handmade gift!

I hope you try out this project! I had so much fun putting these together and getting creative with my Christmas tree designs. I can’t wait to see how you decorate these little trees.
I hope your November is off to a fabulous and festive start. Talk to you soon! xo Rachael

