
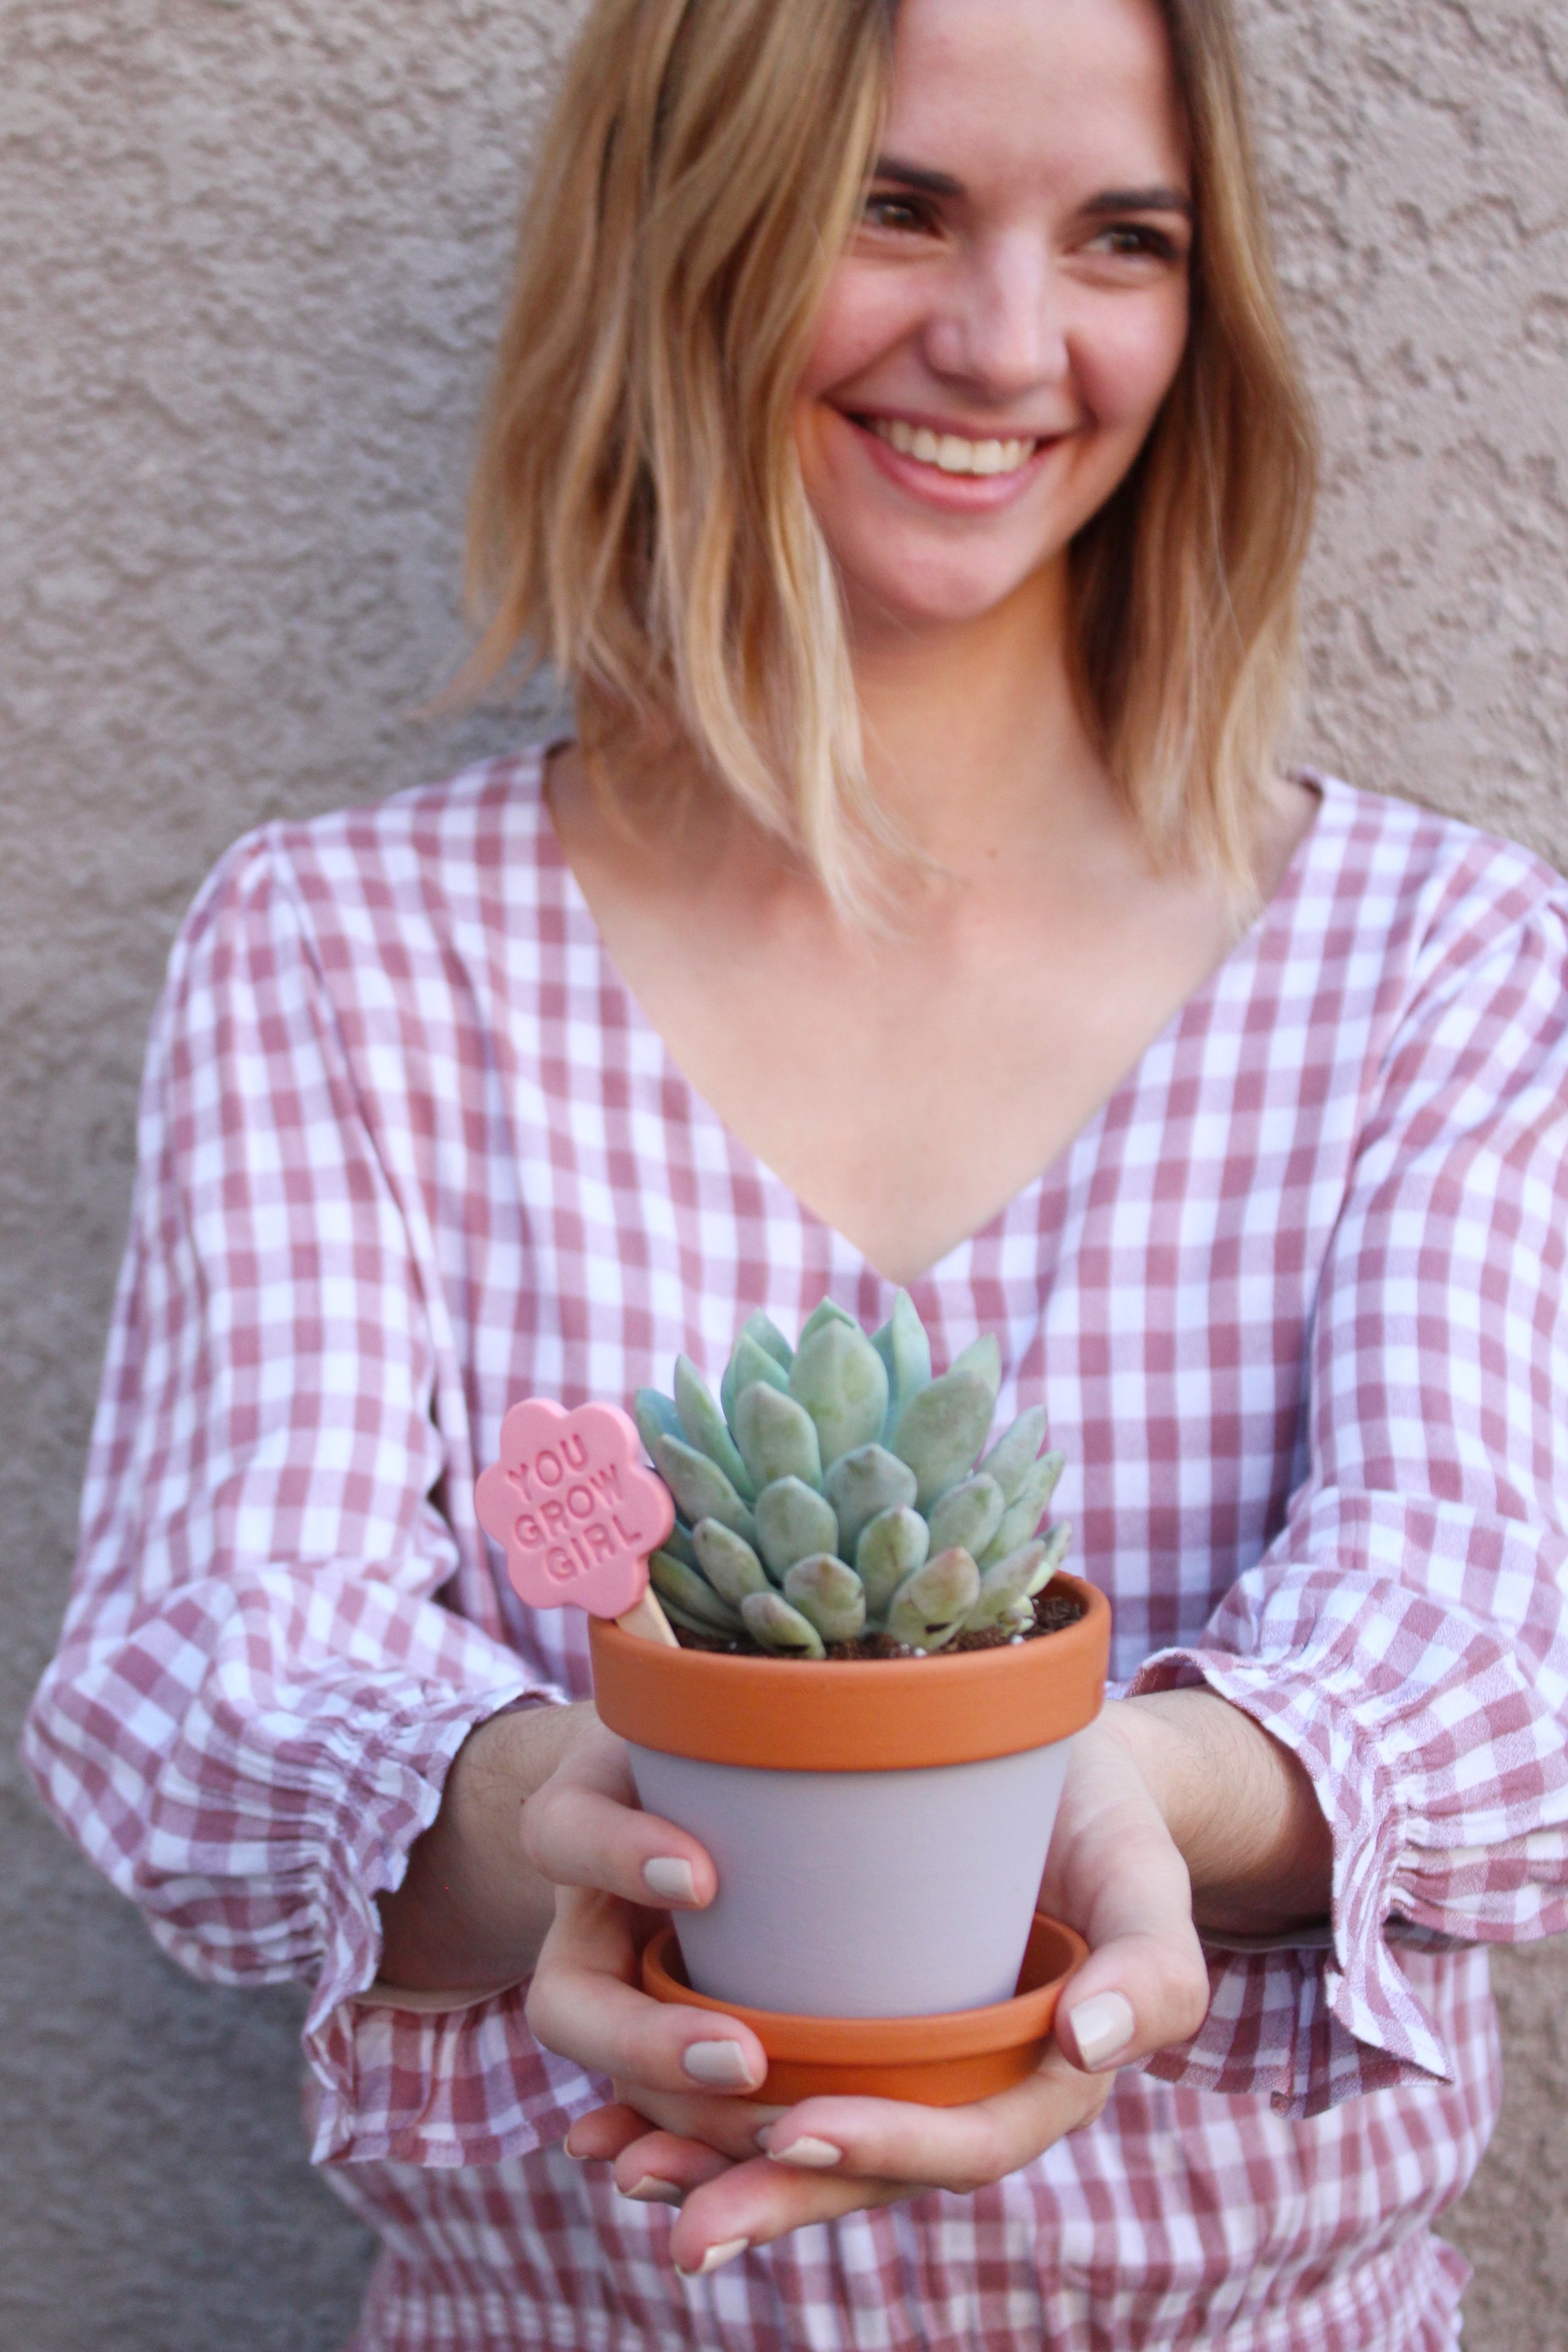
DIY Valentine’s Day Clay Plant Signs
I’m back with ANOTHER Valentine’s day gift idea this year! I know, I went a little Valentine happy this 2022, but I think it is such a cute holiday. And I love the chance to be creative with gift ideas that aren’t the traditional chocolates or flowers.
So if you’re a plant enthusiast and don’t mind a few cheesy plant puns, follow along below…
You will need:
Small plants, herbs, or succulents
Extra planting soil
Terracotta pots - I used 3” size
Acrylic paint & paint brush (optional)
Polymer clay in various colors - I used Sculpey III
Rolling pin
Shape stamps - I used these
Letter embossing stamps - I used these
Mini popsicle sticks
Hot glue gun
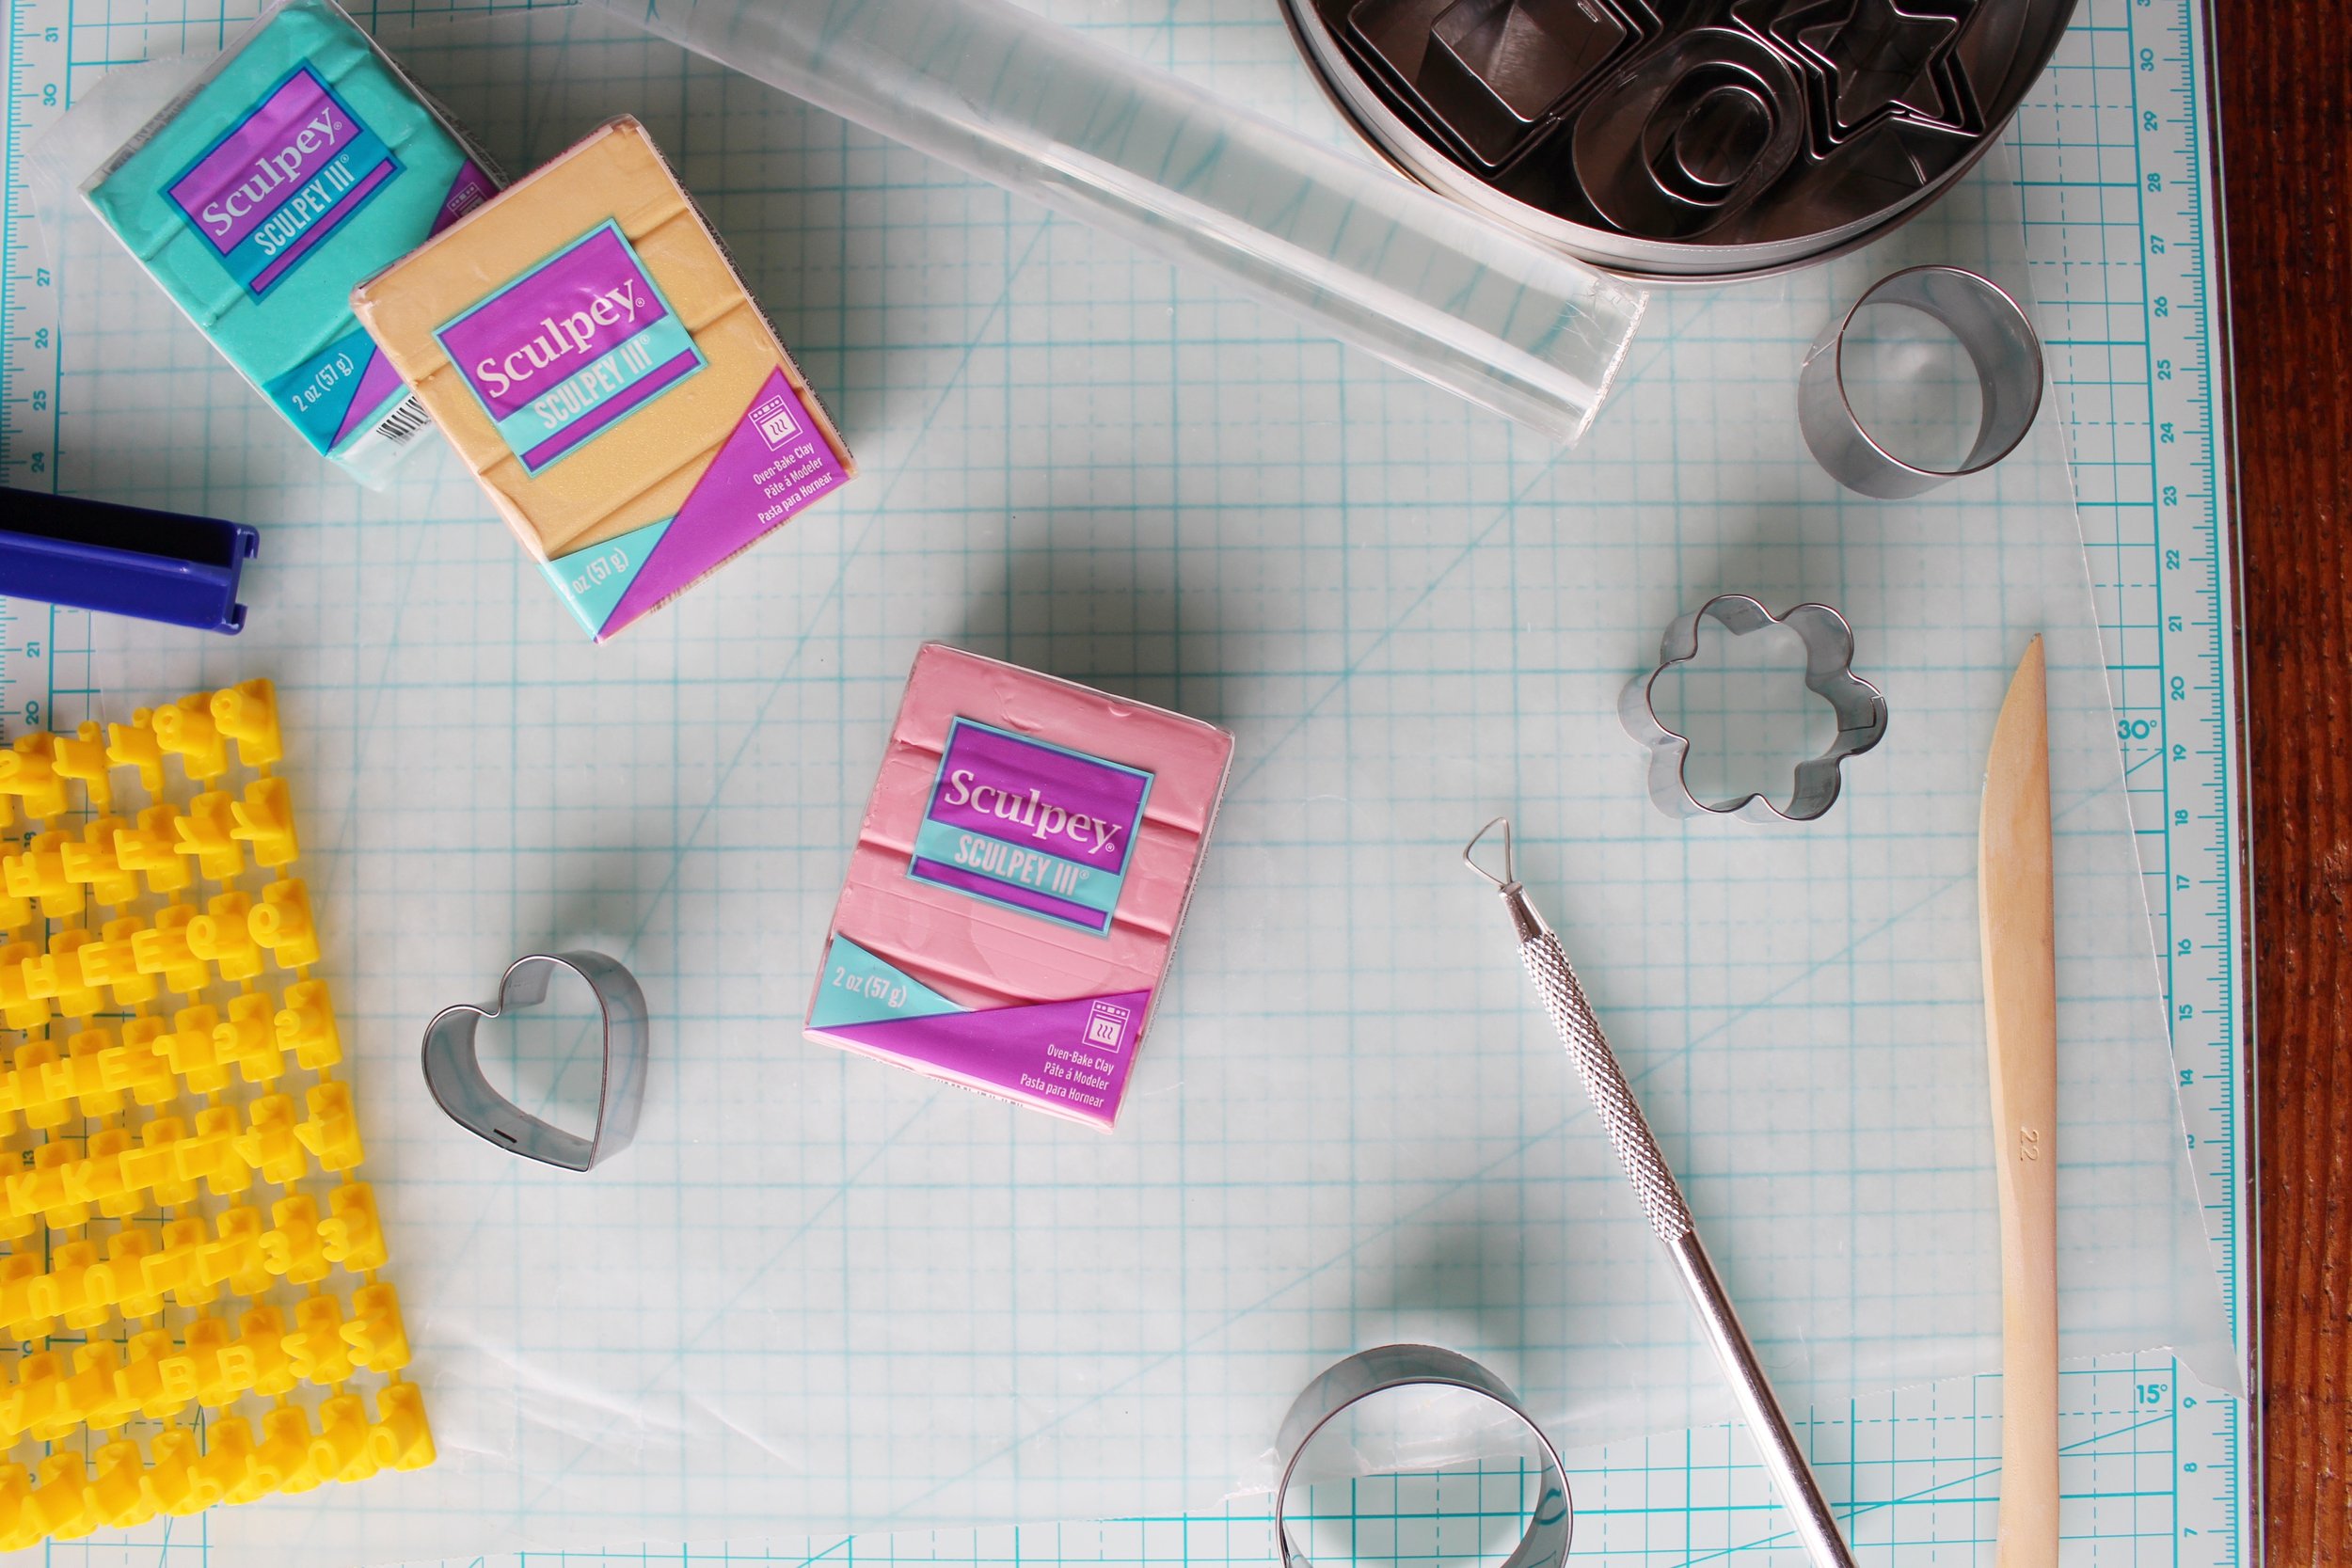
STEP 1: Gather your supplies and prepare a flat clean surface for rolling out your clay. I used a glass mat with wax paper on top for easy cleanup and to avoid picking up any debris from my tabletop surface into the clay.
*TIP: I also wore plastic gloves anytime I had to handle the polymer clay. I found if I didn’t do this, I would see small pieces of dust or debris mixed into my clay.


STEP 2: Pull off a piece of clay and use your hands to soften the clay by pulling it apart, then roll it into a ball. Using your rolling pin, roll your clay flat to about 1/8 in thickness.
*TIP: The first few times I tried to roll out my clay, I felt like the thickness was not consistent across the surface, so if you’re using a similar rolling pin to me, I found it super helpful to set a stack of sticky notes on either side (both sides 1/8 in thick) and roll the two ends of the rolling pin over the two stacks of sticky notes. This helped the pressure stay consistent on the clay that was positioned between the two sticky note stacks.
STEP 3: Cut out all your letter embossing stamps if you haven’t used this set before (this can take a lot of patience to cut off all unnecessary plastic so maybe put on a TV show while you do this lol). Then use the included stamp guide to slide in your letters to build your word stamp. Lightly press the stamp down with equal pressure on every side, then gently lift the stamp. Repeat with multiple lines as needed.
*TIP: This is your REMINDER to spell the words backwards (I definitely messed this up a few times hehe) remember you are stamping onto a surface so you need to stamp with the mirror image in order for the result to be the correct direction.
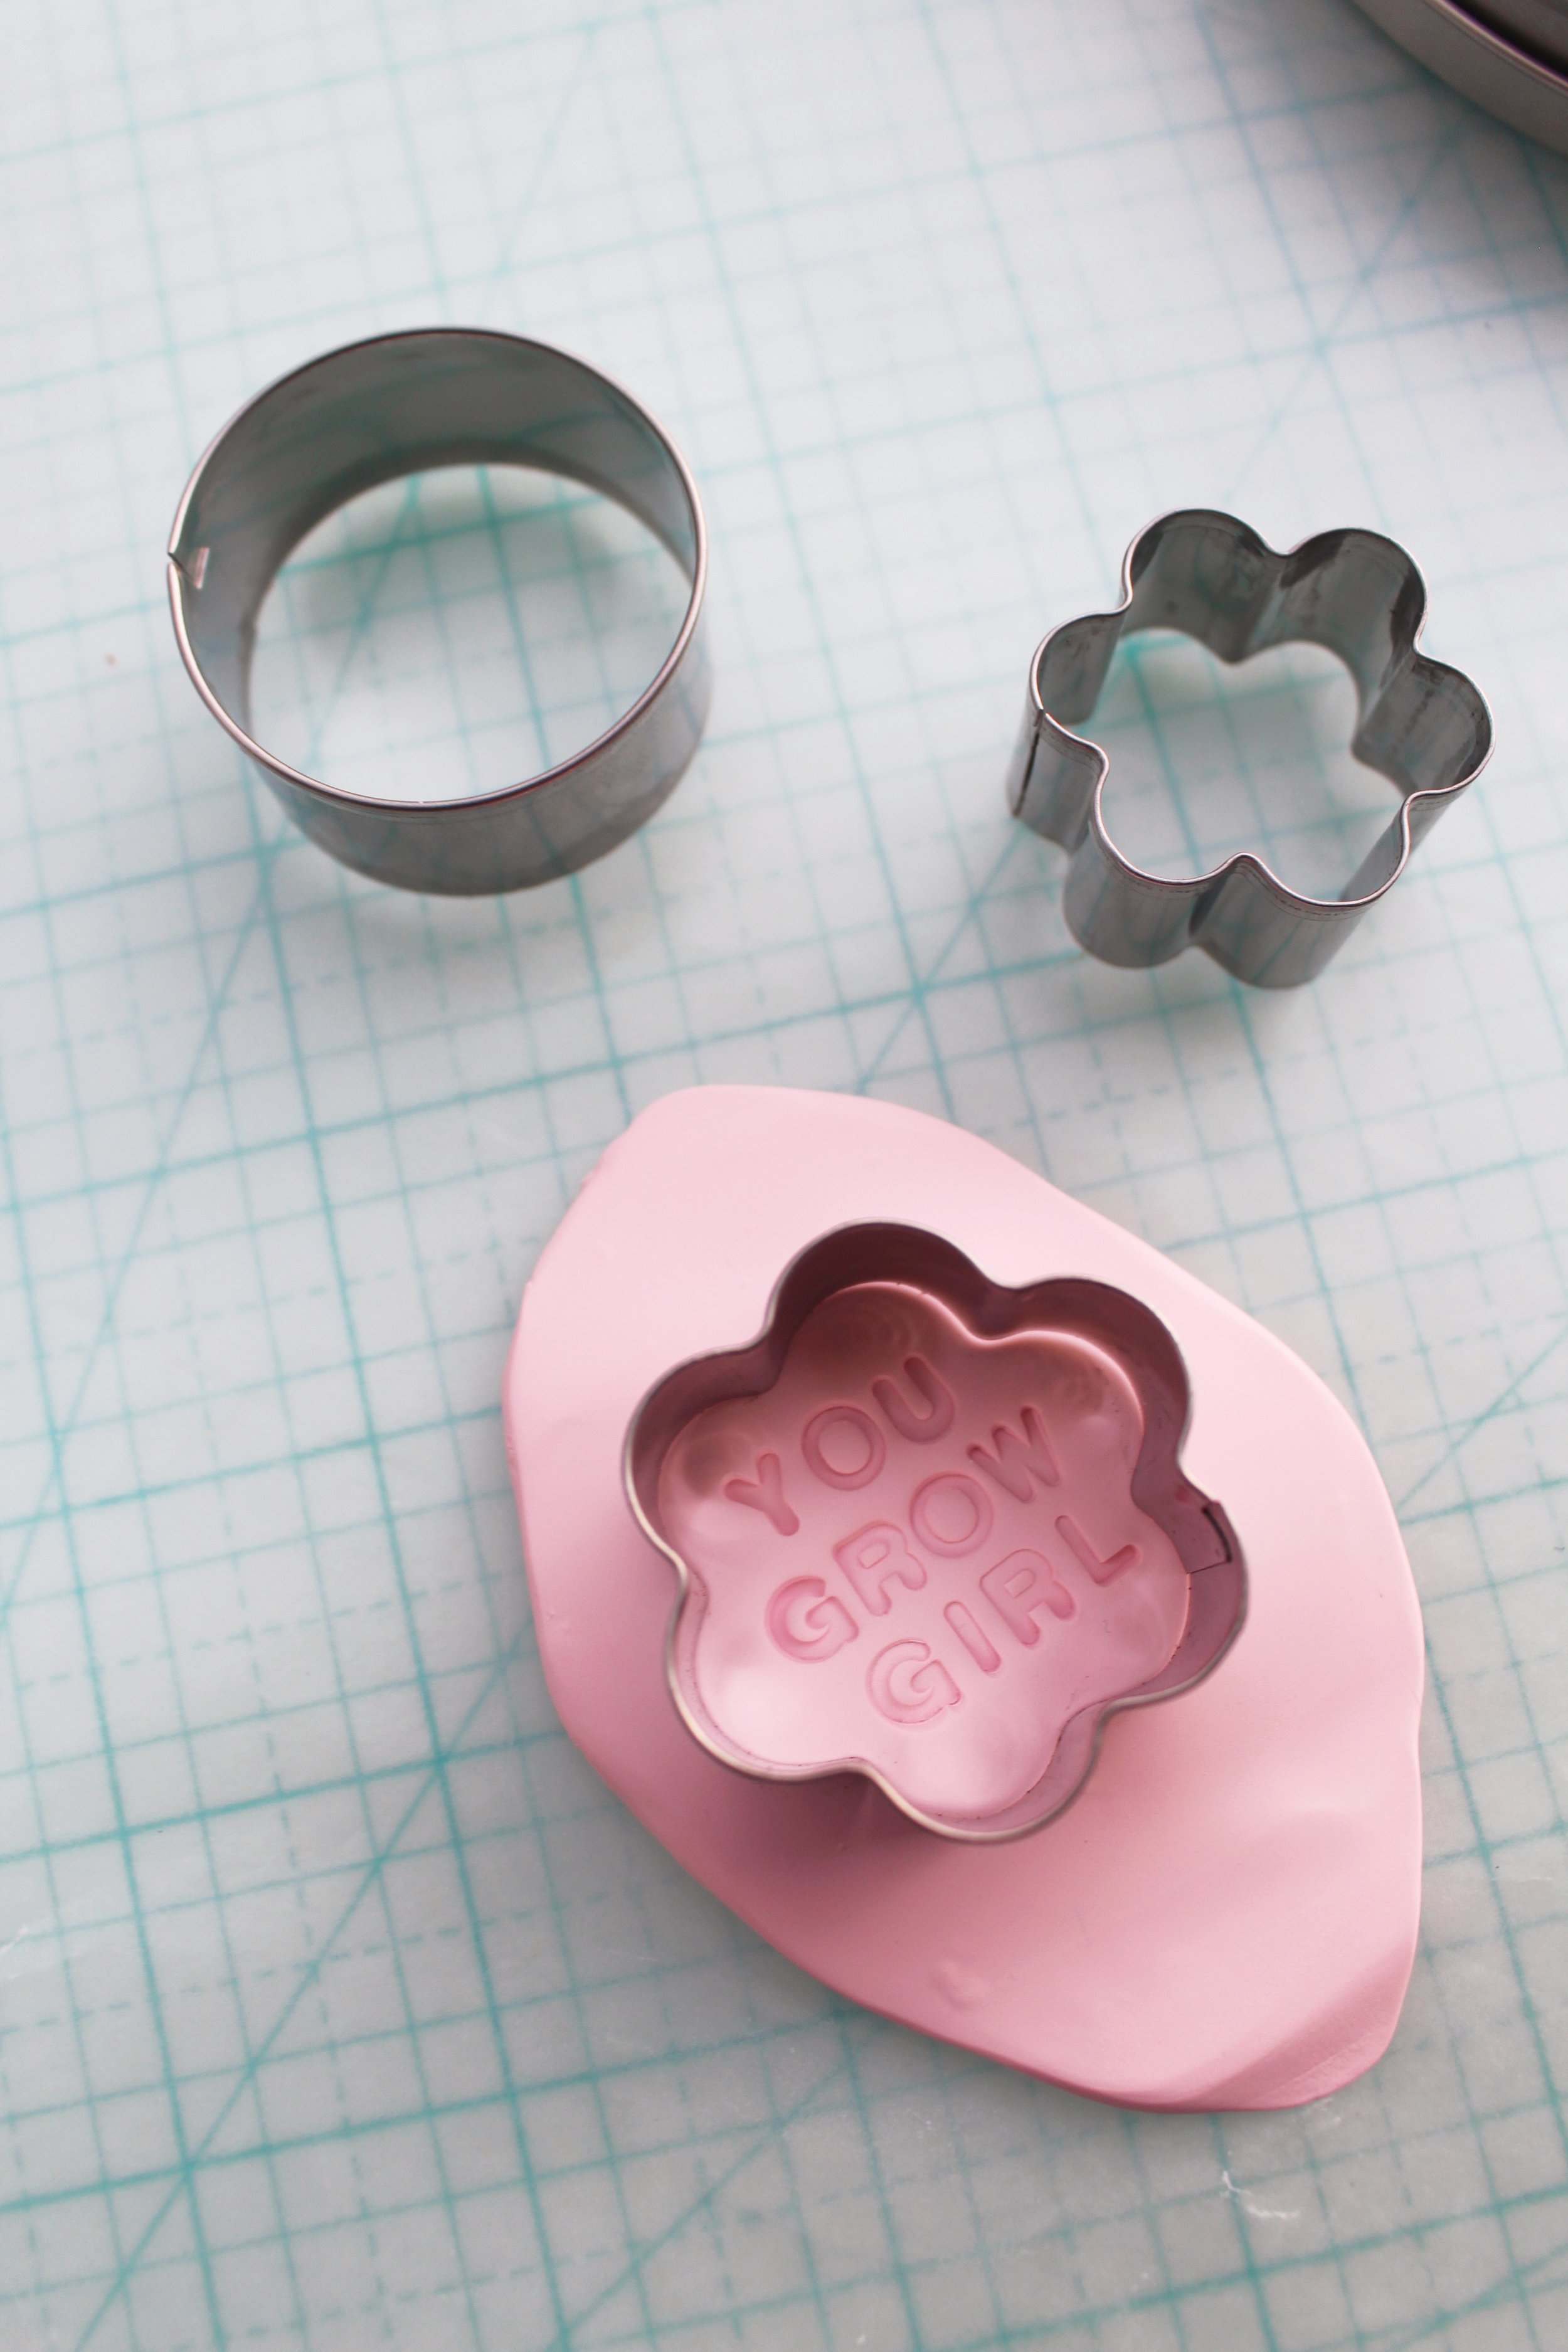
STEP 4: Once you are happy with your letter stamping, you’re ready to stamp out the outline of your clay. Use your shape stamps and press down, pull off any leftover clay. Gently pop the clay shape out of the stamp and smooth edges with your fingers. Repeat these first steps with as many shapes as you would like to make.
STEP 5: Now it is time to bake your clay shapes. Lay a piece of cardstock on your baking sheet. Then carefully pick up your clay pieces and set them on the cardstock. Cover the pieces with another piece of cardstock. I would recommend then adding something on top to weigh it down, this will help avoid air bubbles forming on the top of your shapes. I used some oven-safe glass lids that I had (don’t use anything too heavy that might damage your pieces). Follow the directions on your specific clay packaging for temperature and time.
*TIP: Make sure to check your oven temperature with an oven thermometer, I found my oven heats a lot hotter than the dial says, so I burnt my first batch and really don’t want that to happen to you :P The correct temperature is really important to cooking your polymer clay correctly.

STEP 6: Remove your clay pieces from the oven and allow them to cool for about 30 minutes. Next, using your hot glue gun, attach a small popsicle stick to the back of each shape.


STEP 7: Prepare your plants in pots. I wanted to decorate the pots with acrylic paint, but feel free to decorate however you want! I added one rock to the bottom of each pot before filling it with potting soil to prevent the soil from falling out but still allow water drainage. Plant your succulent or herb plants into the pots and fill any extra space with soil.


STEP 8: Now all that is left to do is pick out your favorite punny plant sign and stick it into the soil around your plant!

Here is a list of some of the Valentine plant puns that I used and some that I thought would be cute (but my alphabet stamps were a bit too big to fit any longer phrases!) —
PLANT ONE ON ME
I DIG YOU
LOOKING SHARP
SOIL MATE
YOU GROW GIRL
HAD ME AT ALOE
LIFE WOULD SUCC WITHOUT YOU
GLAD I PRICKED YOU


I had so much fun making these plant signs, and I’m happy to give away each and every one for Valentine’s Day, given I do not have the greenest thumb in the world :P Hope you like this alternative Valentine’s gift, can’t wait to see if you create your own!
xo Rachael

