
Instax Photo Frame Magnets (with Perler Beads)
I feel like Perler Beads have made a huge comeback these days. They are a really easy craft project with little mess and a lot of creative uses! In case you missed it, we shared this sweet Perler Bead Earring Holder idea last year and it was a hit! So we are back today with another useful way to use Perler Beads in your DIY home decor projects… check out our tutorial below of these fun DIY Instax Photo Frame Magnets!
Affiliate disclosure: This post contains several affiliate links. As an Amazon Associate, I may earn commissions from qualifying purchases from Amazon.com. Thank you for your support!
HOW TO MAKE YOUR OWN INSTAX PHOTO FRAME MAGNETS WITH PERLER BEADS
Instax Photo Frame Magnet Supplies:
Perler Beads (I used this tropical color pack)
Perler Bead pegboards (I used the Hexagon and Square boards in this pack)
Masking tape
Scissors
Iron & ironing board
Parchment paper
Hot glue gun & hot glue
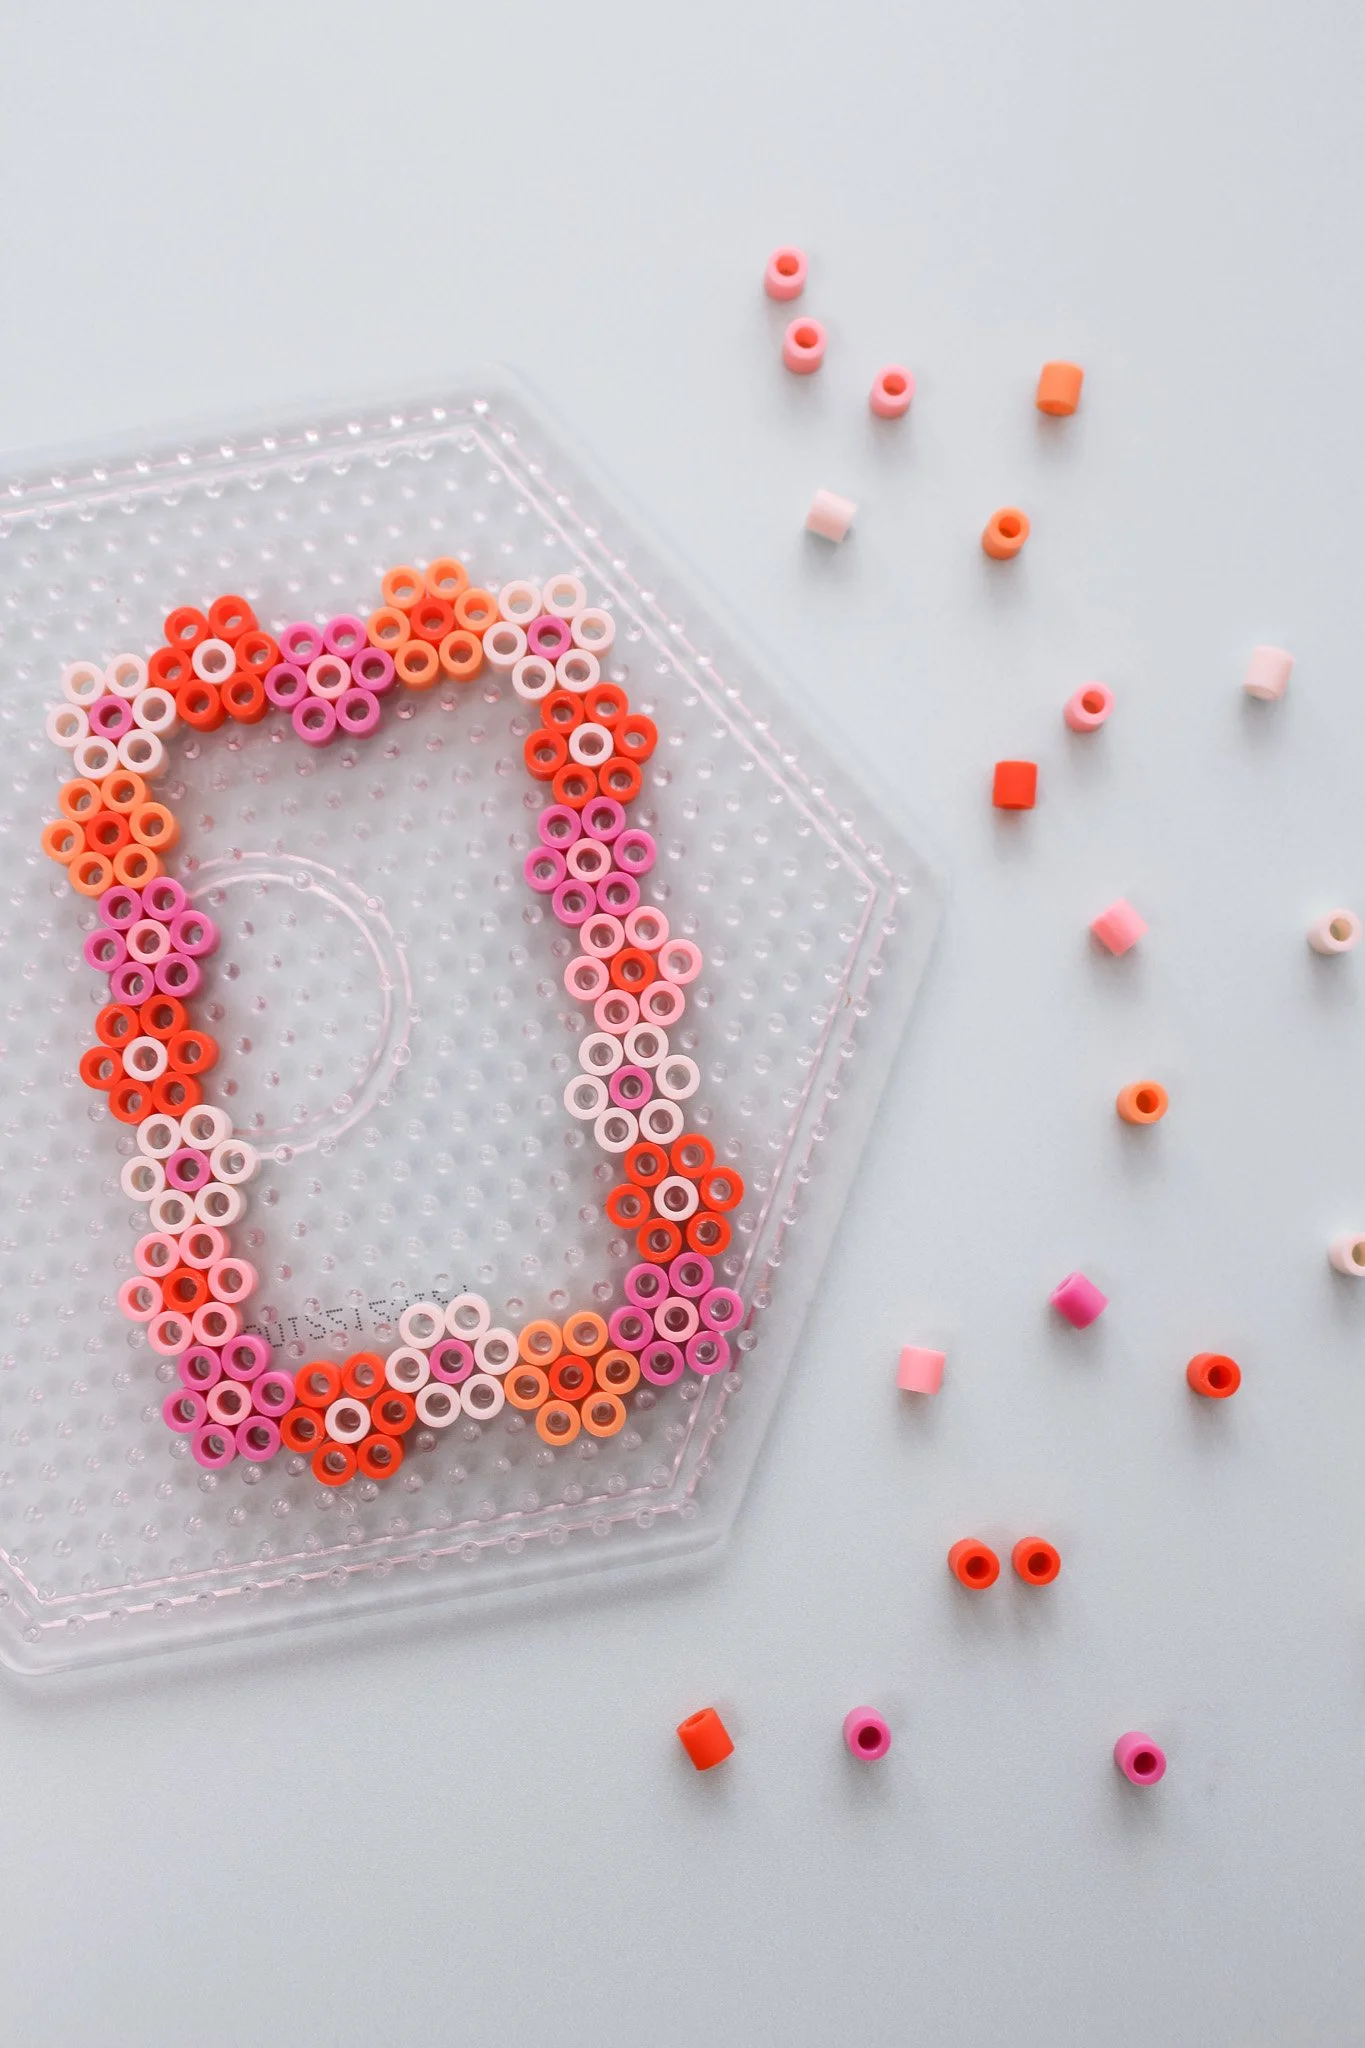
The first step is the creative part! It’s time to come up with your design. You will want to create a rectangle shape with any pattern of beads that you would like. Place your individual perler beads onto the pegboard. Leave an opening that is around 2” x 3” in size.
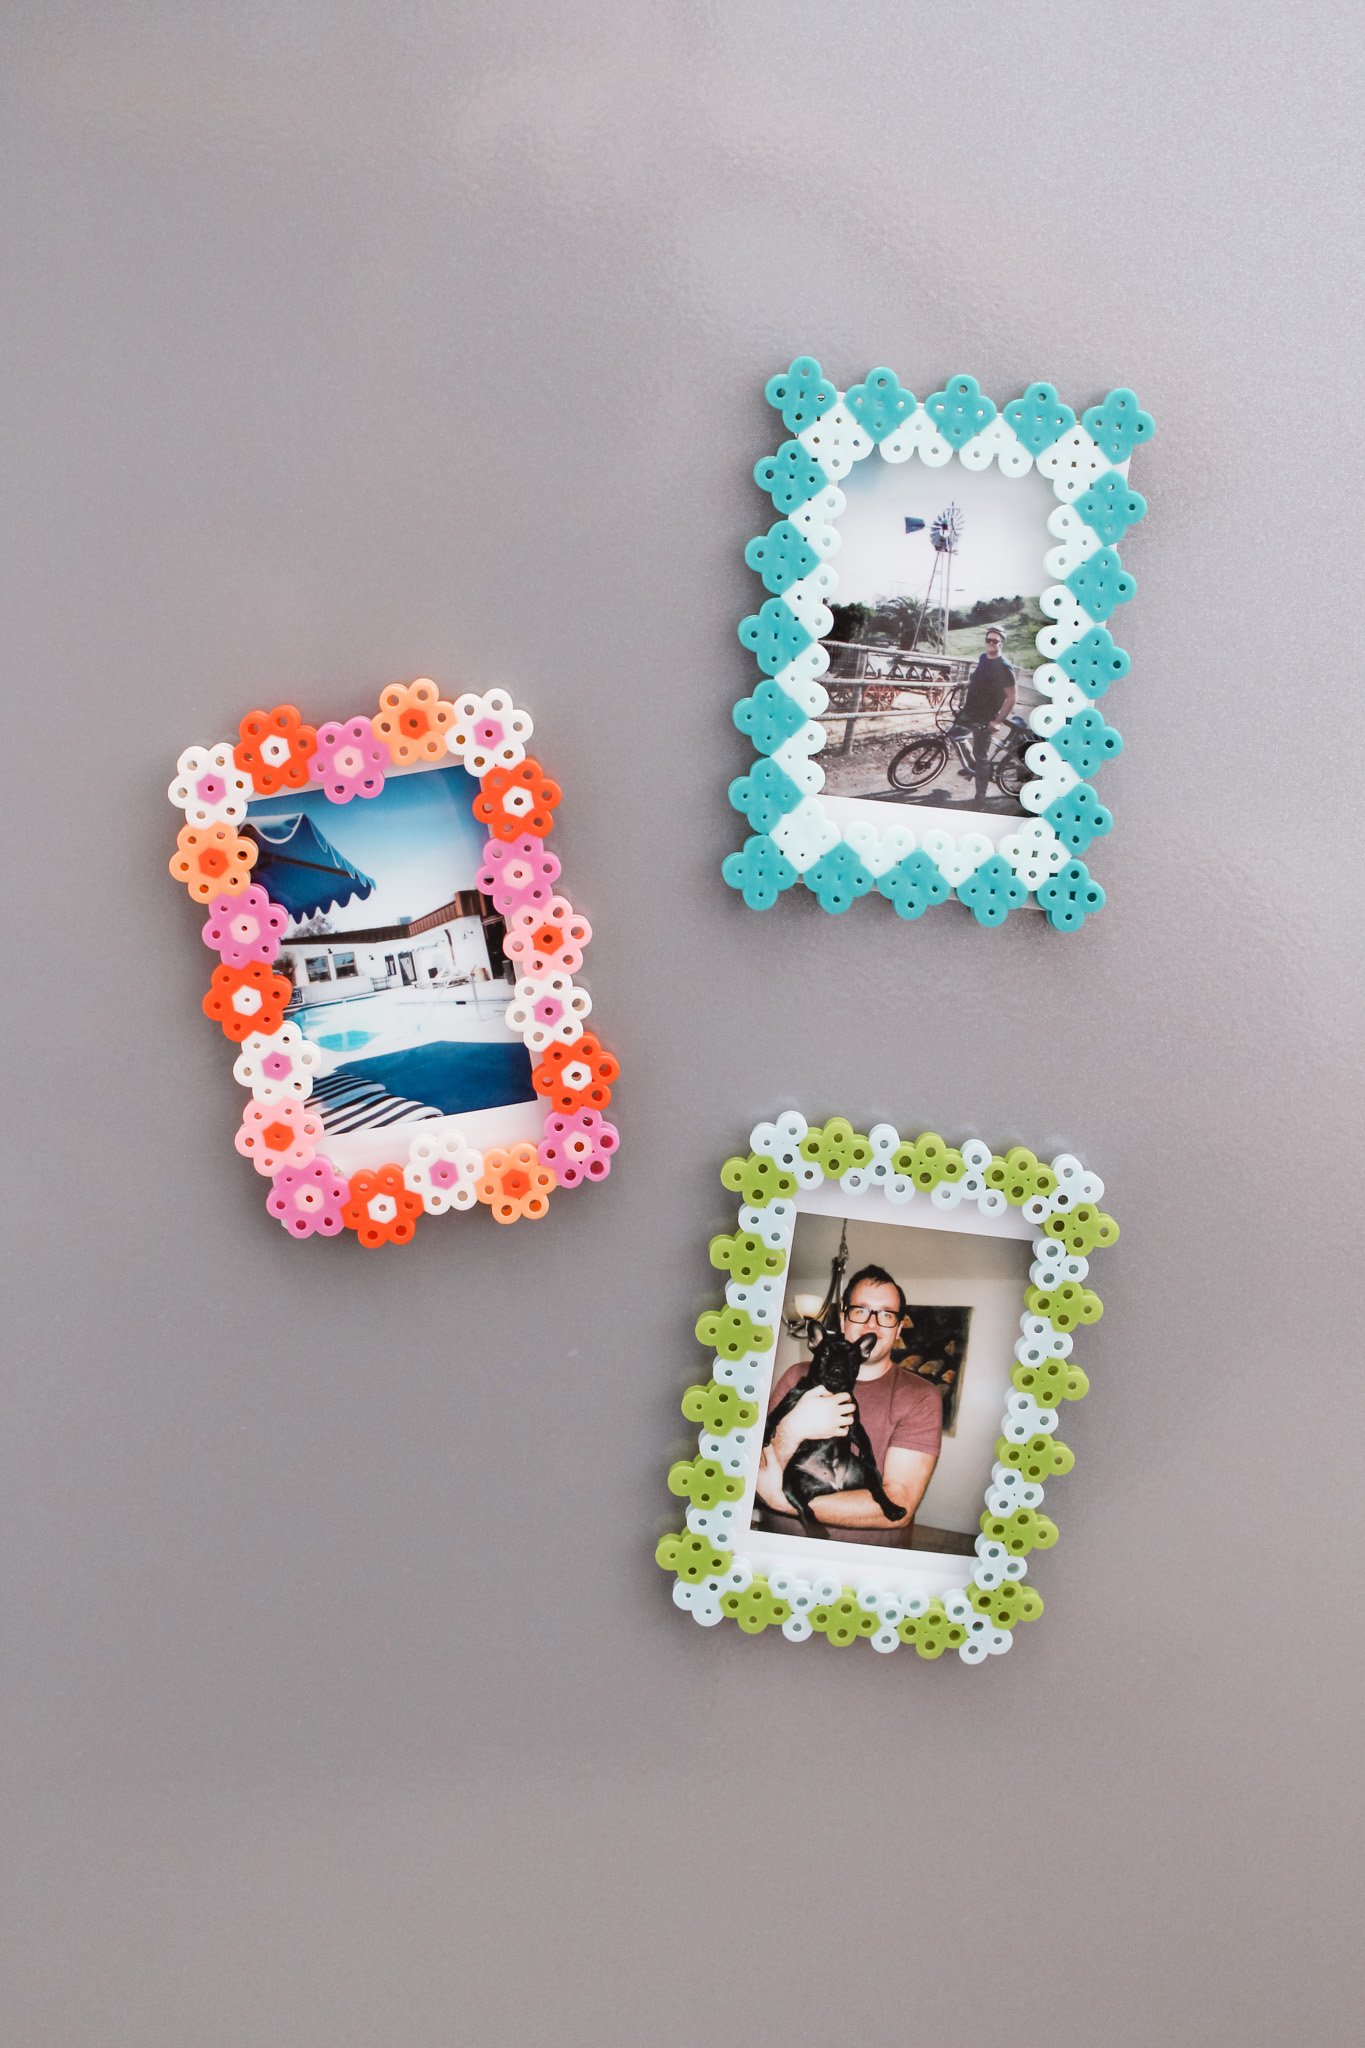
The pattern of beads you can do will be determined by the type of pegboard you use. I’ve shared 3 of my designs below that you’re welcome to copy! The first is using the hexagon board, the second is using a square board turned on an angle, and the third is using the hexagon board turned on it’s side.


This next (optional) step is to make sure you don’t melt your pegboard with your iron. Tear off several pieces of masking tape to cover your beaded surface. Press the tape down firmly against the beads to make sure every one is stuck down. Now gently turn your pegboard over so the beaded frame is removed from the board. Cut off any excess masking tape along the edges.


Now comes the ironing! Heat up your iron on high heat. Lay your beaded frame down on your ironing board with the masking tape side down. Place a piece of parchment paper over the beads and carefully iron over the surface of the beads to gently meld your Perler beads together.
It helps to keep the iron moving around in circles to distribute the heat more evenly. Lift up the parchment paper throughout the process to check areas if they need more heat. You want to have all the beads melt together enough that it holds together but not enough to lose the details of the pattern.
Turn the first side over and carefully remove the masking tape from the back side. Then repeat the process by covering the back side with parchment paper and ironing that side.
Once you have completed melding both sides, lay your beaded frame down on your ironing board to cool but lay something heavy like a book on top to make sure it cools flat.
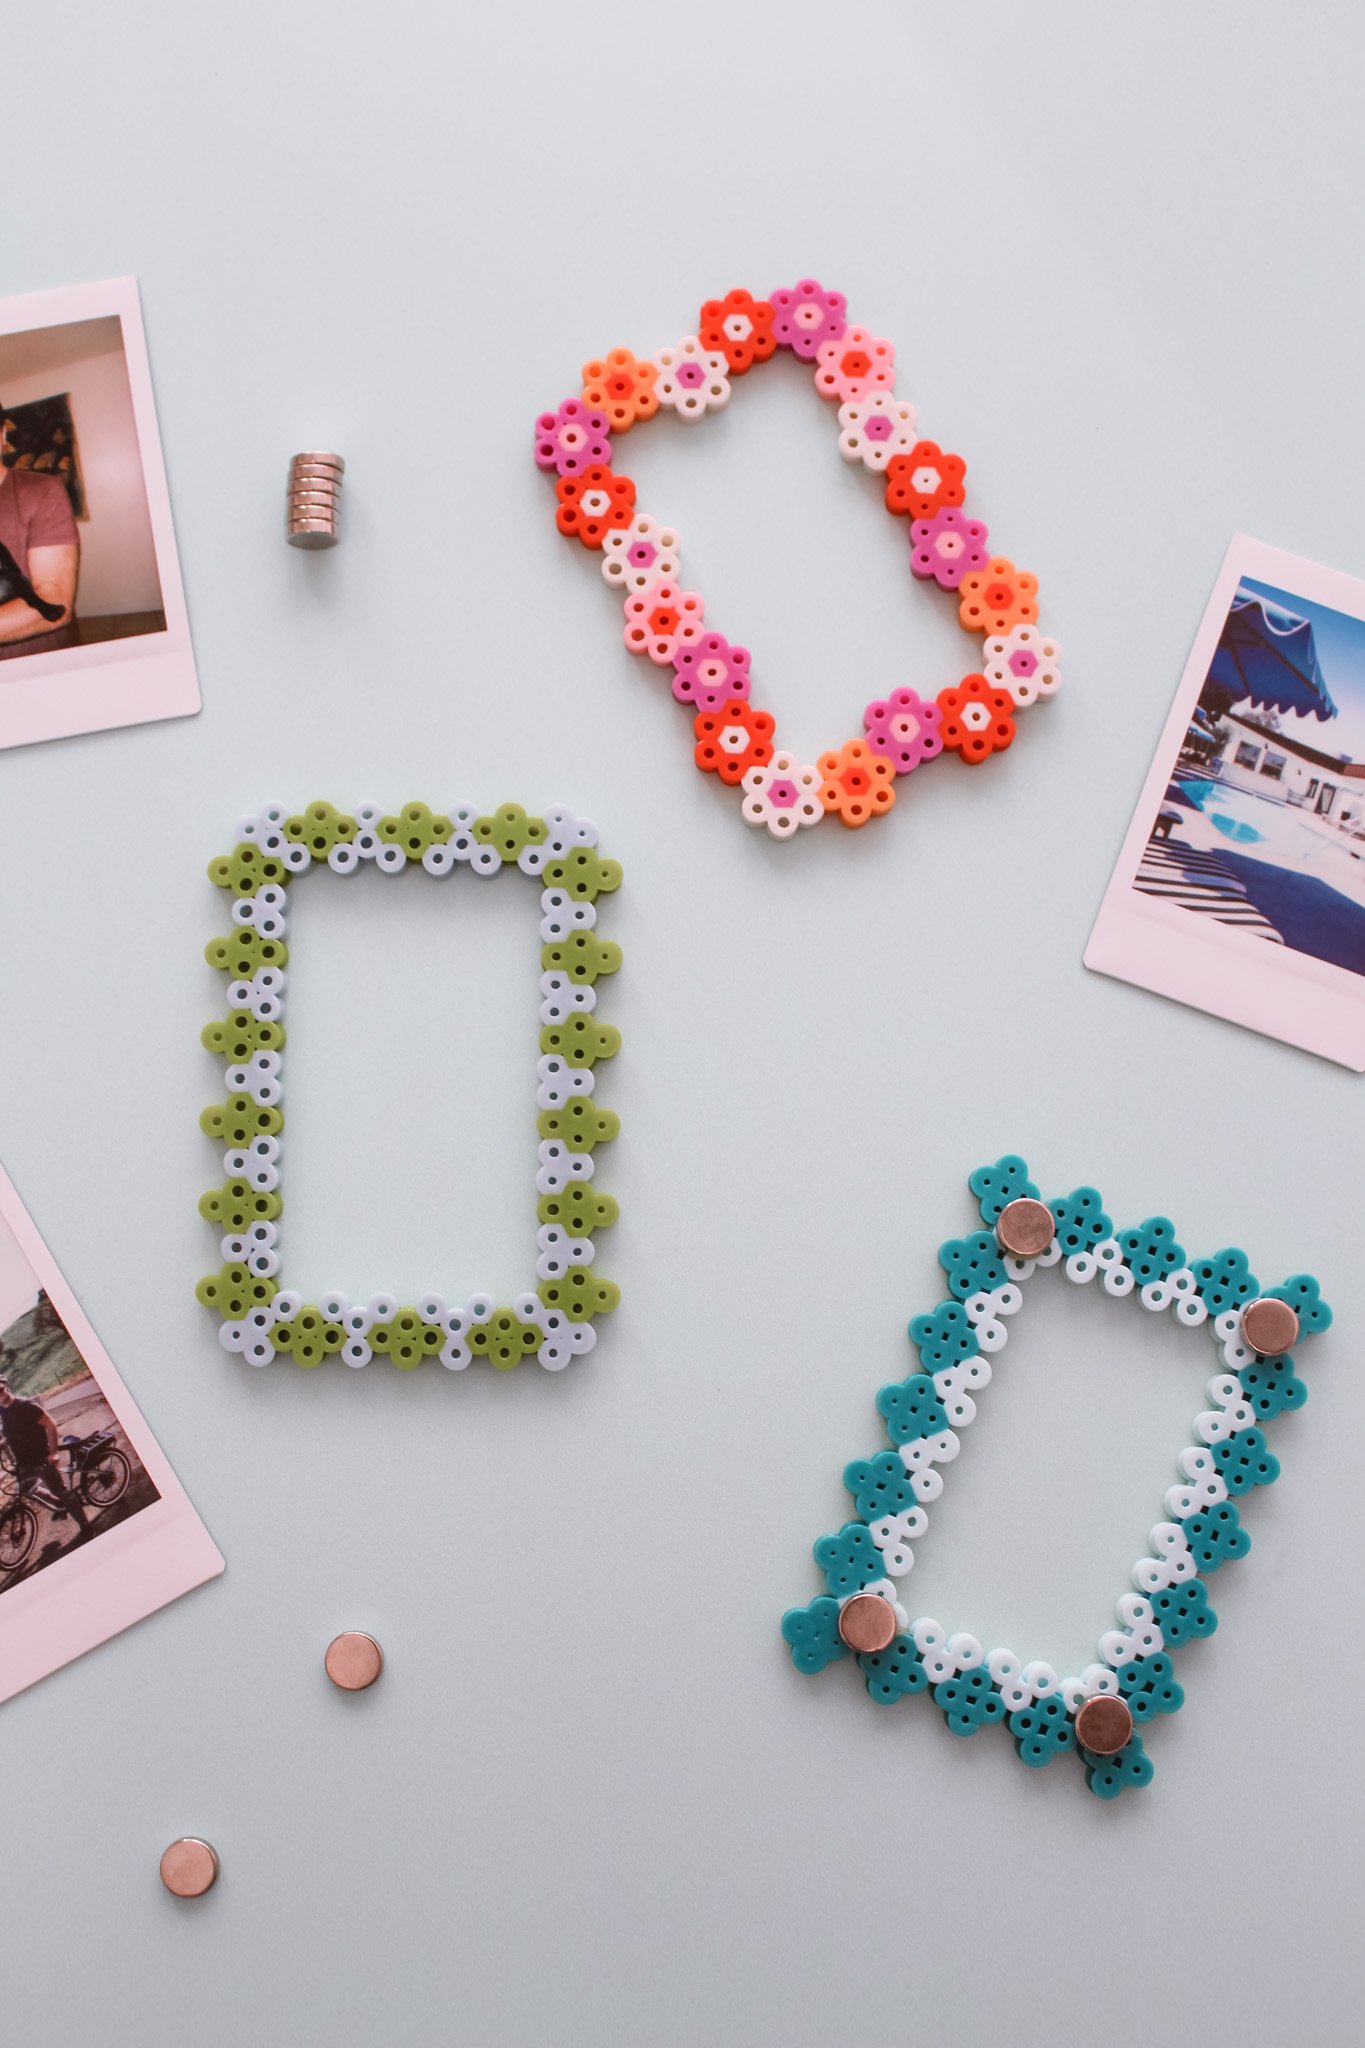
Once your frames have cooled, use hot glue to glue down 4 magnets per frame, one in each corner. Try to glue the magnets down as close to the inner corners as possible.
To display your photos, hold them up against your refridgerator (or magnetic surface) and then place your frame up against the photo. The magnets should hold the photo in place against the magnetic surface.
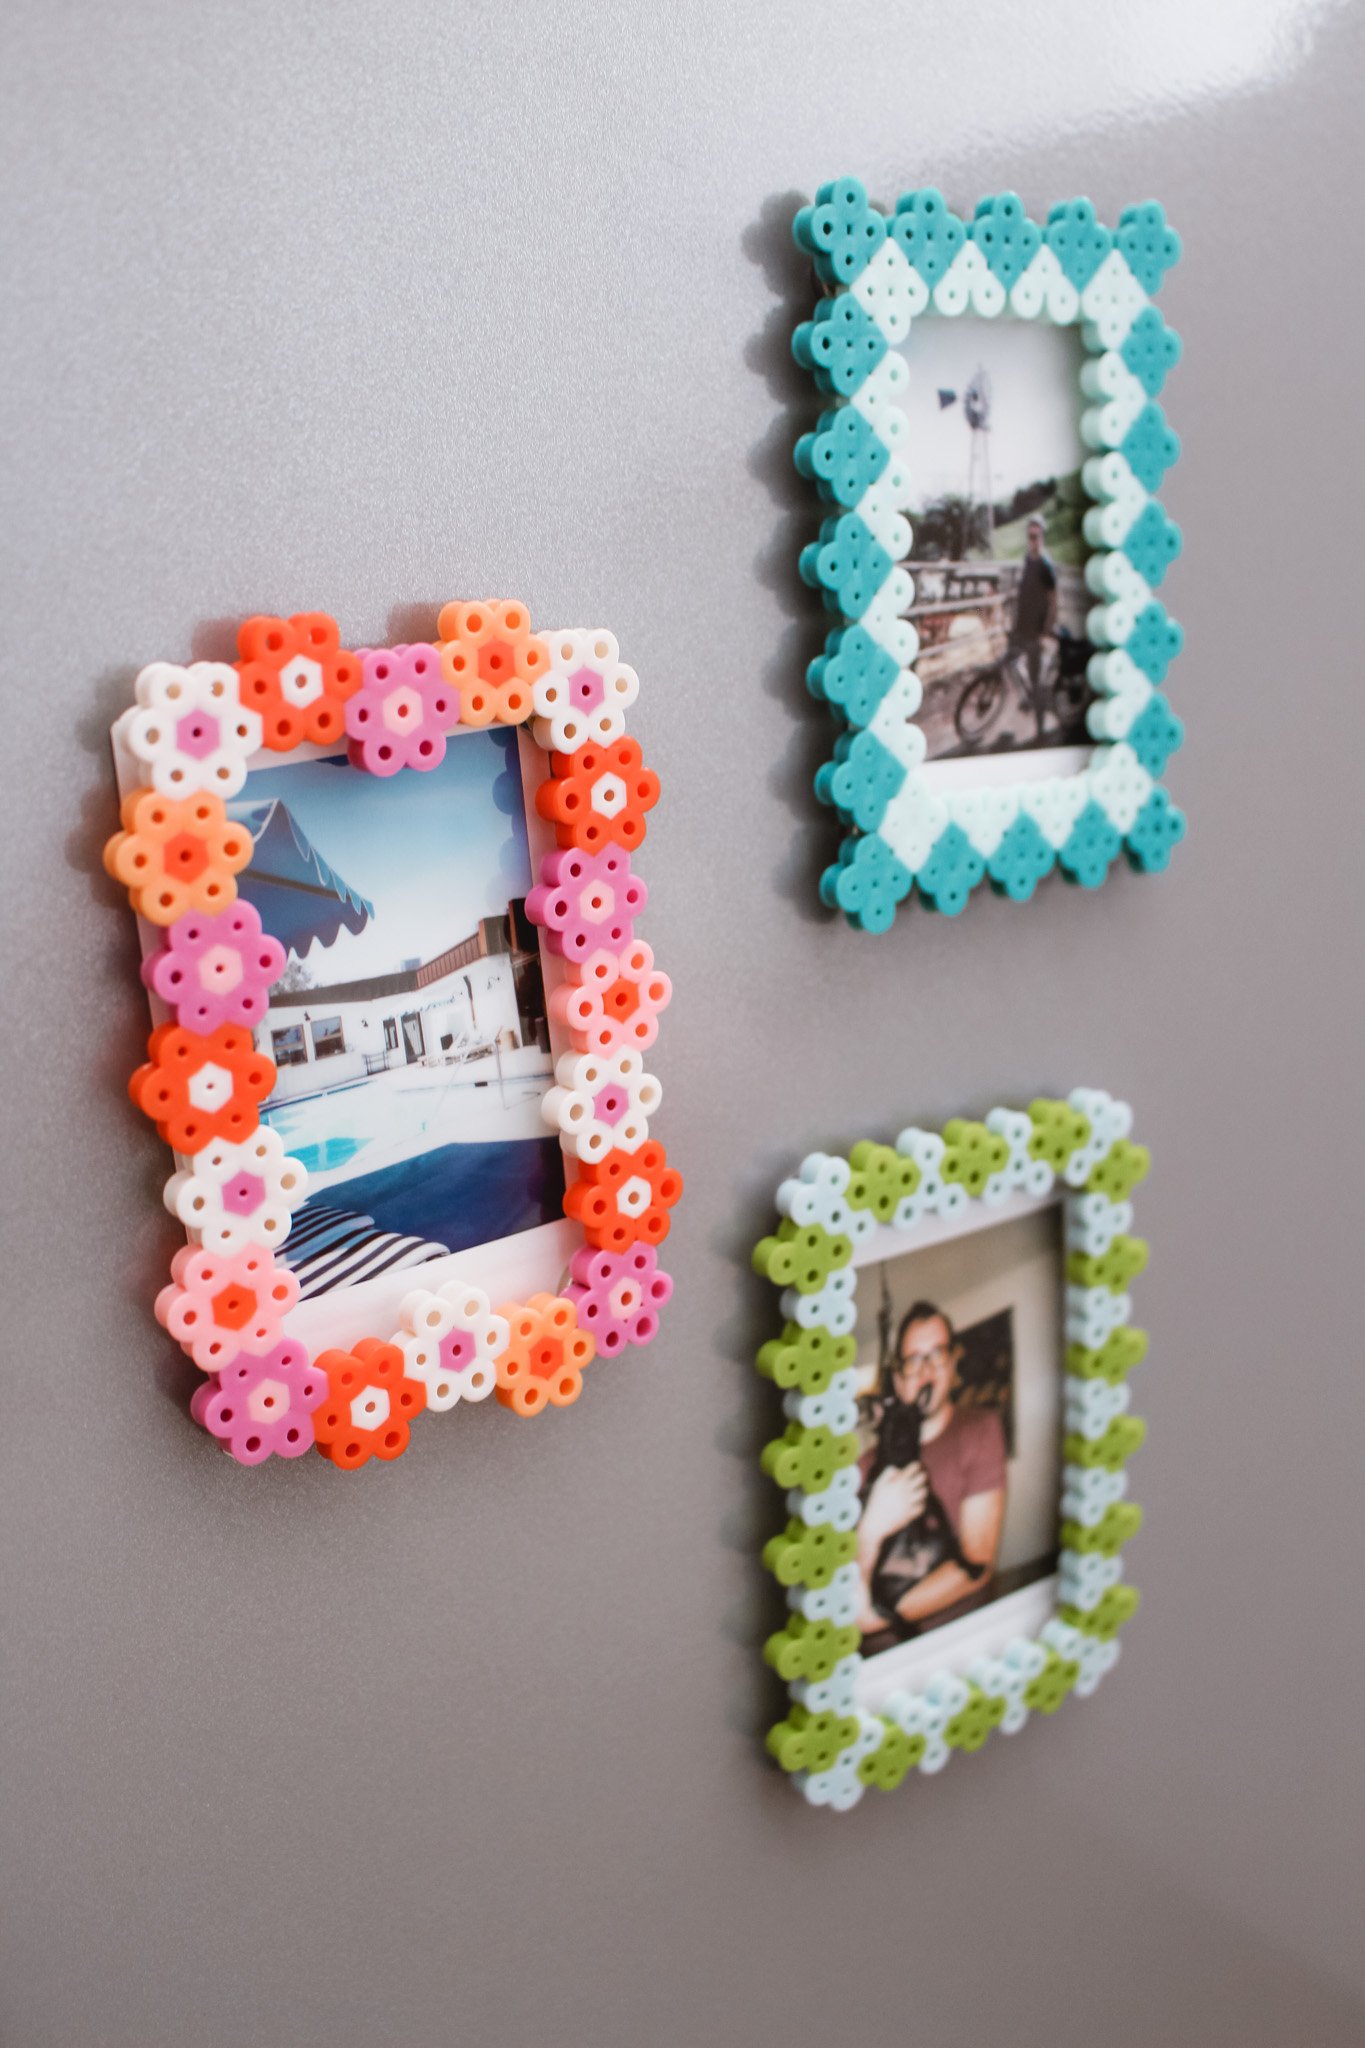
I don’t know about you, but I never know what to do with my Instax photos after I take them. It is such a fun camera to take with you traveling or at a party with friends, but my pictures just end up stacking up around the house. Well these magnetic frames are a perfect way to show off your photos on any magnetic surface (like your refridgerator or a locker!) and can be easily swapped out for new photos as you take them.
I hope you enjoyed today’s project and found a place in your home to show off your Instax photos! What are some of your favorite uses of Perler Bead crafts?
xo Rachael

