
10 DIY Wedding Ideas (From My Own Wedding!)
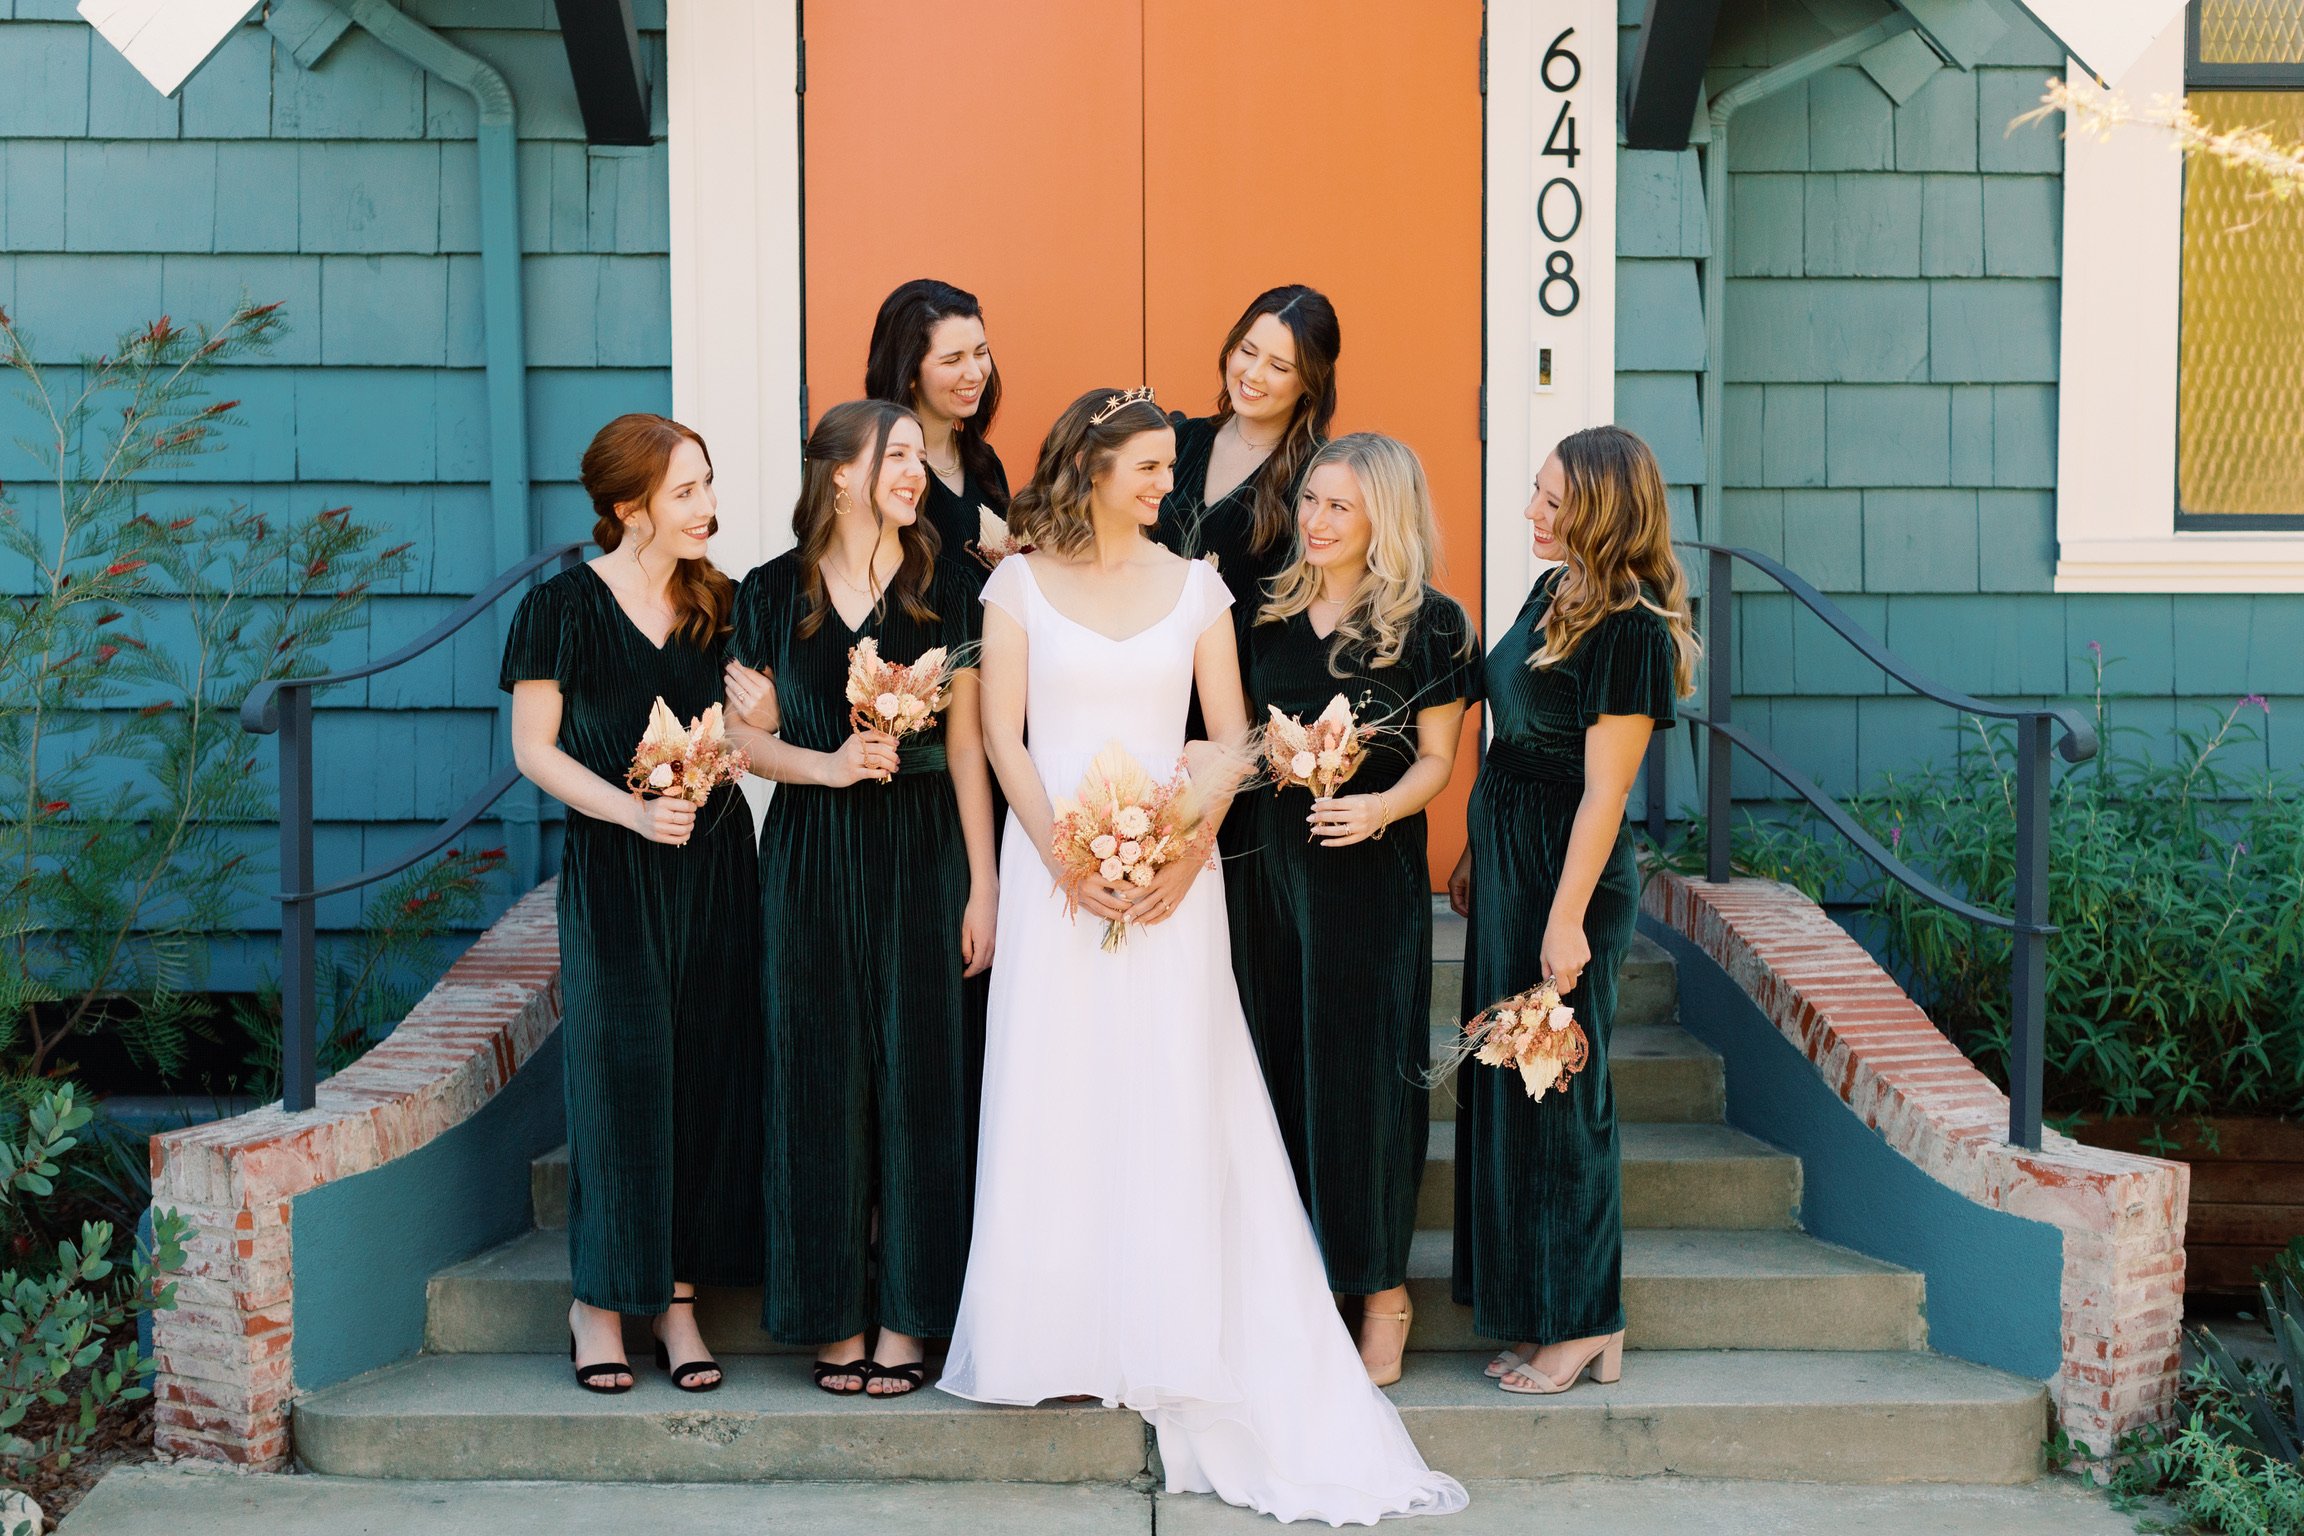
With wedding season quickly approaching, I just realized I have barely shared any photos from MY OWN wedding here on the blog. Daniel and I got married back in February 2020 — yes, just mere days before the whole world shut down! We had the loveliest leap day wedding day here in Los Angeles with our closest friends and family. And having worked in the wedding industry for many years here, I had a lot of ideas of what I wanted our day to look like!

Having seen hundreds and hundreds of weddings over the years, I knew that I wanted something a little different in style than what I had seen over and over again. I also knew that one of my favorite parts of any good wedding design were all the small details that really show the couples personalities and make the party feel like you.
So I set out to add a bunch of handmade elements to our day that both helped us save greatly on budget and also added so many personalized touches that our friends and family are sure to remember for years to come. Check out some of the things that I made for our wedding below!
My amazing wedding vendors!
Photography: Laura Ford Photos (all photos on this blog post were shot & edited by Laura Ford Photos)
Venue: The Ruby Street
Day of Planner: Mein Schatz Events
Catering: Olive Wood Pizza
Desserts: McConnell’s Fine Ice Cream
Rentals: Premiere Party Rents
Florals: Hidden Botanics Dried Wedding Flowers
Wedding Dress: Ericka Engelman Couture
Tux: The Black Tux
Bridesmaid Jumpsuits: Ivy City Co
DJ: RedShoe LA
Valet: Jeffrey Valet
Staffing: Spare Hands
Bar/Alcohol: Liquid Catering

Affiliate disclosure: This post contains several affiliate links. As an Amazon Associate, I may earn commissions from qualifying purchases from Amazon.com. Thank you for your support!
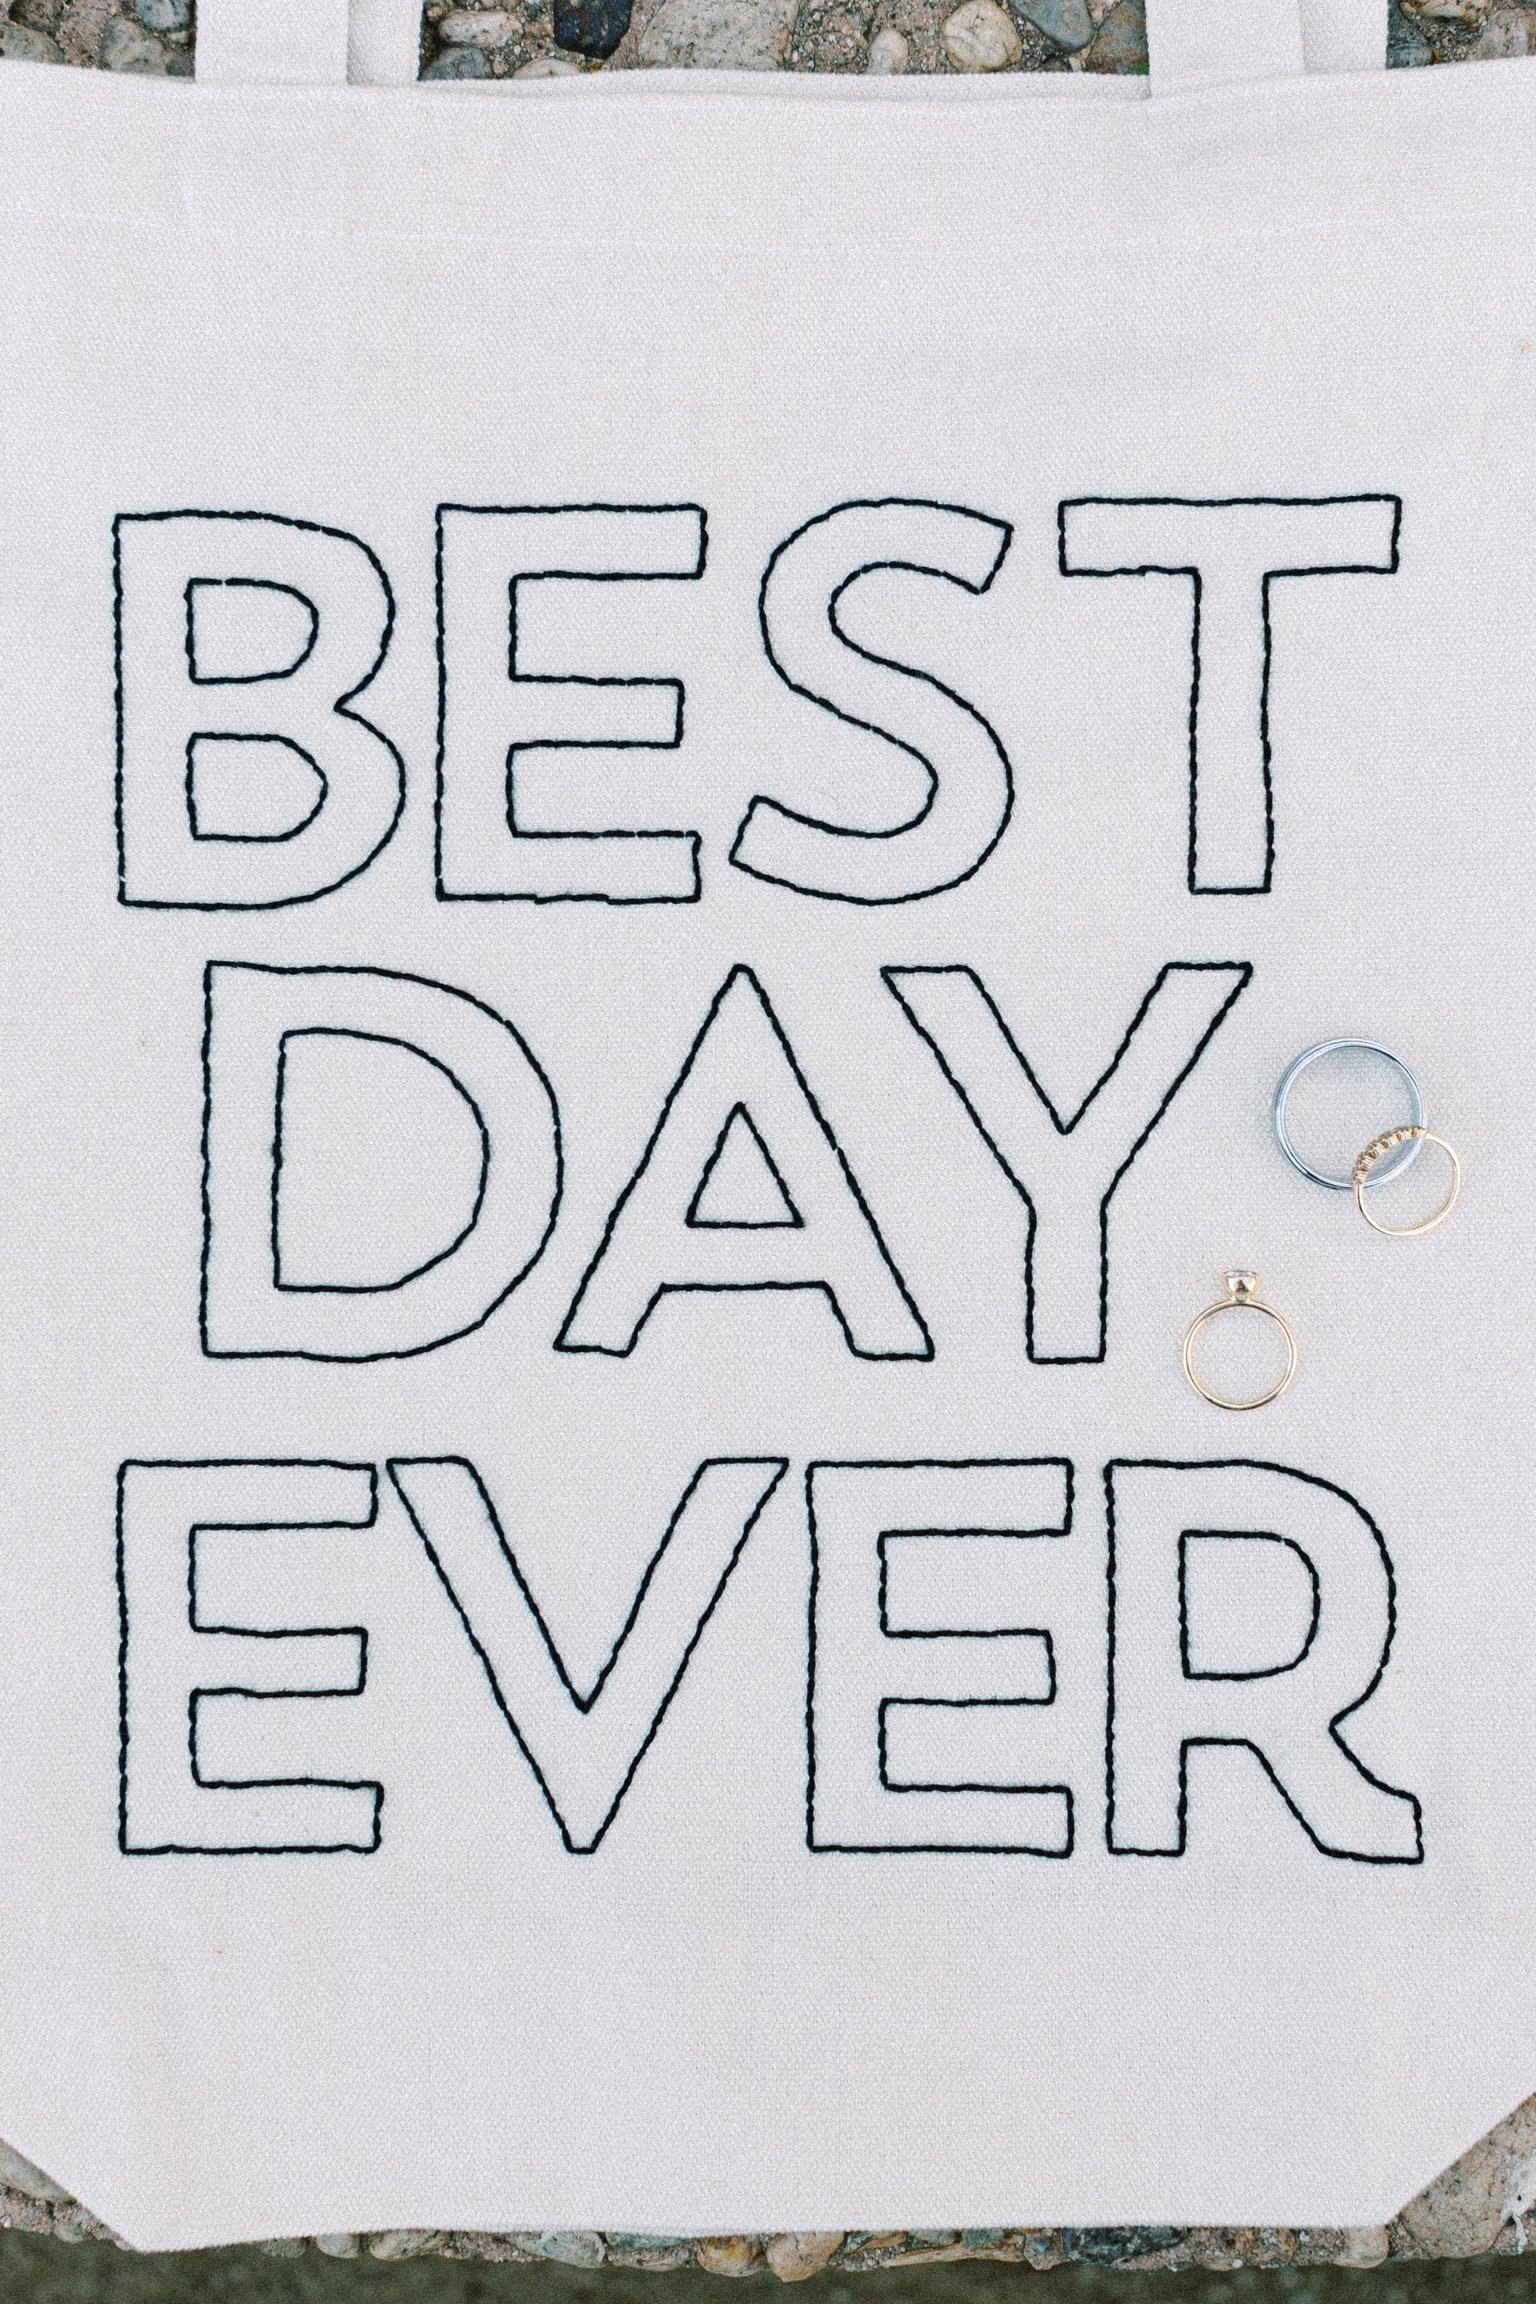
EMBROIDERED TOTE BAGS (FOR THE BRIDESMAIDS)
Being the craft lover that I am, I knew I wanted to create some kind of handmade gift to give my bridesmaids on the morning of our wedding day. These canvas tote bags were filled with things like matching pajamas to get ready in, a little makeup bag with perfume and lipstick, and of course a handkerchief for any happy tears :P

To make these, I purchased some blank canvas tote bags. I stuck on some letter stickers that I found at the craft store and traced around the letters to use as a guide. Then I used a basic back stitch to embroider the outline of the letters with black embroidery floss on the bag spelling out “BEST DAY EVER”. I also created one that said “MOTHER OF THE BRIDE” and “MOTHER OF THE GROOM” for the moms!
2. WOOD SIGNS
One important detail of any party is signage! You always want to make sure that your guests have all the information they need available to them easily. And it can also be a great opportunity to give your wedding a theme or design style that ties everything together. It’s kind of like branding for a company. Consistent signage helps establish the “brand” of your wedding theme.

So to make these fun wooden signs, I purchased some blank unfinished wood plaques from Michaels. But you could also just cut these out of a piece of wood if you have the tools available. I then got some help from my dad who created these little wooden bases for the plaques to fit inside. He made these by routing out a groove in the wood block the correct thickness for the wood plaque to slip into.
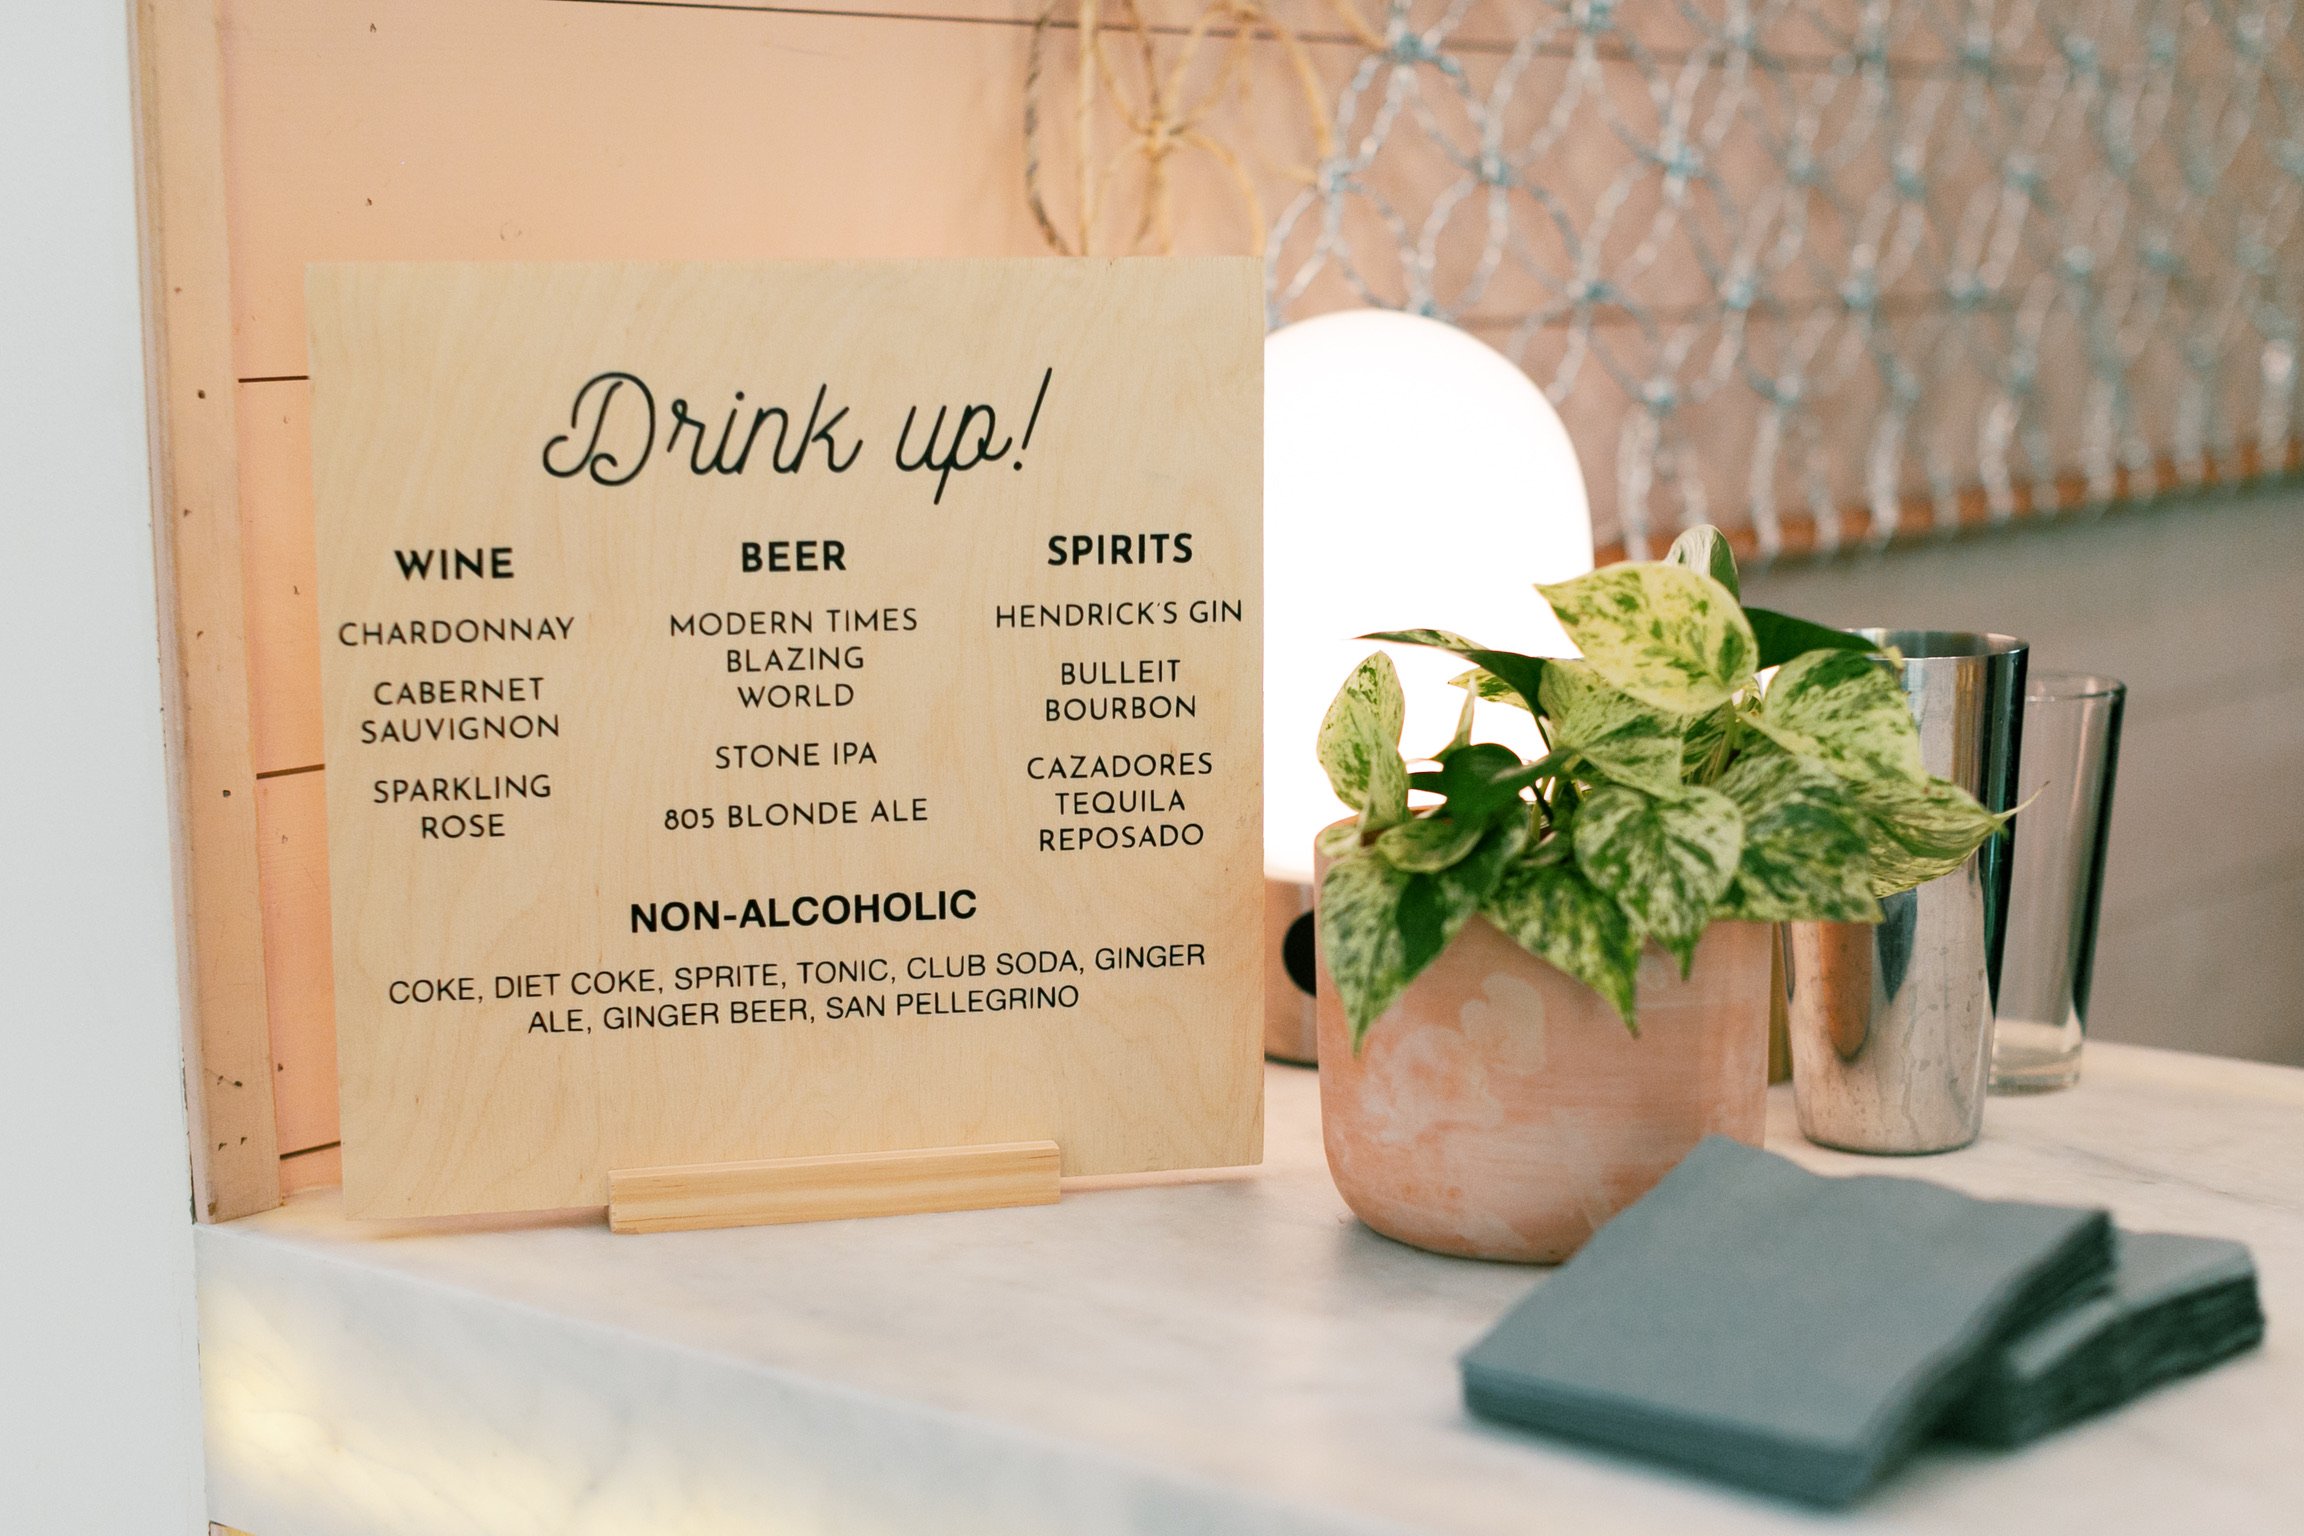
And meanwhile, I worked on the lettering using my Silhouette machine! I purchased a black heat transfer vinyl and I wrote out my sign text in the Silhouette Studio. Then I mirrored the image and sent it to the machine to cut.
Once all the cuts were made, I used a weeding tool to pull off all the excess from the design, so all that was remaining were the letters. I placed the vinyl upside down onto the wood plaque and placed a towel over the surface. Then I gently ironed across the towel to adhere the heat transfer vinyl to the wood surface below.

3. VOW BOOKS
It has become more and more common these days for a couple to write their own vows to one another, as opposed to the traditional vows of “to have and to hold” and “for richer, for poorer”. And rightfully so, as words that you have actually written are so much more special and meaningful. Vow books are a physical book that you read your vows from during your ceremony and, while they are not an absolute necessity for your special day, they are a sweet way to have a physical keepsake of those vows from your wedding day for years to come.
There are a ton of really pretty vow books you can buy, like these velvet vow booklets or these gold foil embossed notebooks. But you could just as easily turn any pretty notebook you find into a vow book!
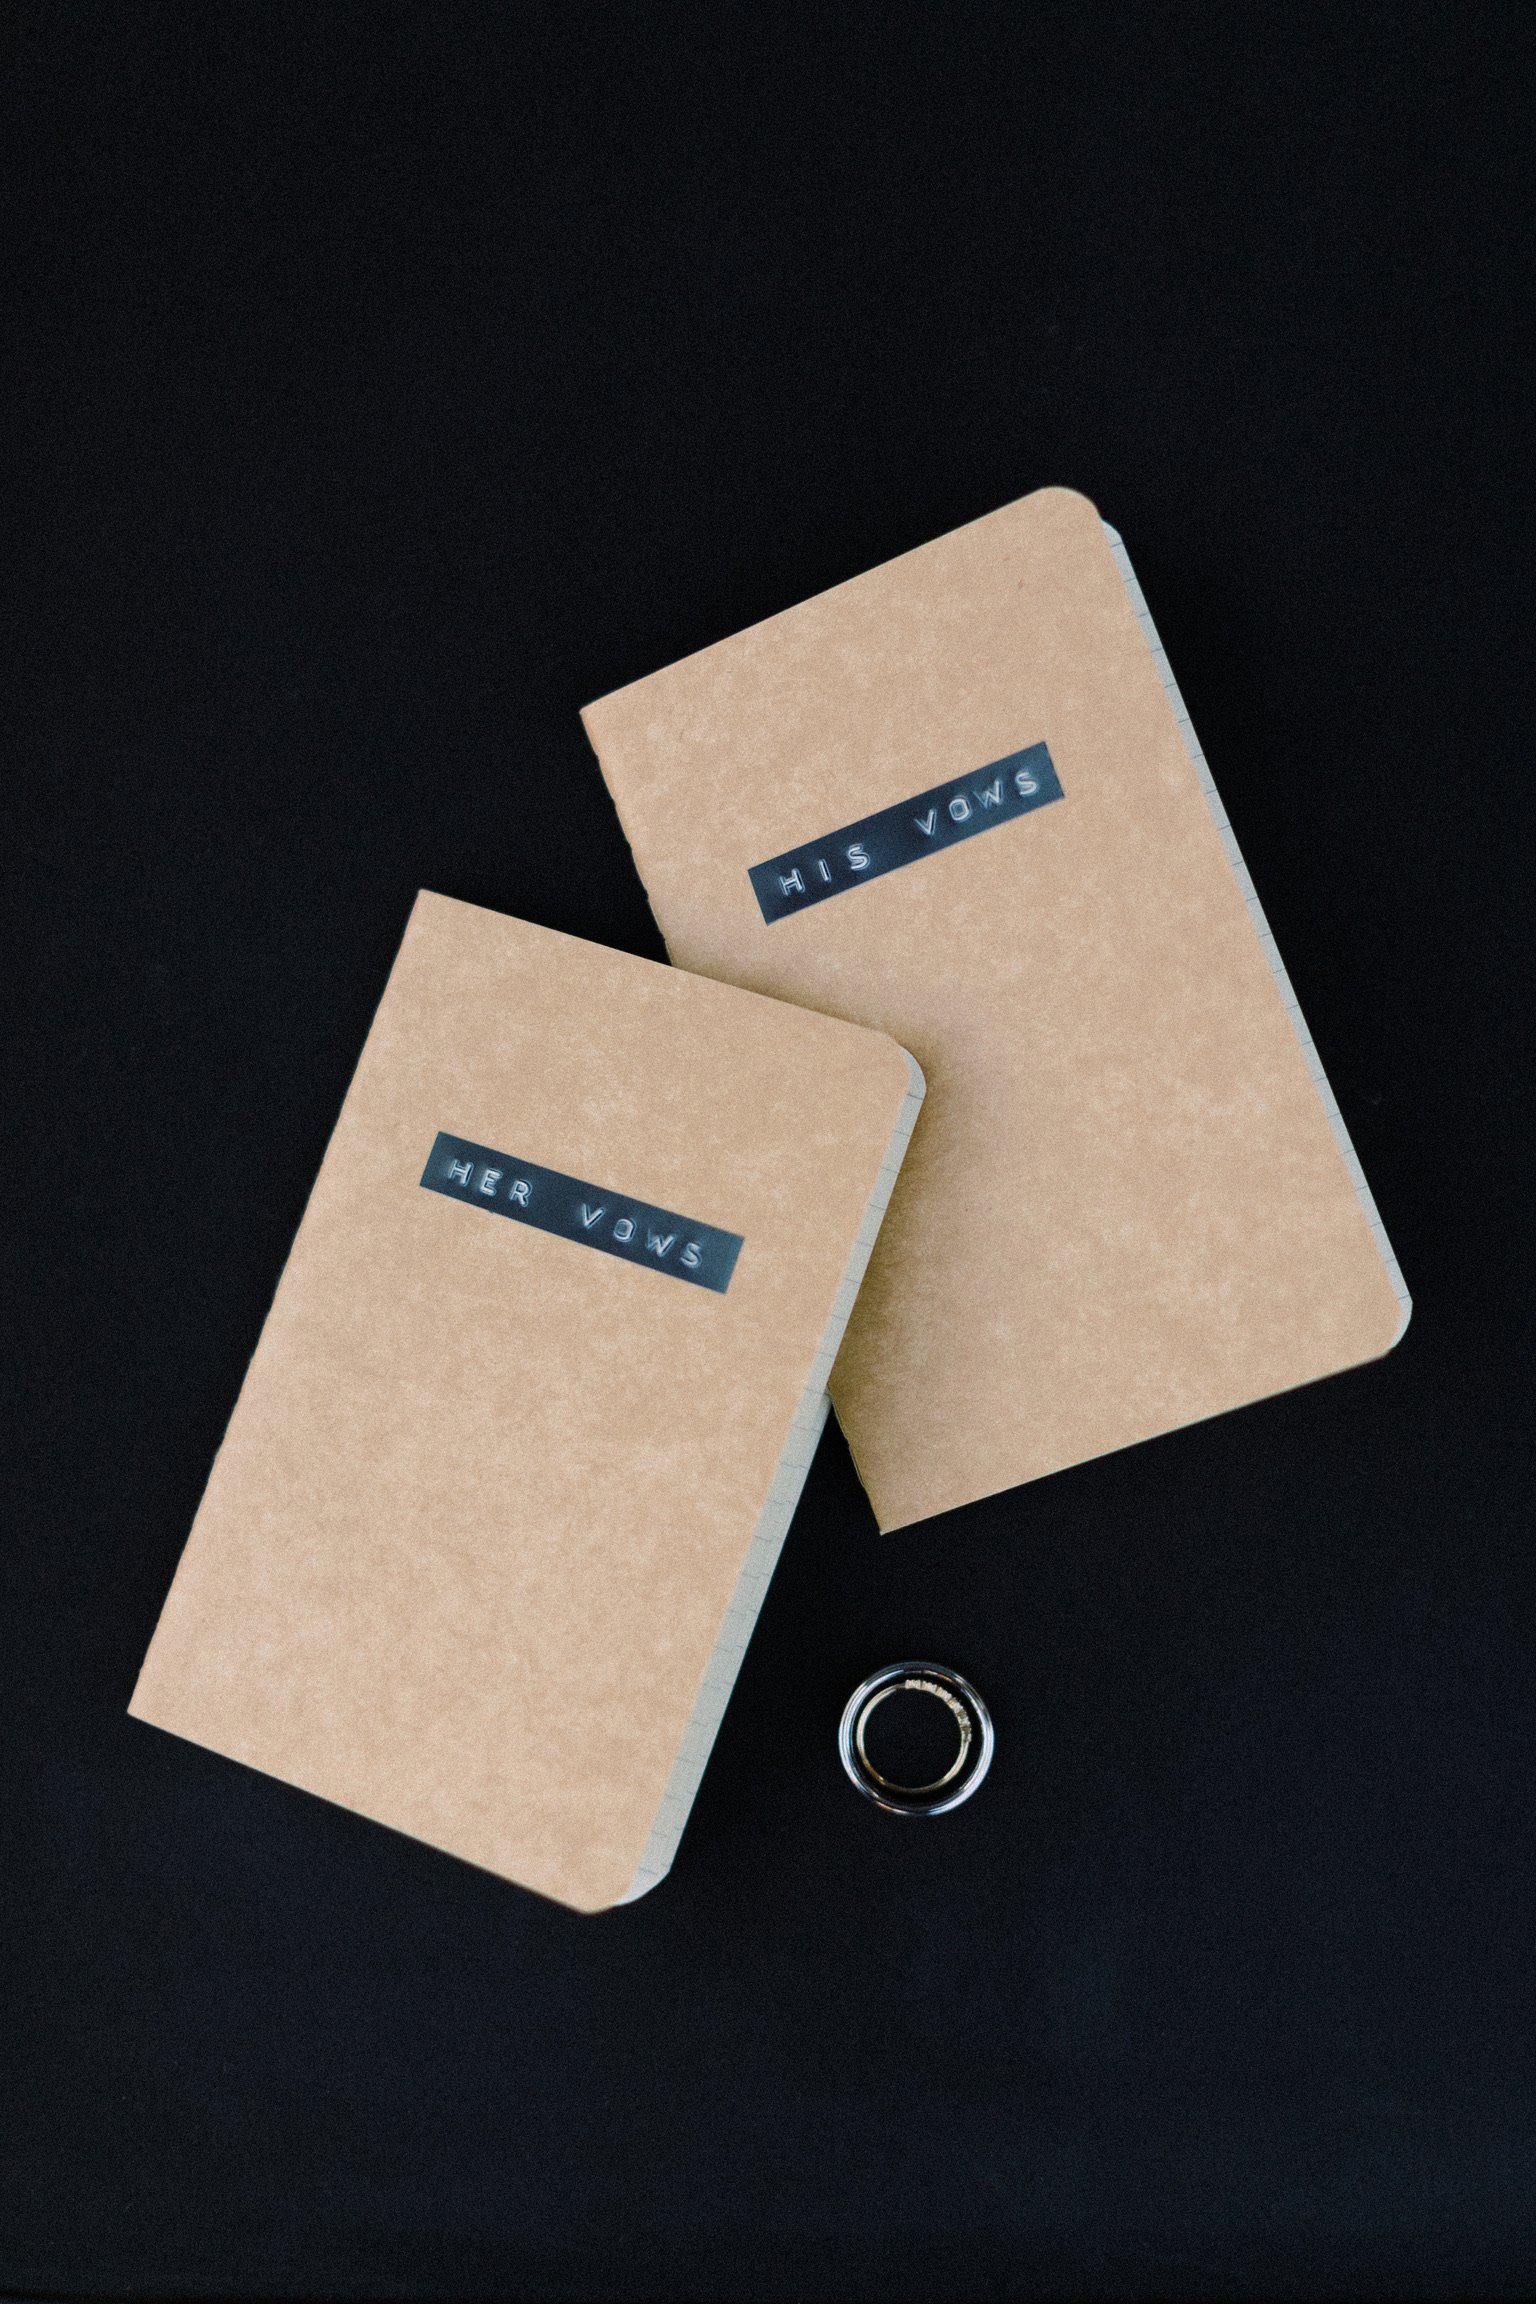
For my own vow books, I just used some simple kraft pocket notebooks and I added an embossed label (DYMO label maker) of “HIS VOWS” and “HER VOWS” for a cute handmade look that fit with our DIY wedding style. Simple but cute!
And if you’re really ambitious, you could even embroider these journals using our DIY Embroidered Travel Journals tutorial.
4. ESCORT DISPLAY
One way to really bring some personality into your wedding experience is to do something unique when it comes to your escort cards. Escort cards (or sometimes just an escort sign) are items that are used to show what table each guest will be seated at during the reception. This is usually displayed somewhere at cocktail hour for guests to look at or pick up on their way to dinner.
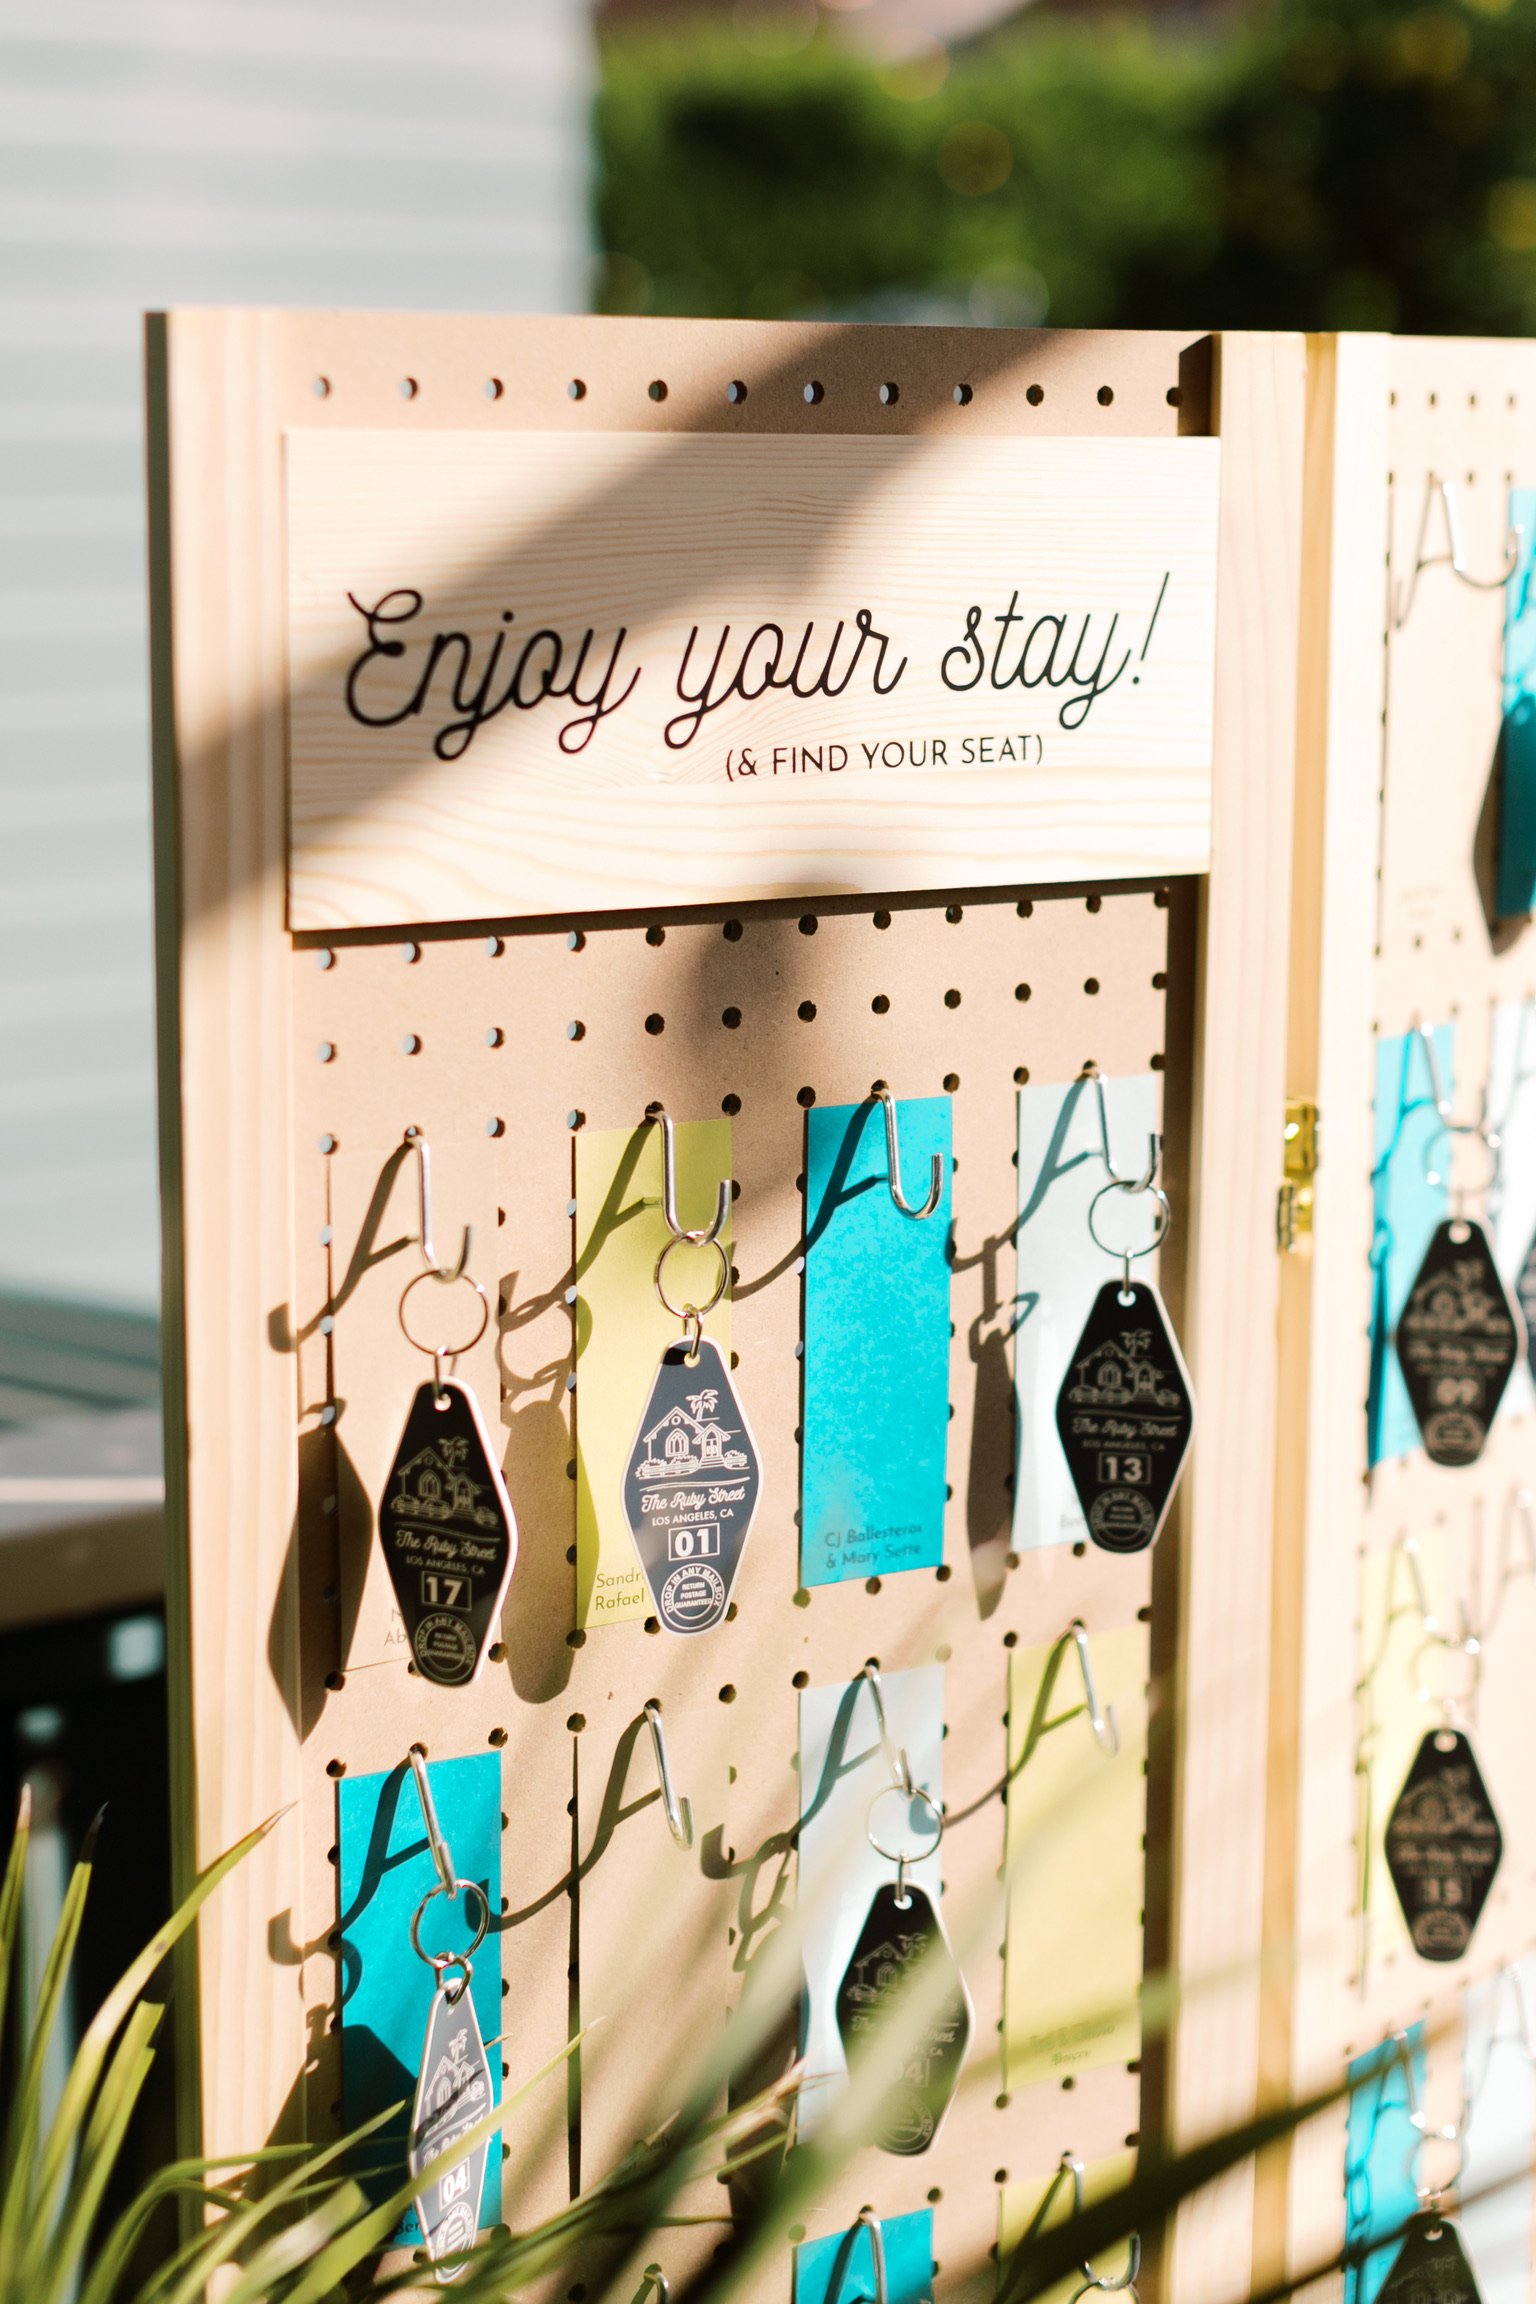
Since we were going for a bit of a retro vibe for our wedding, I loved the idea of using retro hotel keychains as both a perfect way for guests to find their seat and also a small wedding favor for guests to remember our big day!
With the help of my dad’s artistic abilities, I created a little graphic of the outside of our wedding venue and used a company called Sanzo Specialties to have the key tags made. They turned out so cute!

To display them, I purchased a portable pegboard display and pegboard hooks. Then I glued a piece of cardstock with each guest’s name onto the board and we hooked on the corresponding key tag with the correct table number.
Guests just needed to look for their name on the board and the hanging key tag would tell them their “room number” or in our case table number!

5. “DOG OF HONOR” BANDANA
It seems like every millennial getting married these days has to incorporate their furry best friend into their special day. And I for one am here for it! Our dog, Kevynn, is a huge part of our family and so we knew we wanted her to be part of our day. We figured she is not the type of dog to be able to successfully walk down the aisle on her own or anything though, so we decided to just have her stop by for some wedding photos and she also attended our pre-wedding party for all our family and friends that came into town early. And she needed a little special something to show off her importance! So I made this super cute embroidered “Dog of Honor” bandana that she wore around her neck.

This was a really quick and simple project that looks so cute in our wedding photos. It also makes a great keepsake to hold onto in your wedding memories!
I have a full DIY tutorial of how I did this up on the blog here — but I simply bought a cute dog bandana with a fun floral pattern and I added some embroidered lettering with a simple stem stitch.

I love that you can customize the style of bandana to your wedding style with this DIY project, but if embroidering is not your thing, there are also some cute simple wedding dog bandanas you can purchase like this I Do Too bandana or this Pup of Honor bandana.
I think this DIY bandana would make a great bridal shower gift too for a dog lover bride in your life!

6. TISSUE PACKETS
These tissue packets were a really simple DIY project that made for a really cute touch to our wedding ceremony. Let’s face it, there are a lot of mushy moments during a wedding ceremony and your guests are bound to shed a few happy tears! So why not offer a tissue packet for guests to take with them to their seat before the ceremony.
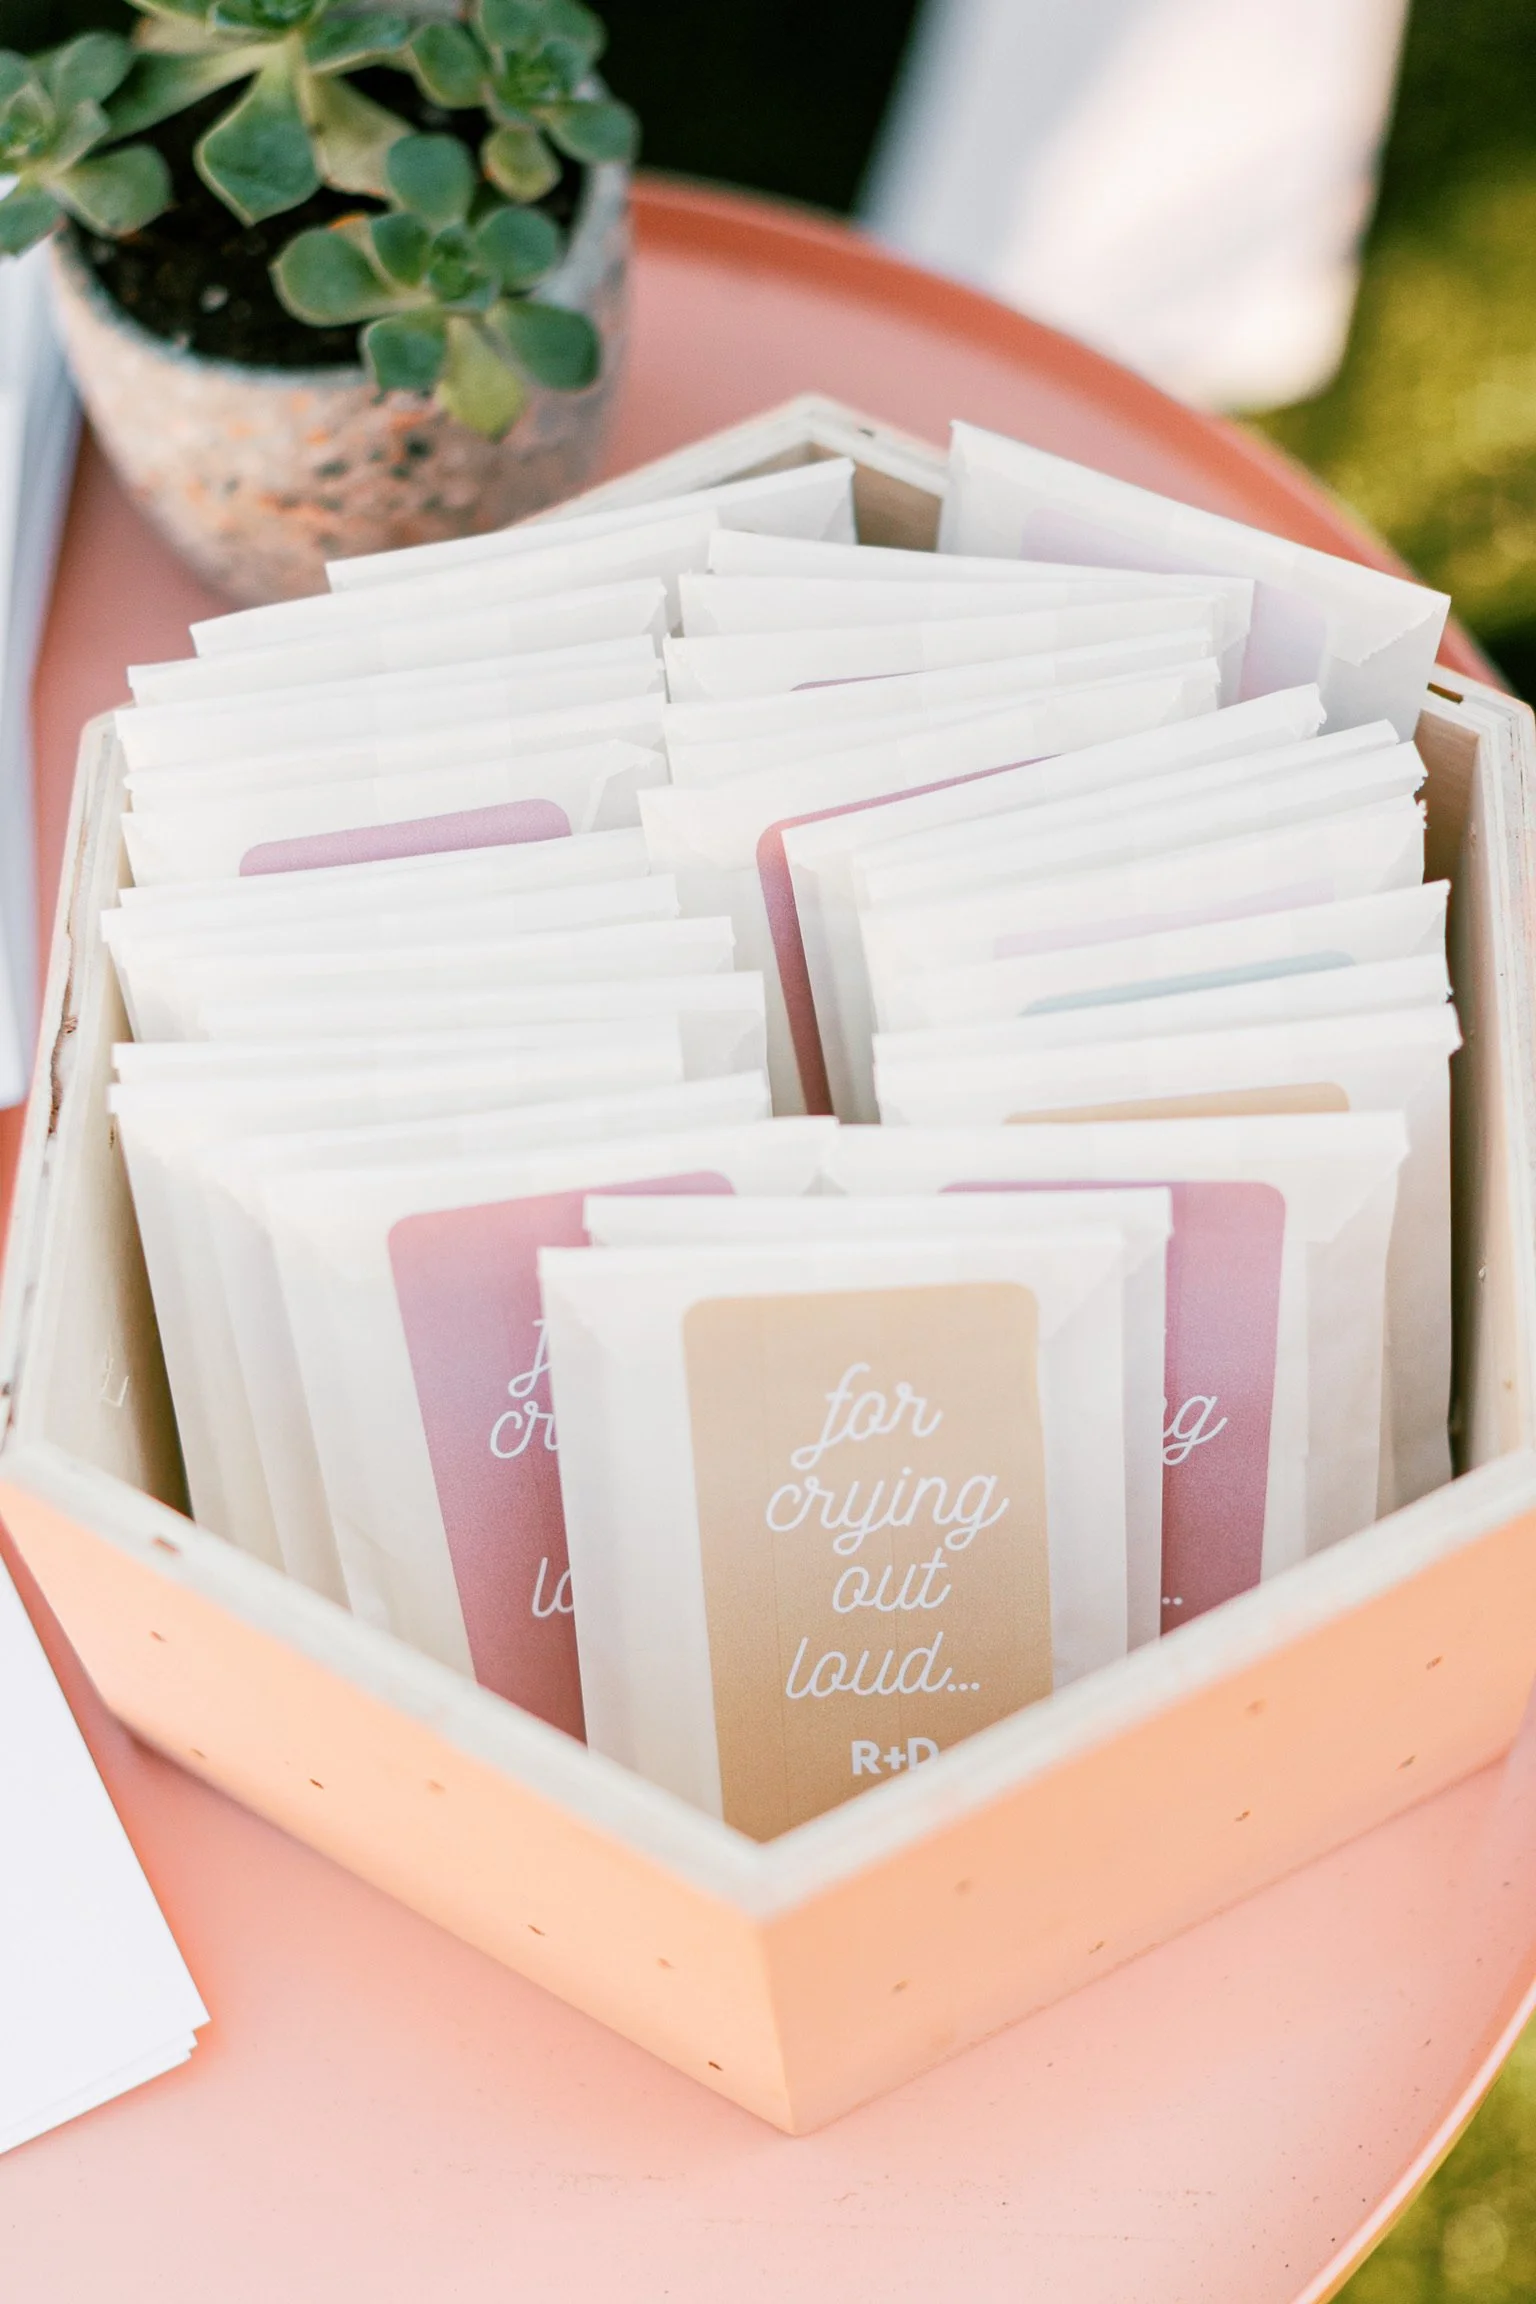
To make these, I simply purchased some translucent glassine waxed paper bags and filled them with a stack of Kleenex. Then I created a graphic (just on Microsoft Word) with the note “for crying out loud…” and our initials and printed the graphic onto a blank sticker label to attach to the outside.
7. CEREMONY PROGRAMS
Alongside the tissue packets, we also offered our guests a program to follow along during the wedding ceremony. I’m well aware that a program can be one of those things that you immediately pick up and toss or leave at your seat untouched, so it was not something I wanted to spend a lot of money on.
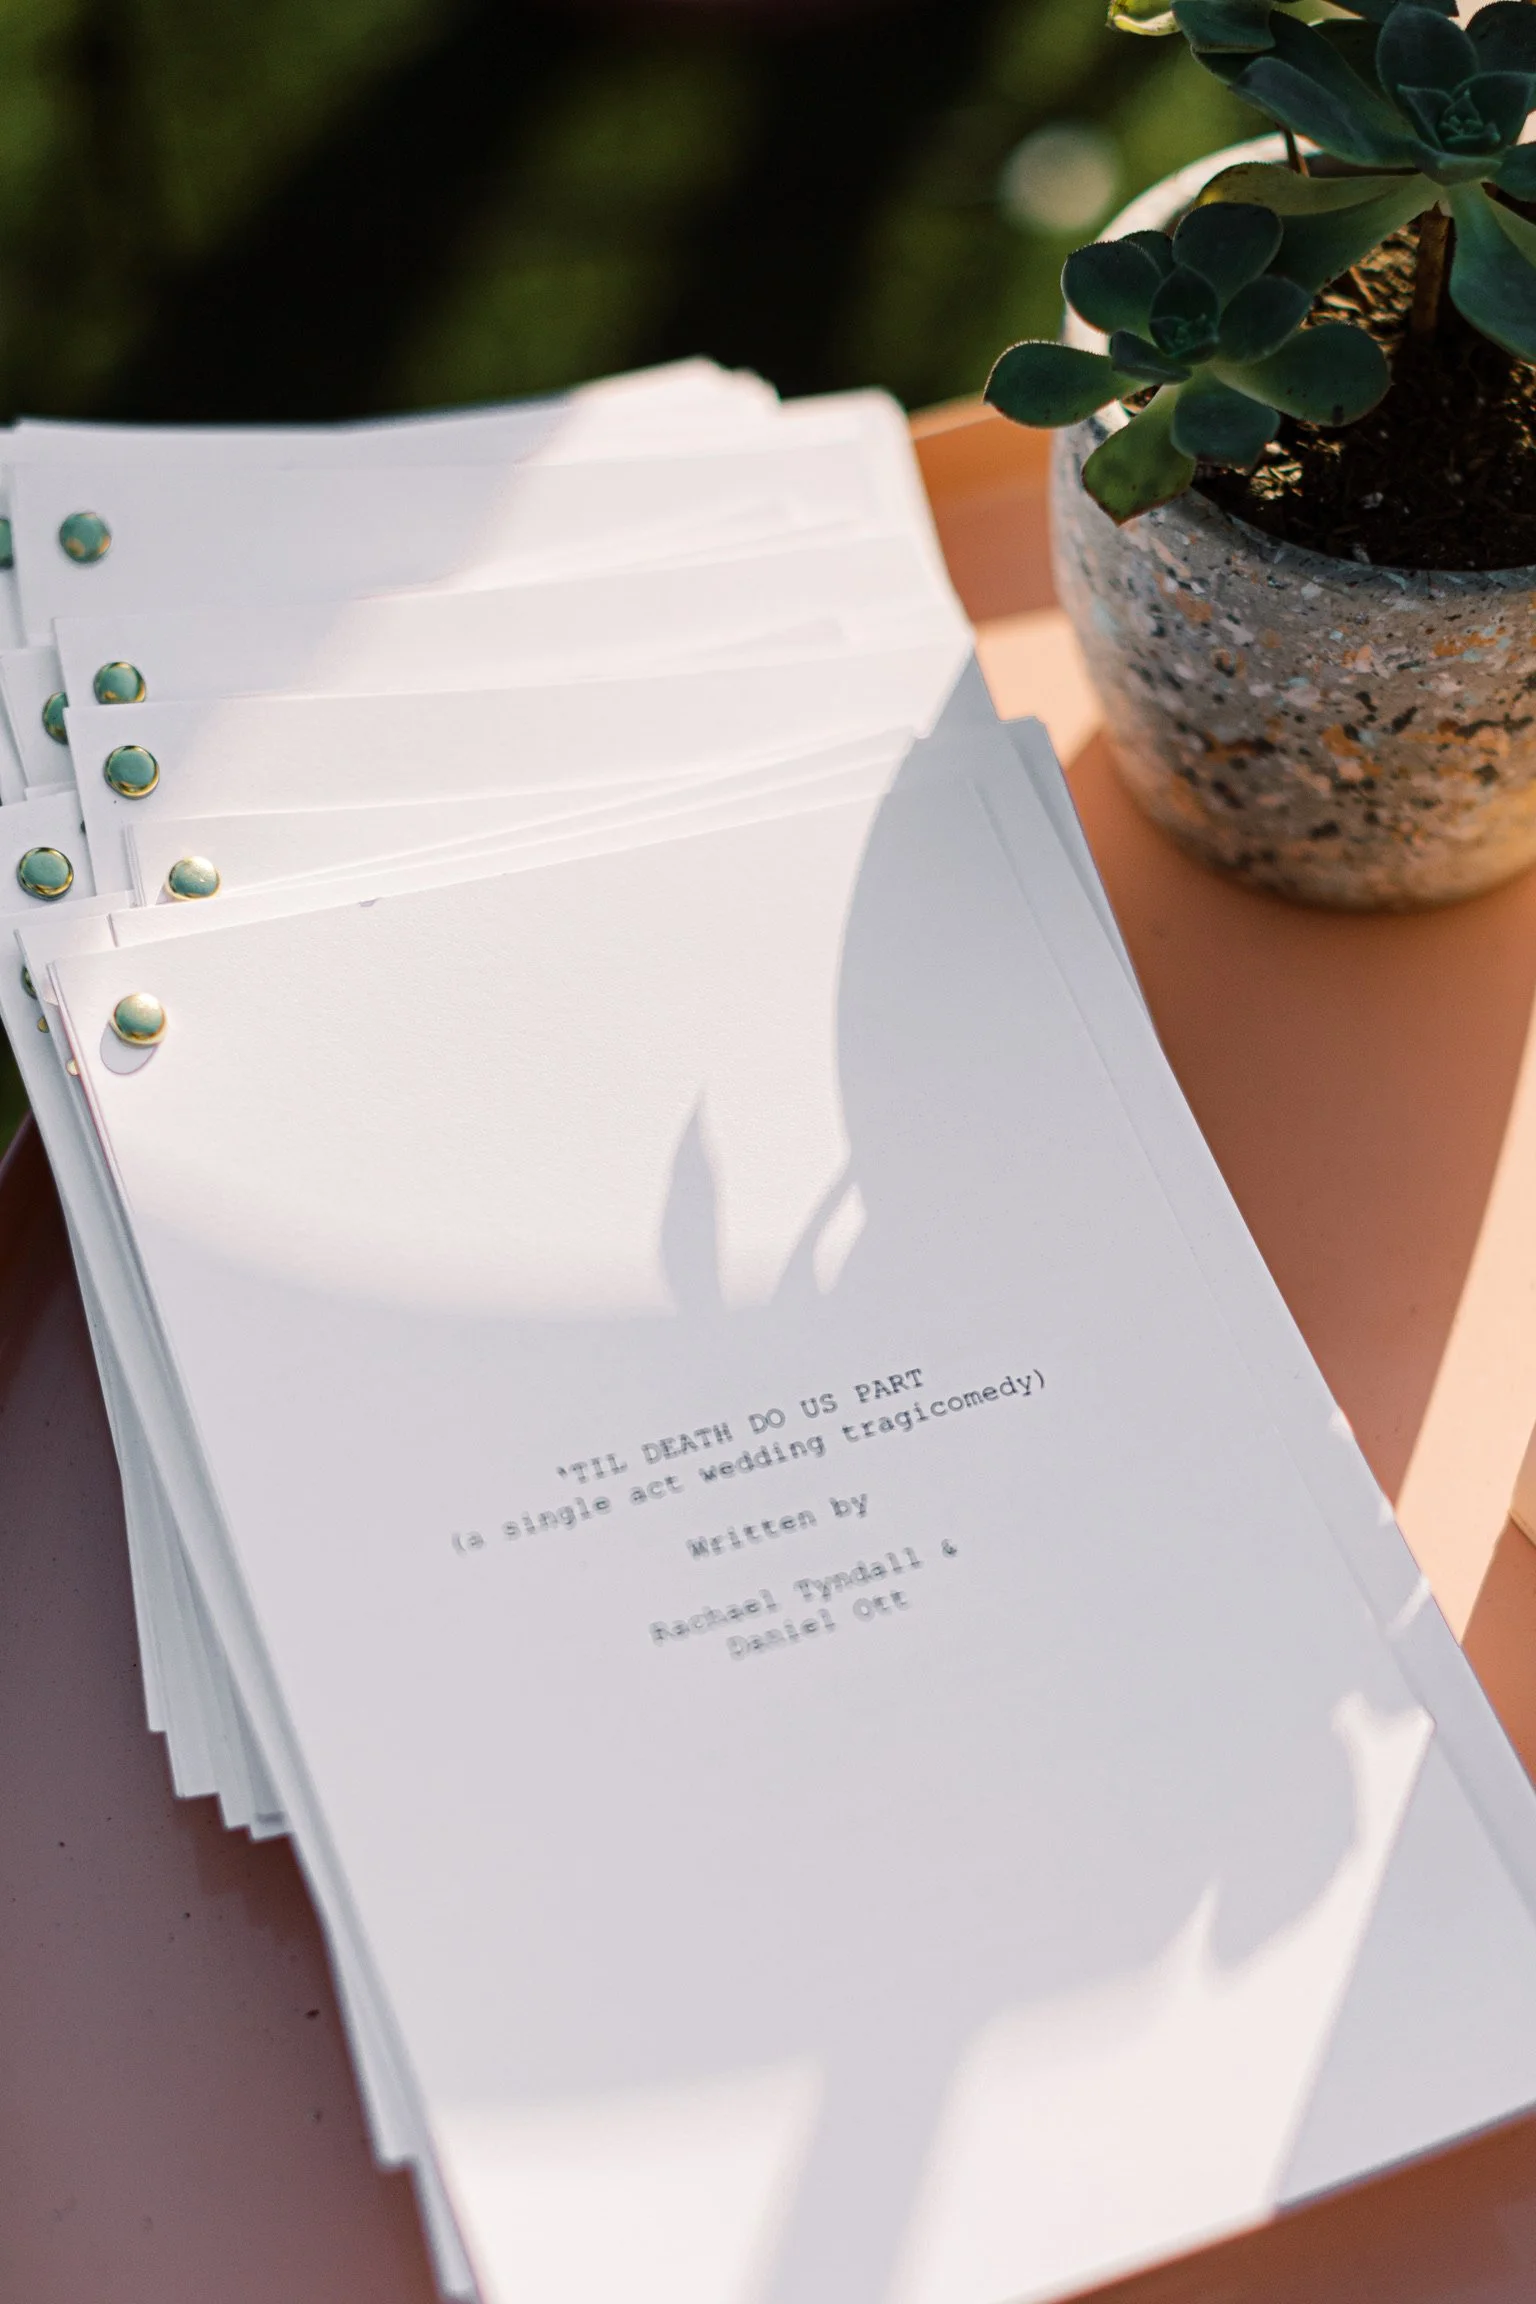
Since my husband Daniel is a screenwriter, and a lot of our friends work in the TV and movie industry, we thought it would be a fun and unique idea to turn our ceremony program into a mini “movie script”. We printed it on our home printer on basic white cardstock with the obligatory Courier font and in the text style of a script with extra notes for our guests. This ended up being one of my favorite details of our wedding and I definitely hung onto a copy of the program for our keepsake box!

8. PLACE CARDS
Given the size of our venue and table arrangement, we opted to have assigned seating for dinner. This is not always necessary, especially if your tables are broken up into individual tables. But since we had long rows of tables that were connected, we wanted to be sure that couples and families were seated together easily.
So once guests found their individual keychains notifying them which table they were seated at, they would also find a small placecard with their name at their actual seat.

To make these simple placecards, I just purchased a pack of these blank paper gift tags and had my friend Ashlee (who is gifted with the ability to write in beautiful calligraphy!) write out each guests name in gold ink.
I also added these pretty gold tassels to each name card for a little extra style that tied in our gold rim plates, utensils, and glassware.

9. TABLE NUMBERS
In order for our escort display to be successful and guests to find their spots easier, we needed to number our tables. For this project, I designed a graphic in the theme of all our other signage and paper goods and printed them out on cardstock. Then I slipped them inside these 5x7 acrylic picture frames for a simple but stylish table number!

10. CENTERPIECE DECOR
We lucked out finding a venue that we loved that already had so much style and personality. This meant we really didn’t need to bring in much decor to fill up the space. Our venue already had a lot of fun design elements and plants, so we rolled with this style and brought in our own DIY potted plants to decorate the tables.
I went back and forth about hiring an actual florist for our wedding, but eventually decided that flowers were really only needed for our ceremony bouquets (which is why I purchased dried bouquets from Etsy for this).

For the centerpieces, we just purchased a bunch of basic terracotta pots from a local pottery shop and bought a bunch of plants and succulents from our hardware store and used these plants to decorate the center of the tables. Guests were welcome to take them at the end of the party if they wanted as well. The ones that ended going home with us didn’t last long unfortunately, due to my lack of green thumb lol.

I also DIY’d some wooden lantern boxes to be used as centerpiece decor. I bought a bunch of these hexagon boxes in various sizes, painted them, and drilled a bunch of holes all over the surfaces. Then I added an LED votive on the inside to shine through the holes. Unfortunately, it didn’t end up being dark enough inside the venue for these to be too effective. But the geometric shapes were a cool look along the tablescape.
BONUS: PERSONALIZED MOVIE POSTER
Unless you’re a super talented illustrator, this idea might not be as “DIY” as the others. But I thought I would add it for another cute idea to bring some personality to your wedding day.
My husband Daniel is a huge movie buff and so movies have been a big part of our relationship. So we loved the idea of creating a retro-style movie poster advertising our wedding day to display as guests arrive and to keep forever as a lovely memory of our special day!

We hired a mutual friend of ours, and super talented artist Heather of Cheeky Design to create this amazing illustration using a bunch of personal details. The background and our outfits were taken from the day we got engaged. And she added our wedding day and wedding venue. Along with a little illustration of Kevynn, of course! It is absolutely perfect and we are still obsessed with it to this day.

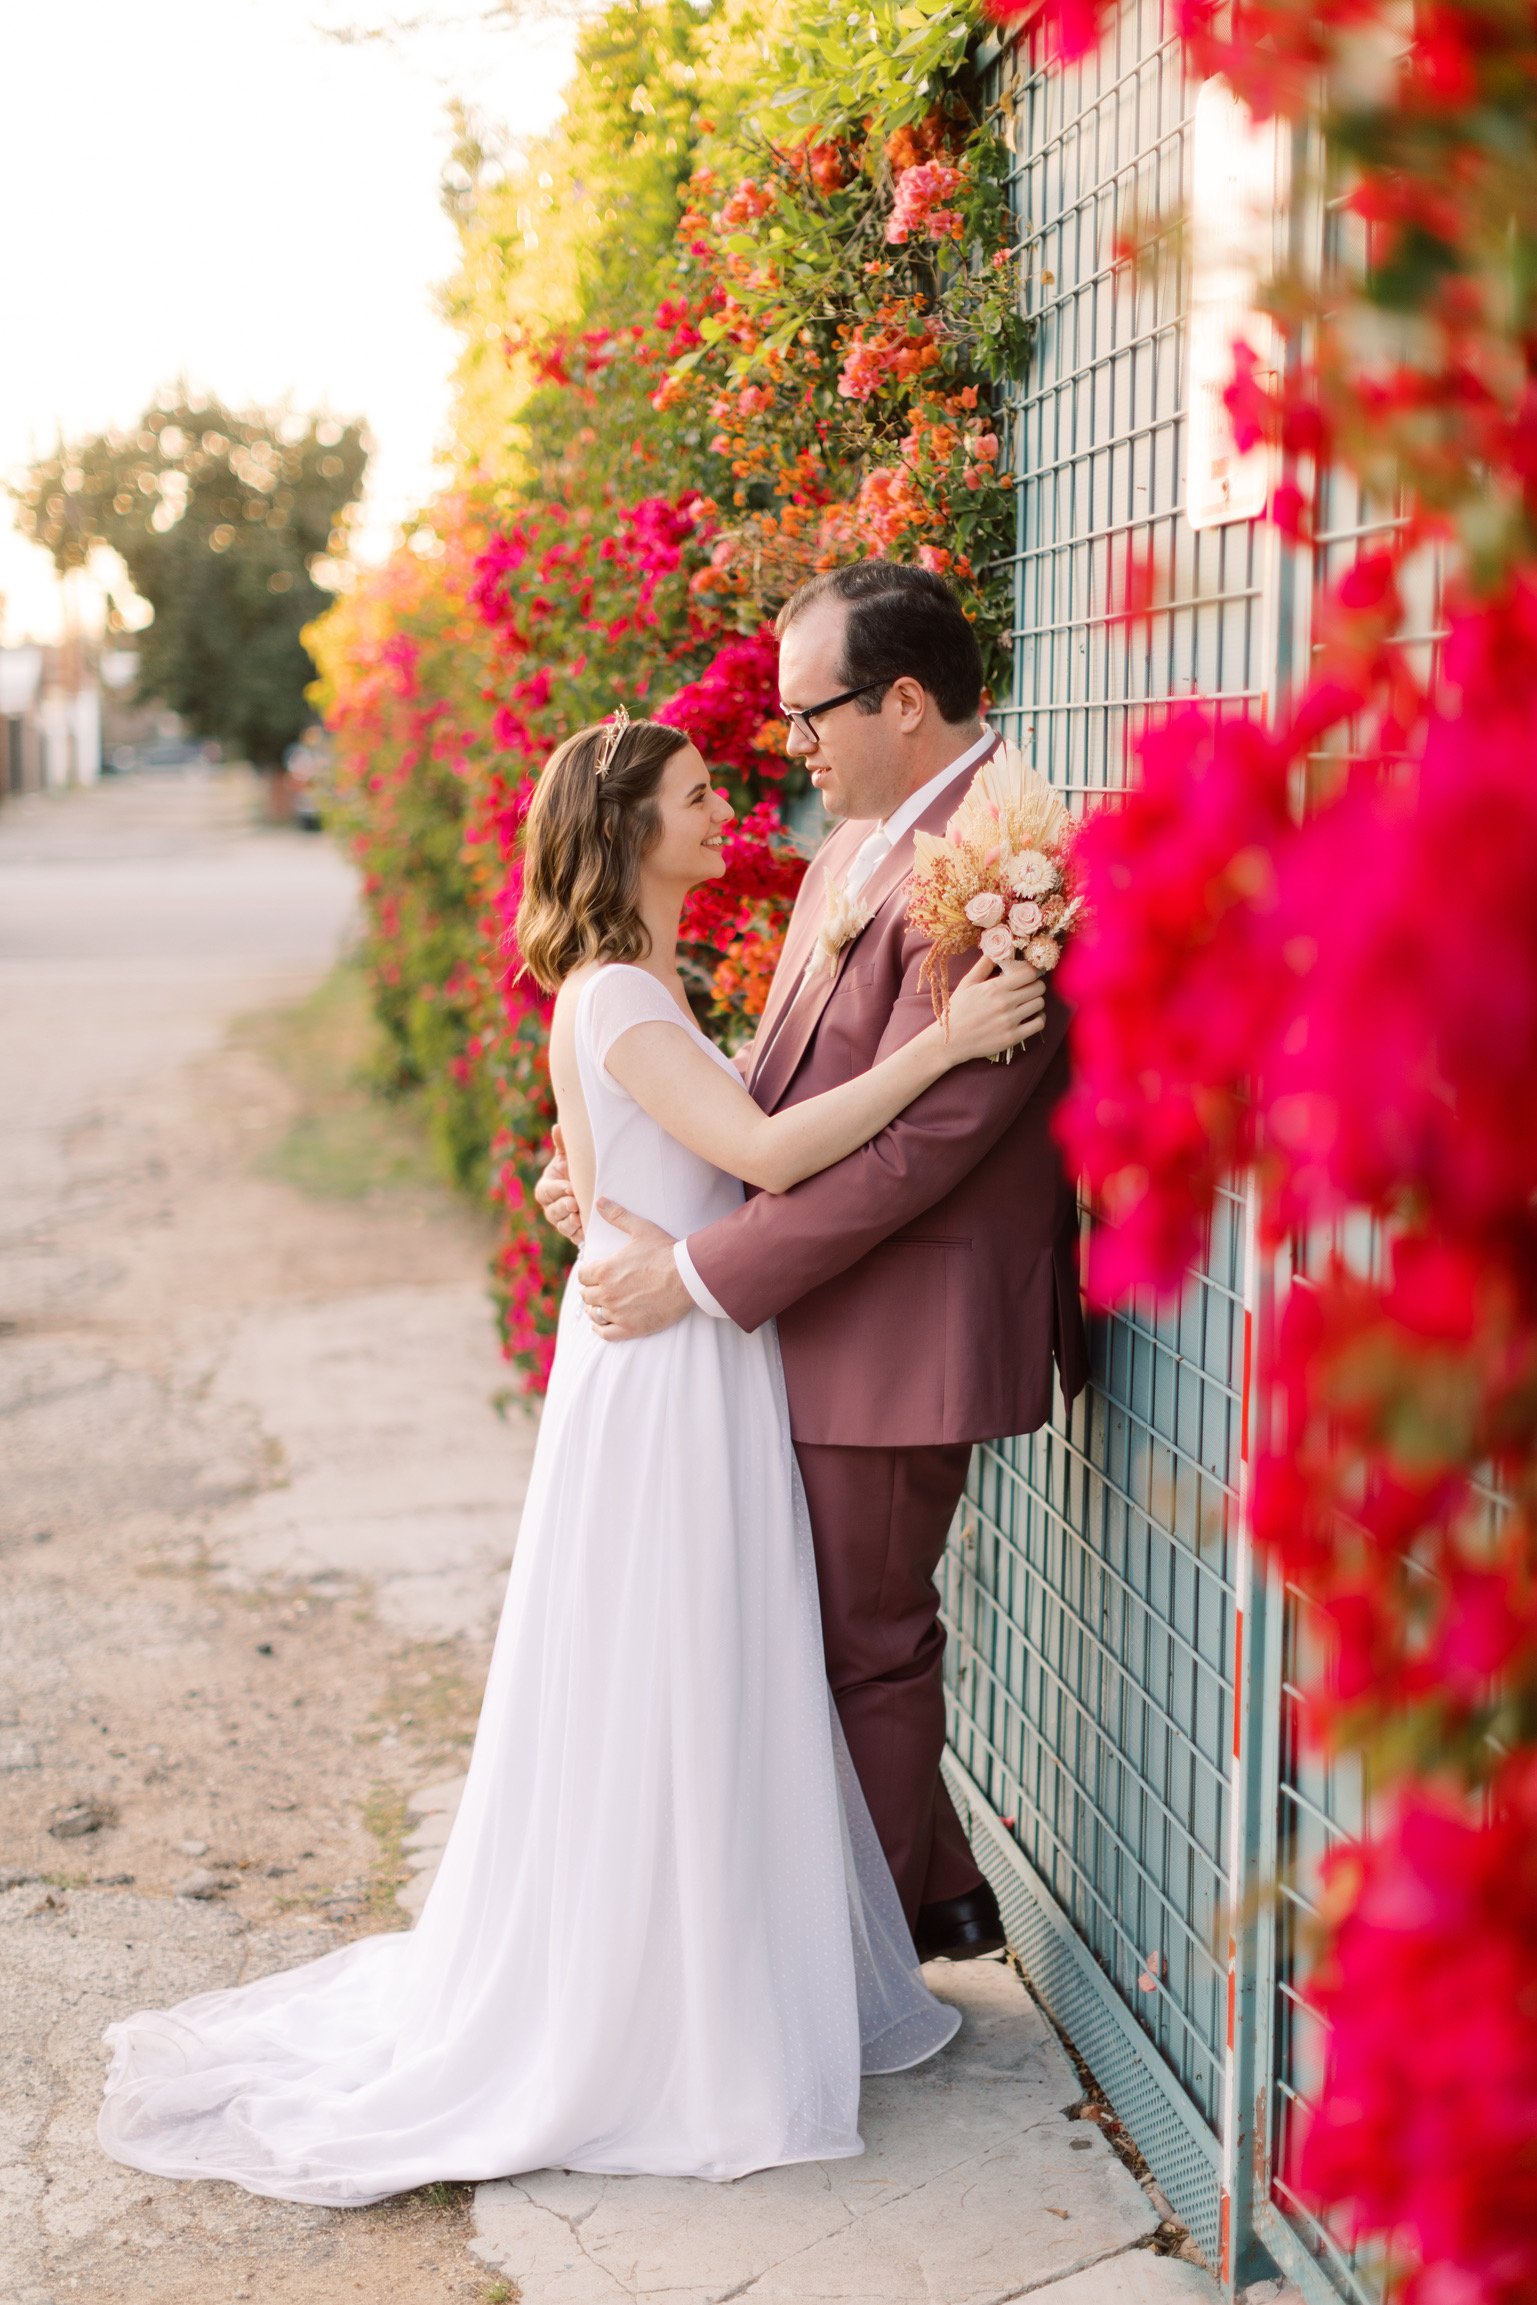
I hope this list of DIY wedding day elements has given you some ideas for ways to personalize your own wedding! I’m a huge fan of brides & grooms getting super creative with their day and I know your guests will appreciate all the extra love and attention you put into their experience! I will leave you with just a few more amazing photos of the day because I can’t help myself. Enjoy!


Are you attending a lot of weddings this year? Or are you a 2023 bride or groom? I’d love to hear how your wedding planning is going!
xo Rachael

