
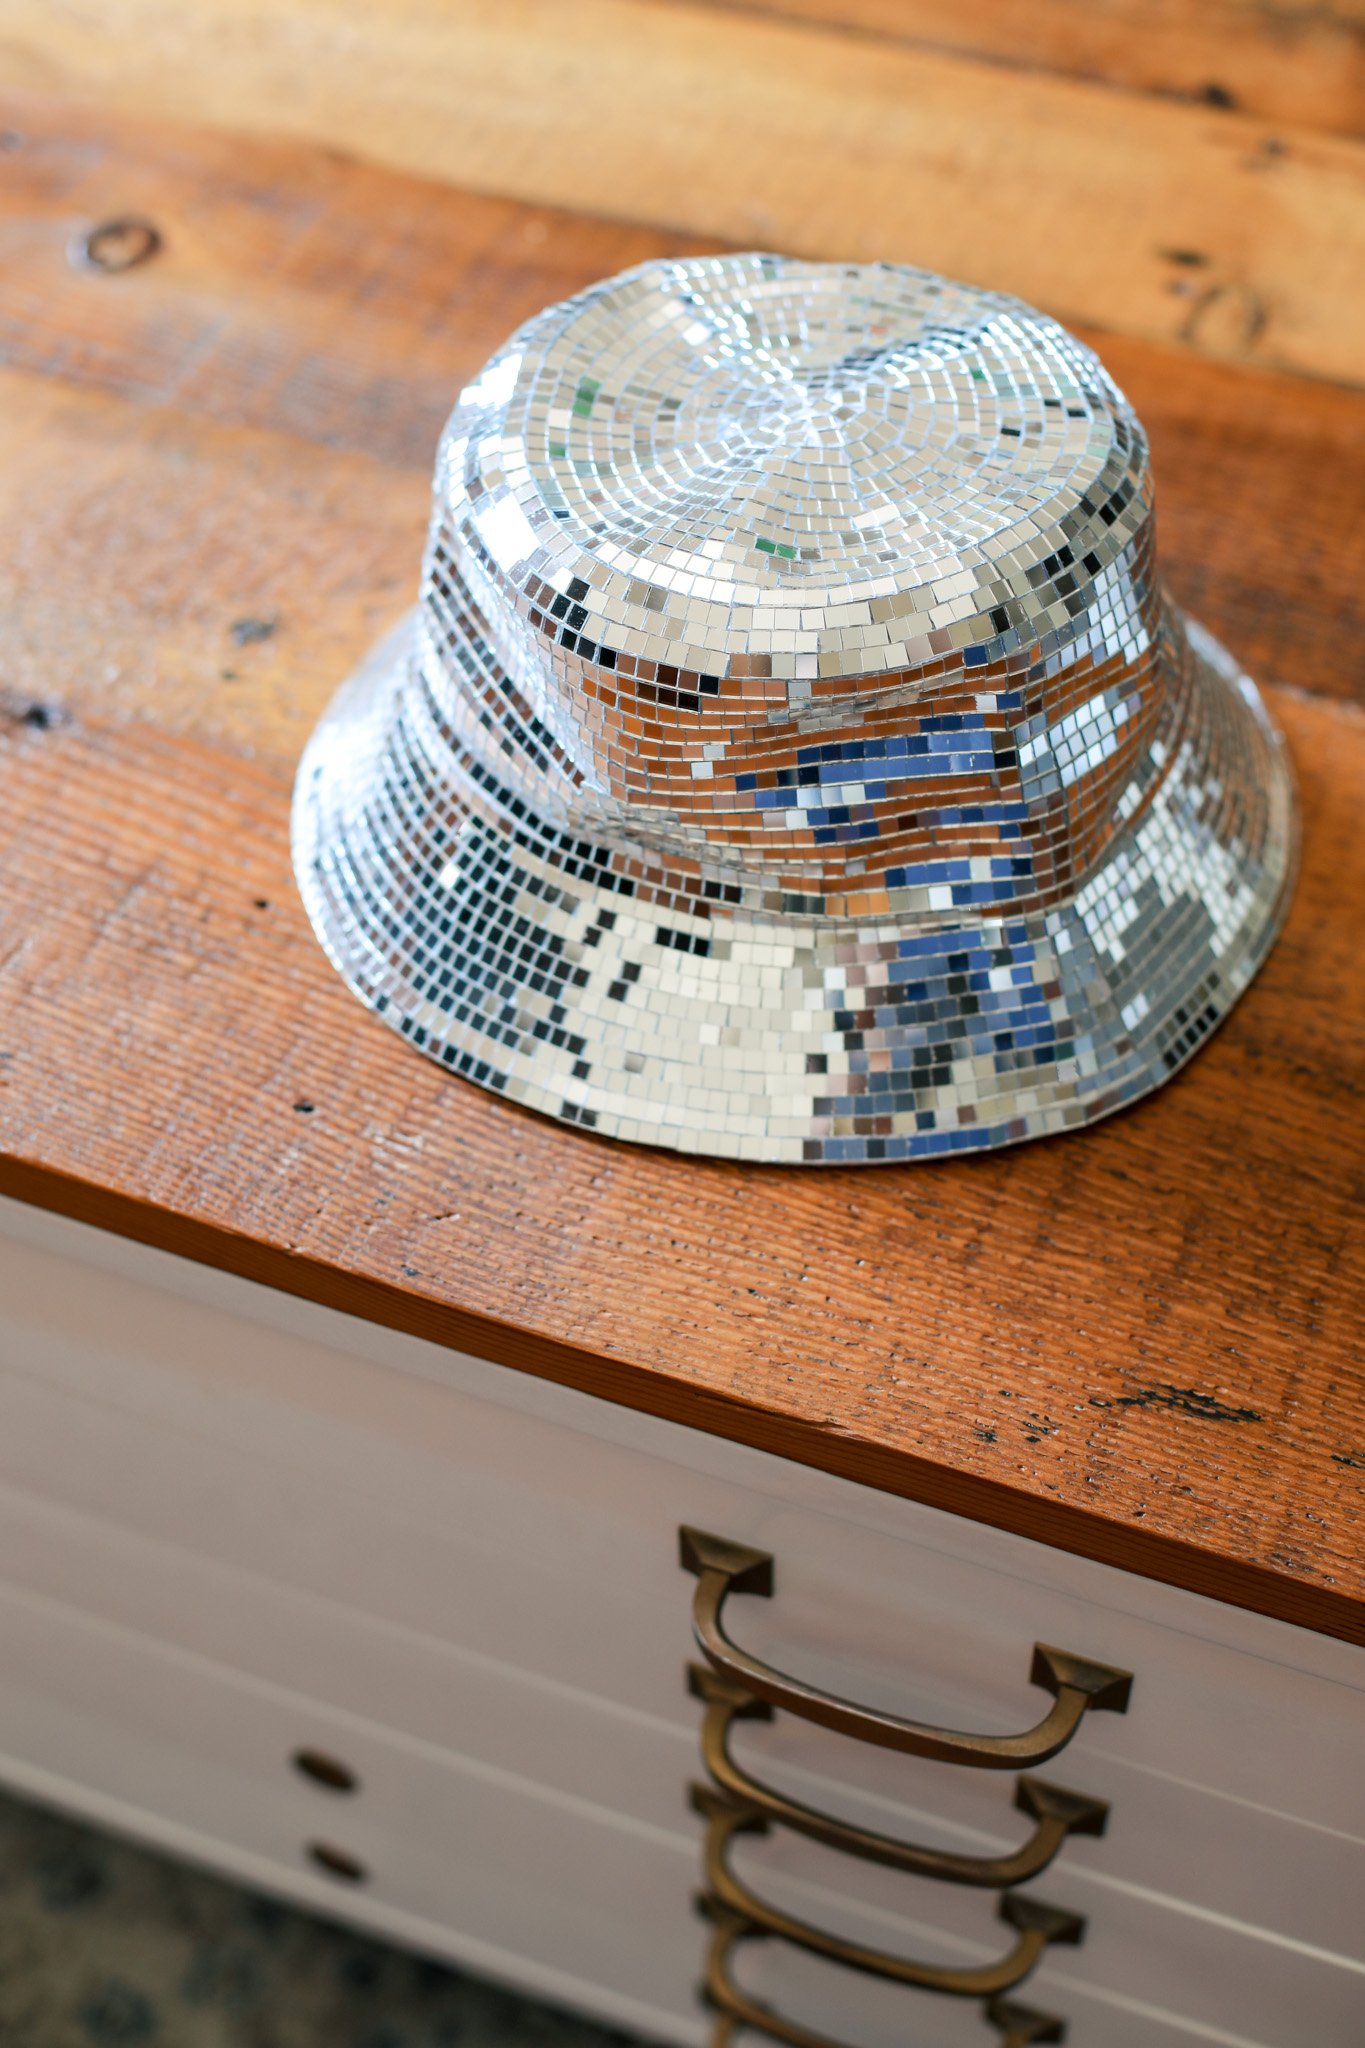
DIY Disco Ball Bucket Hat
Disco ball mirror tiles are definitely a huge trend all over social media these days! I love seeing all the disco ball elements that people have added to their homes to cover their space in a magical sparkling light!
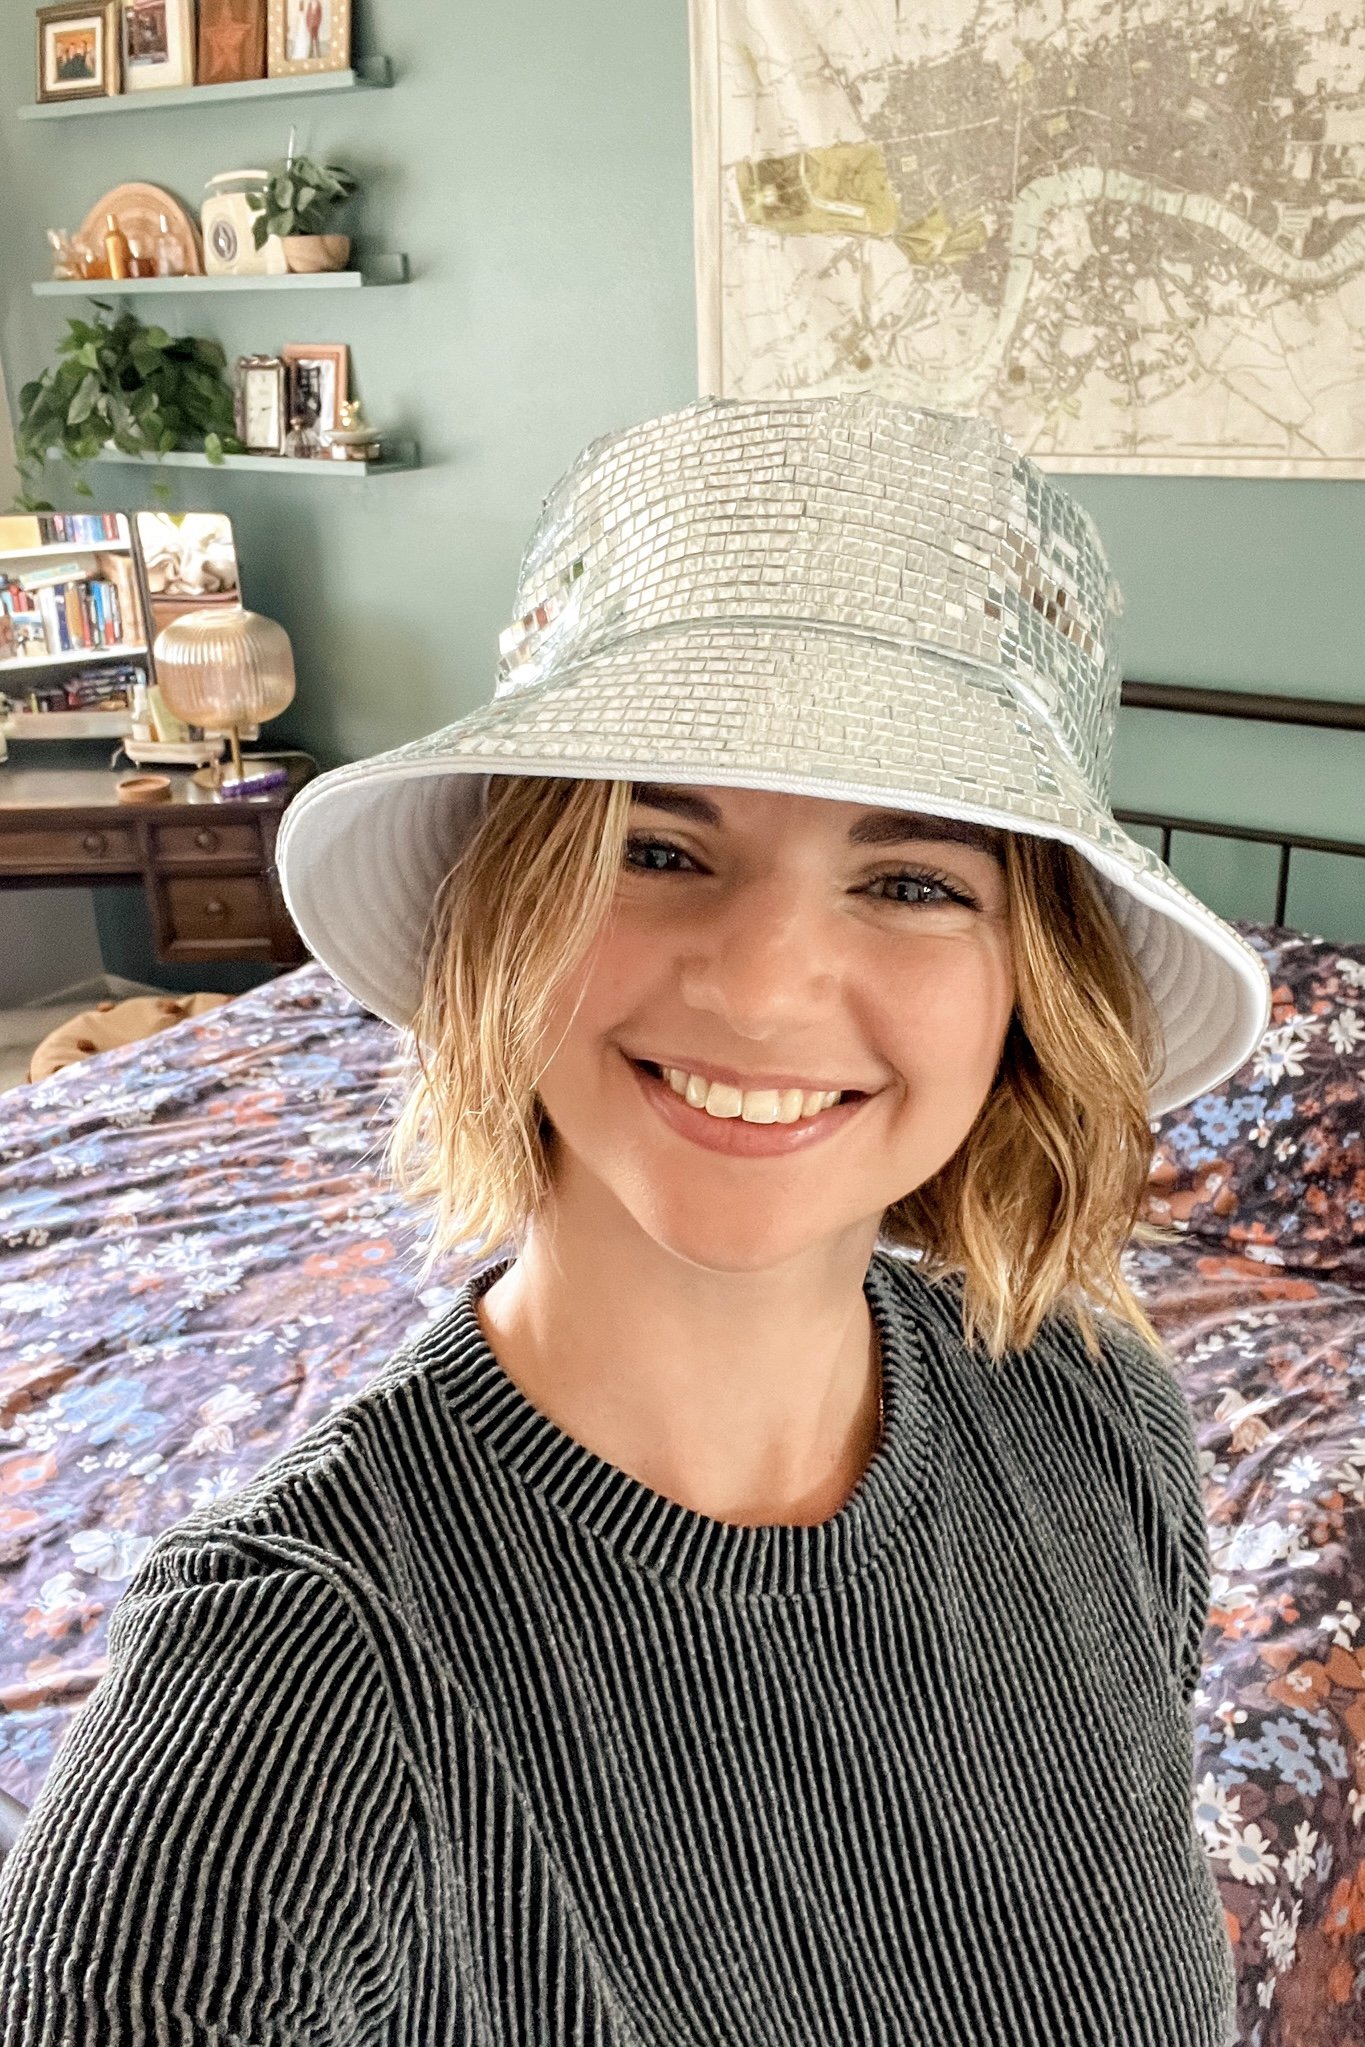
Well a friend of mine is getting married this year and throwing a “Desert Disco” bachelorette party so she asked me to make her a disco ball bucket hat, inspired by a photo that she saw online.
Find the supplies that I used along with some tips and tricks below to make your own disco ball bucket hat!
Affiliate disclosure: This post contains several affiliate links. As an Amazon Associate, I may earn commissions from qualifying purchases from Amazon.com. Thank you for your support!
HOW TO MAKE A DISCO BALL BUCKET HAT

DIY Disco Ball Bucket Hat Supplies:
Plain cotton bucket hat
Self adhesive mirror mosaic tiles (you will need to purchase 2 packs to cover the entire bucket hat)
This project is very easy to do, and barely requires a tutorial at all. But it does require a little patience and time! I would highly recommend doing this while listening to a good audiobook or TV show in the background.
All you are going to do is slowly and carefully stick on row after row of the self adhesive mirror tiles to the cotton bucket hat surface, trying to line up the tiles as close together as possible. The adhesive on these tiles alone worked great so I didn’t find that I needed to add any additional adhesive to secure on the mirrors. Here are a few of my tips:
It is easier to work with the hat if it keeps its shape throughout the process, so start off by stuffing your hat with newspaper or something to keep the bucket hat shape.
I would recommend starting with the easiest part of the bucket hat which is the flat surface surrounding your head. This is the easiest because it is pretty much a cylinder shape so your tiles will basically line up down the whole cylinder. For this section I just went row by row (starting from the bottom following the seam of the rim of the hat) and I attached mirror tiles in long sections, pressing them down as I made my way around the hat.
Make sure you are breaking up the tile strips into managable pieces to hold, otherwise the tiles will stick to themselves as you’re working.
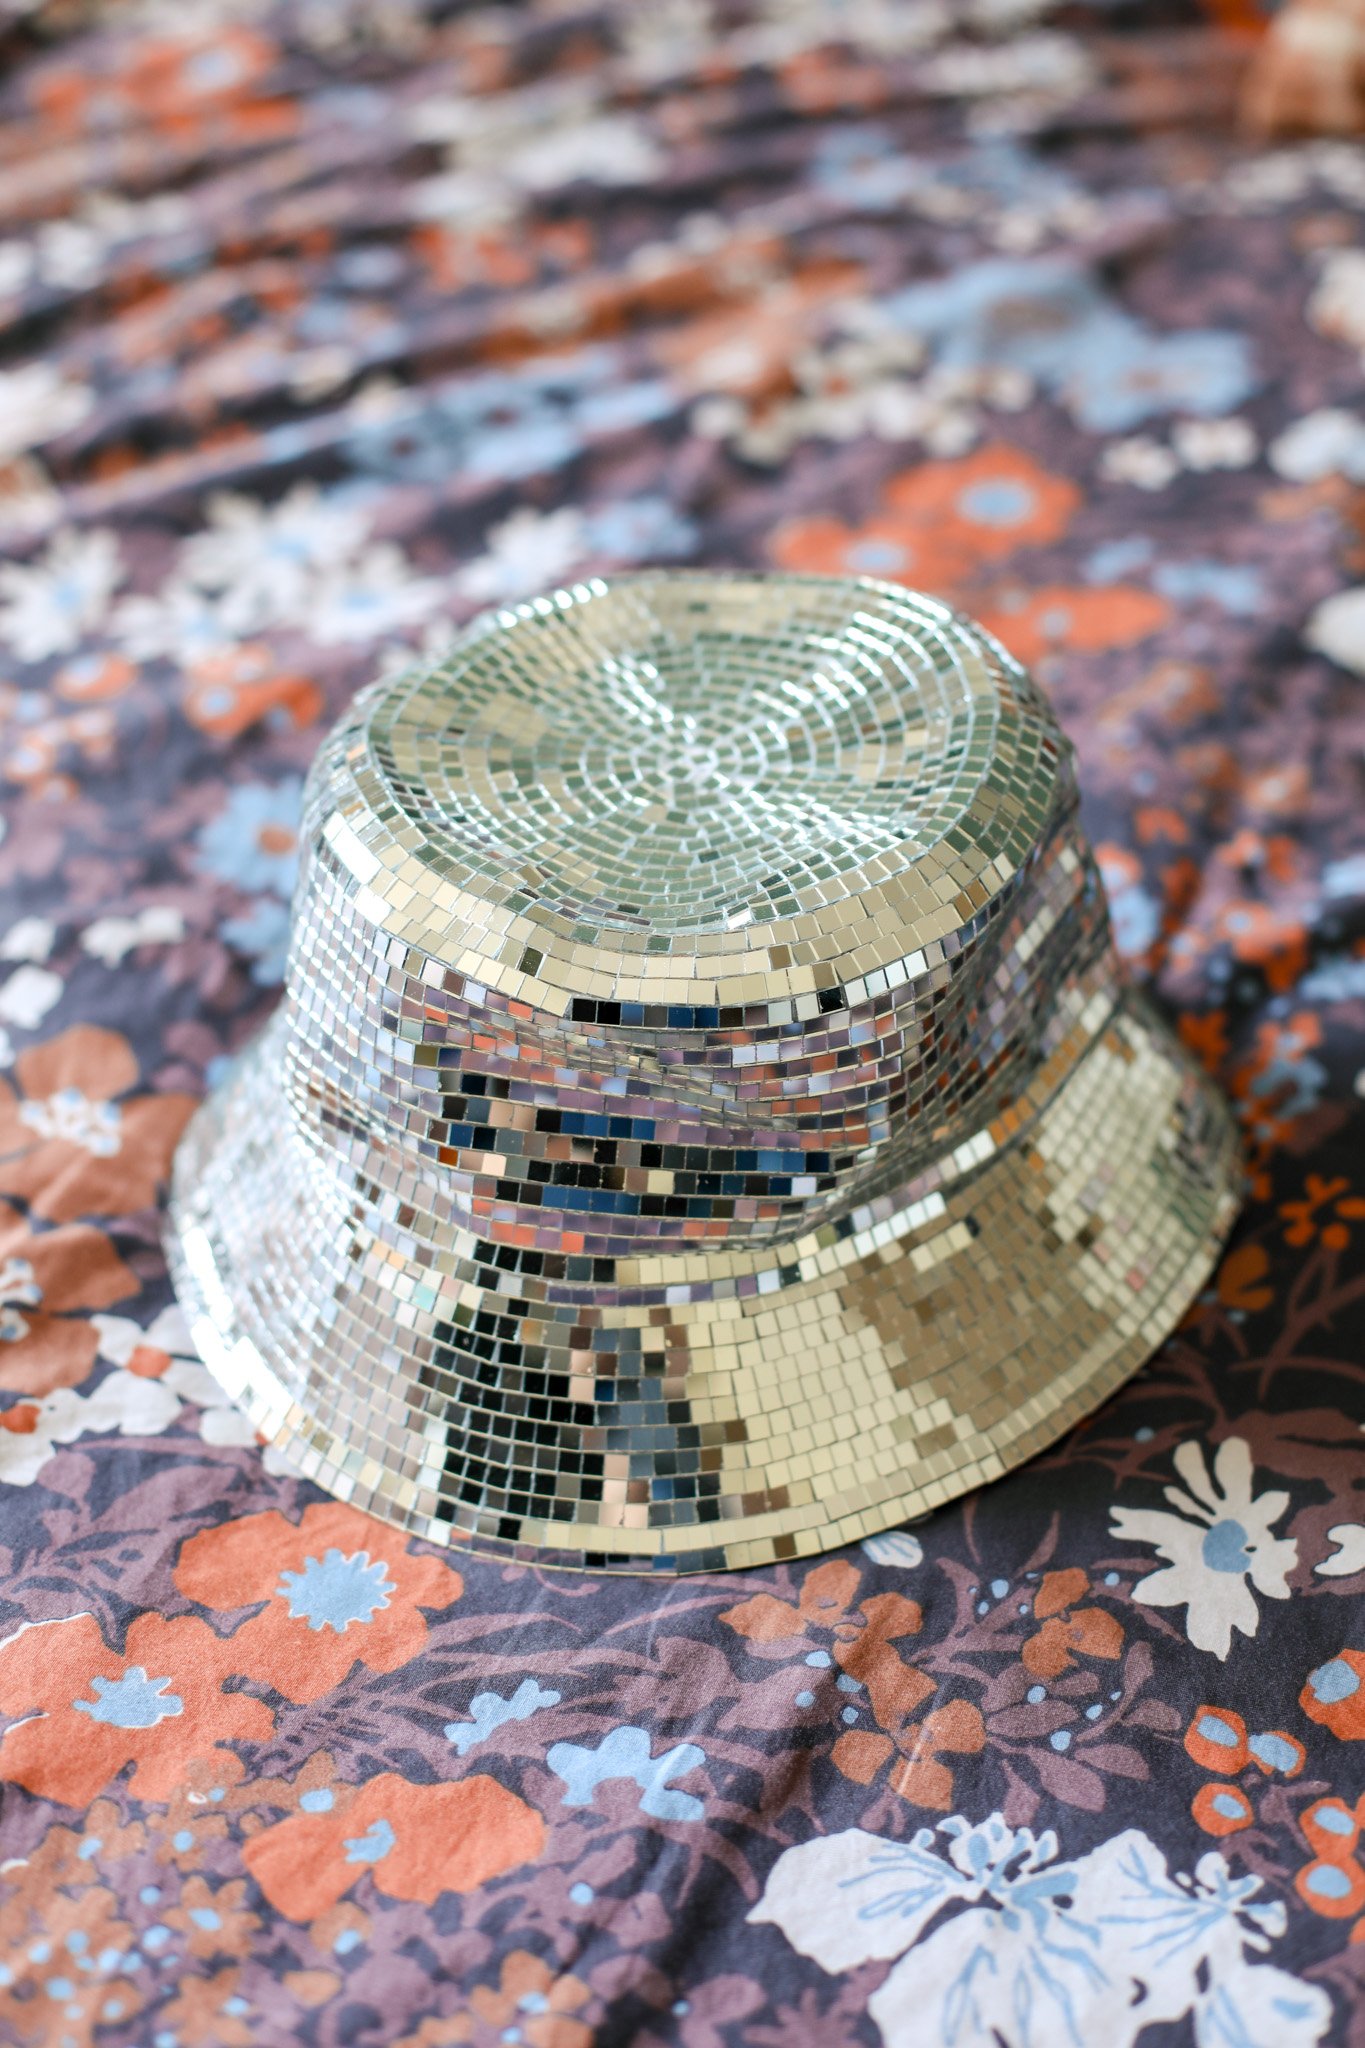
For the top of the hat, you will need to work with shorter strips of mirrors since you’re going to have to arrange them in a circle pattern. To start to get that rounded shape, I used pieces that were about 5 tiles long first, then moved to 4 tiles and 3 tile pieces as I got closer to the center of the circle. Lay down a section of tiles and then your next section will be at a slight angle to the first, again and again, to make a circle arrangement.
Same process for the outer rim of the hat. Because this surface is round and more cone shaped, you will have to use smaller sections of tiles to get the rounded shape.
Once the beginning of a row makes its way around the circumference of the hat, the end of the row should meet back up with the beginning. As you get closer to these tiles meeting up, you may have to leave a tiny bit of space between tiles progressively so that you aren’t left with an open space that doesn’t fit a full tile. Small spaces shouldn’t be too visible once your whole hat is covered!
If you’re a more visual person, be sure to check out my instagram @entertainidea to see a video of how I applied the mosaic tiles!
I’m now in the process of brainstorming what else I can cover in these fun mirror tiles! I’m thinking to do a plant pot that can sit in the window and shine disco ball sparkles around the room. Lemme know what you think! :)
xo Rachael

