
How to Make Star Embossed Coasters for the 4th of July
I can’t believe that July is already almost here! But it is now officially summertime, which means it is time for all the fun summer themed crafts and projects! I have so many fun ideas coming your way, so stay tuned to the blog :)
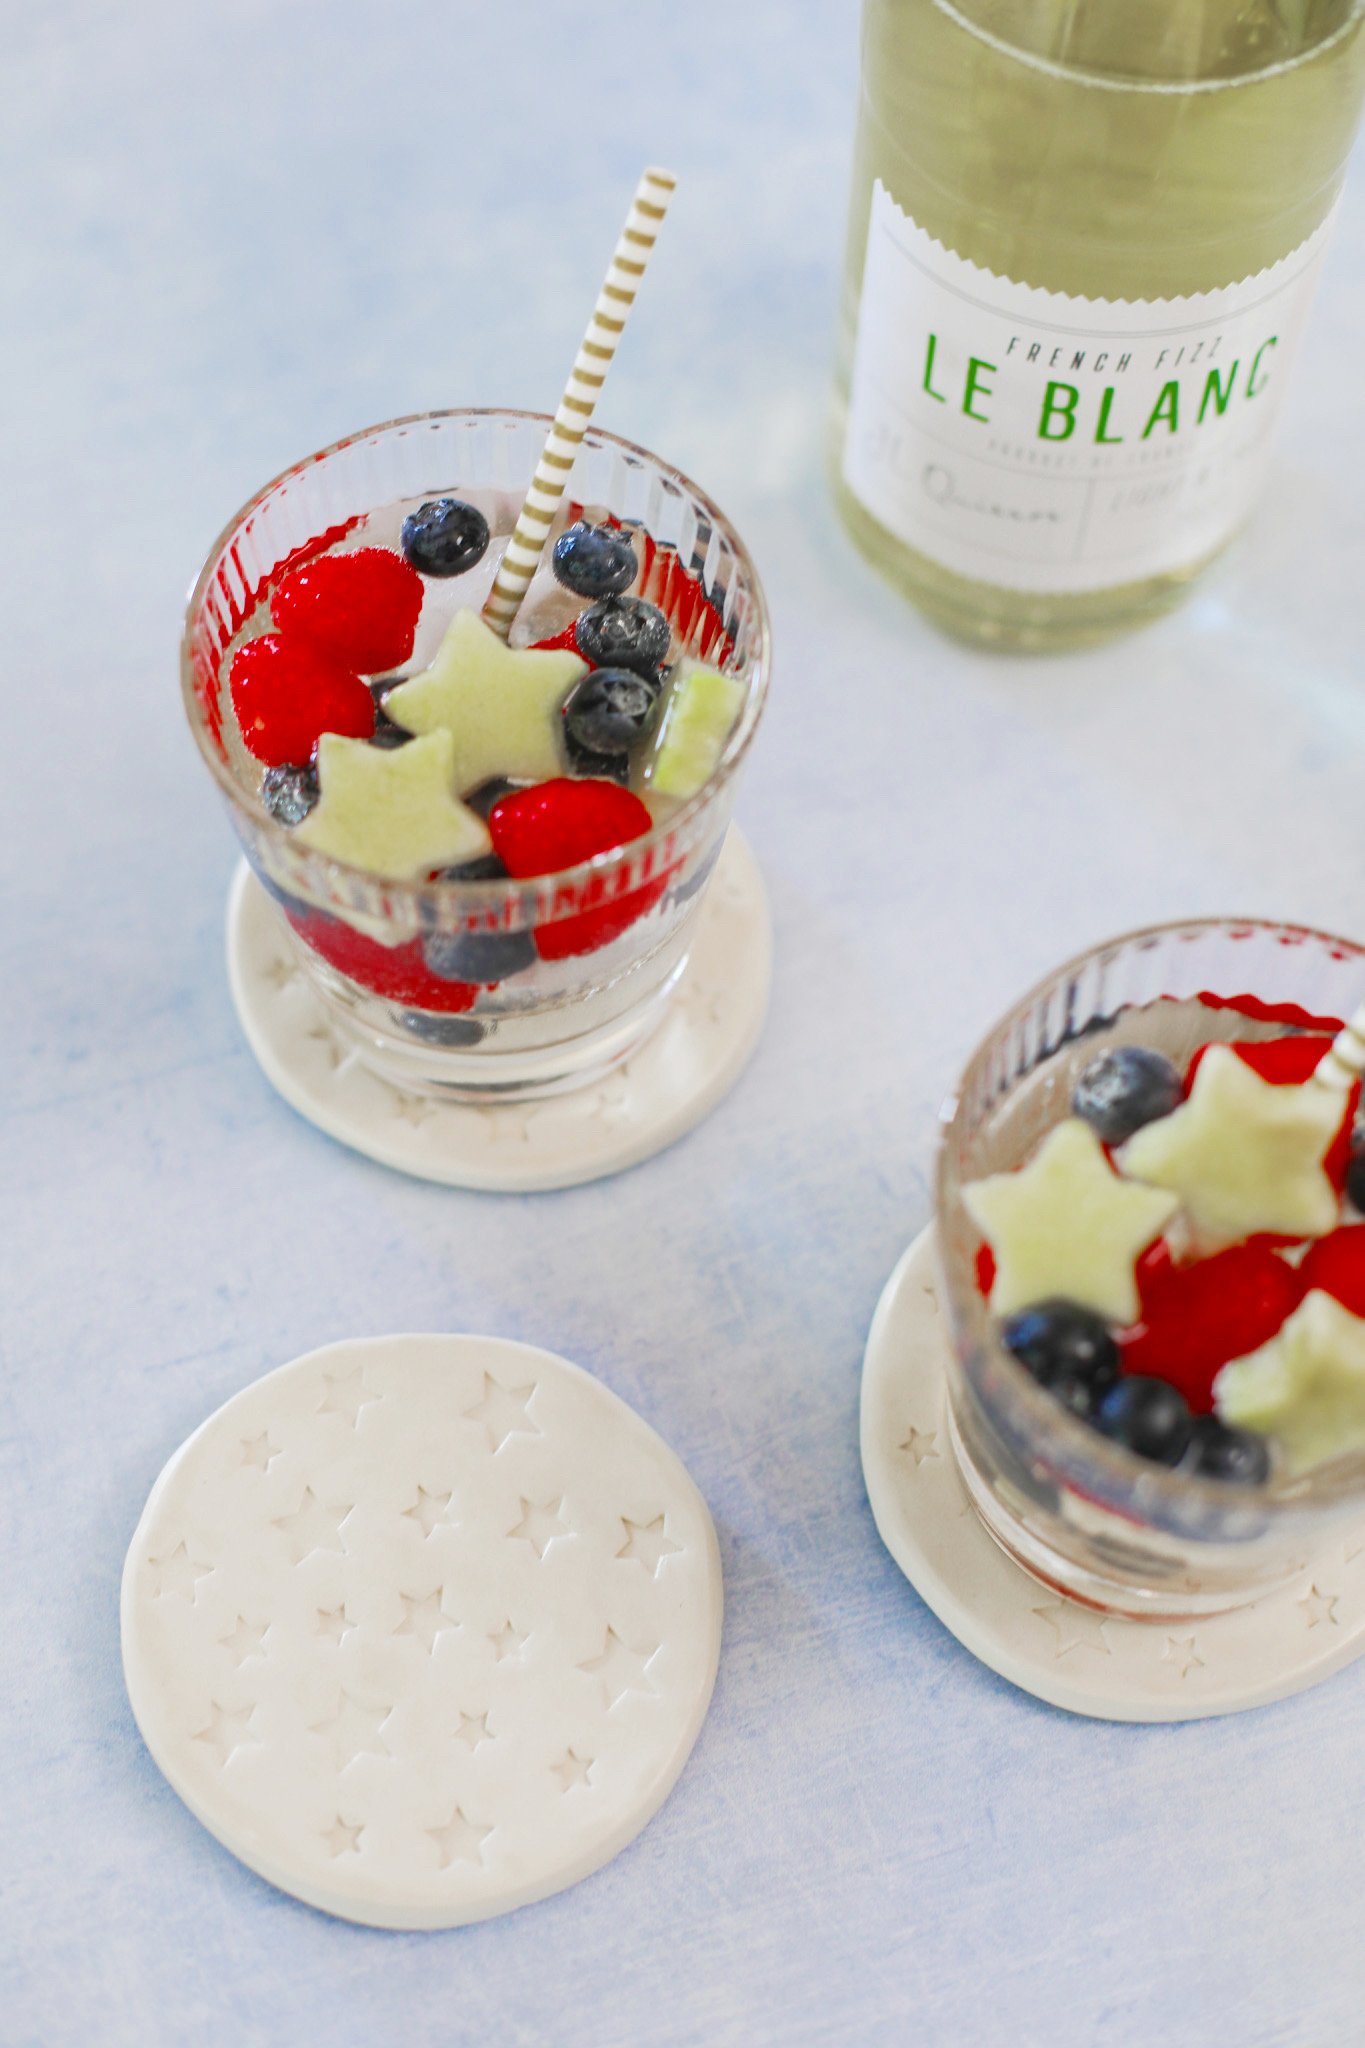
Today I wanted to kick off summer with a special 4th of July themed craft that was so simple and also truly functional! I love hosting for any holiday and I love to include special DIY touches and details to make every celebration unique. Follow along below to see how I made these easy star embossed coasters with air dry clay, perfect to accompany your 4th of July BBQ beverage.

Affiliate disclosure: This post may contain affiliate links. When you buy from these links, I may earn a small commission, at no additional cost to you. As an Amazon Associate, I may earn commissions from qualifying purchases from Amazon.com. Thank you for your support!
HOW TO MAKE THESE STAR EMBOSSED COASTERS FOR THE FOURTH OF JULY
Supplies:
Tupperware lid (about 3.5” diameter)
Knife
Tweezers
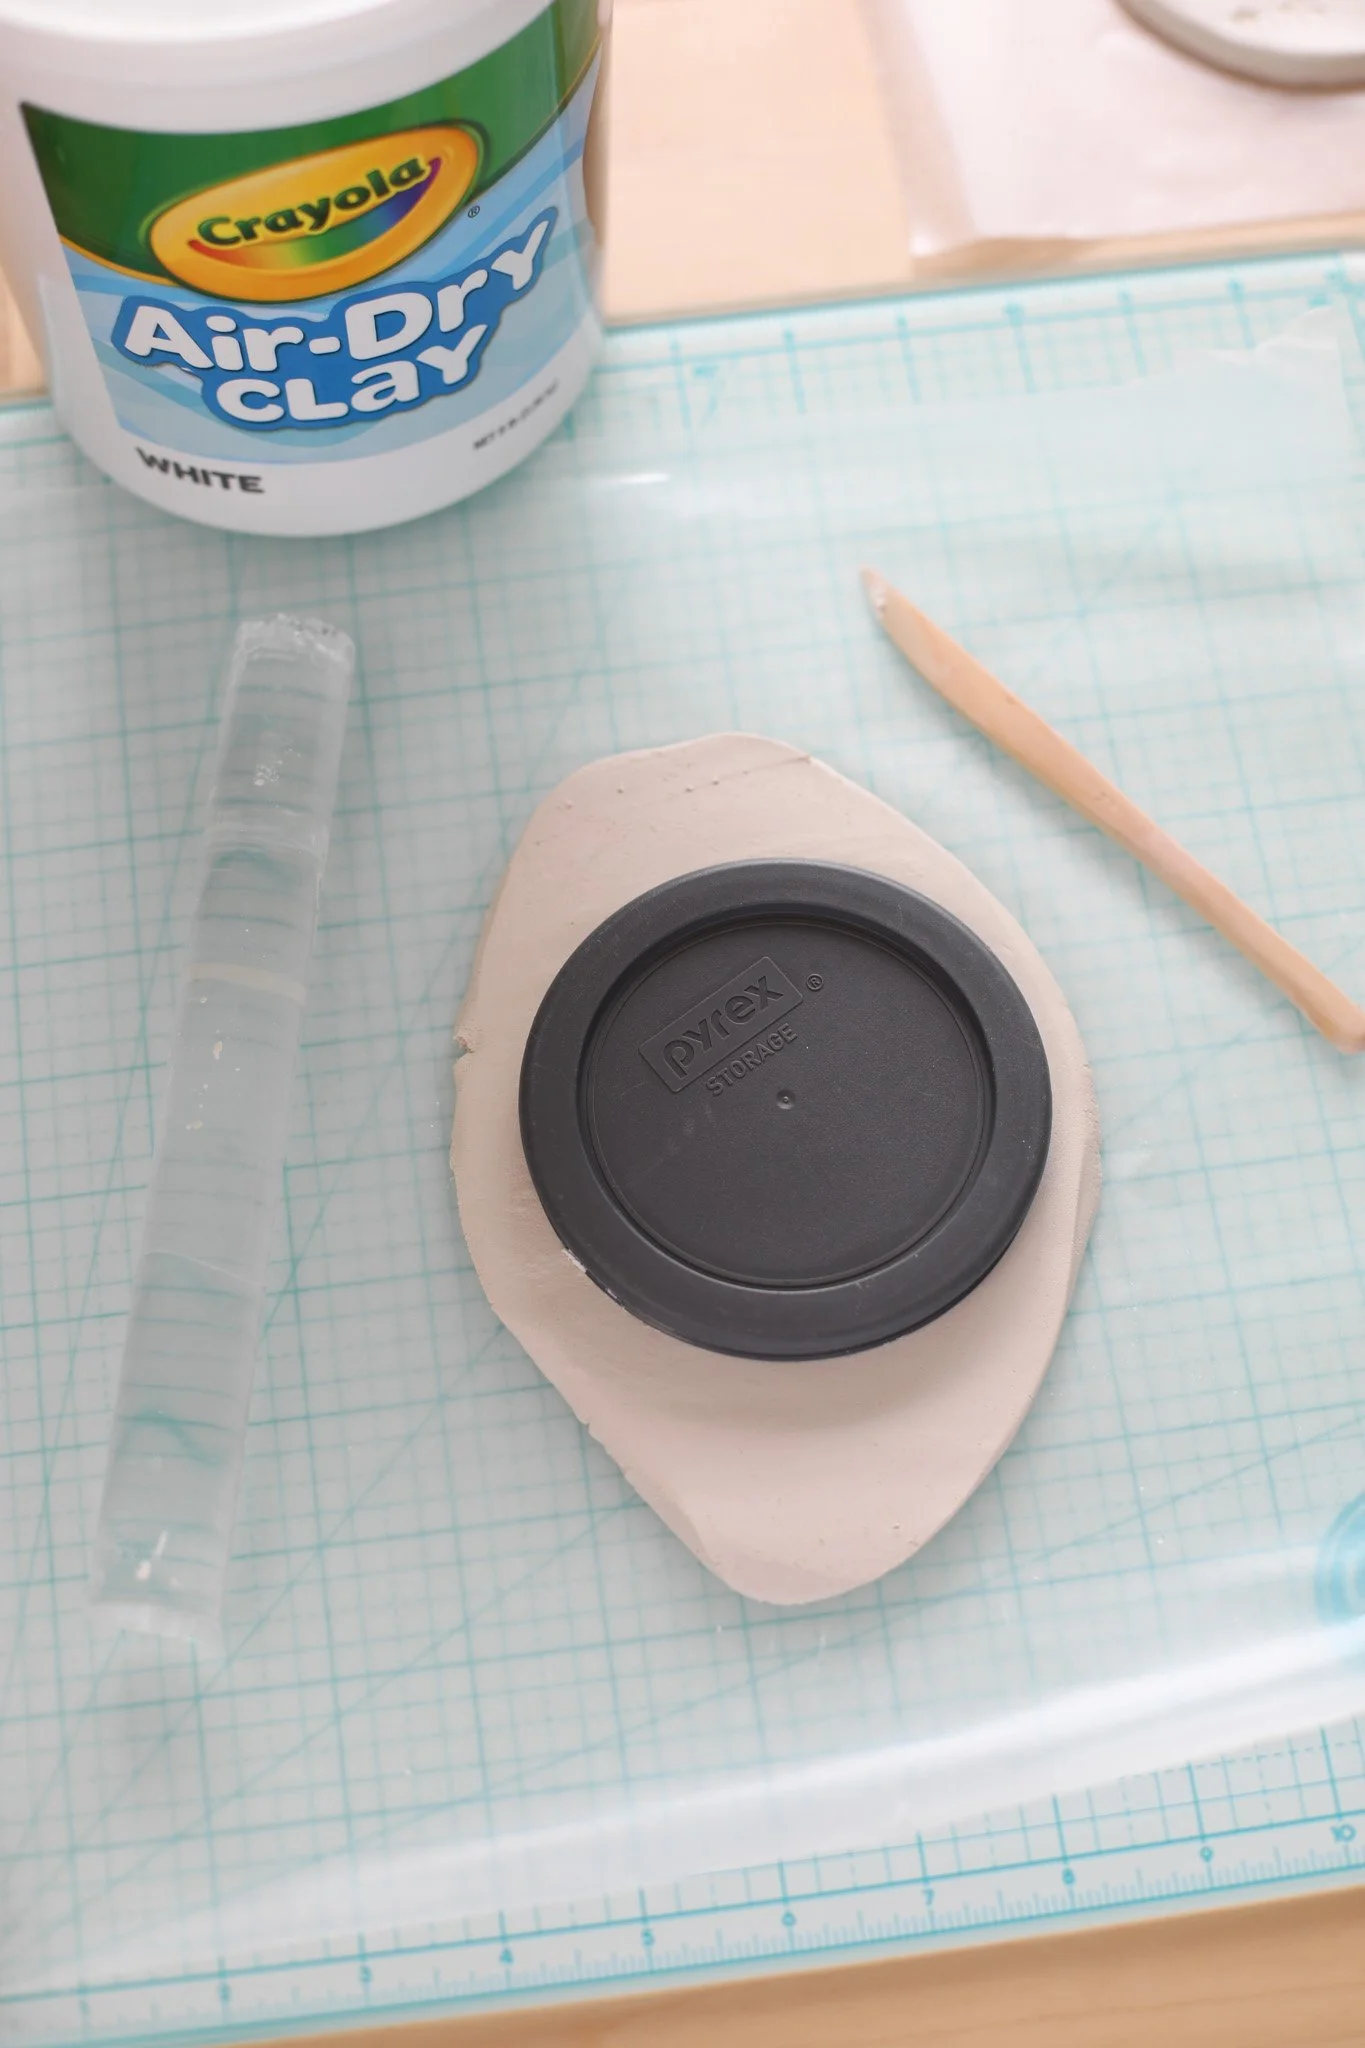
Begin by rolling out a chunk of your air dry clay. I like to use a piece of wax paper on my work surface for easy clean up. Knead the piece of air dry clay with your hands until it is soft. Then roll out the clay with a rolling pin on a clean surface until you have a flat even piece that is about 1/4 inch thick.
To get an even layer of clay, I like to place two items on either side of the clay for my rolling pin to sit on top of. This guarantees the rolling pin will stay perfectly flat and will not flatten the clay thinner than you want. For this project, I used two other coasters that I had around the house to get a good thickness size, but the easiest way to accomplish this is with a rolling pin with adjustable thickness rings (I would use the 8mm size for this project).
Next, place a tupperware lid (or any round object the correct size) on top of your clay to use as a template. My tupperware was about 3.5 in diameter. Use a knife to carefully trace around the lid and remove excess clay. Use your fingers with a little bit of water to smooth out the edges and any cracks/uneveness on the top of your clay round.

Once you have all your clay rounds ready, press an assortment of sizes of your wooden stars into the surface of the clay. You want to press them in so they are just above the surface of the coaster. Then use a pair of tweezers to grab each star and carefully pull them out, leaving a star embossed pattern.
Dip the end of your finger into a little bit of water and carefully smooth out the top of your clay again to get a super clean and uniform looking surface.
Now you wait! Allow the clay to dry for about 72 hours to be sure it is fully hardened. You will probably want to flip it over occasionally throughout this process as well to make sure every side is drying.
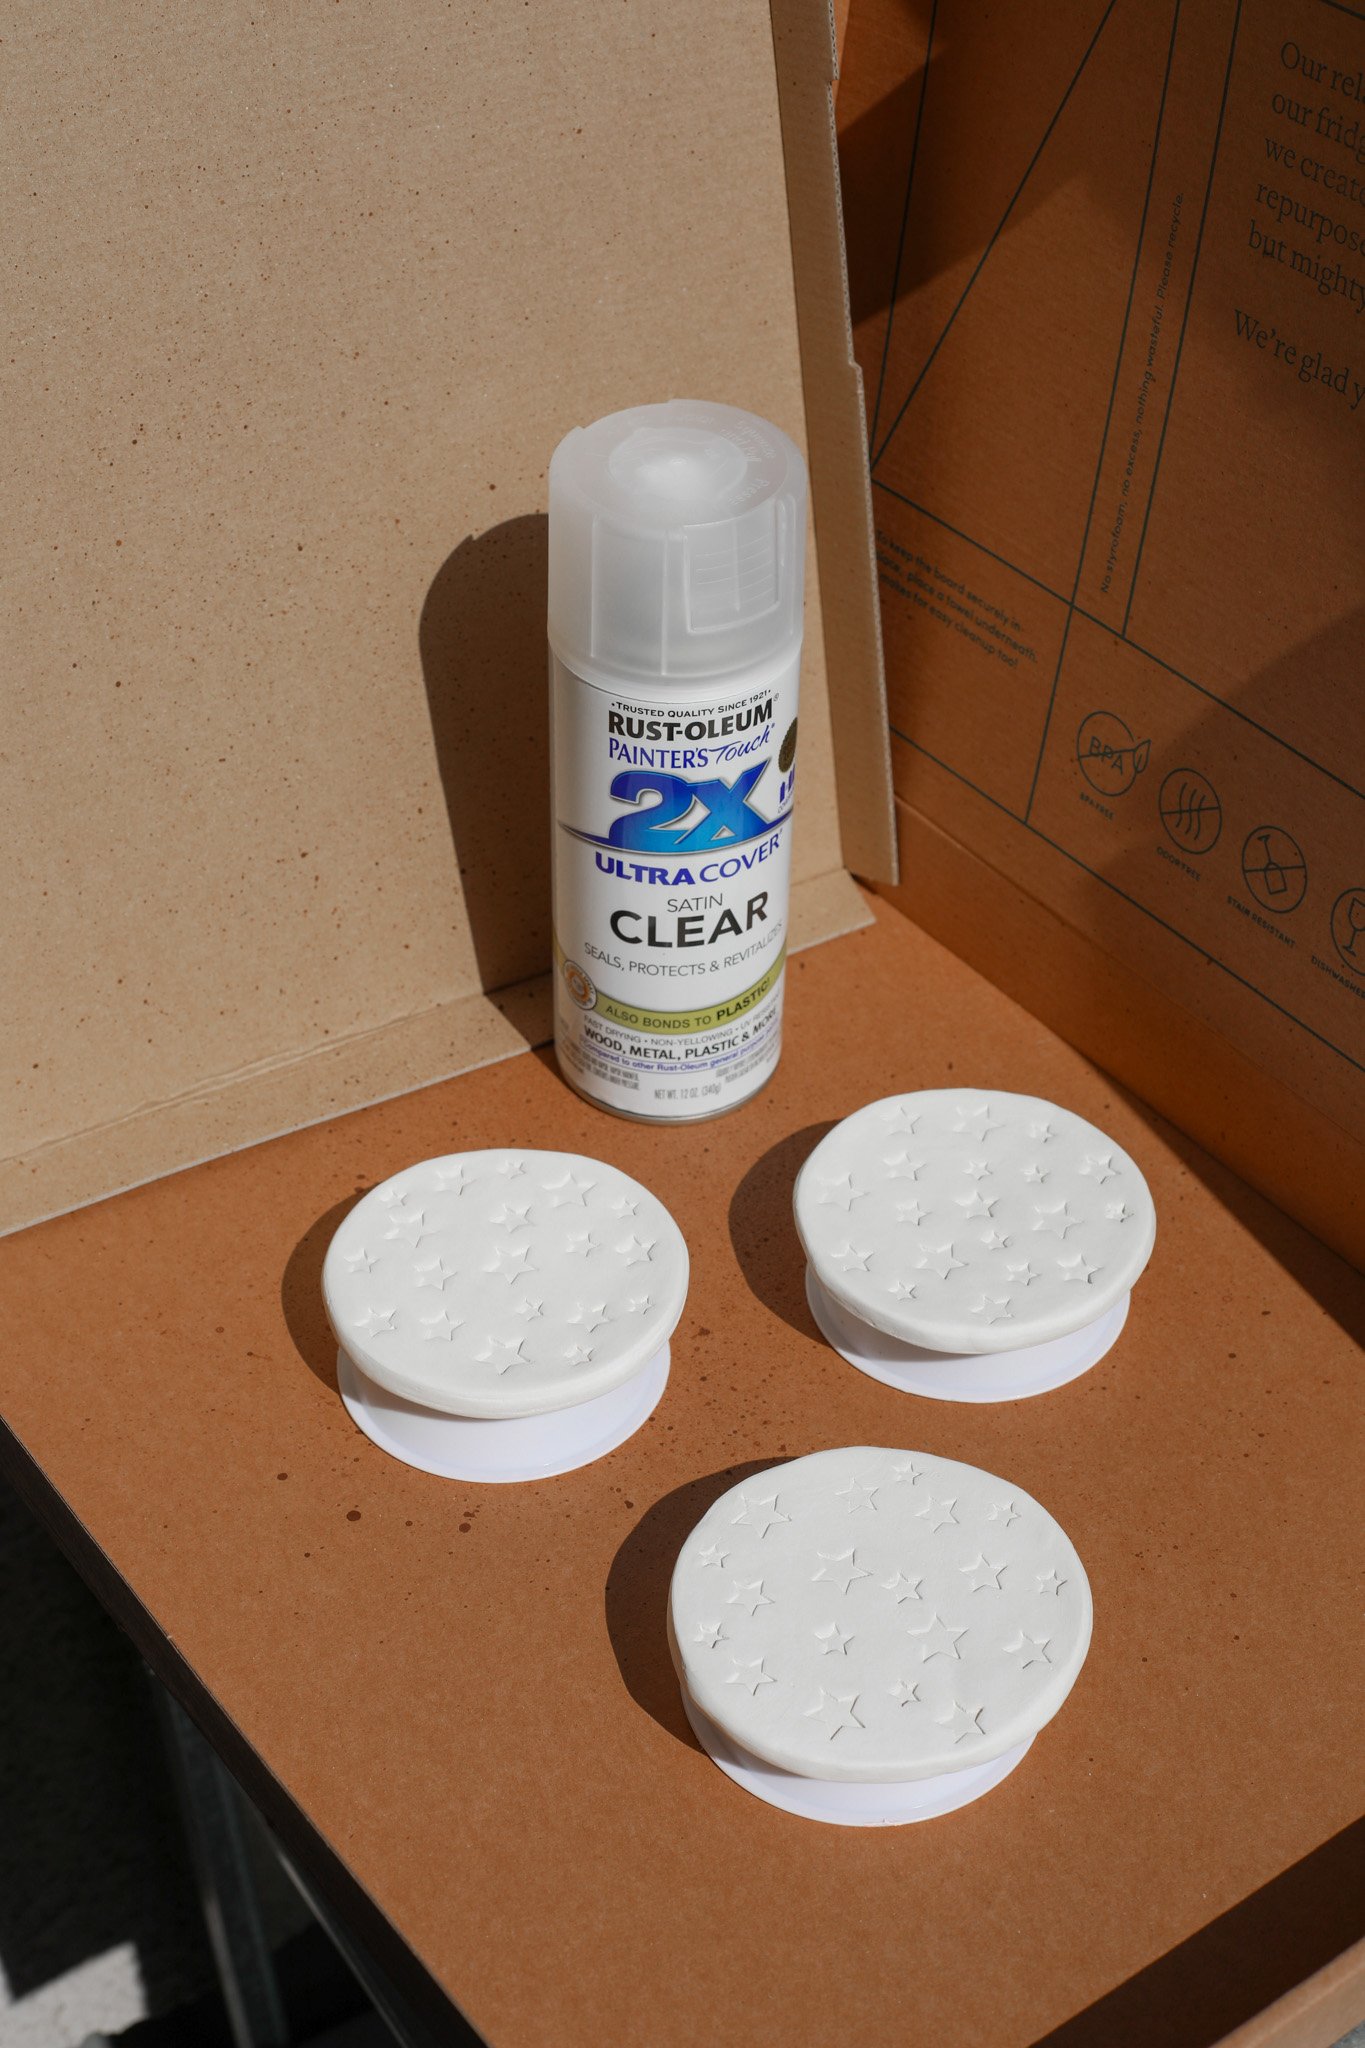
Once your clay has fully hardened, take the rounds outside for a few coats of a clear satin spray paint to seal the clay so that these coasters are more water resistant. I ended up giving both sides and edges of the coasters about 2 coats of spray paint each.
Allow the clear spray paint to dry overnight.

And now all that is left is adding some felt feet to protect your counter surface! I bought some small adhesive felt pads from the dollar store and placed 4 on the bottom of each coaster.
Now sit back and make yourself a drink, you deserve it!

I think these coasters would also look very cute painted, which you could totally do before spraying them with the clear spray paint. You could even color in the embossed starts with a different color of paint.
And hey, stars are not just for 4th of July! You can use these coasters year round. I think they would be cute for a New Years party as well :)

Hope you are enjoying the first few days of Summer! What are your plans this year for the 4th of July?
xo Rachael

