
3 Ways to Upgrade Basic Photo Frames
Happy 2023, everybody! I hope you all had a wonderful holiday season and are getting back in the swing of things in the new year. Daniel, Kevynn, and I all recently returned from a long winter road trip that was super fun but very tiring :P glad to be back home and ready to take on more projects this year!
To start off the year, I wanted to share an easy (and useful) craft project if you’re looking for a way to display some of your recent holiday photos! Everybody knows that framing can be sooo expensive, but I love the way framed photos and artwork look in my home. So I decided to try my hand at making over some very basic wooden photo frames to see if I could make them look more upgraded and expensive. Take a look below to see how the makeovers went! :)
Affiliate disclosure: This post contains several affiliate links. As an Amazon Associate, I may earn commissions from qualifying purchases from Amazon.com. Thank you for your support!
3 WAYS TO UPGRADE BASIC PHOTO FRAMES

These are the basic wooden photo frames that I started with. I purchased a set of 3 from Amazon (here). They are unfinished 4”x6” craft frames perfect for painting or embellishing however you would like! They include an indent on the back if you want to hang them from a hook on the wall or they have a small wooden dowel if you want to set them upright on a shelf.

To begin, I removed the backing and clear plastic from all three frames. And here is how I created each of the three designs:
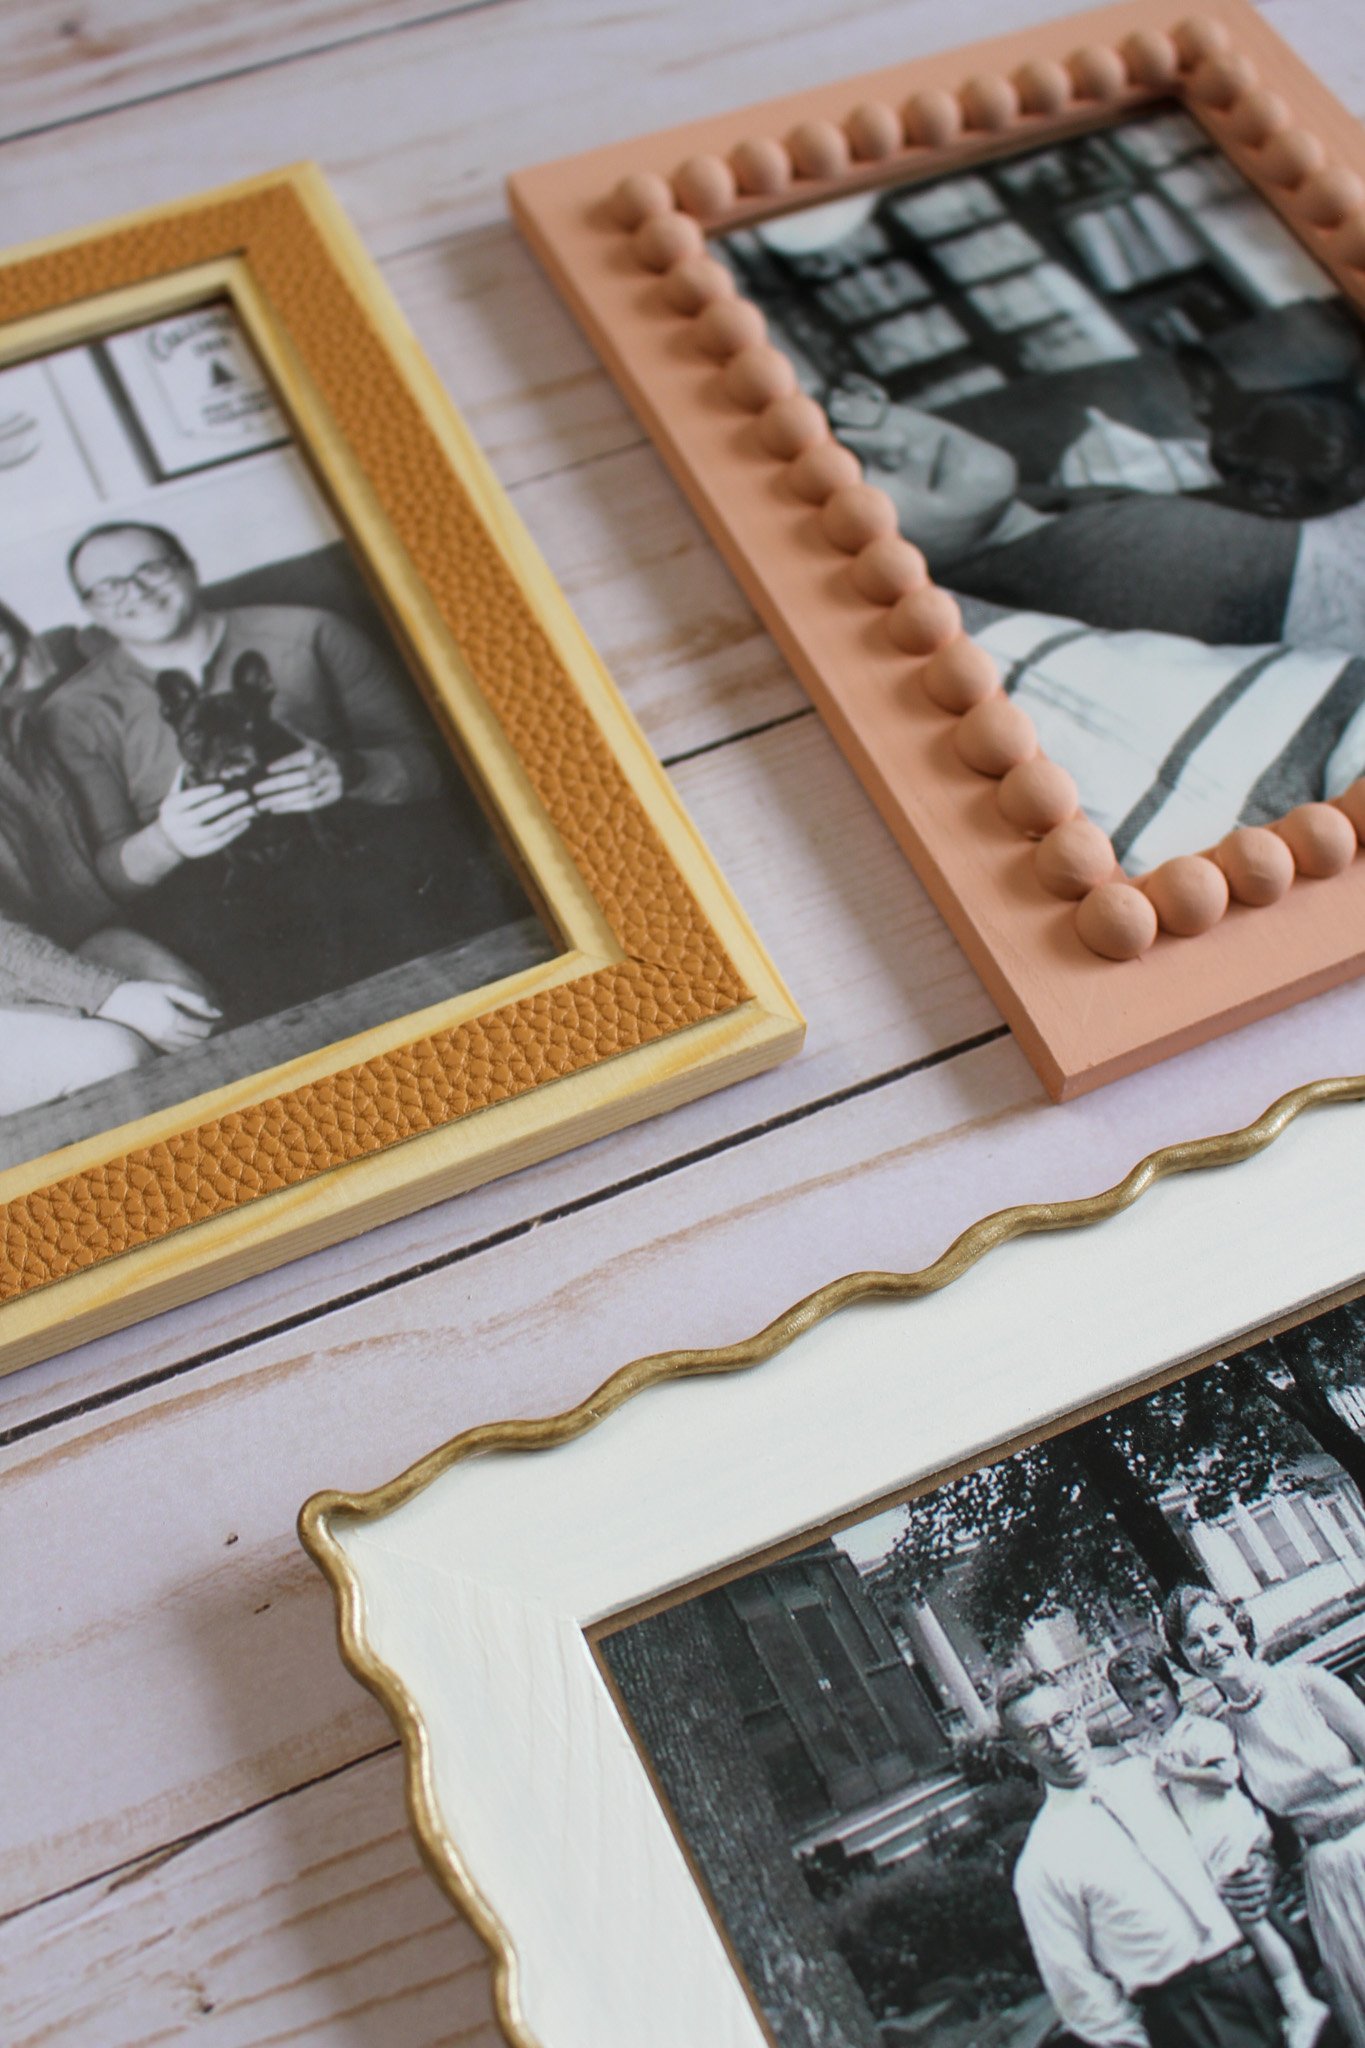
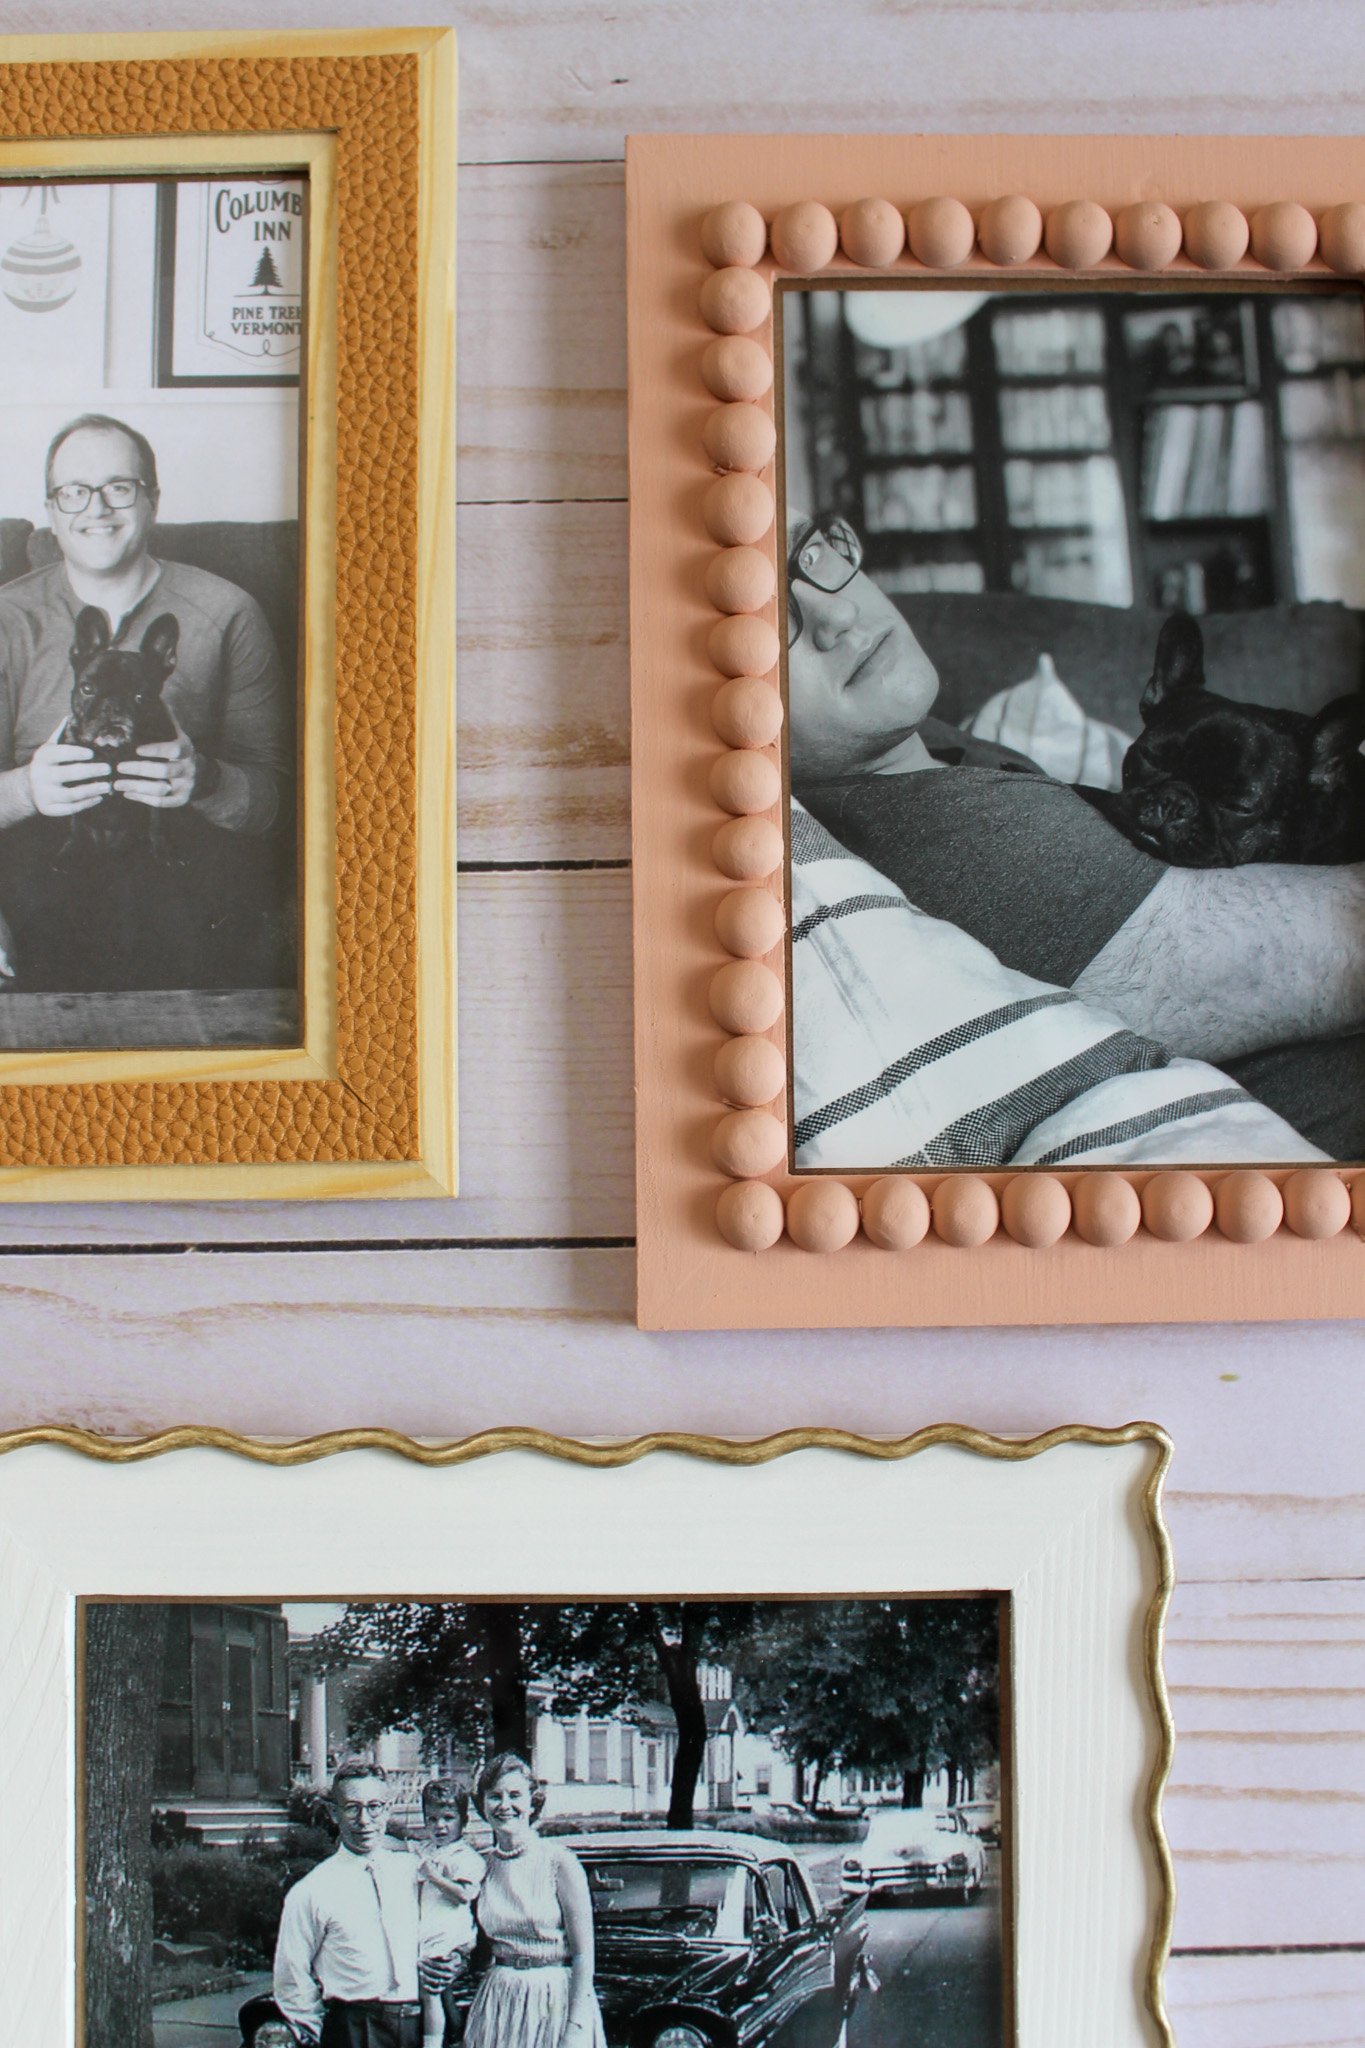
DESIGN #1


My first design was definitely the easiest process, but I love how it turned out! I used a hot glue gun to glue mini half wooden beads to the perimeter of the photo space. I found it helpful to lay all the beads out first to make sure they were properly spaced before beginning to glue. Once the glue dried, I pulled off any visible hot glue strings with a pair of tweezers. Then I gave the entire frame (including the sides of the frame) about 3 coats of acrylic paint in a peachy pink color.
This design has a much more playful and cutesy feel, perfect for decorating shelves in a kid’s room or if you like a pop of color in your space!
DESIGN #2
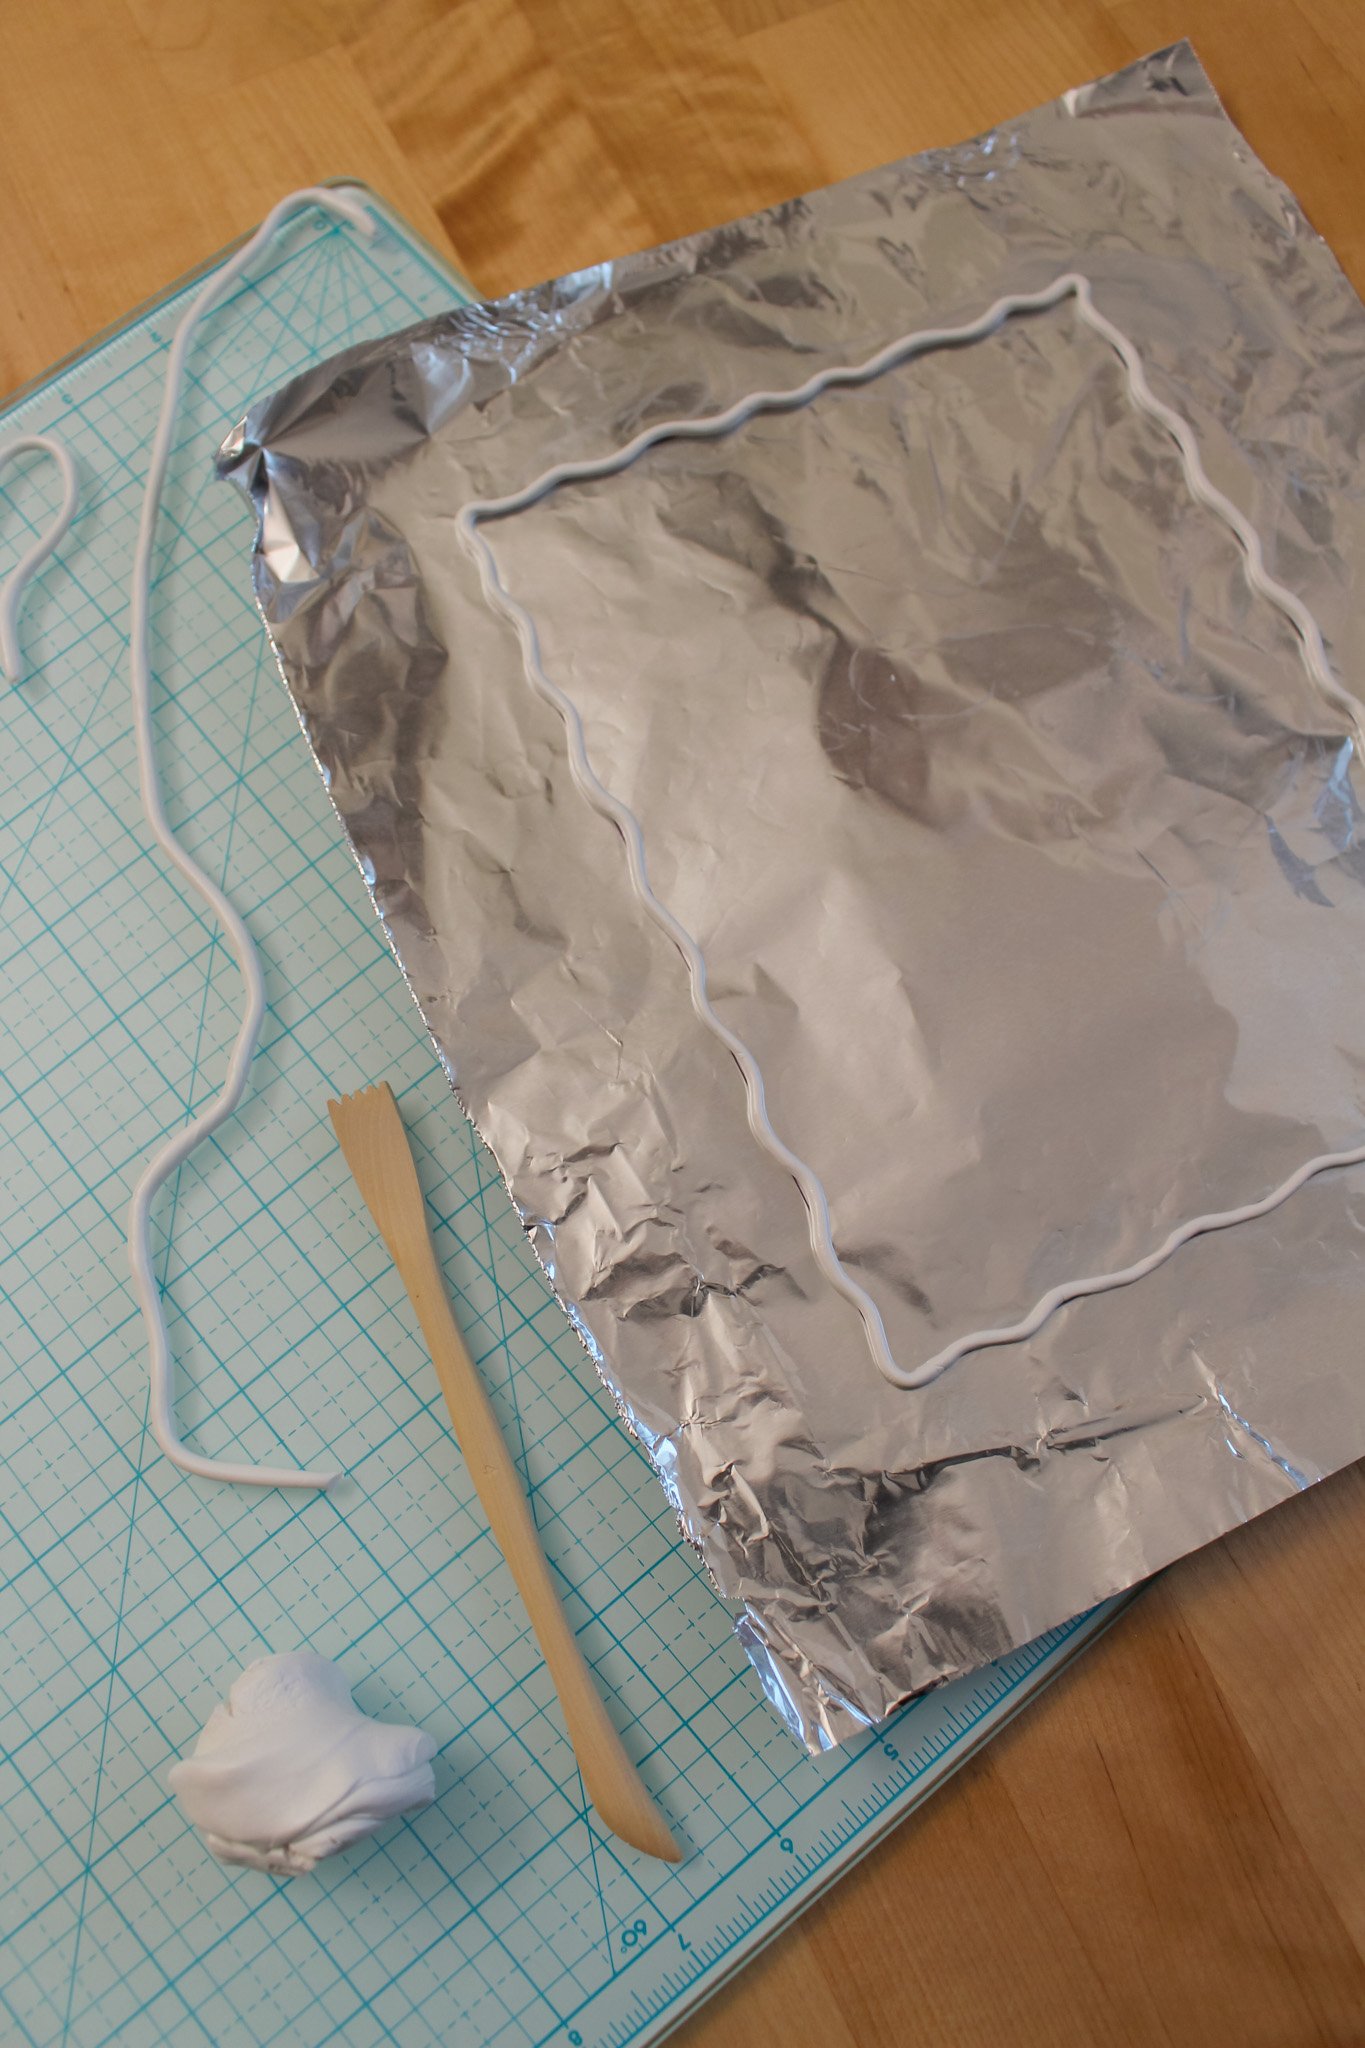
For the second design, I was inspired by this gold frame that I saw from Williams Sonoma Home. I loved the look of the squiggly edges, so I attempted my own DIY version.
To begin, I traced the outside perimeter of the wood frame onto a piece of aluminum foil (you could use parchment paper as well) with a sharpie marker. Then I rolled out a long, thin snake of white polymer clay. I carefully placed the clay along the sharpie line, gently pushing it into a squiggle shape right along the edge. Once the rectangle shape was complete, I carefully joined the two ends together and smoothed out the clay so it looked like one continuous piece. Then I baked the clay in the oven (per the directions on the clay packaging).

Once the clay piece was baked and fully cooled, it was ready for a few coats of gold metallic acrylic paint. My specific paint was fairly transparent, so I ended up needing to do about 4 coats on the polymer clay. Between coats, I also separately painted the wood frame with a warm white acrylic paint. This also took about 4 coats.
Once all the paint was dry, I added a thin line of craft glue around the perimeter of the frame, then carefully lifted my clay piece off the aluminum foil and pressed it into the glue on the frame edges. I held it in place for a few minutes while the glue began to set, then I went in with a q-tip to remove any excess glue.
This frame turned out to be my favorite! I think it looks very high quality and elegant. I think this style of frame would make a very sweet gift as well (mother’s day maybe? or even Valentine’s Day?)
DESIGN #3


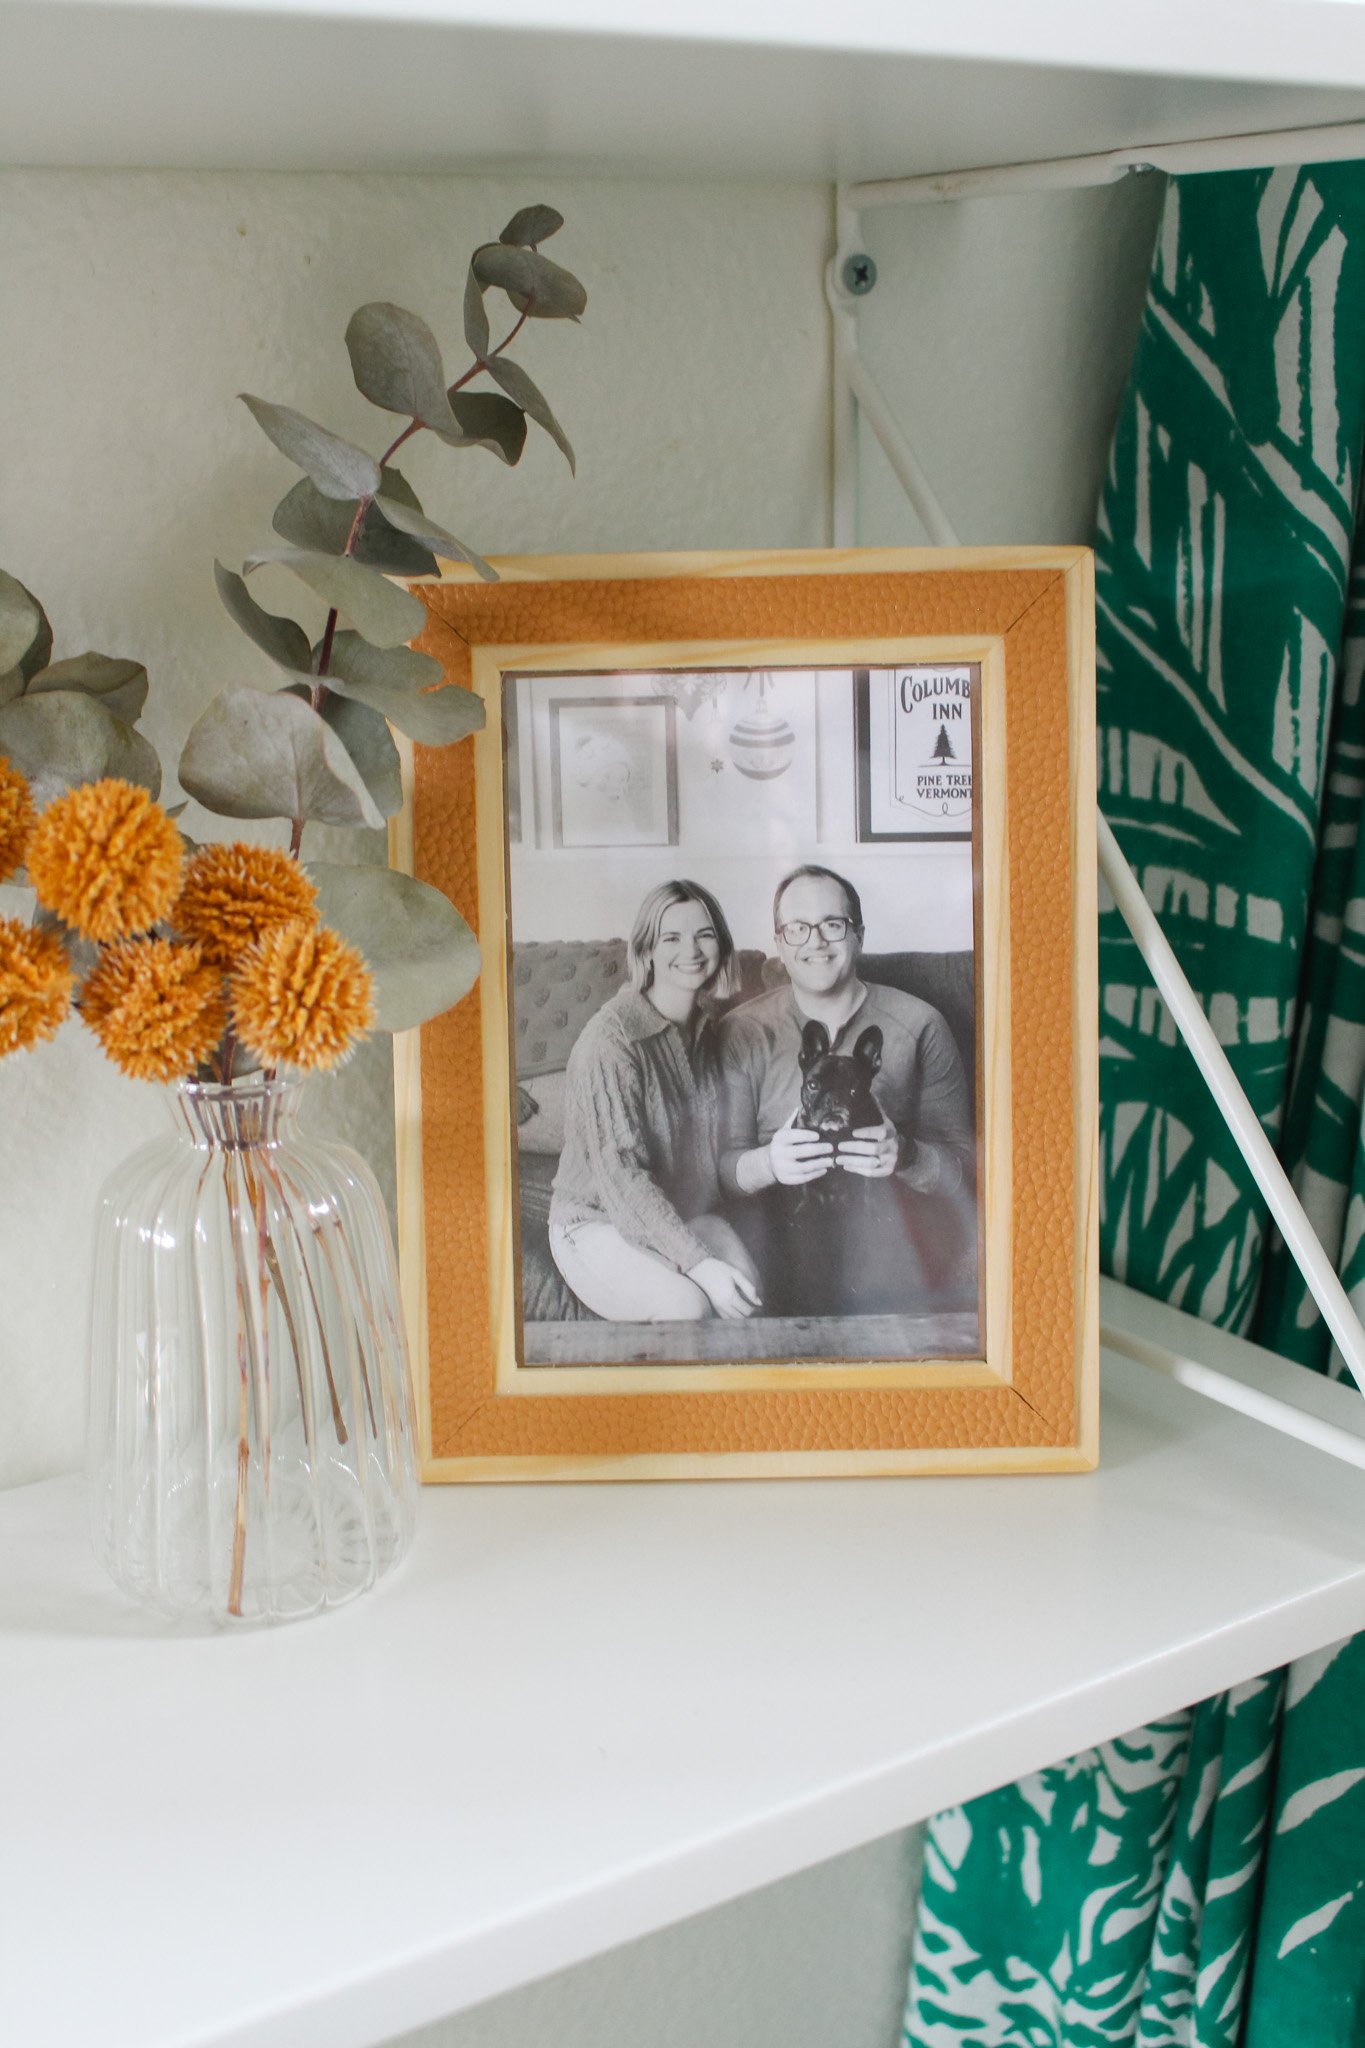
For the final design, I utilized some leftover faux leather material that I had in my craft stockpile — here’s the Etsy shop that I purchased this from in the past. I cut out 1/2 in strips of leather to begin, then I laid the leather strip on the center of each side of the frame, marking where I needed to cut the corners. I used my cutting mat to create 45 degree angled cuts on the edges of each strip of leather so that they matched together exactly in the corners.
Once all my leather pieces were measured and cut to size, I gave the entire frame a coat of clear matte Mod Podge with a sponge brush. Then while the Mod Podge was still sticky, I pressed the leather pieces into place then let it dry.
I think this frame also has a very modern-sophisticated style that looks much more expensive than a simple wood frame!

I’m so happy with how all 3 of these designs turned out! Which one was your favorite?? I would love to see how YOU would decorate one of these wooden frames. I challenge you to have your own craft night and see where this inspiration takes you! If you try it out, be sure to tag us on Instagram (#entertaintheidea @entertainidea) with your final frame designs. Happy crafting!
xo Rachael

