
Printable Halloween Temporary Tattoos
Hi friends! To get everyone in the Halloween spirit, we have a fun printable treat for you all today… Halloween Temporary Tattoos! I used to love putting on temporary tattoos as a kid and I love that there is now a super easy way to make your own tattoos from the comfort of your own home.
If you would like to design your own images to turn into tattoos, you can totally do that too using photoshop, illustrator, procreate, or even just pulling clip art images from google. Once you have the images sized how you would like them on your document, save your document as a PDF and be sure to flip your image to the mirror image for printing. Then follow the steps below on how to turn this document into temporary tattoos.
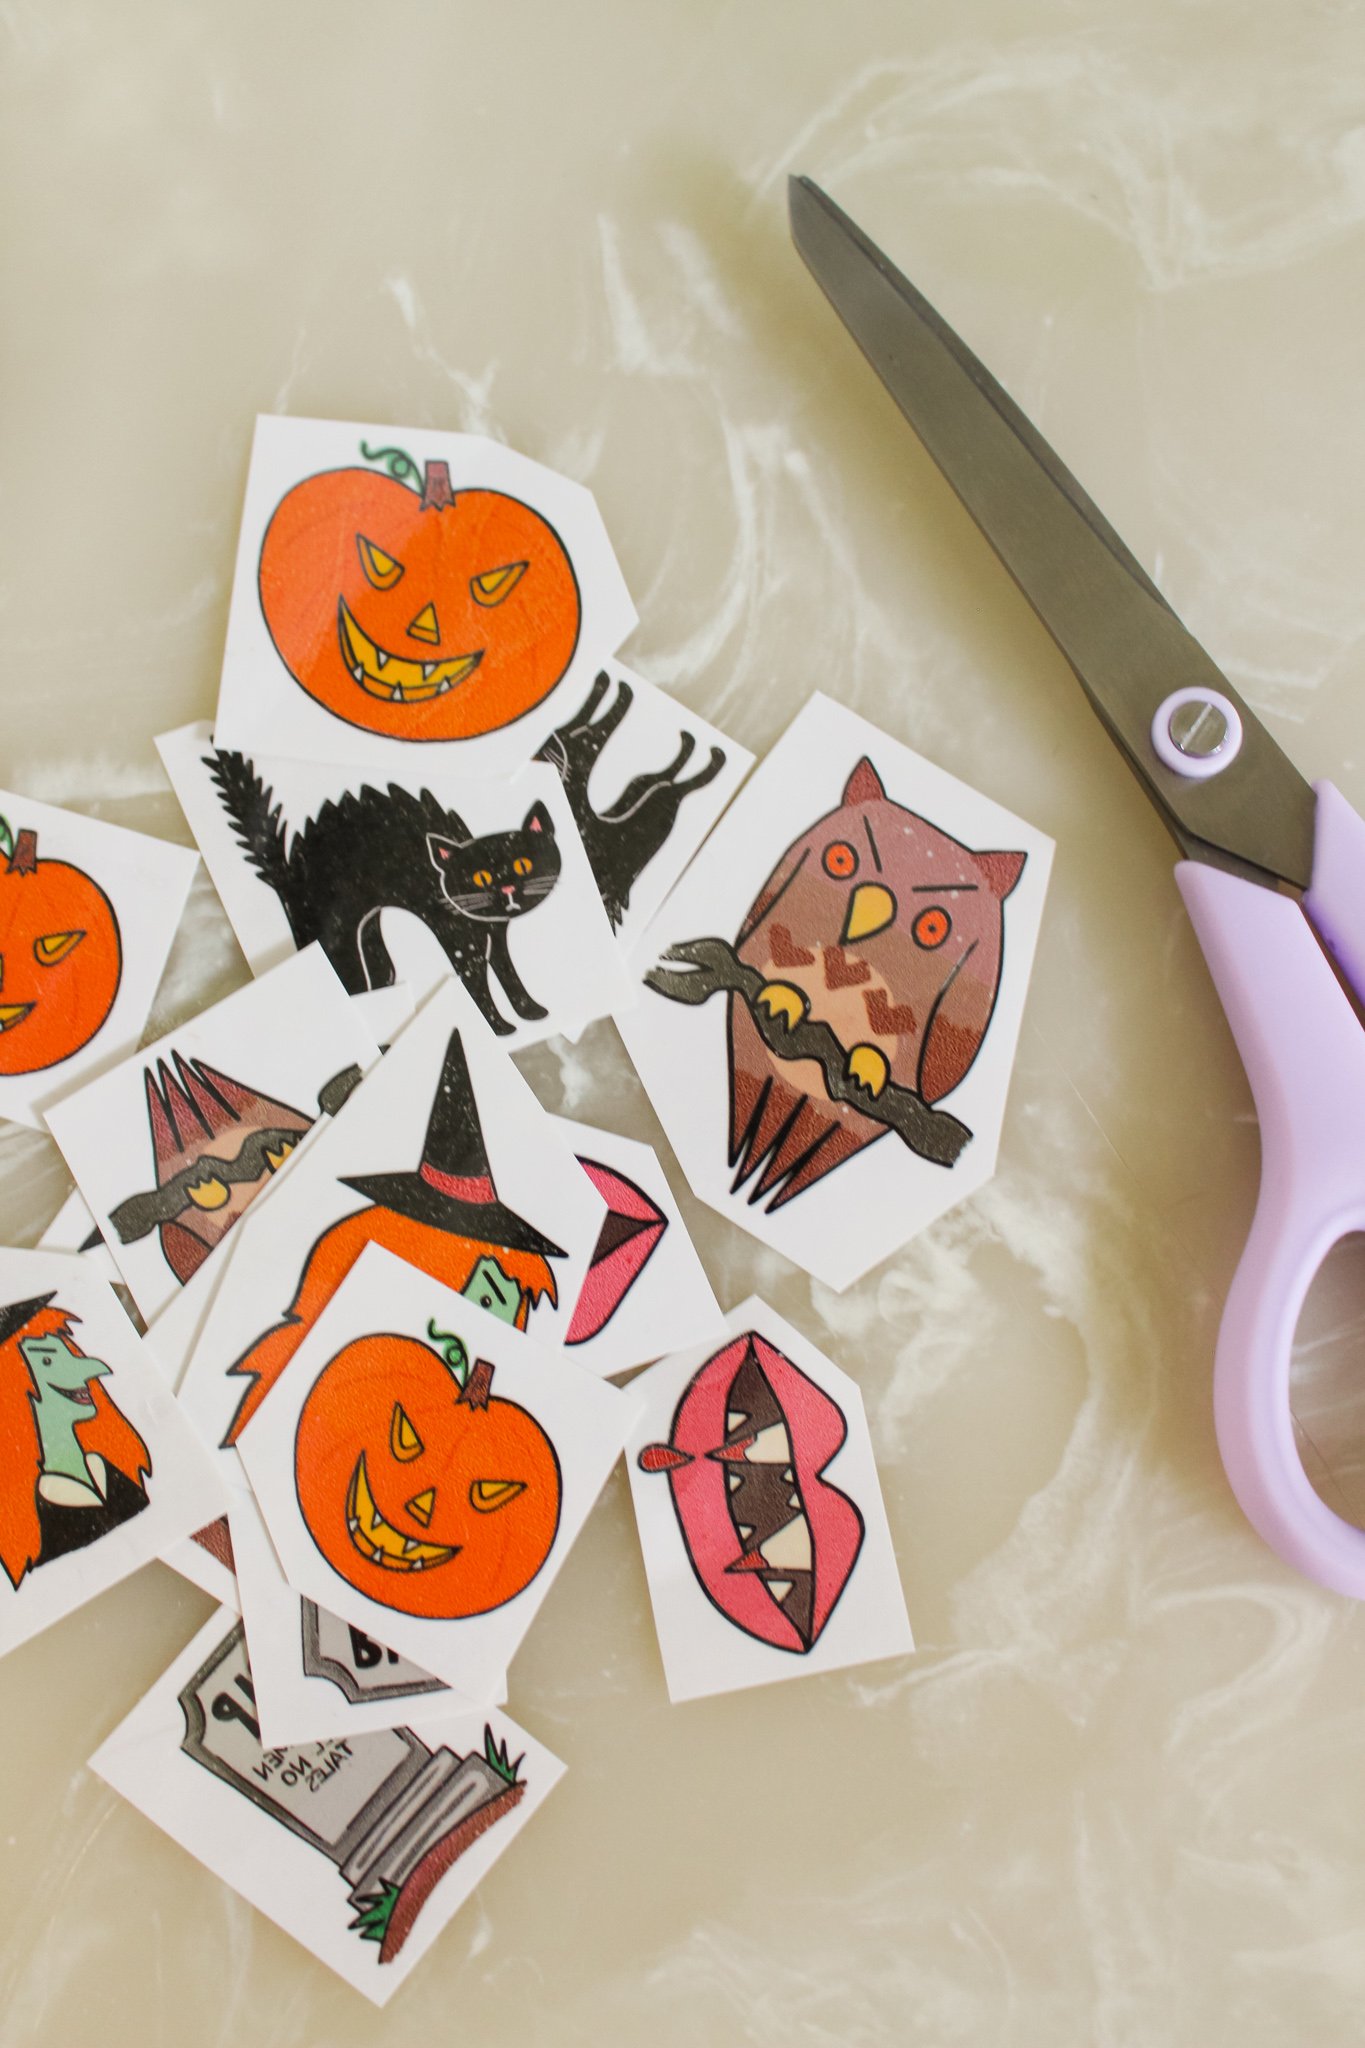
And if you would rather just print out some really cute pumpkins, cats, owls, and other mischievous Halloween characters, download our printable and follow along below! :)

HOW TO PRINT YOUR OWN TEMPORARY TATTOOS AT HOME

You will need:
Inkjet printer
Scissors
Wet washcloth
ETI Printable Halloween Temporary Tattoo PDF (download with button below!)

STEP 1: Download our Temporary Tattoo printable PDF with our cute Halloween images (above)! Keep in mind the images will be displayed as a mirror image so that once you print the tattoos and apply them to your skin they will be facing the correct direction.
STEP 2: There will be two types of sheets in your temporary tattoo pack, one glossy white sheet to print on and one green sheet with the clear adhesive. Feed the white glossy paper into your inkjet printer.
**TIP: Make sure the glossy side will be the side the front is printed on. For my printer that required me to insert the paper in upside down. It’s best to test your own printer at home to see what direction to install the paper by writing TEST on the top left of a piece of paper and then print a few words to make sure your paper is facing the correct direction.
Change the printer settings to “glossy photo paper” for the best quality print job on the tattoo paper. And print the PDF!
STEP 3: Allow the ink to fully dry. Once dried, attach the clear adhesive piece to the front of your tattoo paper. Start from the top and as you smooth out the clear adhesive, sticking it to your tattoo paper, you will pull off the green paper backing underneath. Now your tattoos should have a clear piece on the front. Smooth out the clear adhesive sheet a few times to make sure it’s secured.
STEP 4: Carefully cut out the images so you are left with individual tattoos.
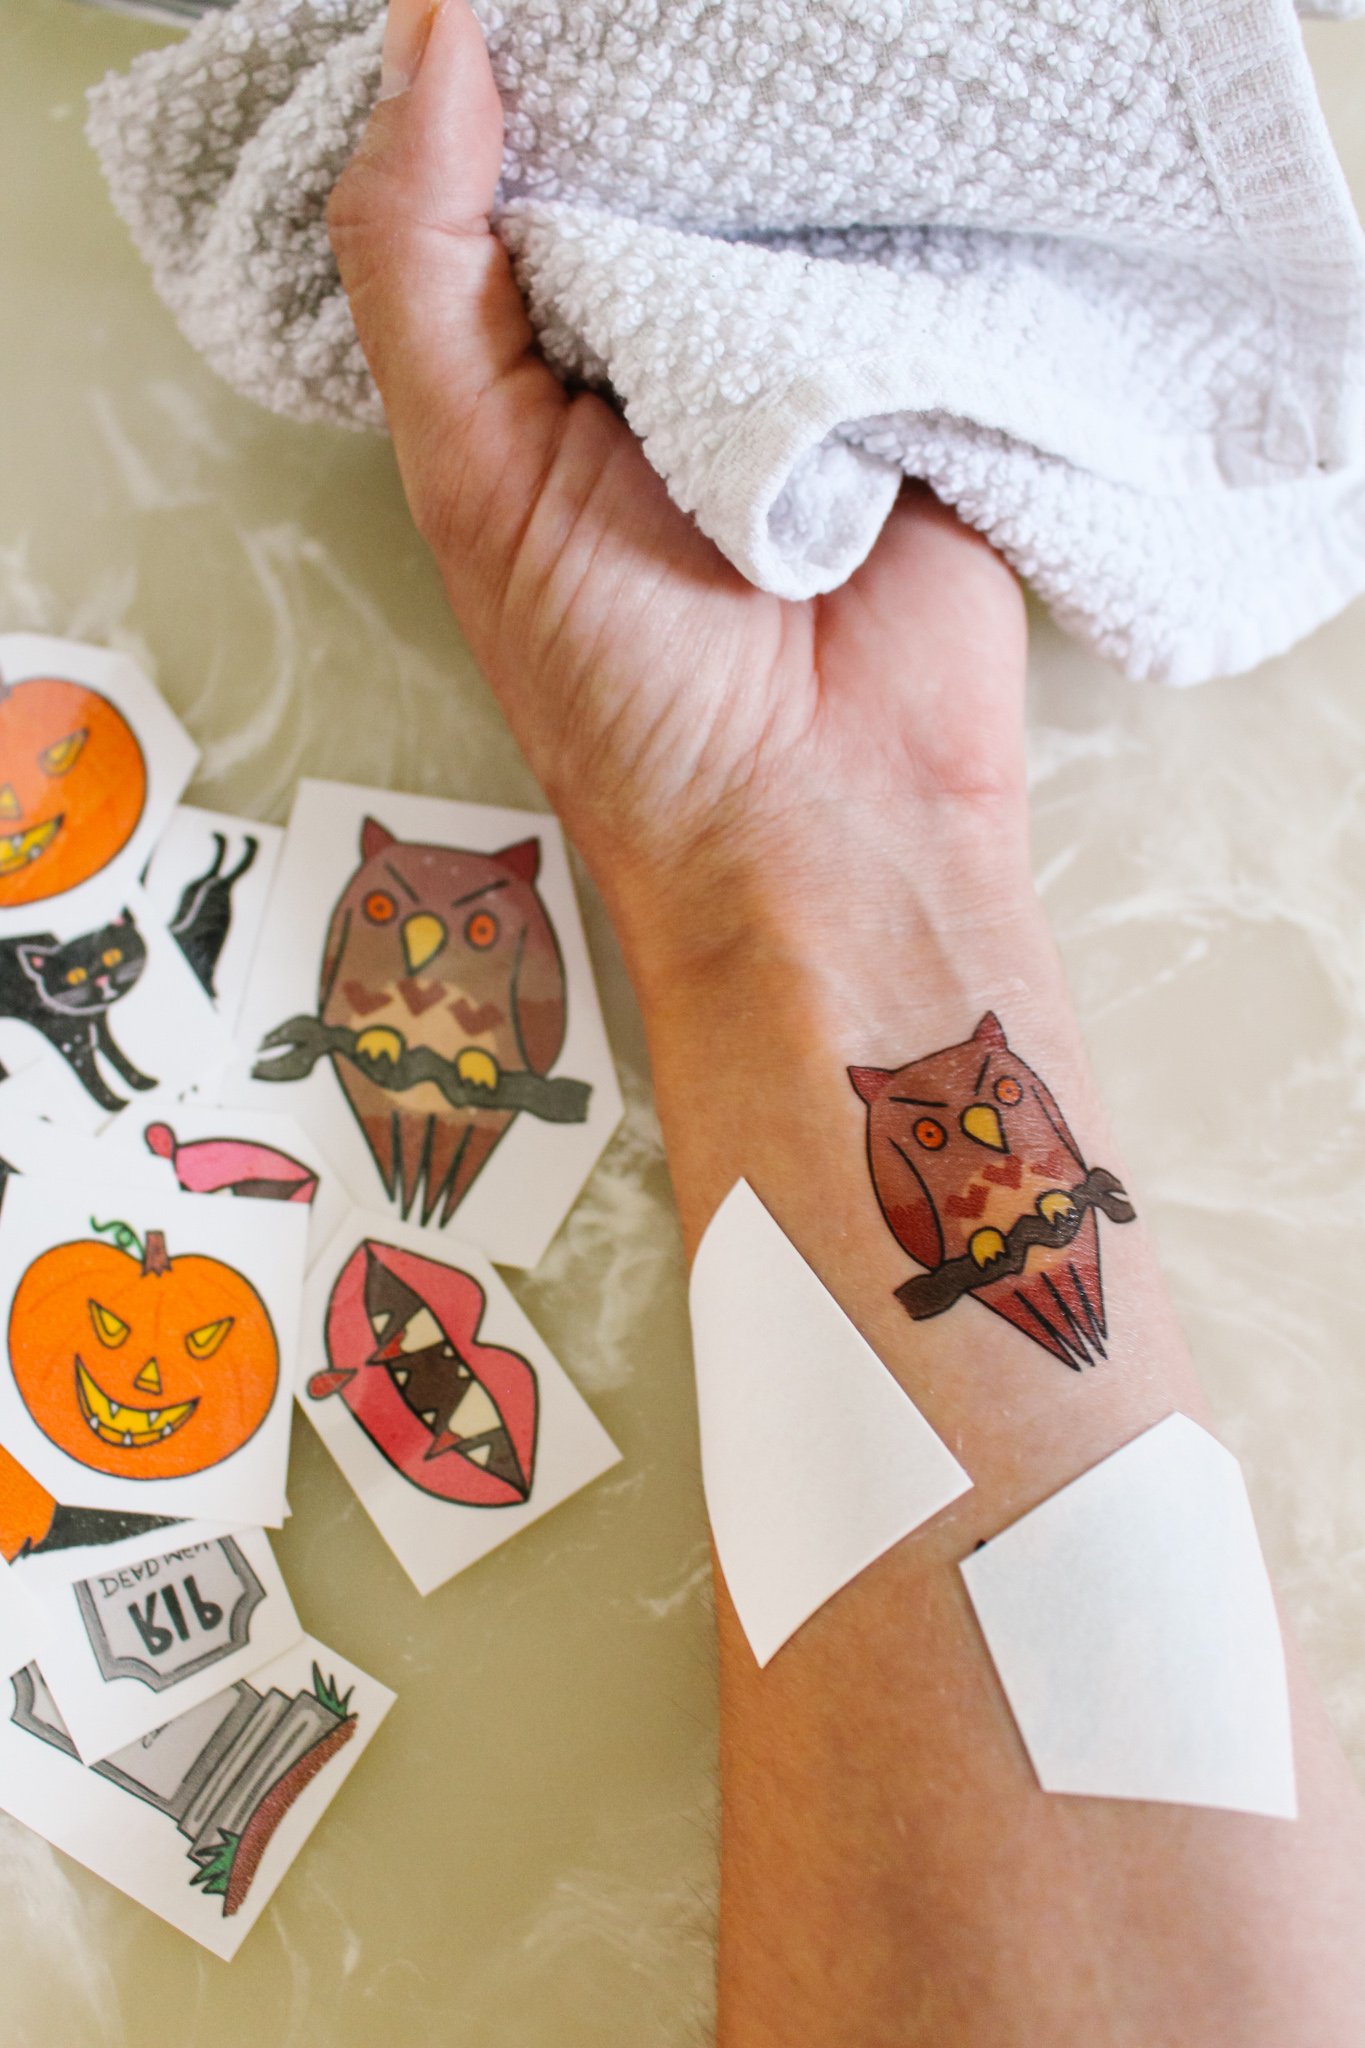
STEP 5: Now your temporary tattoos are ready to apply to your skin! Peel off the clear protective layer and press the sticky tattoo face down wherever you want it on your skin. Cover the backing paper of the tattoo with a wet washcloth and hold for about 30 seconds until the paper is completely damp. Carefully peel or slide off the paper to reveal your temporary Halloween tattoo!
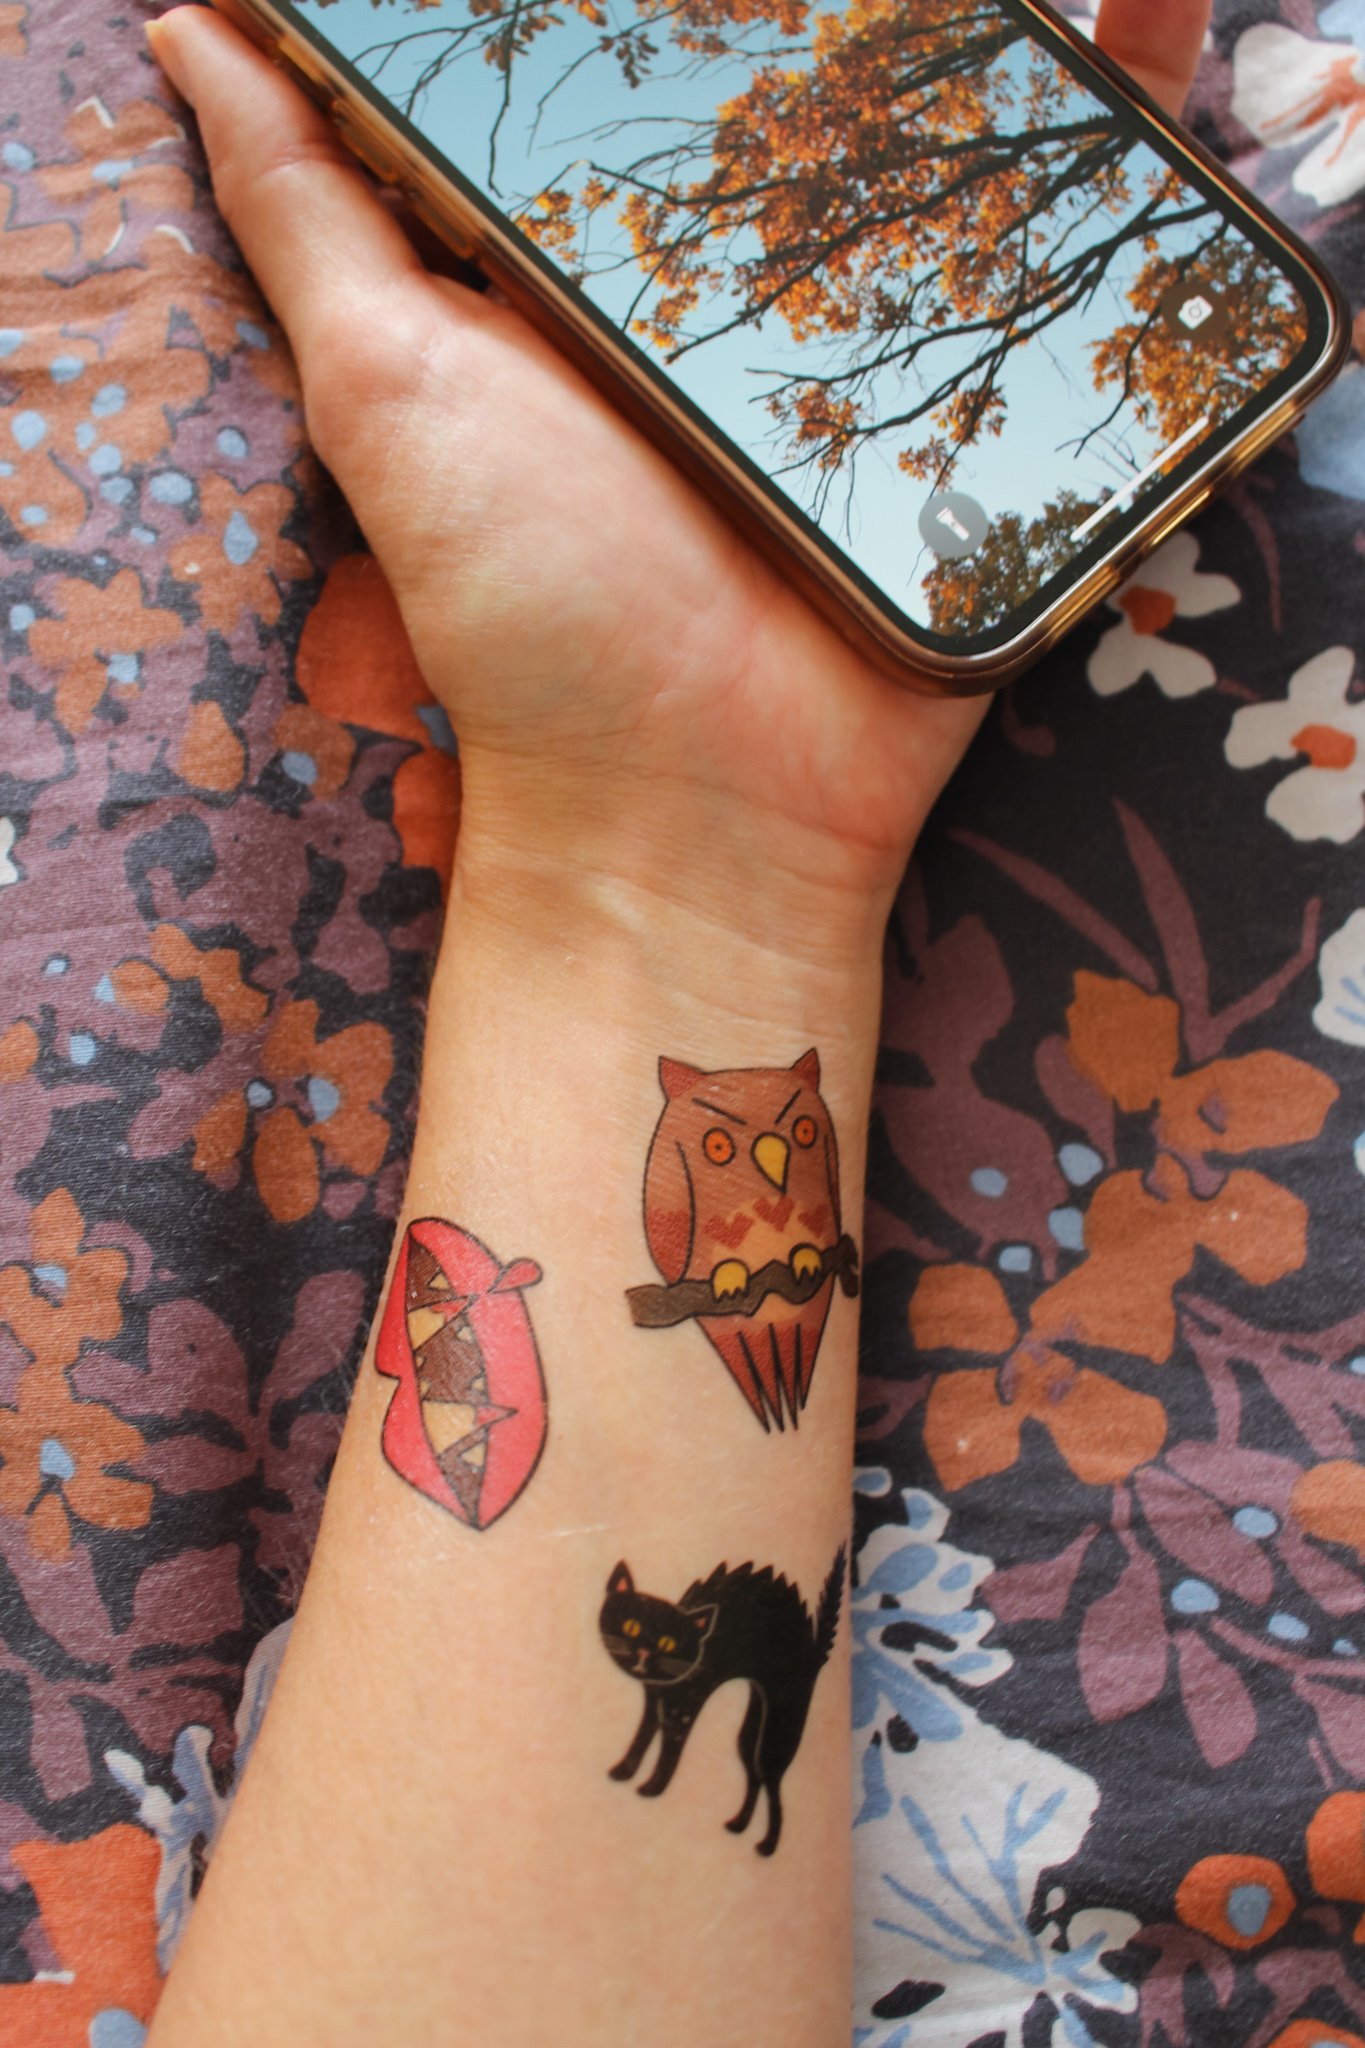
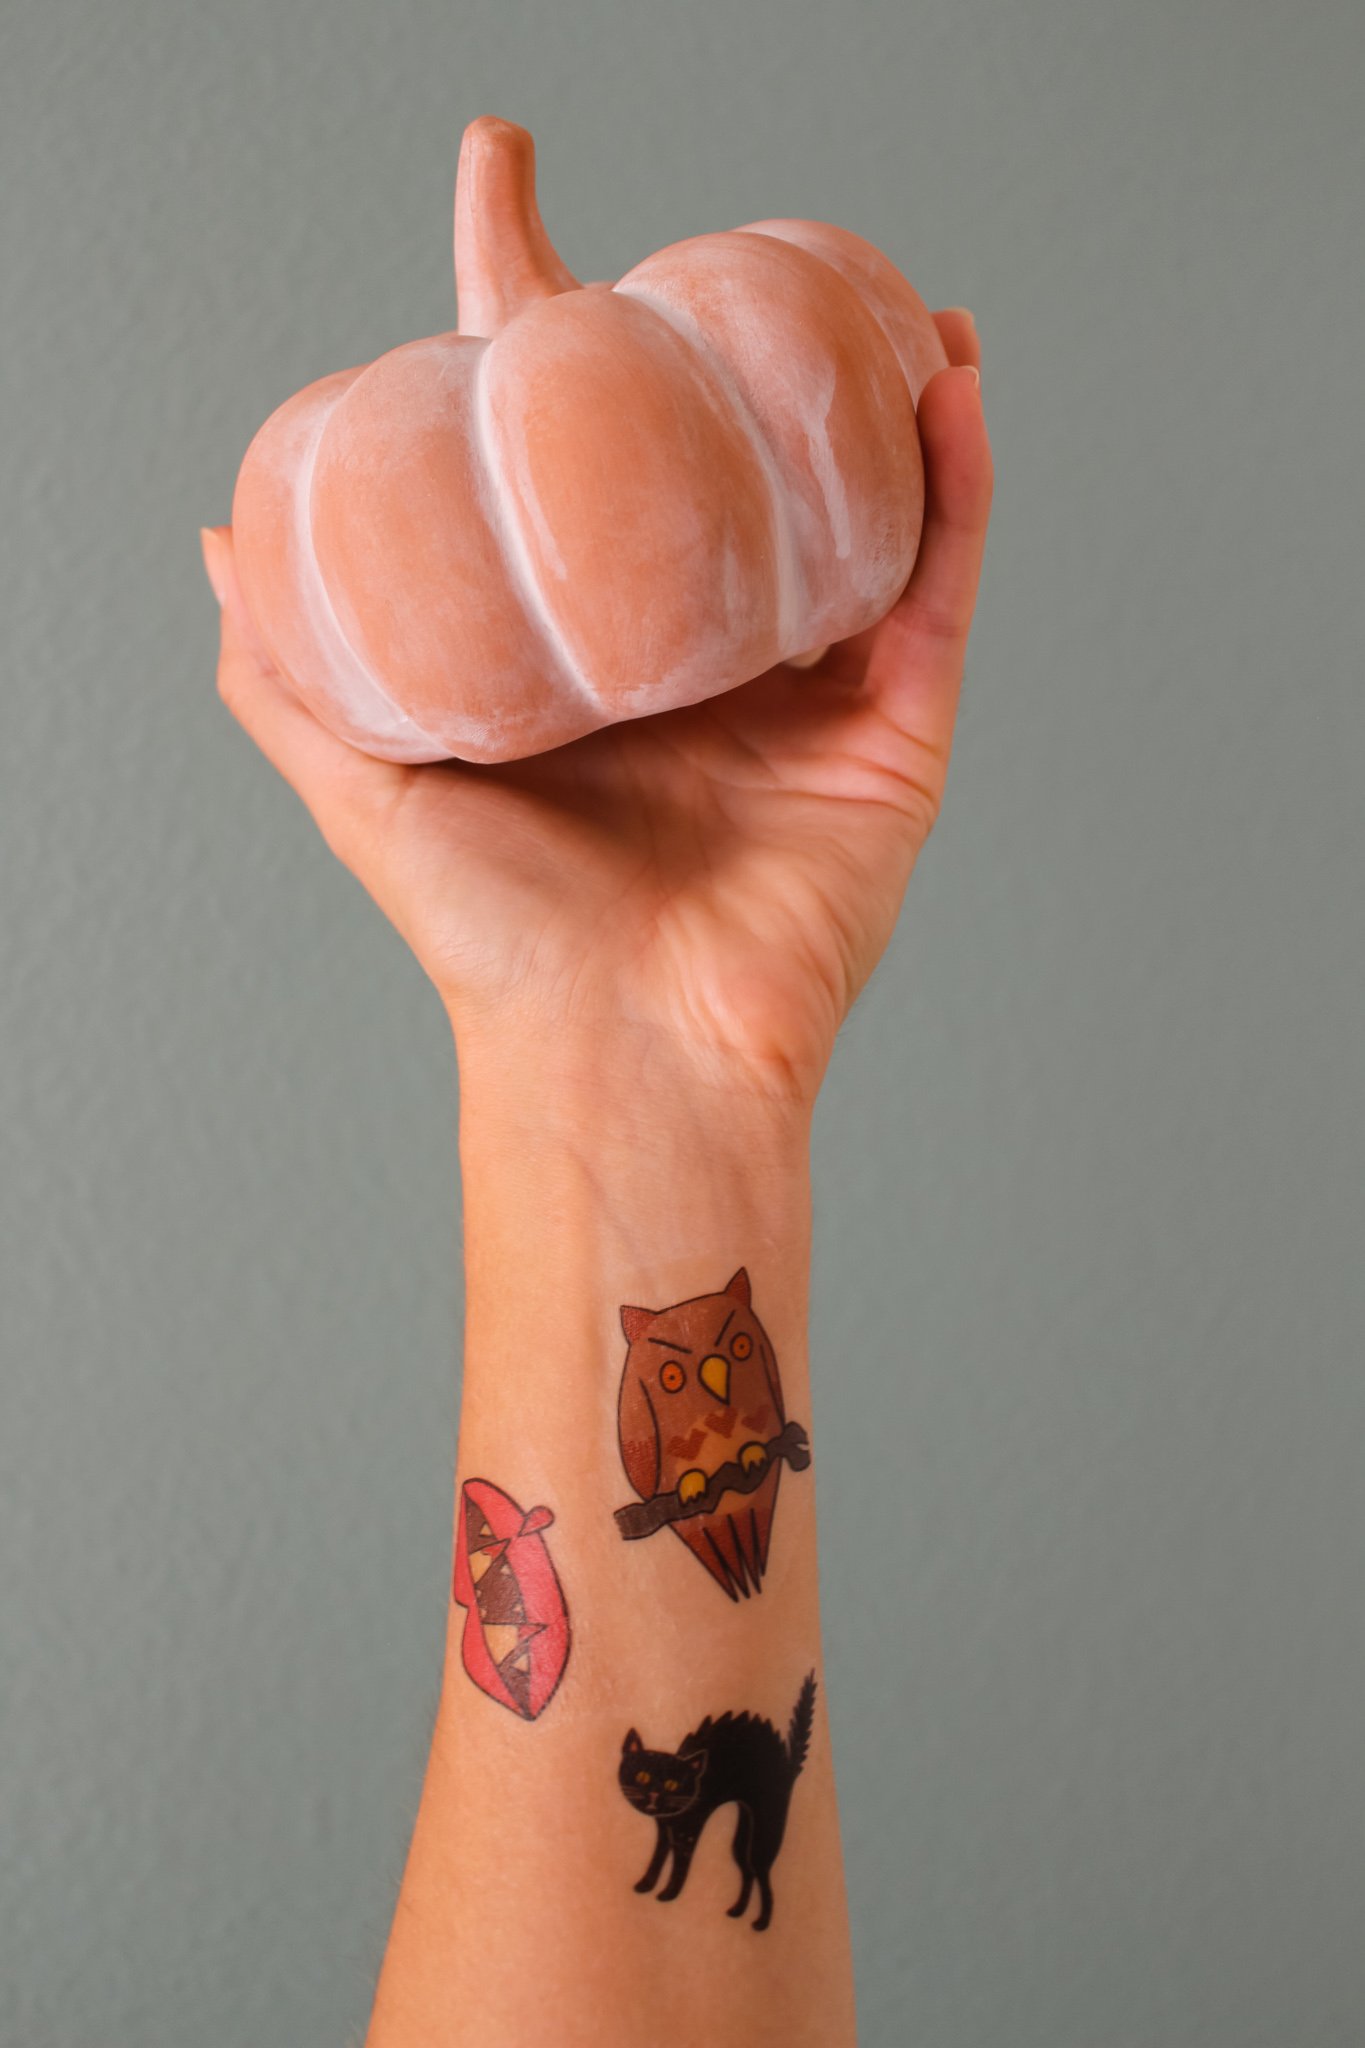
I love how these cute spooky Halloween tattoos turned out! They are the perfect way to add a fun activity for kids at your next Halloween party or a cute gift to give out on Halloween if candy is not your thing.
If you print out these tattoos, be sure to send us a picture of how they turned out! Tag us @entertainidea or #entertaintheidea on instagram!
Happy crafting! Xo Rachael

