
Kraft Paper Placemats
When I was planning my Valentine’s Day Crafternoon party, I wanted guests to have a cute place setting that was functional as well as decorative. And most importantly, I wanted it to be CHEAP since my budget for the party was long gone on cute craft supplies and snacks.
I knew that some of the craft projects we were going to do were going to be a bit messy with a lot of glue and paint. And I had seen a lot of people use kraft paper as a creative table cover solution for messy things like kid’s art tables. So I got to brainstorming about how to personalize a basic kraft paper table cover for a cute look. And that’s how the idea of these fun squiggly place mats came to be!

This super simple project is barely a DIY tutorial at all, more so just a cheap and fun way to spruce up a table setting if you’re looking to get crafty. Here’s how I made these fun DIY placemats!
Affiliate disclosure: This post contains several affiliate links. As an Amazon Associate, I may earn commissions from qualifying purchases from Amazon.com. Thank you for your support!
HOW TO MAKE YOUR OWN KRAFT PAPER PLACEMATS

Kraft paper placemat supplies:
Pencil
Scissors
White paint pen
White acrylic paint
Paint brush
Box lid or large coffee table book (to measure placemat size)
To begin, roll out your kraft paper on your tabletop surface. Place an object on top that is about the size you would like to make the placemat — you can use an existing placemat you already have, a big coffee table book, a cereal box, or I used an old storage box lid.
Draw a squiggly line around the perimeter of your rectangular object with a pencil. Carefully cut out the kraft paper along the squiggly line.
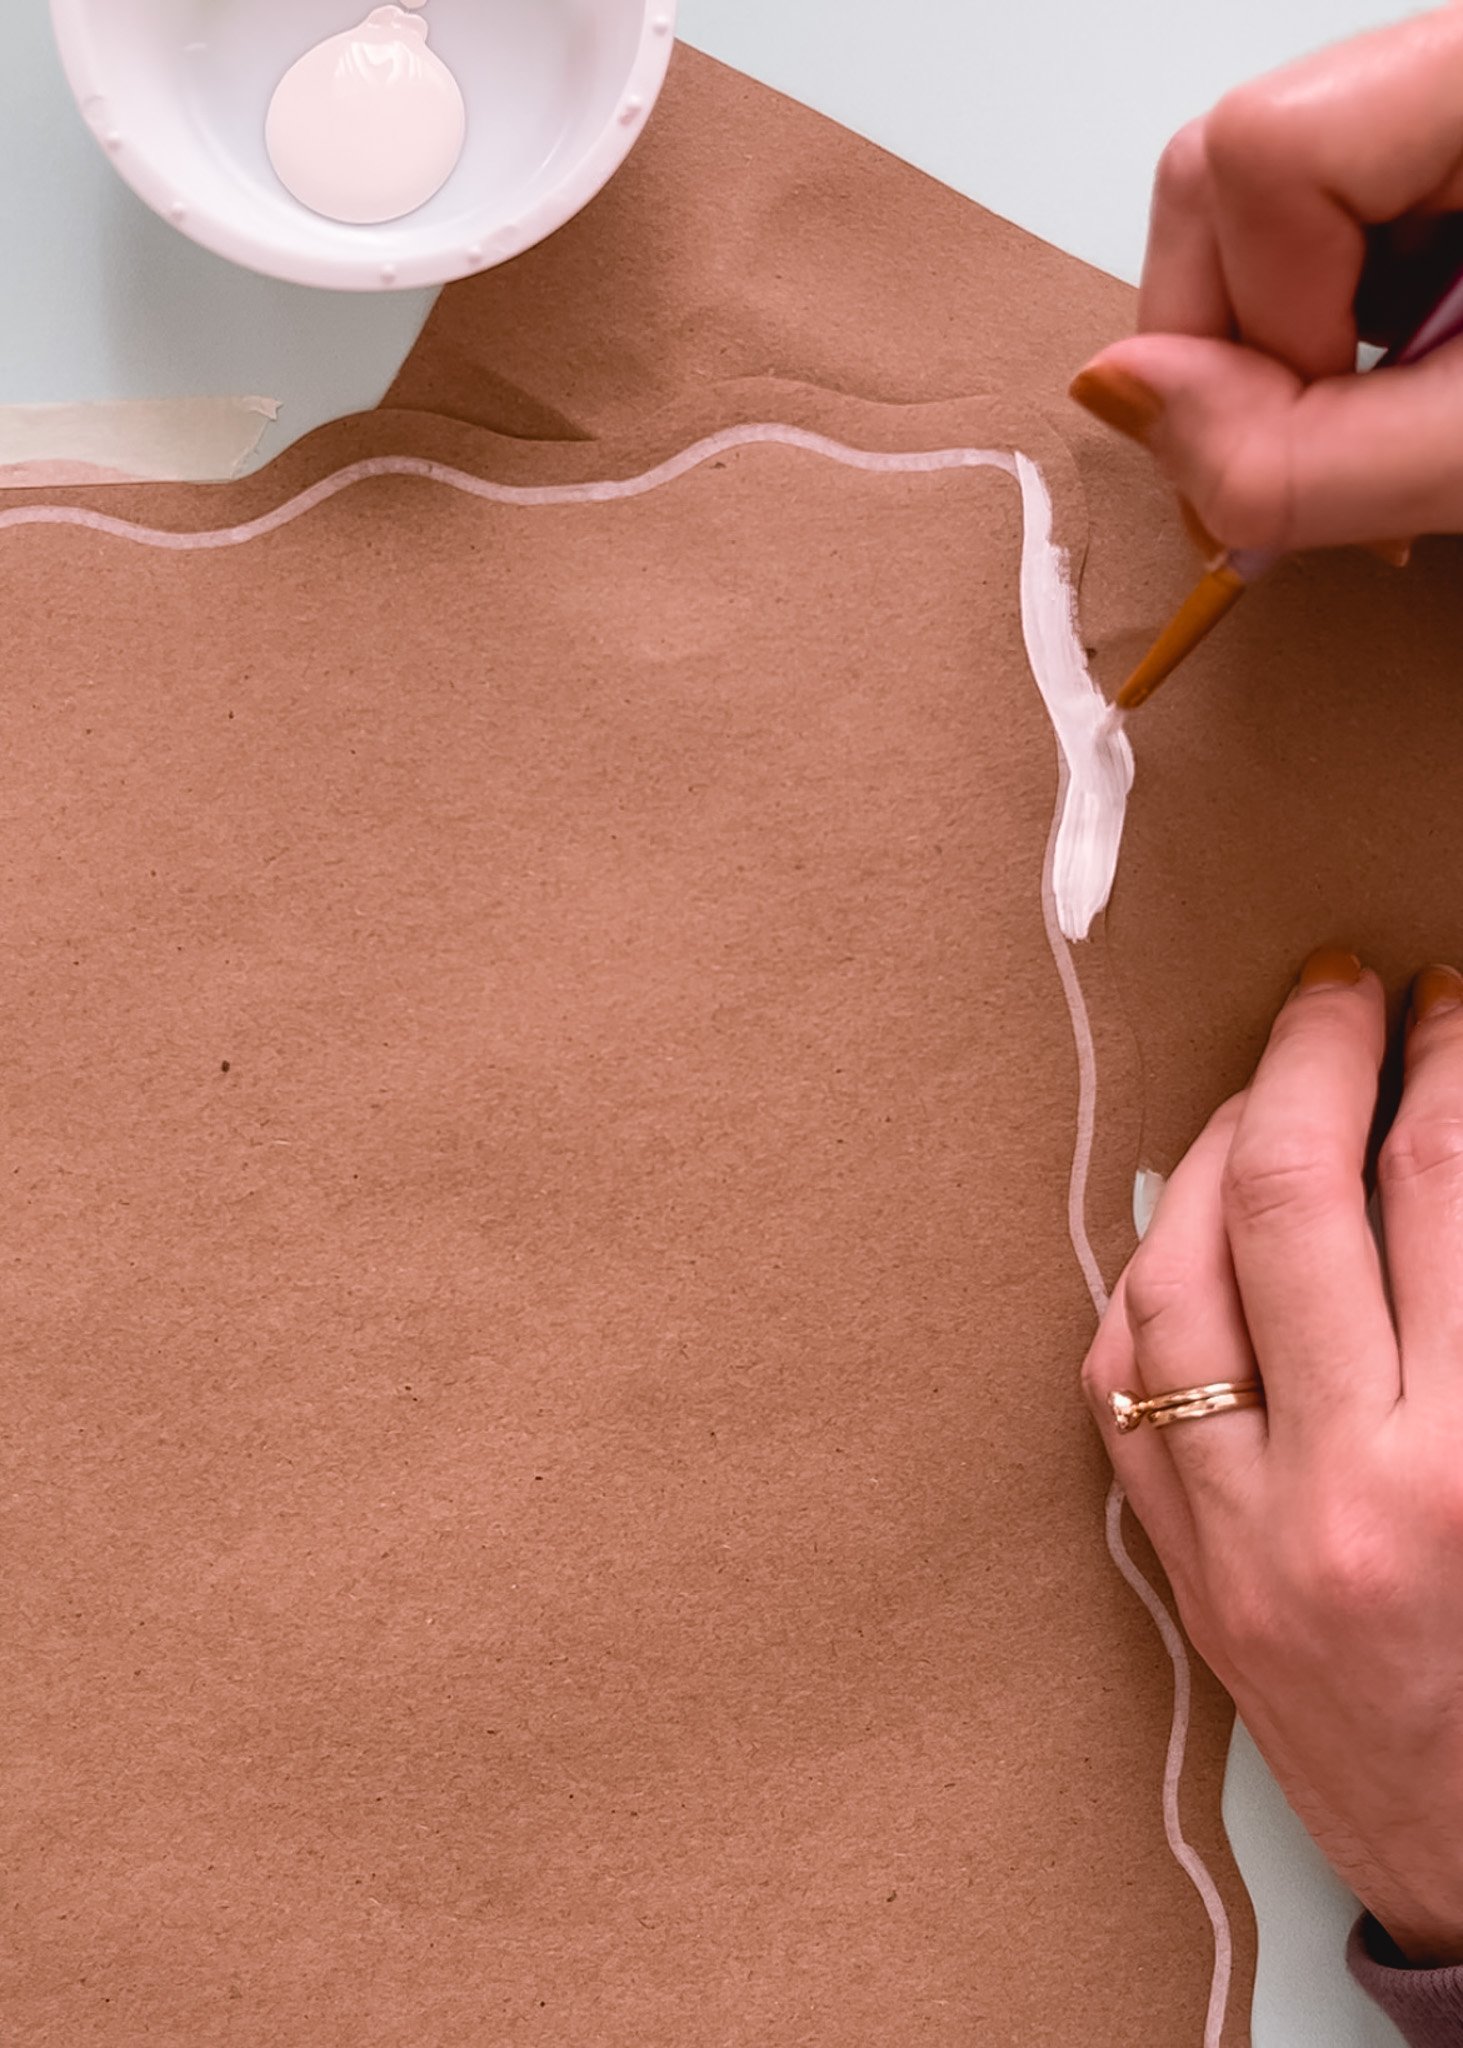
Use a white paint pen to draw a second squiggly line parallel along the perimeter of your placemat, matching the same shape as the edge of the paper.
Now, go in with some white acrylic paint and a paint brush to fill in the space between your paint pen line and the paper edge. You are now left with a thick white border around the placemat.
Allow the paint to fully dry, and then repeat this process with as many placemats as you would like to make. I would then recommend stacking up all your dry placemats and weighing them down with some heavy coffee table books to ensure they stay flat. Otherwise the painted edges tend to curl upwards.
And that’s all there is to it! Your placemats are ready for your next dinner party or crafternoon :)


These placemats are perfect for so many occasions — a kid’s party, a casual dinner party, a craft station, etc. And they can easily be rolled up and thrown away after the party for easy clean up. They also allow you to still get creative with a fun tablecloth color or pattern underneath, if you want!

These kraft paper placemats ended up being a great solution for my crafternoon party needs. And I can’t help but love this squiggly, scallop trend that I see in all kinds of home decor and fashion these days.
If you’re loving this look too and aren’t interested in DIYing your own version, here are some cute squiggly cloth napkins or colorful scalloped placemats!
Xo Rachael

