
DIY Spring Easter Basket (with the IKEA RISATORP)
With the minimal amount of space I have to work with in my apartment, I’m all about turning things I already have into seasonal decor. That way, I still get to decorate my space, but I don’t have to worry about finding a place to store everything for next year. And one way that I’ve done this in the past is by transforming one of my IKEA RISATORP storage baskets into a super cute embellished Christmas basket, perfect for storing holiday wrapping supplies or collecting Christmas cards. Same great storage piece, but with a fun holiday makeover.

And since I already own one of these wire baskets and have a growing supply of different colored yarns in my craft supplies, I thought it could be fun to give the basket another upgrade… but this time for spring! So follow along below to see how I transformed this plain white wire basket into a cute Spring Easter picnic basket.

Affiliate disclosure: This post may contain affiliate links. When you buy from these links, I may earn a small commission, at no additional cost to you. As an Amazon Associate, I may earn commissions from qualifying purchases from Amazon.com. Thank you for your support!
HOW TO TRANSFORM THE RISATORP INTO AN EASTER BASKET FOR SPRING! (IKEA RISATORP HACK)

Supplies:
Yarn in spring colors (I like to use these Lily Sugar ‘n Cream cotton yarn skeins)
STEP 1: Cut a piece of yarn in your first color about one foot long. This will be used to create the inside circle of the flower. Thread the yarn through your steel yarn needle.

STEP 2: Find a place on the basket where you would like to create your first flower. Pull your needle through one of the holes in the wire, starting from the inside of the basket to the outside. Pull the thread through until about a 2-3 inch tail remains hanging inside the basket.
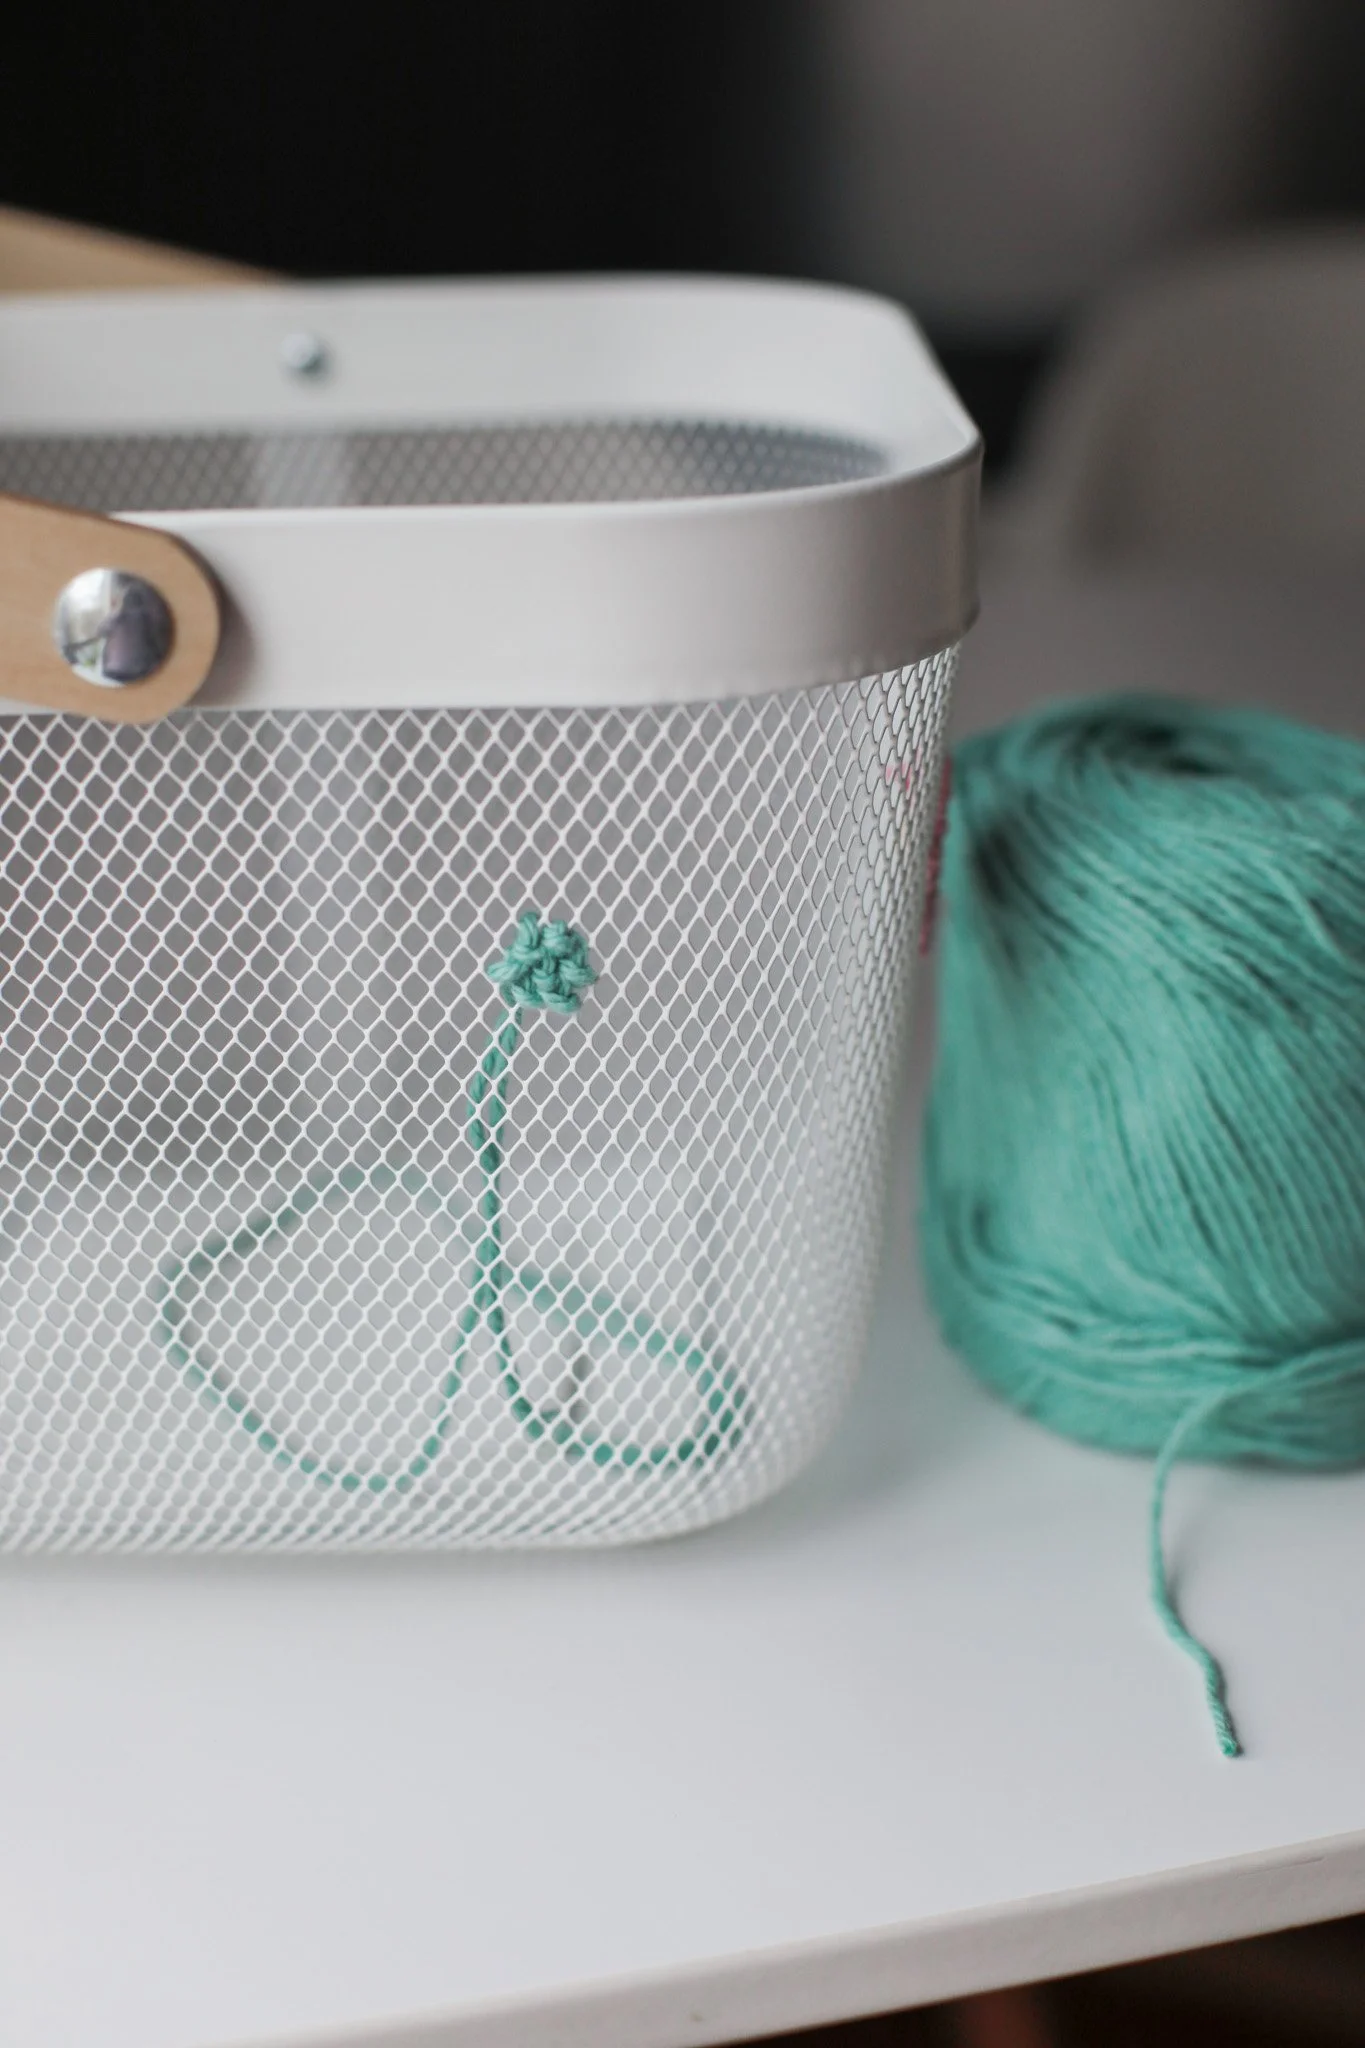
STEP 3: Now, you are going to make a series of cross stitches within the wire grid to weave your yarn. I’ve created a diagram below to show you where all the cross stitches will be placed. But essentially you will thread out through the first hole and in through the hole directly below. Then out through the hole to the right and in through the hole to the left. This will create a cross shape.

Here is another diagram that is numbered to show you exactly the order of stitches that I found worked the best. Red numbers are stitches coming from inside the basket out toward you and blue numbers are stitches going away from you and into the basket.


When you get to the last stitch (#28) going into your basket, tie the end of your yarn with the beginning tail that should still be hanging inside the basket into a double knot to secure in place. Trim any remaining yarn.
STEP 4: Now cut a piece of yarn in your secondary color about the length of your wingspan (5-6 ft). Thread this yarn through your steel needle.

STEP 5: This color yarn will be used to create the petals of your flower. Follow the same process of creating cross stitches with your yarn, following the diagram drawn below.

I found it easiest to do each petal completely then move onto the next petal, as shown in this numbered diagram. But it doesn’t really matter what order you make the cross stitches as long as each stitch is always consistently created by threading out on top, threading in on bottom, threading out on the right side, and threading in on the left side.


Once you get to the last cross stitch, tie the end tail with your beginning tail again, into a double knot to secure your stitches in place.
STEP 6: And that completes your first flower shape! Repeat with as many flowers as you would like around the outside of your basket.

I think this spring basket makeover would make the cutest Easter basket for collecting treats and goodies from the Easter bunny. But it could also be used as a fun Spring picnic basket or even just a storage basket around the house. And then when the spring season is over, you can easily cut off the yarn to bring it back to its original design.


I hope you enjoyed this easy IKEA hack idea and that you are getting excited for the Spring season to arrive! How would you use this spring basket?
xo Rachael

