
DIY Felt Leaf Garland
This weekend marks the start of the autumn equinox! My absolute favorite time of the year. I’m so looking forward to wearing cozy sweaters, drinking warm beverages, and lighting ALL the fall scented candles. And although, it is safe to say my home is fully decked out with Halloween decor already, I still wanted to add some DIY fall touches. So today I’m sharing how I made this easy felt leaf garland!

I’m still obsessed with this DIY Anthropologie Inspired Gingerbread Garland that I made for Christmas last year, so I wanted to take this same concept but bring it into the fall season. This project is so easy to do and it is a great way to recycle some of those cardboard boxes you have stacking up in your recycling bin.

Affiliate disclosure: This post may contain affiliate links. When you buy from these links, I may earn a small commission, at no additional cost to you. As an Amazon Associate, I may earn commissions from qualifying purchases from Amazon.com. Thank you for your support!
HOW TO MAKE A FELT LEAF GARLAND
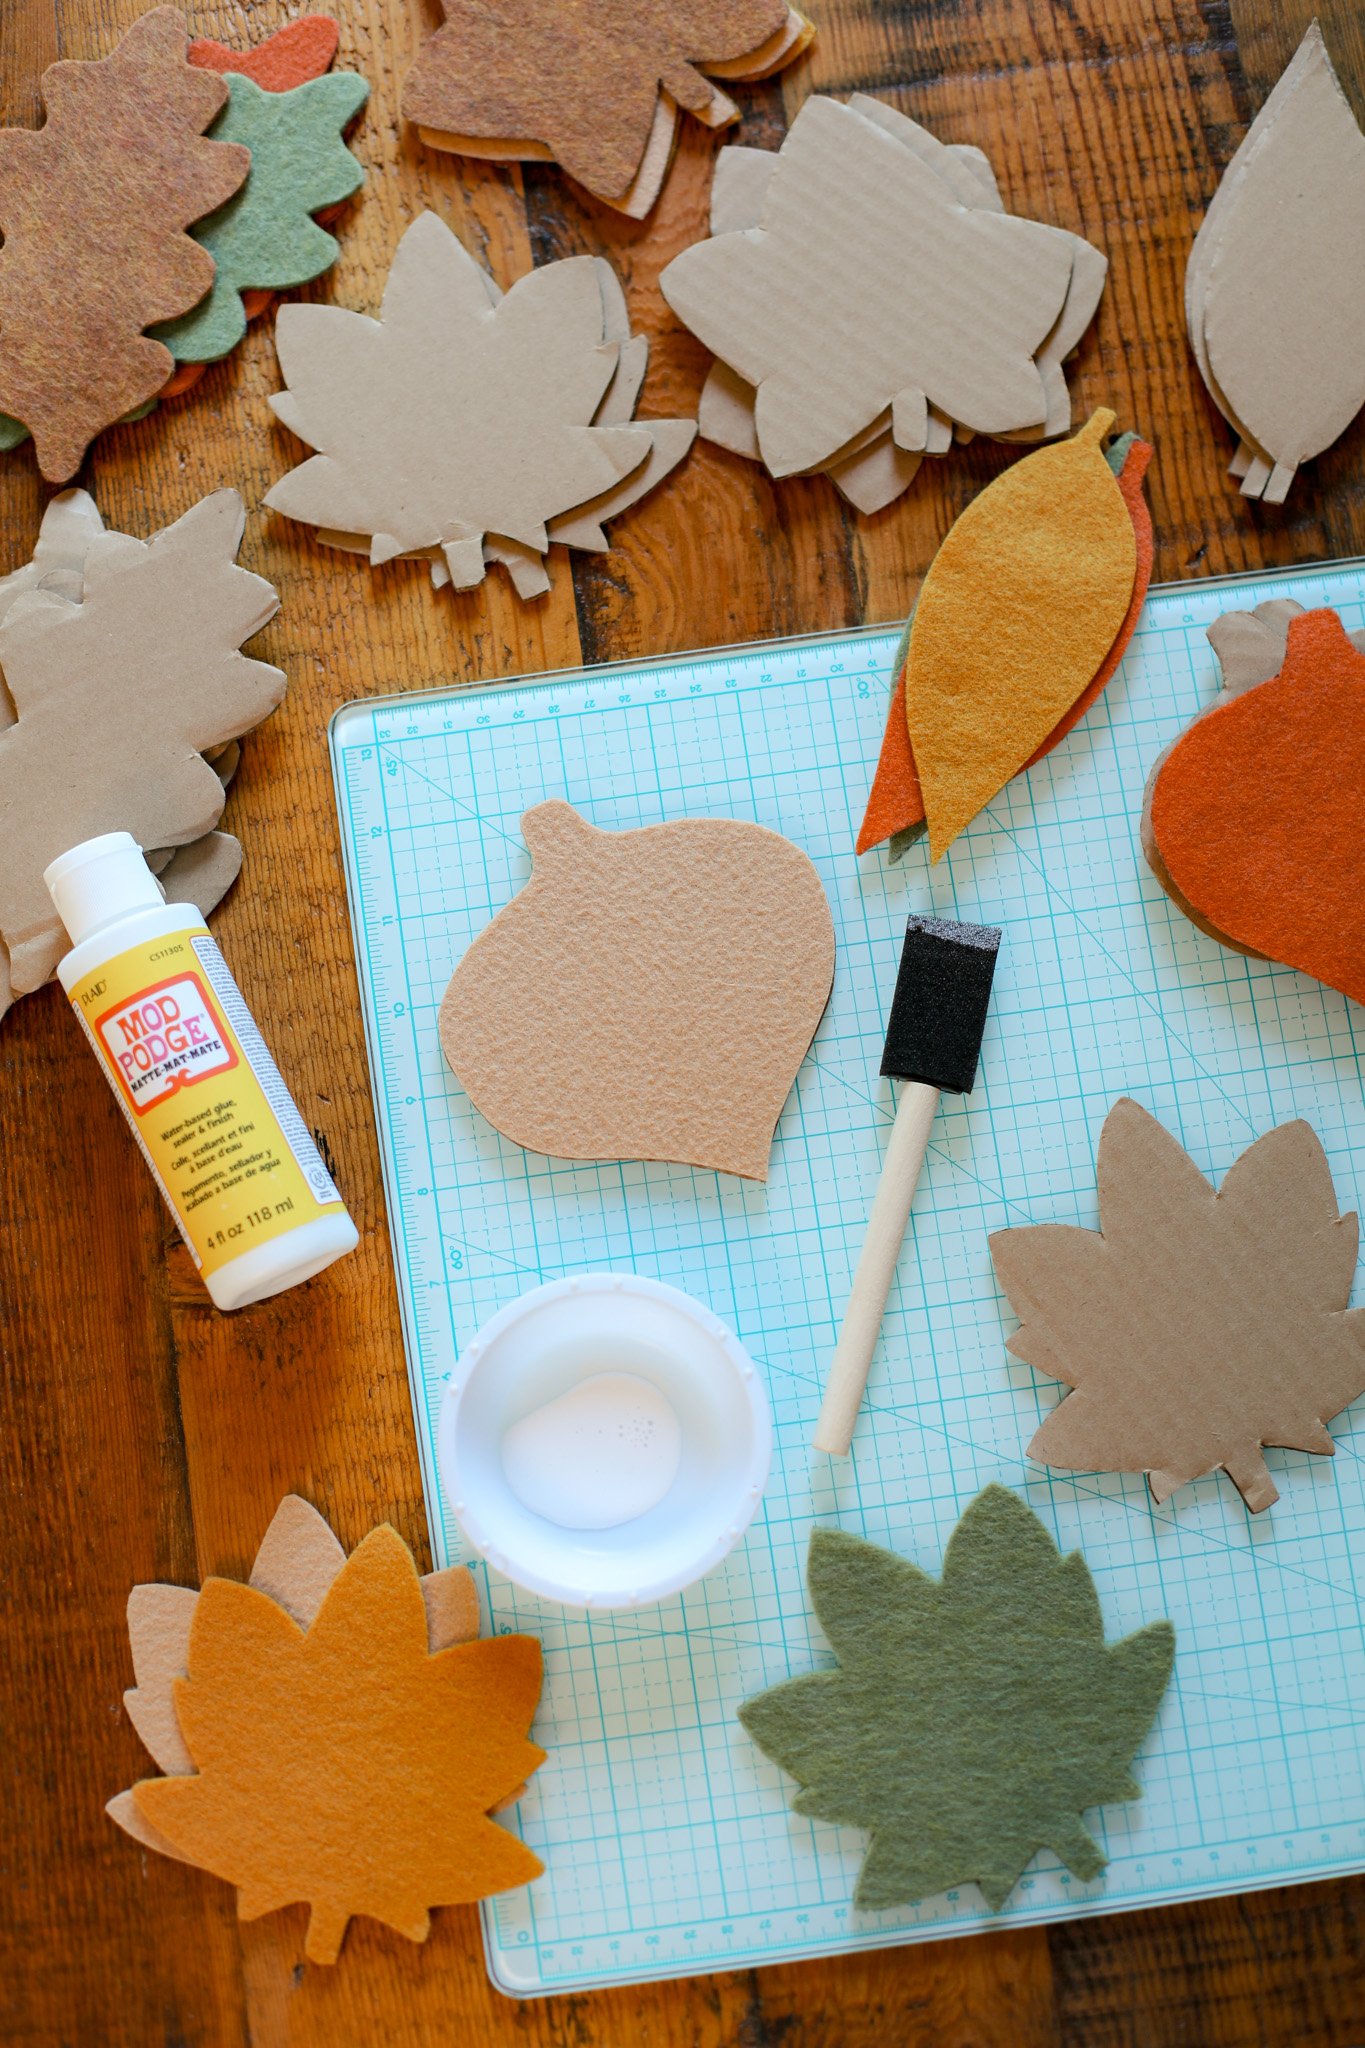
DIY Felt Leaf Garland Supplies:
Cardboard
Pencil
ETI’s Leaf Garland Template PDFs (download below!)
White cardstock paper
Felt in assorted fall colors (I bought my individual sheets at Joann’s but this pack looks like it would be perfect)
Sharpie marker
Scissors
Mod Podge or craft glue
Paint brush or sponge brush
Dimensional fabric paint (I used this one in the color brown)
Tape
Twine, string, or yarn

STEP 1: To begin, download and print the ETI Leaf Garland Template PDFs (above) on thick cardstock paper. Cut out the individual leaves to create your 5 leaf stencils.
STEP 2: Place your stencils face down on the piece of cardboard and carefully trace the outline of the leaves. It’s best to use the most flat and clean pieces of cardboard you can find. Use a sharp pair of scissors (or you could use an X-acto knife) to carefully cut out the leaf shapes. For my garland, I used 15 leaves total, so I traced 3 of each style.
STEP 3: Now, repeat the last step but with your felt. Lay your stencils face down on the piece of felt and trace the outline again but with a sharpie marker. Cut out the leaf shapes from your felt. I tried to do a random mix of colors, but you could also do all of one shape the same color or whatever assortment you would like.
STEP 4: Now you are going to match up the felt leaves with the matching shaped cardboard leaves. Turn your cardboard and felt leaves over so that any remaining sharpie or pencil lines are on the back of each shape. Paint on a thin layer of Mod Podge or glue across the whole front surface of each cardboard leaf. Then do your best to match up the corresponding felt leaf and stick it down flat to the cardboard.
If you have any edges where the cardboard and felt do not match up, you can always go in with your scissors now and trim the edges.
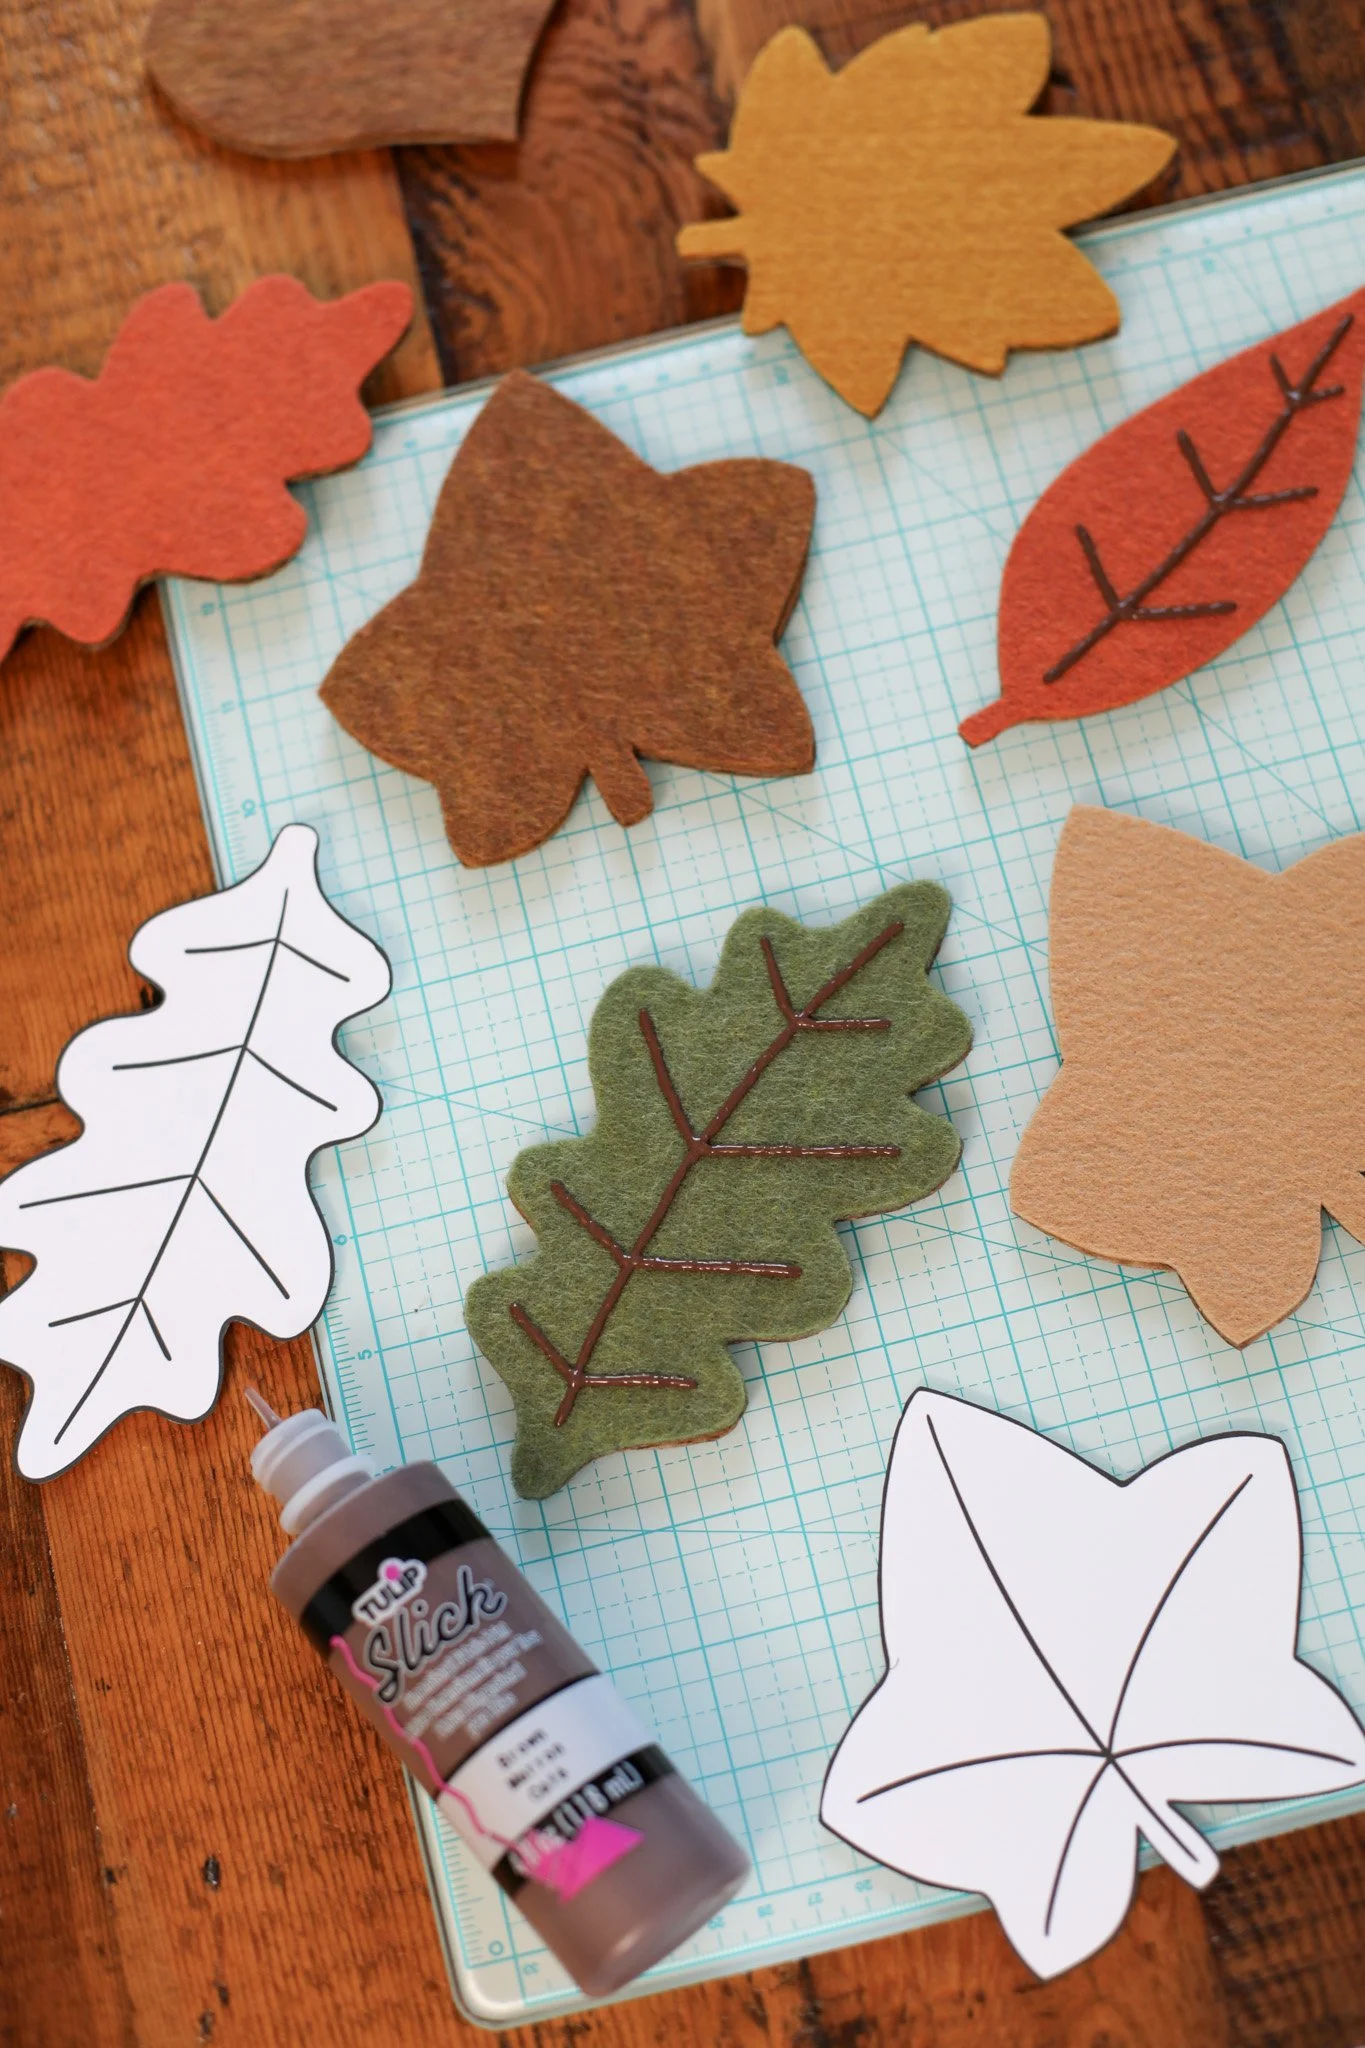
STEP 5: Now that you have attached all your felt to your cardboard leaves, you are going to draw on the leaf vein details with your bottle of dimensional fabric paint. Gently squeeze the bottle and draw on your lines of paint using a steady hand and the template as a guide to know where to draw lines.
Allow the paint to dry overnight.

STEP 6: Now that your leaves are all ready, you just need to attach them to your twine or string. Start by making a loop at the end of your roll of twine and tie a knot so that you now have a loop with which to hang the garland.
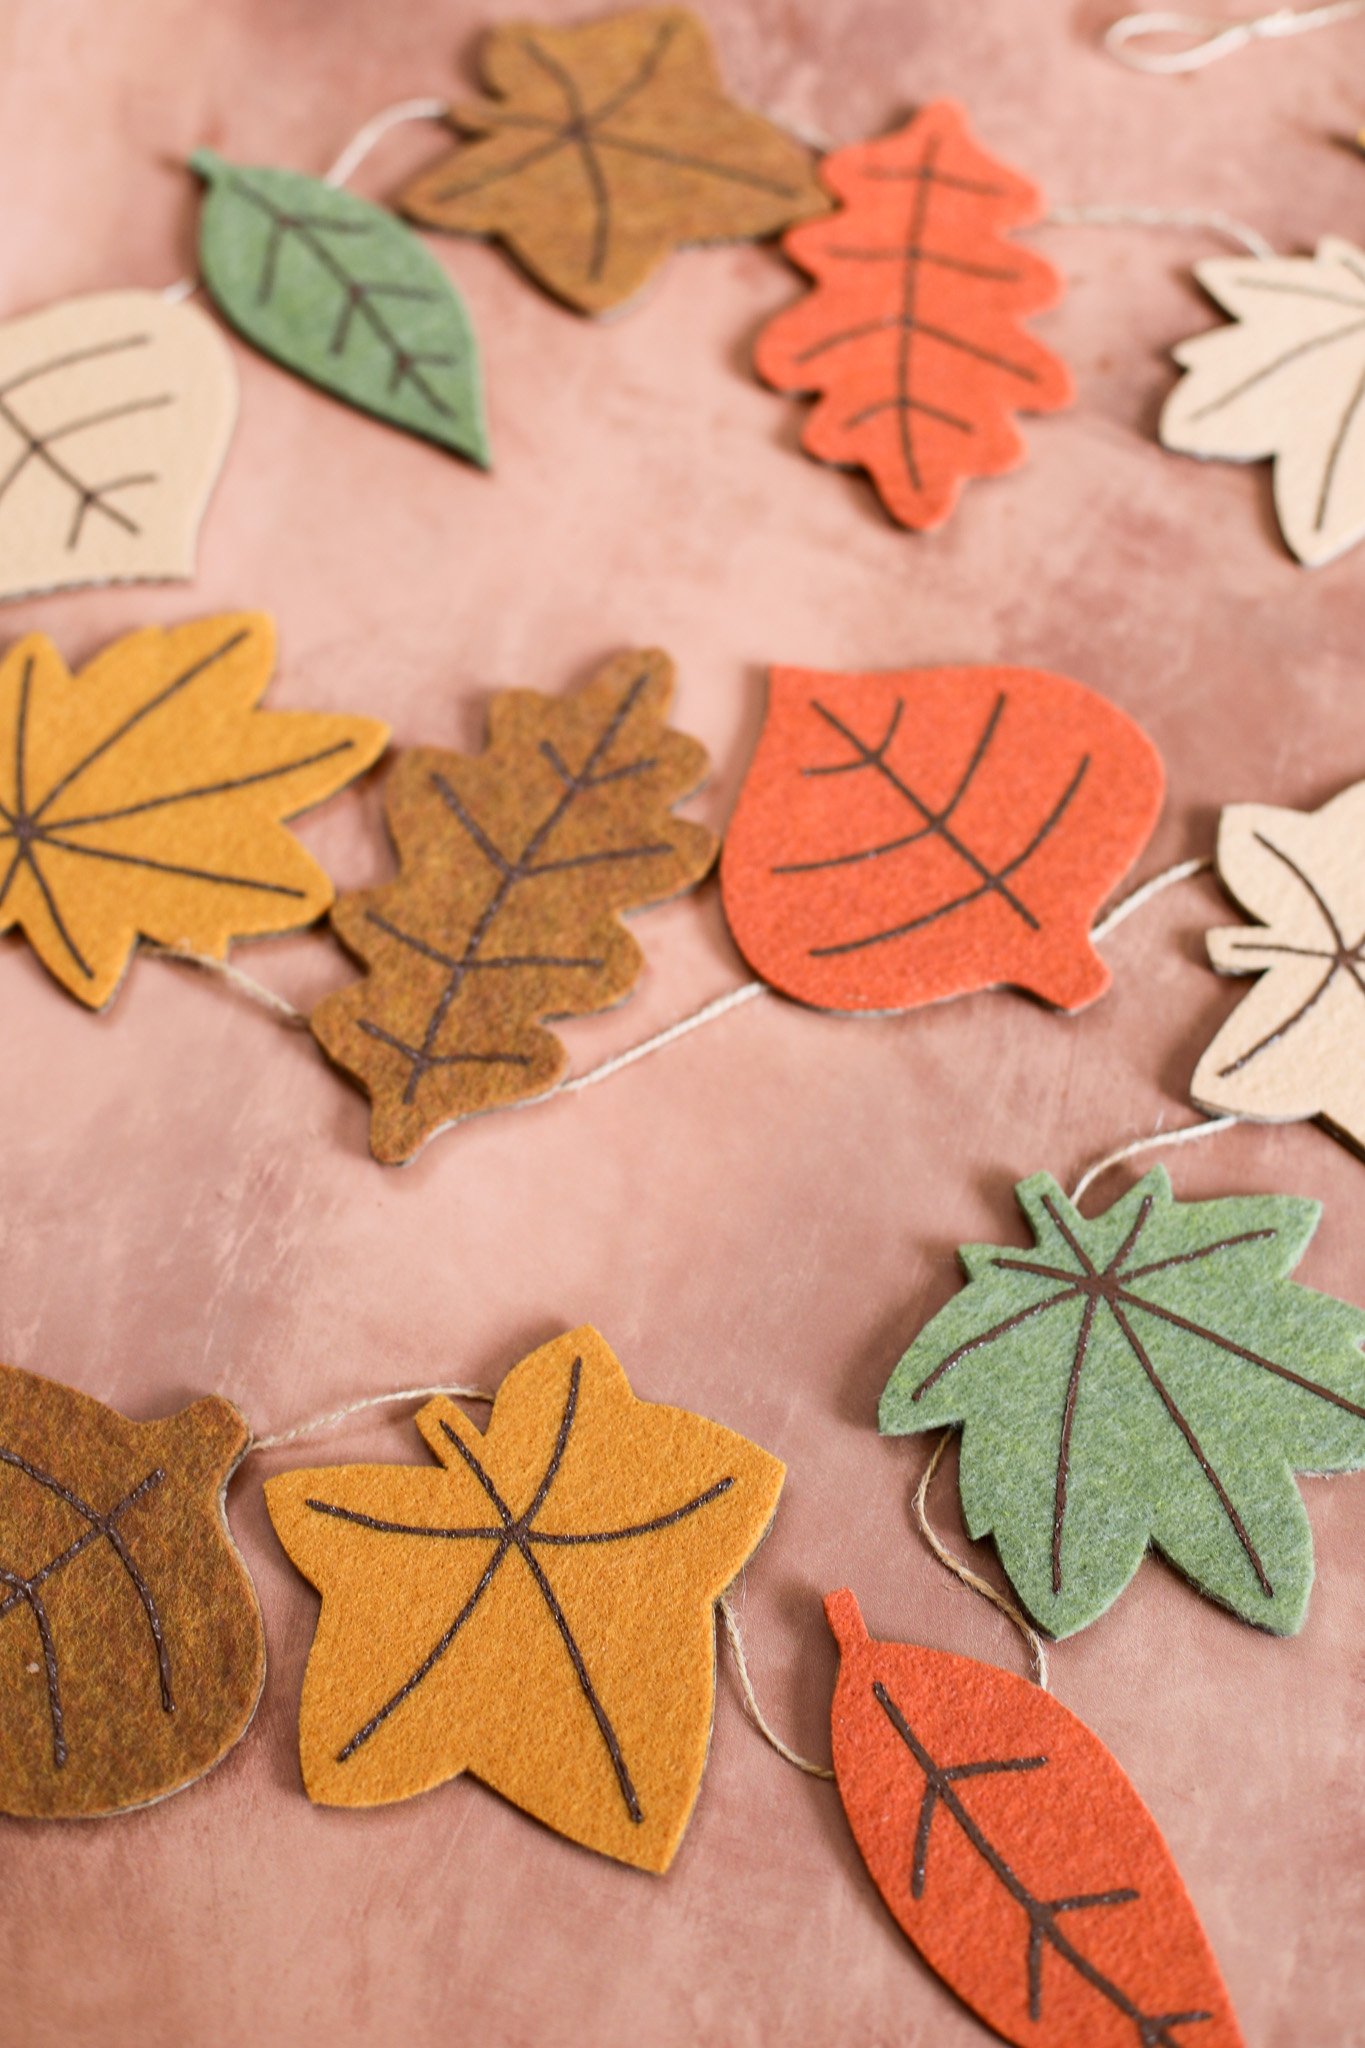
Lay out your leaves and arrange them in the order that you want them to be displayed on the garland. Now go one by one taping the back of the leaves onto your twine, leaving about 2 inches between each leaf. You can adjust the direction that each leaf hangs before taping it to the twine to give the garland a more natural “falling leaf” pattern.
Once you have added all 15 of your leaves, measure out about 5 more inches and cut the end of the twine. Tie and knot another loop at this end. And your garland is ready to hang!

I love making these DIY felt garlands because the cardboard makes them sturdy enough to reuse for years and years, they are inexpensive and easy to make, and they turn out looking so cute and like something you could have bought from a store like Target. But it is so much better knowing they are unique and handmade! They also provide a fun seasonal activity if you are looking to get crafty and creative this time of year.


This garland makes the perfect piece of DIY decor if you are hosting your own fall harvest celebration or thanksgiving party this year! And I’m already thinking about possibly making a Halloween felt garland in the next few weeks as well, so check back for that soon. Happy Fall!
xo Rachael

