
DIY Checkered Milk Bottles
I’m absolutely in love with this modern checkerboard trend that has been so popular over the last couple years! The pattern is EVERYWHERE and it is giving all the 90s vibes. These fun glass tile coasters are so trendy and these classic checkerboard Vans are currently patiently waiting for me in my cart :)
And it is no secret that we are loving this trend around here at Entertain the Idea since we have done a few different checkered themed posts over the last year. If you’ve missed it, check out our DIY Checkered Beaded Hair Clips and our Make Your Own Checkers Beach Towel blog posts.
Well today I bring you another checkered DIY project that is perfect for putting a unique DIY spin on your next party! So let’s get crafting and I’ll show you how I made these fun DIY Checkered Milk Bottles. Tutorial below...
HOW TO MAKE CHECKERED MILK BOTTLES
DIY Checkered Milk Bottle Supplies:
Removable matte vinyl (I used Circuit Premium Vinyl in Cream)
Die-cut machine (I used a Silhouette machine, but you can use a Cricut or any alternative)
Scissors
Vinyl weeder/hook tool
Checkerboard template file (download below!)


STEP 1: Download the checkerboard template file above. Upload this file into your die cut machine software. The .png should be sized correctly for these exact milk bottles, but if you need to adjust, the length of the long side of the checkerboard pattern should be 8-1/8” in length.
Select your trace area (the black squares represent the positive space that will be your cream vinyl, the white squares are the negative space that should be cut out).
Load a piece of your cream vinyl into your cutting machine. You will do this by cutting out a piece about 9” x 4” in size and attaching to your machine’s sticky cutting mat with the vinyl side up. Send the image to your cutting machine and wait for the machine to cut out your checkerboard shape into the vinyl.
Repeat this step with as many bottles as you would like to make.

STEP 2: You will now need to weed any excess vinyl from your image. Use your hook tool to carefully grab the negative space squares from their corners and carefully pull away those vinyl pieces until you are left with a checkerboard pattern that is 6 x 3 cream boxes (as shown above).


STEP 3: Cut out a piece of clear vinyl transfer tape that is the same size as your image (so about 9” x 4” in size). Pull off the backing of the transfer tape and carefully lay the clear sticky side of the transfer tape down onto your vinyl pattern. I would recommend trying to line up the edge of your pattern with the grid lines on the transfer tape (this will make it easier when you line it up to the bottle).
Smooth out the transfer tape on top of your vinyl with some hard pressure to make sure the vinyl will transfer to the tape.
STEP 4: Lay the vinyl face side down and carefully pull away the white vinyl backing piece. The vinyl squares should now be attached to your clear transfer tape only. Remove the backing slowly pulling from one end as shown in the image above.
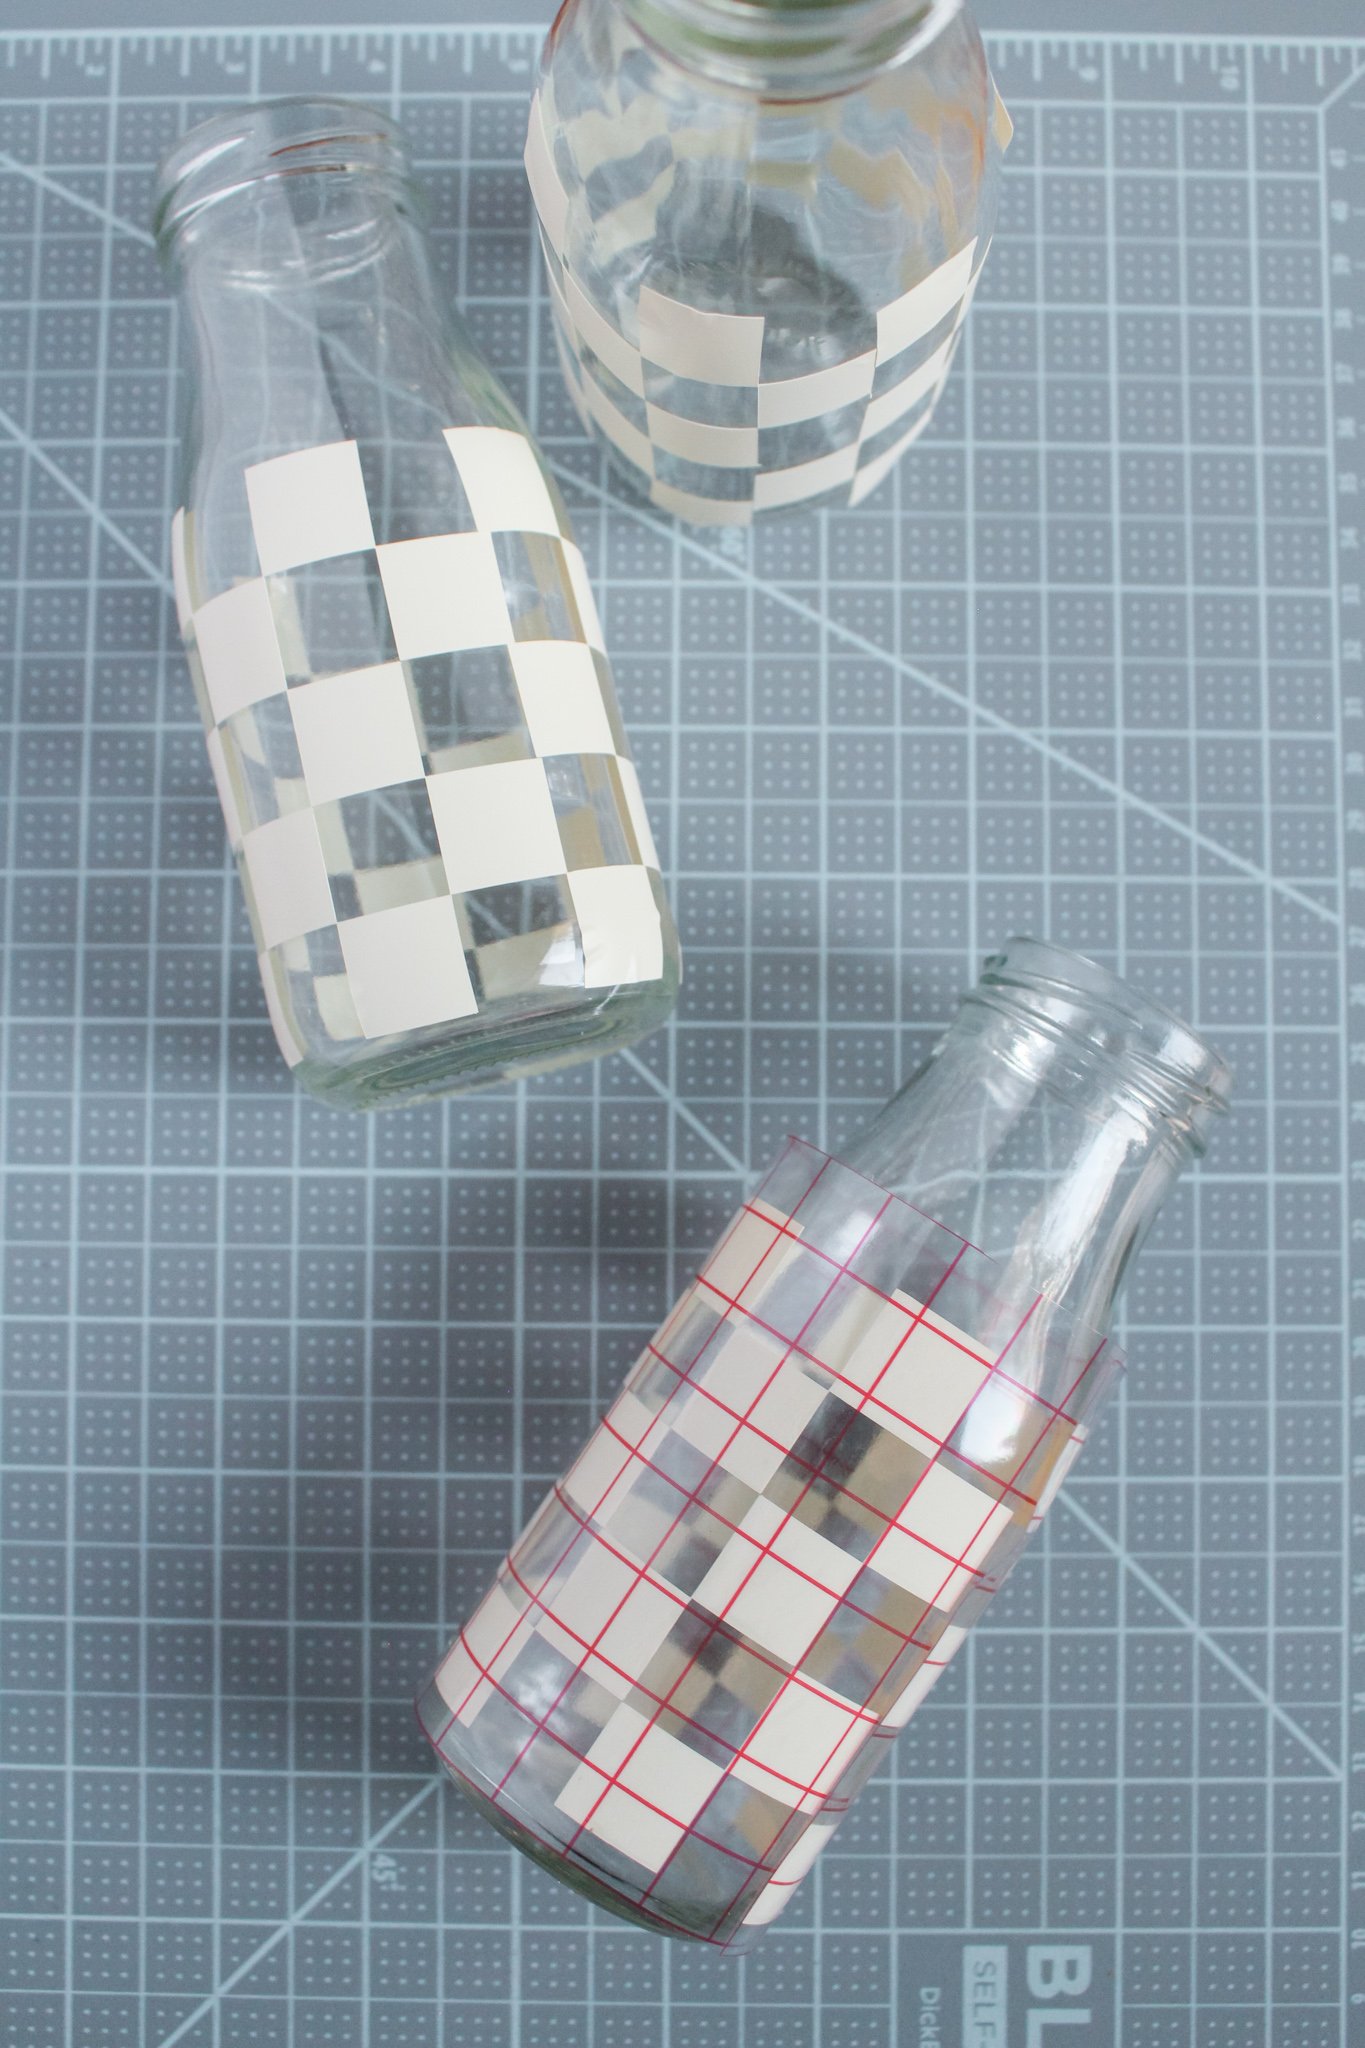
STEP 5: Now the most difficult part, lining up your checkerboard pattern to match up on your bottle. This step will just take a bit of practice but I found it helpful to lay the transfer tape (sticky side up) on a grided surface like this cutting mat, that way you know that your vinyl tape is kept straight. Set your glass milk bottle right in the middle of the vinyl sheet. Then slowly roll the bottle over the tape to attach the vinyl to the bottle. Use the grid marks on your cutting mat to help guide you while rolling the bottle to keep your roll straight.
STEP 6: Smooth out the surface of the transfer tape with heavy pressure again to try to get the vinyl to now stick to the glass bottle. Carefully pull of the transfer tape and you should be left with just the vinyl squares remaining on the bottle!
If you have done it correctly, the two ends of the checkerboard pattern should line up correctly! And if you are a bit off, no worries. Just turn your bottle so that is the back side :P

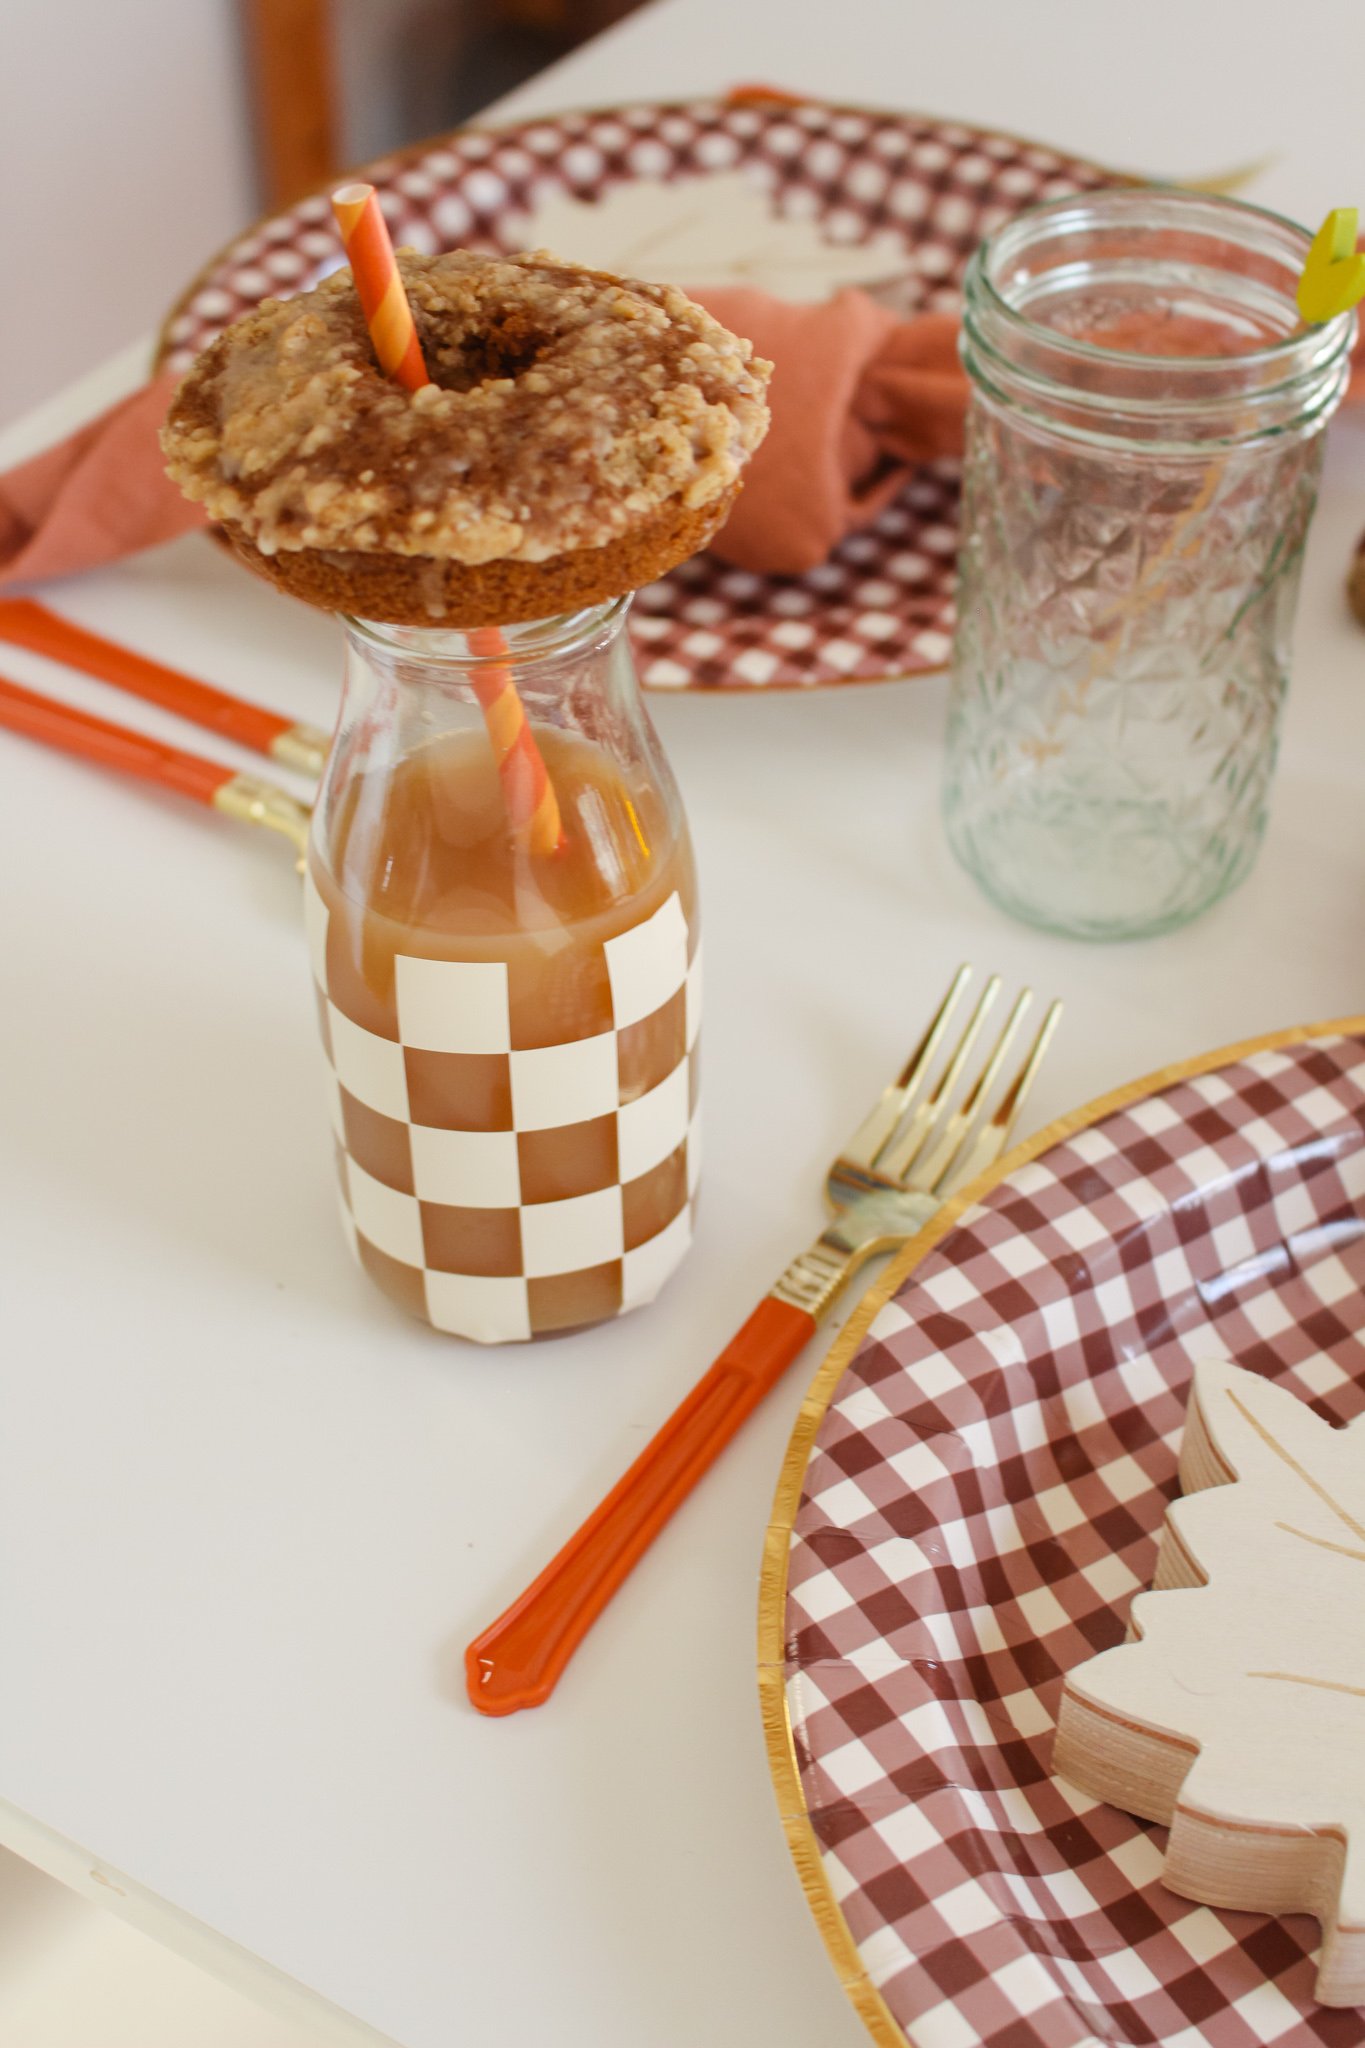
Now your bottles are ready to be filled with your beverage of choice! I used the bottles to hold apple cider at my fall party this year and they gave off a gingham design that looked so adorably autumnal!

I think these bottles would be super cute for a kid’s birthday party as well — maybe a race car theme? Or skateboard theme? You could make them with any color of vinyl you would like! And the best part is that because this was a removable vinyl, you can easily pull off the stickers after the party and reuse these bottles again for your next event.

Thanks for reading! And stay tuned for an upcoming post sharing all the details from this Fall Harvest Celebration party that I threw this season!
Happy crafting! xo Rachael

