
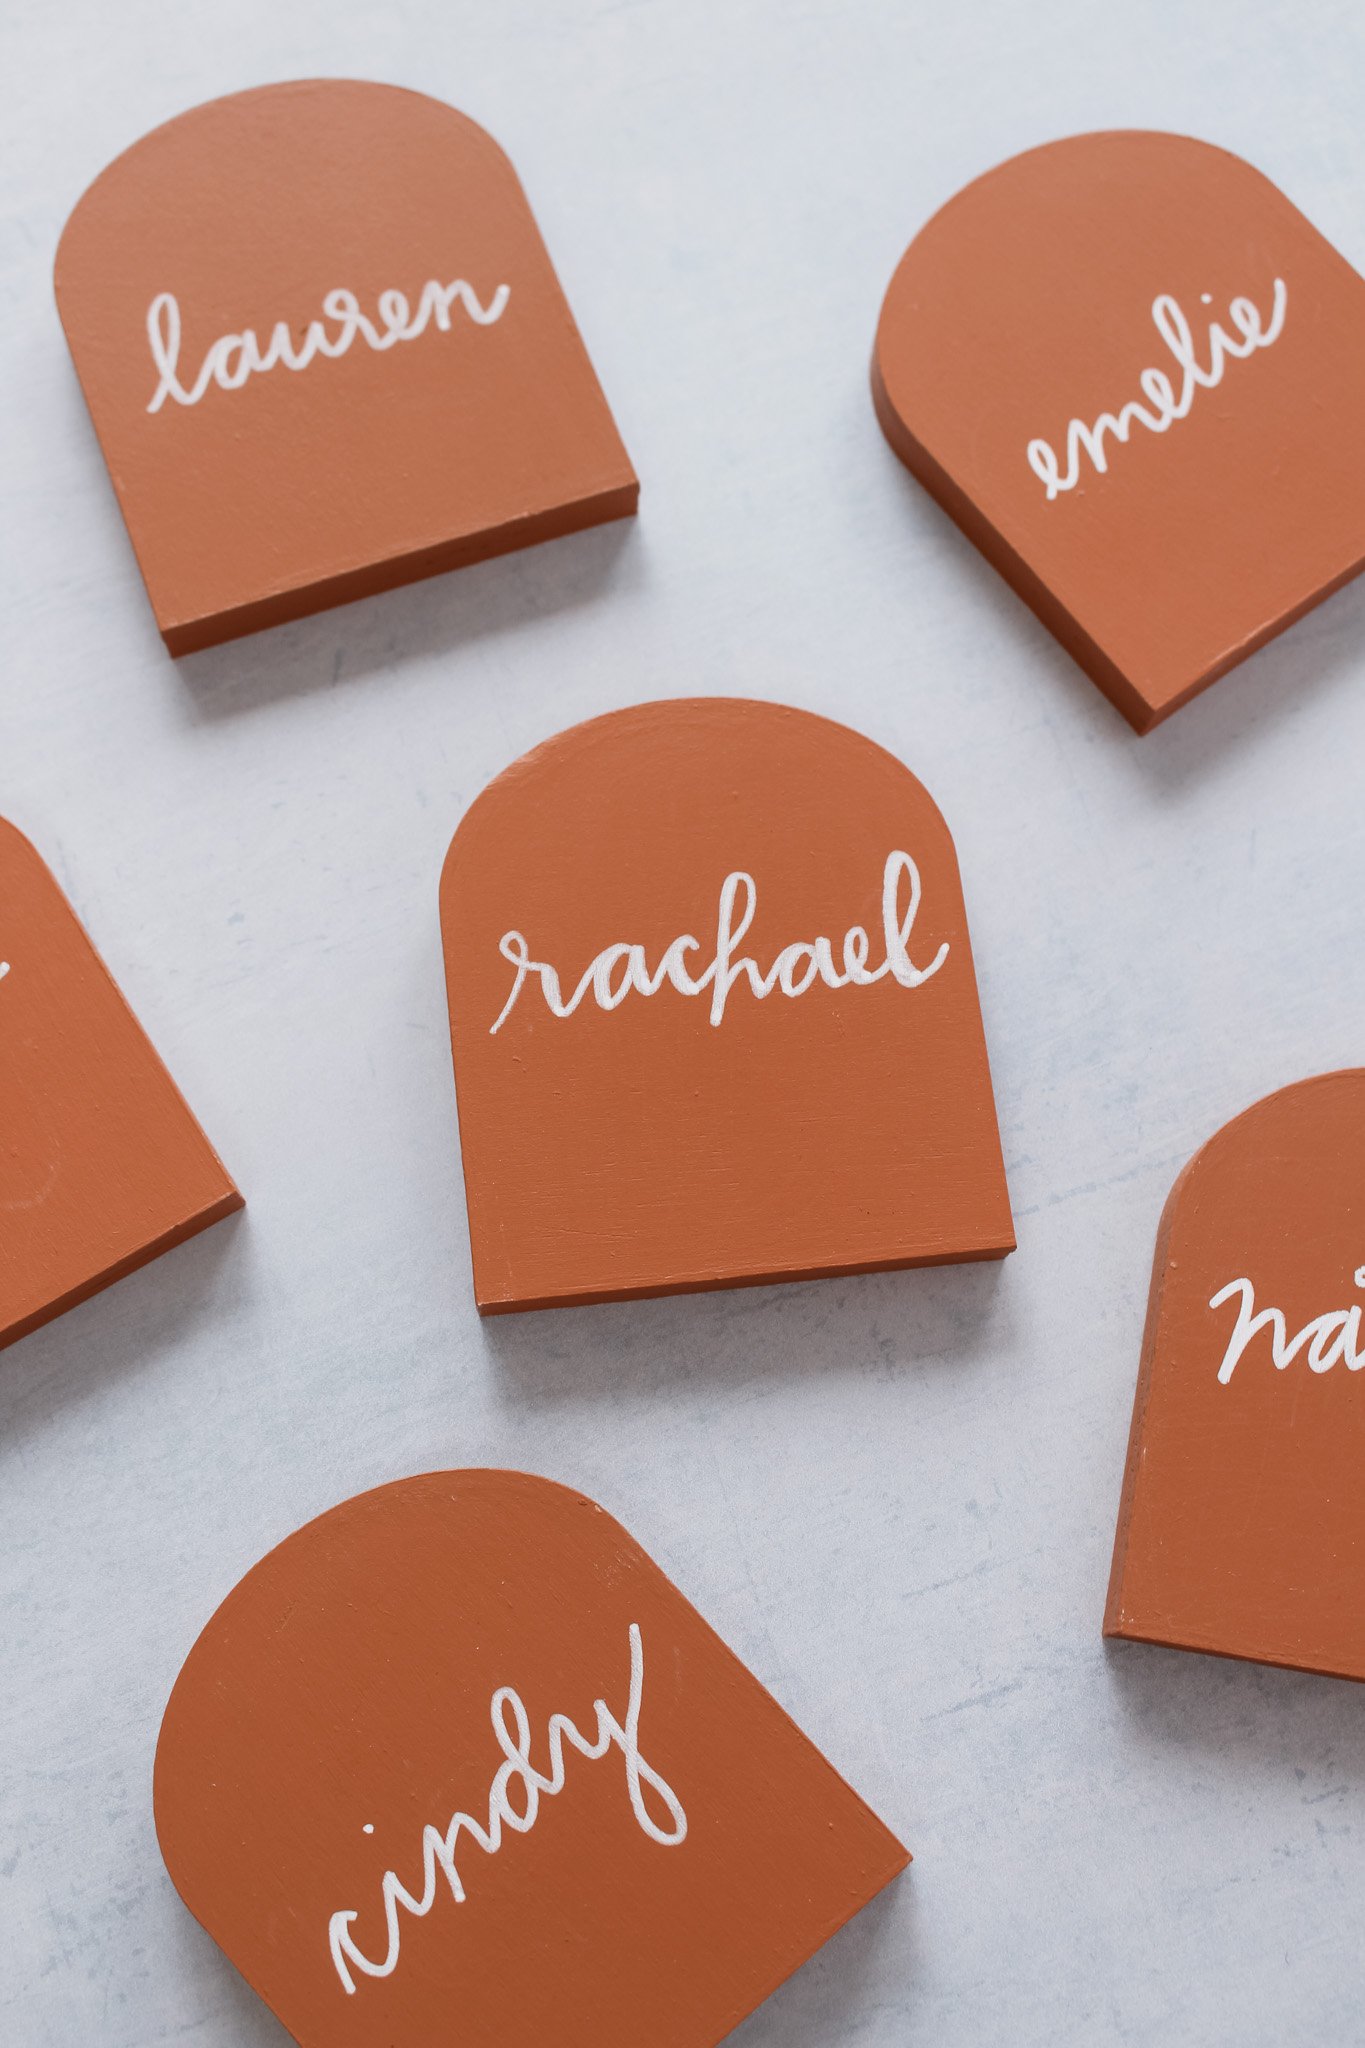
DIY Chalkboard Placecards
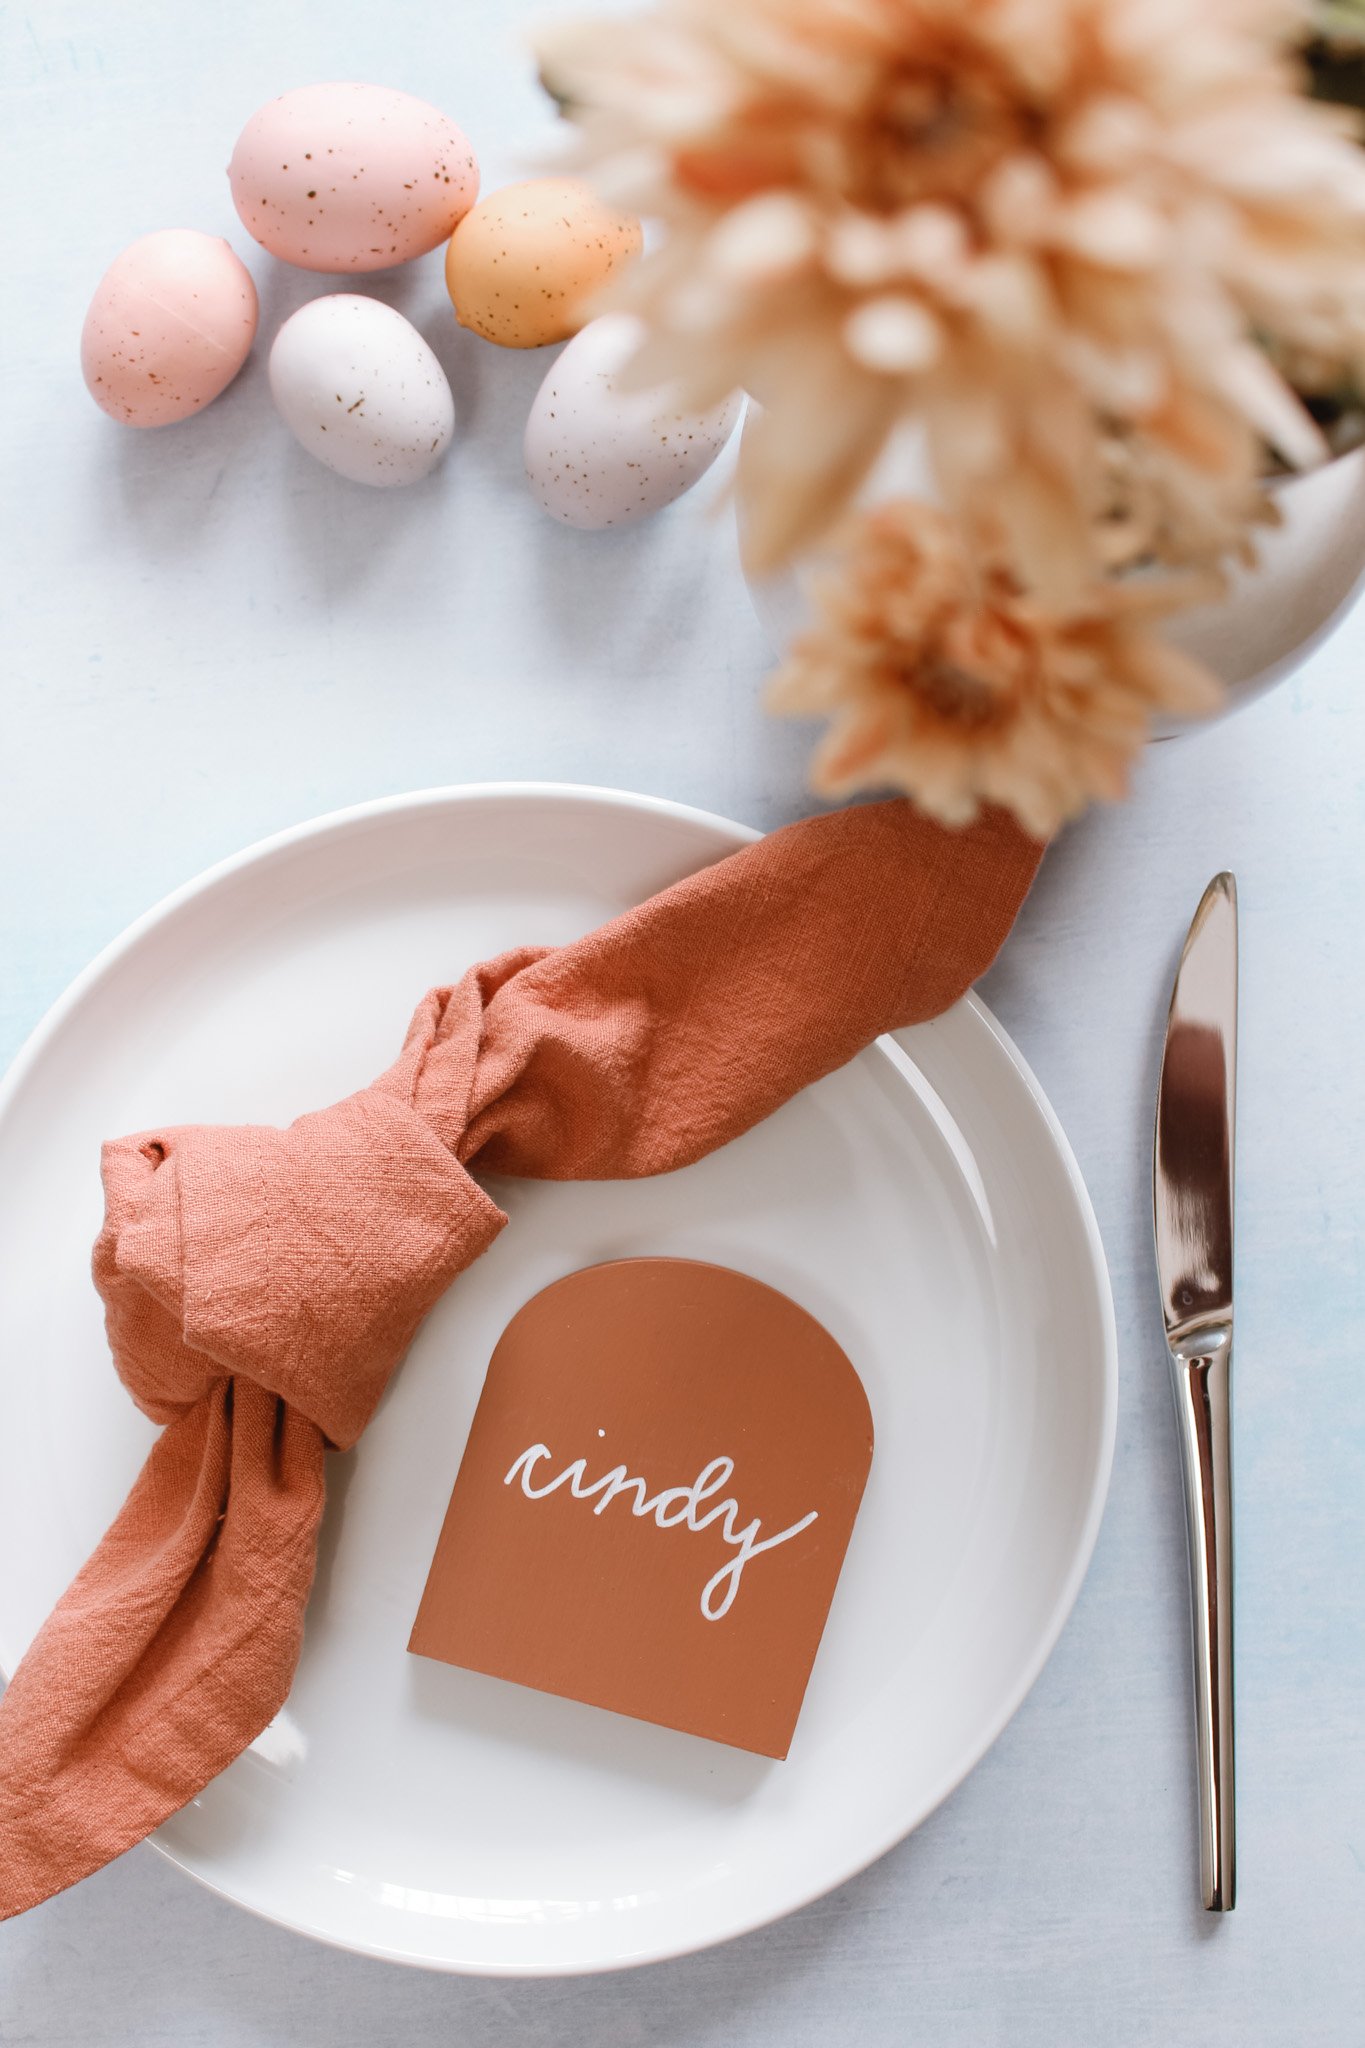
With Easter coming up in just a few days and a lot of people preparing their Easter tablescapes, I thought I would share a super simple idea if you are in the market for some creative (& reusable!) placecards.
This project is so simple, it barely requires a tutorial. But I loved the idea of having placecard holders you could use for events over and over again. You could also totally make these placecard holders in any shape you wanted. Especially if you are handy with power tools and can cut them out of wood yourself. I would just recommend they be at least 1/2” thick so that they stand up on their own. But since I am limited on space in my apartment and did not have any power tools accessible, I took the easy route and purchased these already cut out wooden shapes from 24HourCrafts in this trendy arch shape that I’ve been seeing everywhere lately!
Affiliate disclosure: This post contains several affiliate links. As an Amazon Associate, I may earn commissions from qualifying purchases from Amazon.com. Thank you for your support!
HOW TO MAKE CHALKBOARD PLACECARDS
DIY Chalkboard Placecards Supplies:
Unfinished wooden arch shape - I purchased a pack of 10 in 4” size (1/2” thick)
Acrylic paint
Paint brushes
Foam brush
Chalk or chalk marker
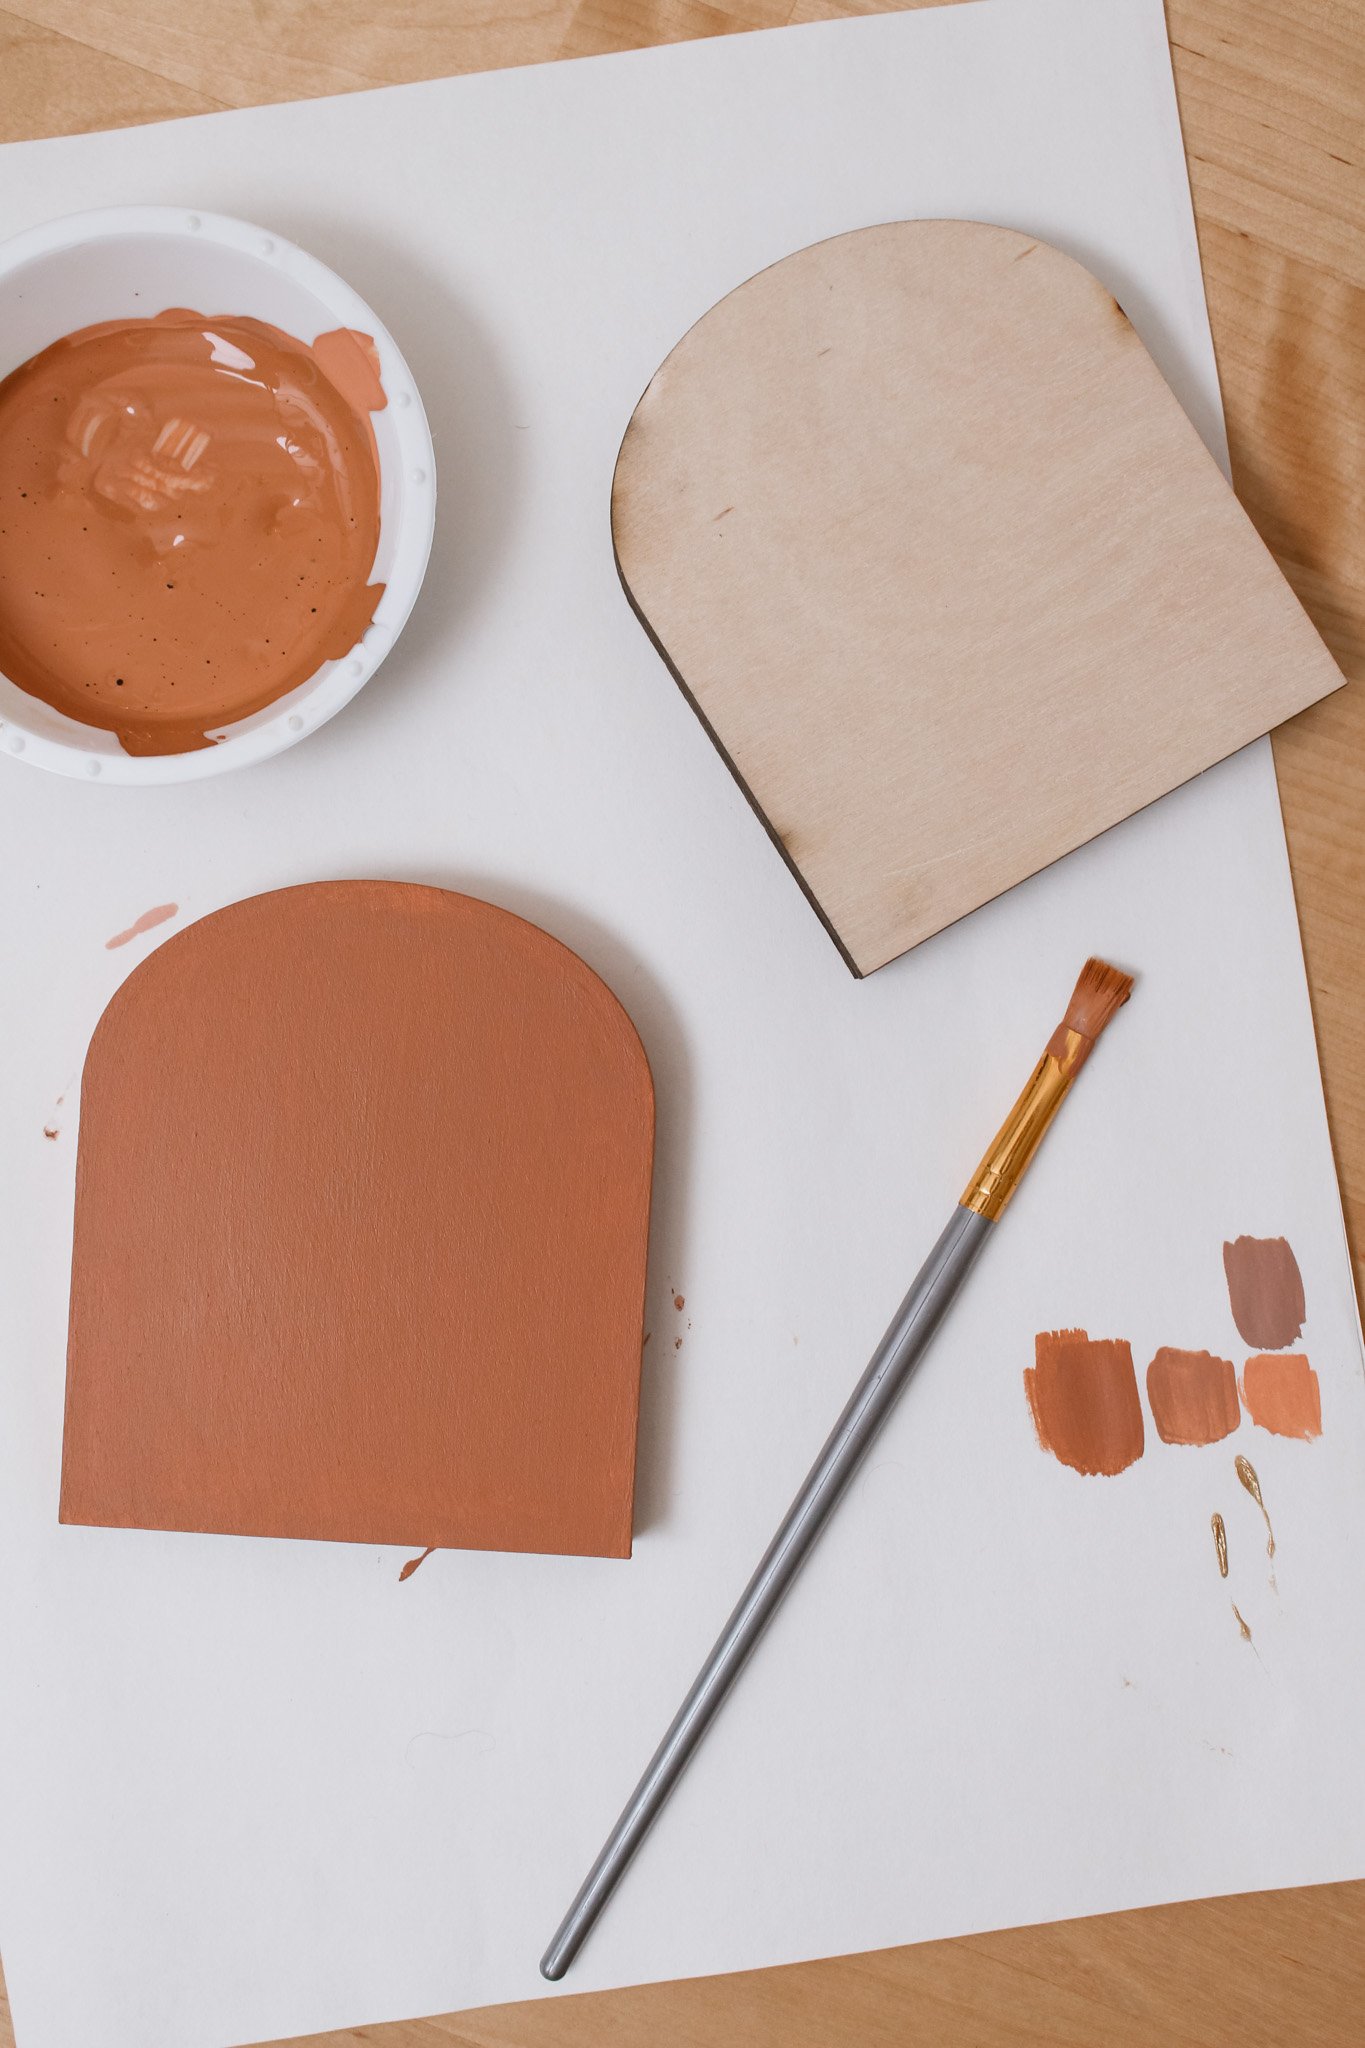
Paint the base of your wooden placecards with whatever color acrylic paint you would like. I wanted these placecards to be useful for many events to come, so I opted for a terracotta color that I thought could work well with different seasons and celebrations. To get this color, I mixed a “warm beige” paint with “dark chocolate” and “spanish tile.”
Paint on about 2-3 coats of paint until the color is opaque. Allow paint to fully dry.

Now, using a foam brush, paint on about 2 coats of the clear chalkboard paint on whatever surfaces of the wood placecards that you want to be able to write on. I ended up painting both sides so that my terracotta paint was sealed on every surface and so that I had the option to write on either side if needed. Allow the clear chalkboard paint to fully dry.
And that’s all there is to it! Your surface is now ready to write on. I used a chalkboard marker just because I found it easier to do calligraphy with that then a piece of chalk. These placecards can stand up on their own or be set down on a place setting.
When you are ready to erase the name, you can use a damp paper towel to erase the writing. If there is still a faint chalk mark showing where the name used to be, my trick is just to use a spray of Windex on the surface and wipe with a paper towel. The surface should look good as new!

I used these chalk placecard holders for my Valentine’s Day Crafternoon party to show where each guest was seated. But there are a million ways you could use these! Here are some other ideas that I thought of:
Table numbers for a wedding or large event
Drink menu at a bar
To label dishes on a buffet
Use to play a name game with friends — label each with a celebrity name and face them outwards away from the guest. They have to guess which celebrity they have with simple yes or no questions
Hope these ideas have inspired you to create your own chalkboard signs! What way would you use these placecards? Or what other surfaces would you paint with this clear chalkboard paint?
xo Rachael

