
3 Faux Floral Arrangement Ideas for Spring
Cue the iconic Devil Wears Prada audio of “florals for spring…groundbreaking.” Yeah, yeah I know, florals this time of year are a little overdone, but there is truly nothing more springtime than a colorful bouquet of greenery and flowers. And while I am a huge fan of buying a bouquet of fresh flowers from Trader Joes (has everyone seen that they were selling Ranunculus this year?!), I wanted to come up with a few ways to display florals in my home this season that might be a bit more original and creative…and last longer!
My local Joann’s had such a beautiful assortment of spring faux florals this year, and since they always seem to have a great sale going on on flowers, I treated myself to a bunch of stems. So today I am sharing three ways that I’m styling these faux stems to decorate my home for spring. Enjoy!
Affiliate disclosure: This post contains several affiliate links. As an Amazon Associate, I may earn commissions from qualifying purchases from Amazon.com. Thank you for your support!

HANGING WALL BASKET
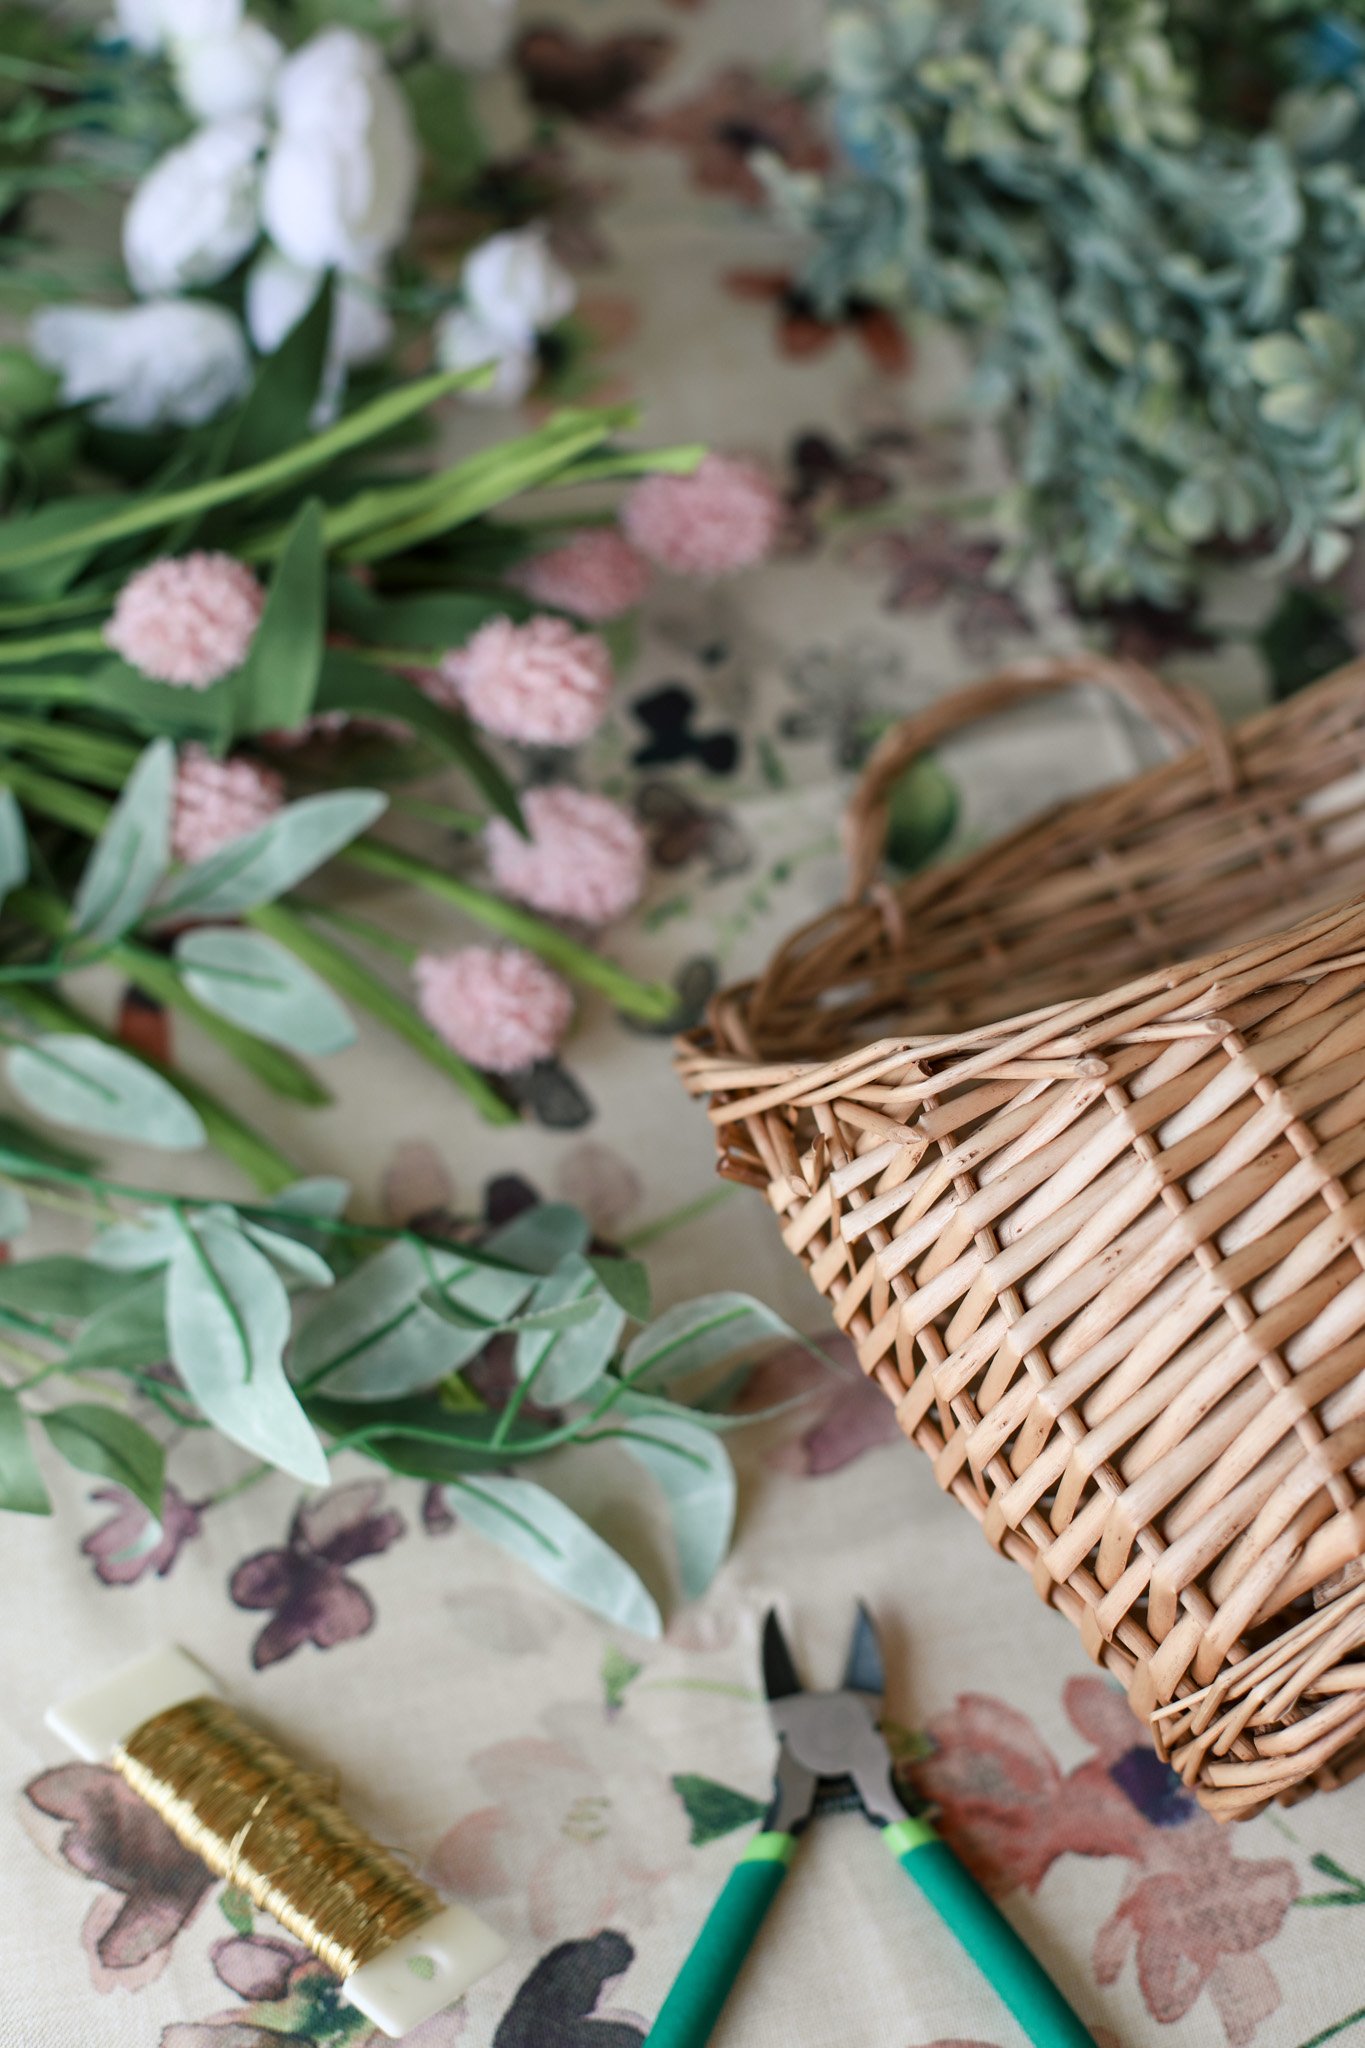
For this project, you will need:
A hanging basket — I purchased this one, but you could easily find one at a thrift store or flea market as well
Floral foam blocks or styrofoam
Faux florals & greenery
To begin, line the inside of your basket with some newspaper or spare kraft paper, anything you have lying around at home. Fill the bottom of the basket with a layer of floral foam blocks or styrofoam. It’s best if these fit snuggly so they don’t move around too much as you are arranging. You can always cut them down in size with a knife if you need to.


For a very full look, you will want to have a good amount of greenery in the basket along with pops of flower buds. So start off with your greenery pieces. Trim the ends as needed with wire cutters to get the length of stem you would like. Since my basket was taller at the back and shorter at the front, I found it best to have taller stems in the back and shorter moving forward. The ones in the back sticking straight up and the ones closer to the front stuck in more at an angle. Stick each stem through the floral foam to secure it in place. Evenly distribute the greenery stems throughout the basket.
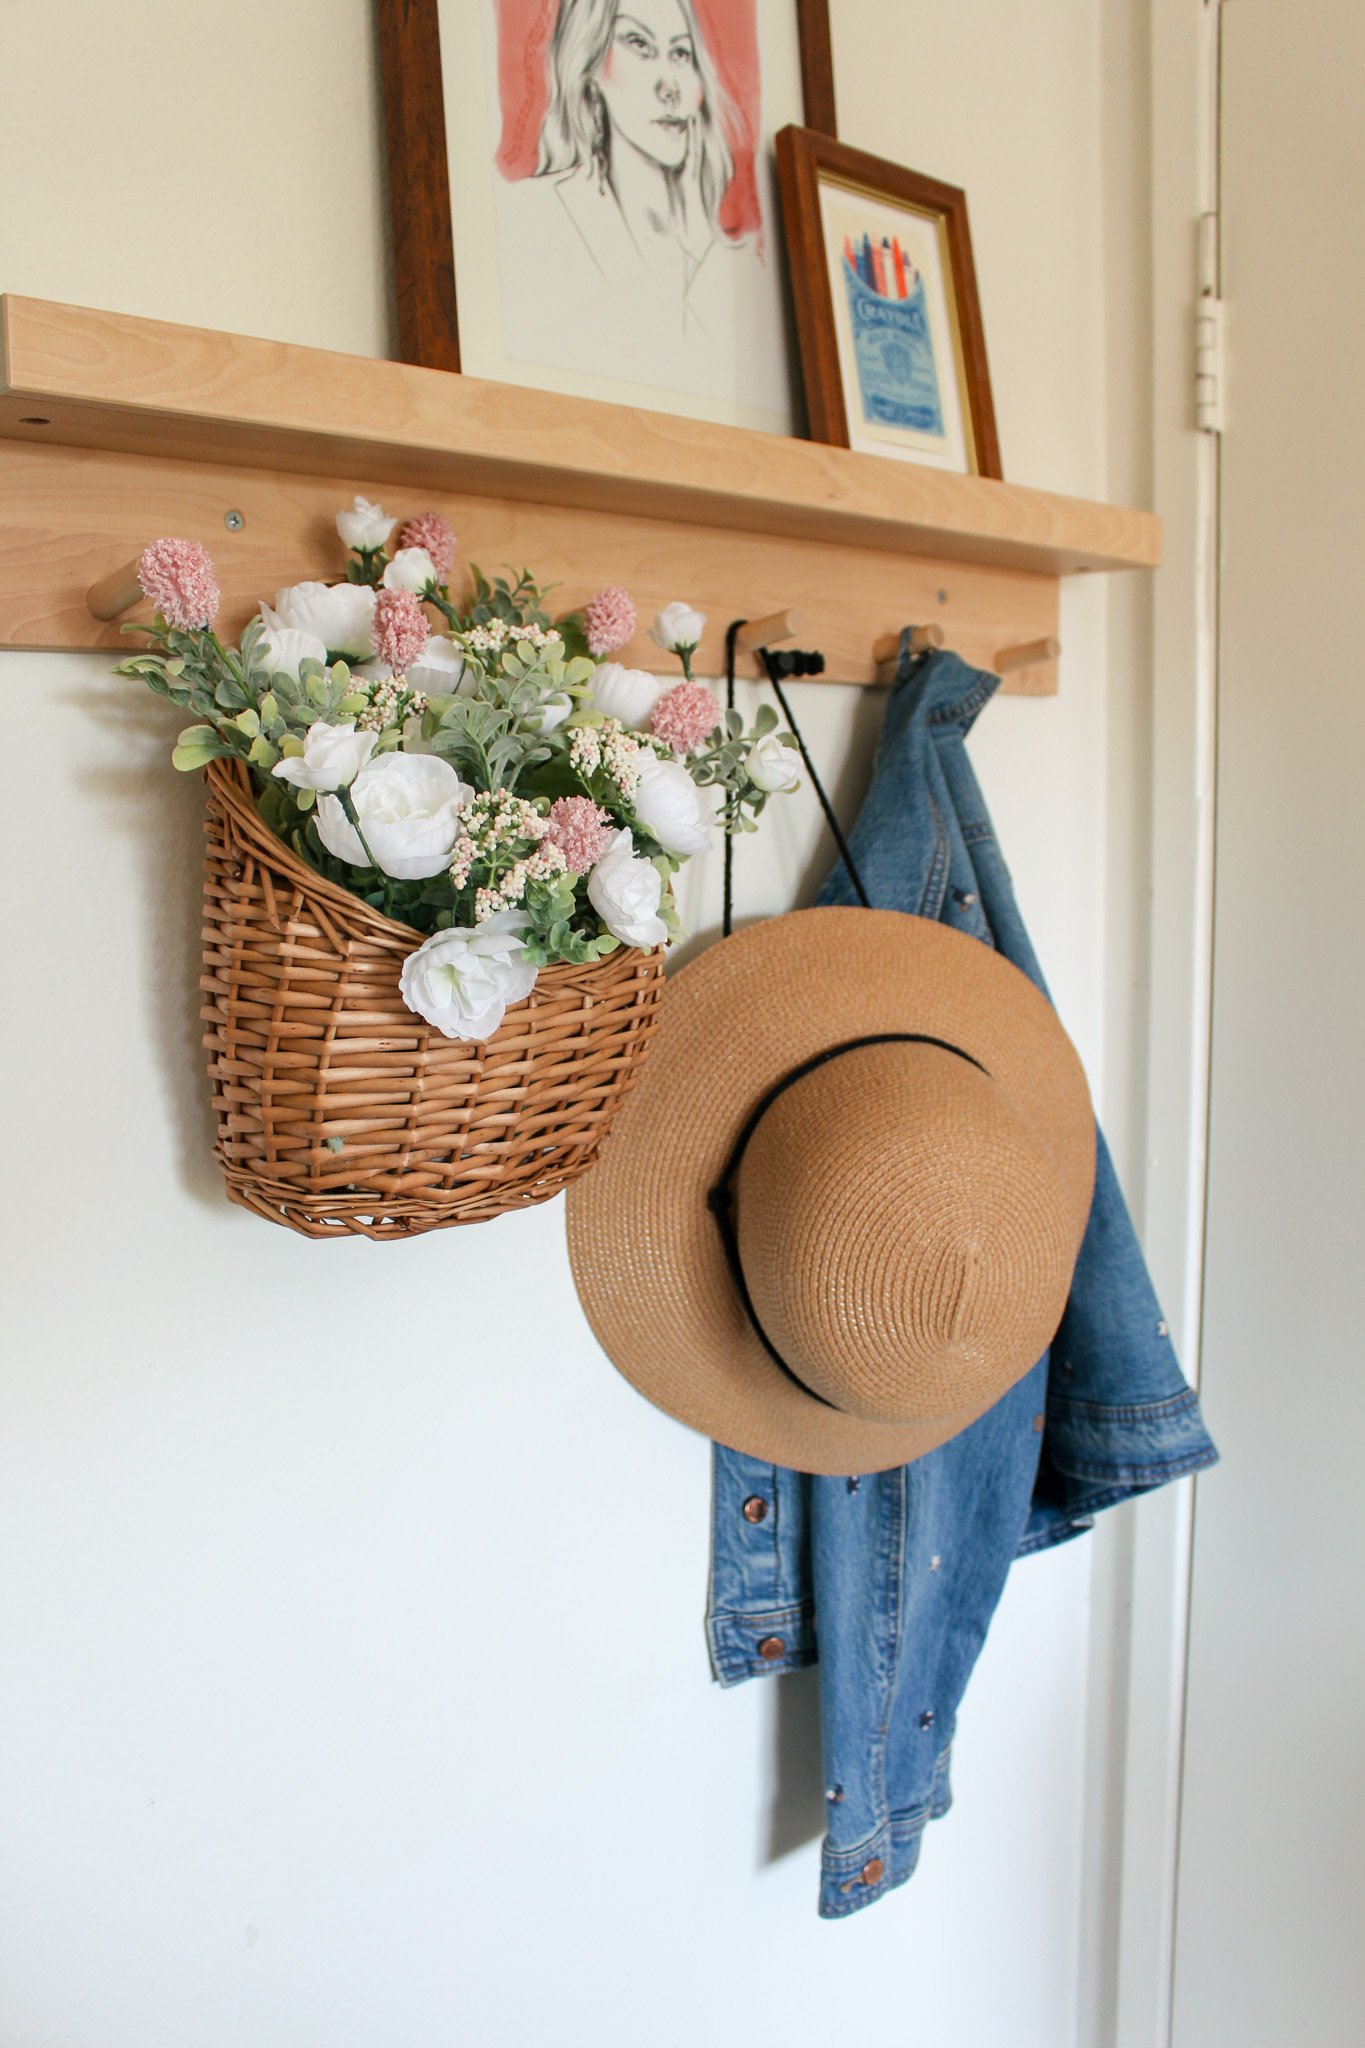
Next, go in with floral stems. Again, trim as needed and try to fill them in evenly across the entire surface of the basket opening. I think it looks really pretty to have some of the florals and greenery draped over the lip of the basket for a more natural blossoming look. I stuck to a mostly green and white color palette for this arrangement, but added in a few pops of pink!

The less you can see the stems, the more natural and real the florals will look. So be sure to stick them down far into the floral foam. Don’t be afraid to pull them back out and trim the ends if needed.
This hanging basket makes a beautiful front door decor piece or can be hung up on any hooks in an entry way, bathroom, kitchen, or bedroom! It looks like a lovely basket of wildflowers picked directly from the garden — but can last you year after year.
2. TEAPOT FLOWER ARRANGEMENT
To make a teapot flower arrangement, you will need the following supplies:
Ceramic teapot — I thrifted mine from Goodwill
Faux florals & greenery
I thrifted this cute teapot a while back and had yet to find a good spot for it in my home. So this spring, I was thinking it would be super cute to use it as a vase to display a floral arrangement!

For this arrangement, I used these beautiful faux daisy stems from Target and I found the stems of these to be a bit higher quality. I didn’t want to cut them up in case I wanted to use them in a different vase one day, so I just bent the end of the stems to get my desired height, enough that they stuck out the top of the teapot vase. I filled it with three of the daisy stems and then I went in with some other fillers and greenery stems to give the arrangement a bit more interest.
I love the color palette on this one! I also think you can really get away with faux florals when you place them higher up, like on top of a piece of furniture or on a high shelf. The details of the faux stems are less visible and definitely look more real to your eye.

3. GOLD HOOP WREATH
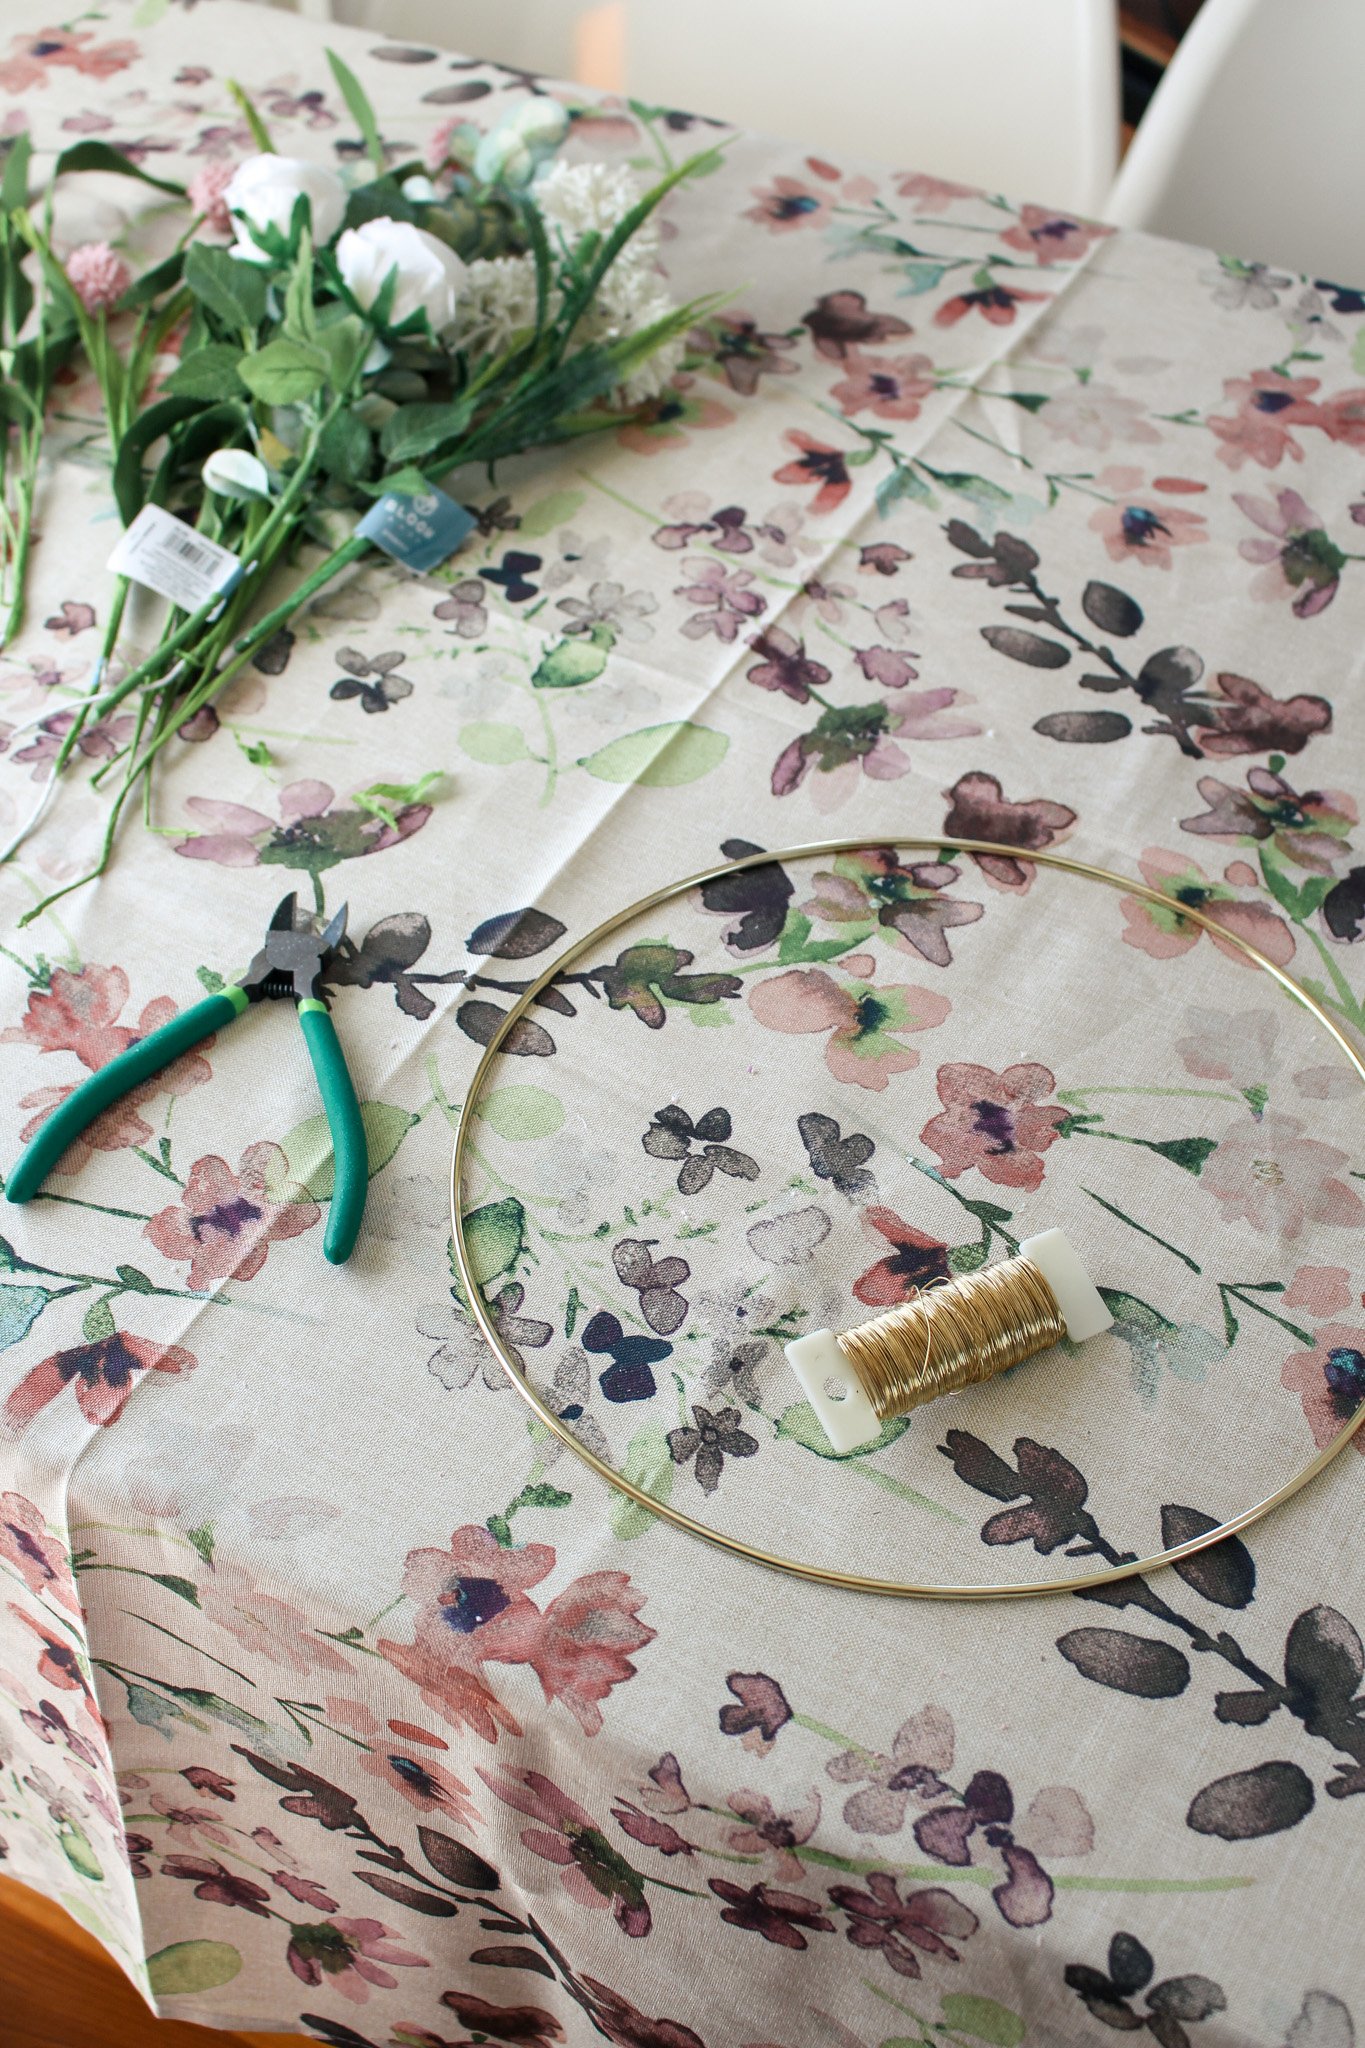
To make a hoop wreath, you will need:
Faux florals & greenery
Hot glue gun
This final arrangement is perfect if you are looking for a piece of decor for your front door or over the fireplace. You can never go wrong with a cute wreath for every season!
To begin, you will want to plan out your florals and how much of your hoop you want to cover. I loved the minimal look of the gold hoop, so I decided to just cover a portion with flowers. Start by creating bunches of flowers and greenery that you want arranged across the hoop. I found it best to do more greenery near the back of the wreath with flowers on the front.
Make two separate bundles of flowers, these will go on either side of the hoop with the stems meeting together in the middle. Individually secure the bundles in place by wrapping around a piece of floral wire to the stems. Now you will go in and attach the bundles to the hoop. Cut a long piece of floral wire and starting at the stems, wrap the wire tightly around the stems while moving up the bundle.
Once both bundles are secured to the hoop, you will probably see a lot of visible wire, especially in the middle where the stems meet. Cut off a few buds from your faux florals and use hot glue to glue them into place to hide any visible wire. At this point you might also want to glue some of the leaves in place along the hoop that can camouflage the wire as well.
Continue with gluing on buds until you have successfully covered any stems or wire and you’re happy with the arrangement!
Making hoop wreaths is also a fun activity to do with a group of friends — I did this for a Fall Harvest Celebration that I threw, and loved seeing how each of my friend’s hoops came out so different! Highly recommend.


I had so much fun putting together these floral arrangements and getting creative with the beautiful assortment of faux flowers at my local craft store. I also love the pop of spring joy that they bring to my home! What was your favorite arrangement? Let me know if you’re going to try out any of these ideas this season!
xo Rachael

