
Apothecary Potion Bottle Favors (& Printable Labels!)
Nothing says an apothecary party theme like old potion bottles. If you missed my last post, I recently hosted a Vintage Apothecary Inspired Halloween Dinner Party complete with a dark, moody aesthetic, autumnal treats, and even some Halloween crafting! So, of course, I went the extra mile and created these very fitting apothecary potion bottle favors to gift to each guest.

Not only is it a very fitting favor for the theme, but it also is a super useful gift to go home with as a little keepsake of the party. Who doesn’t need olive oil? And it will double as a spooky piece of Halloween decor on your kitchen counter as well!
To give these “potions” an extra ominous vibe, I added some dried herbs in each bottle to look like something has been growing or has been kept preserved in a magical laboratory.
Find out how I put the favors together below. And I’m also sharing a printable PDF of these spine-chilling potion labels. Check it out!

Affiliate disclosure: This post may contain affiliate links. When you buy from these links, I may earn a small commission, at no additional cost to you. As an Amazon Associate, I may earn commissions from qualifying purchases from Amazon.com. Thank you for your support!
HOW TO MAKE OLIVE OIL APOTHECARY POTION BOTTLE FAVORS
Supplies:
Mini glass “potion” bottles - I used a few different shapes/sizes from Michaels (the larger cylinder, the round bottle, and the more square shaped bottle).
Fresh rosemary herbs
Olive oil
Small funnel
ETI’s Printable Halloween Apothecary Potion Labels (download below!)

STEP 1: To begin, you will want to thoroughly wash and sterilize your potion jars. To do this, give them a good clean with dish soap and rinse. Fill a large pot of water and place it on the stove. Set in as many bottles as will fit so that they are fully submerged in the water. Turn on the stove burner and let your water come to a boil.
Once your water is boiling, set a timer for 10 minutes. After 10 minutes of being submerged in the boiling water, the jars should now be sterilized. Use some tongs to carefully remove the jars from the boiling water and set out on a clean dish cloth to fully dry. Repeat this process as needed until you have sterilized all your jars. Allow them to fully dry for a minimum of 24 hours.
STEP 2: Next, you will want to dry your herbs. In order to keep the olive oil shelf stable, you need to remove any water or moisture that may be left in the herbs before placing them in the olive oil to prevent bacteria from growing. You can do this several ways, like leaving the herbs out for a few weeks to dry out. But if you do not have that kind of time (or didn’t plan far enough in advance, like me lol) you can also dehydrate the herbs in the oven!
Place the fresh herbs on a piece of parchment paper and place in the oven at about 175 degrees Fahrenheit for anywhere between 2-4 hours. I think I ended up doing about 3 hours total. The herbs will go from being a brighter green color to duller green and the needles will be dried and easily fall off the stem when touched.

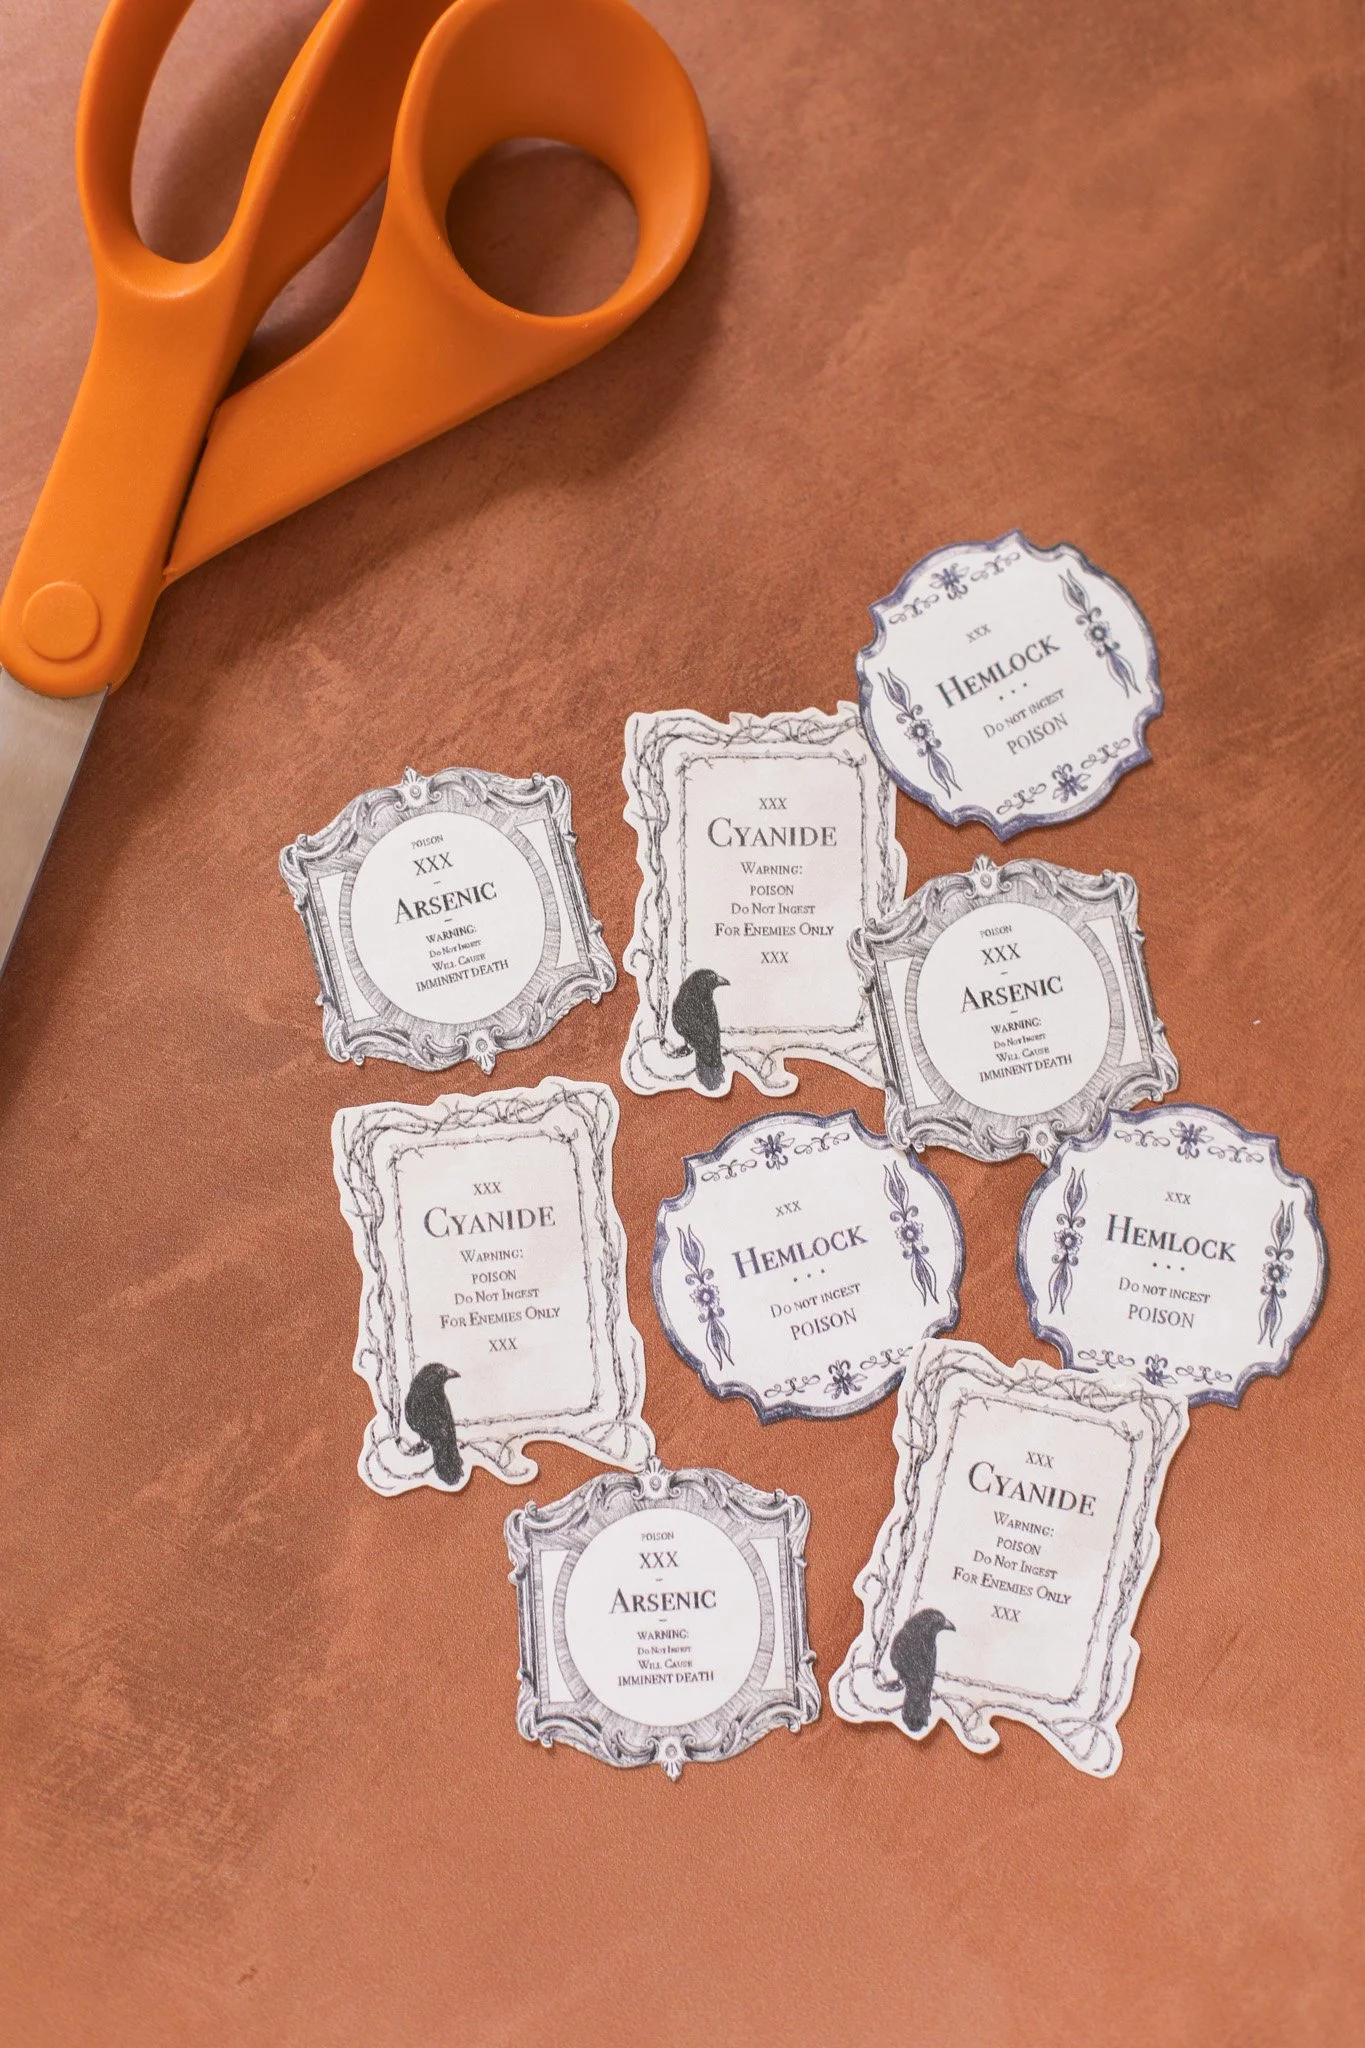
STEP 3: Making your label stickers! To make these spooky apothecary inspired potion labels download our PDF at the link above. Load your printable sticker paper into your printer like you would normal paper, then print the PDF.
Next, take a pair of scissors and carefully cut out the labels along the edge of the designs. For the “arsenic” and “hemlock” labels, I just followed the outer line. For “cyanide” I just left a little border space and followed the shape while cutting. This will take some patience as these labels are very small, but it will be worth it for the final product!

STEP 4: Now it is time to fill the jars. Place a few pieces of dried rosemary into each glass bottle. You can use a pair of scissors to cut the pieces smaller, or simply break them apart with your hands. Now that they are dried you may find a lot of the needles are falling off. Go ahead and pour any extra needles into the bottom of each bottle.
Use a small funnel to fill your jars with olive oil all the way to the top. Then push your cork stoppers back into place to tightly seal up the jars.

STEP 5: Now all that is left is to add your labels! Carefully peel at the corner of each label until the backing comes apart from the sticker. Stick the label on the center of each bottle. And you are all set!

Now you have the perfect spooky potions to “poison” — uhhh I mean GIFT your friends! :P

I love how these favors turned out, they were the perfect addition to my dinner party! I hope you enjoyed today’s DIY idea. Are you doing any halloween hosting this spooky season?
xo Rachael

