
Spiderweb Embroidered Coasters
I’m SUPER excited to be starting HALLOWEEN content today!! It’s no secret that I love this time of year. And I’m especially a sucker for DIY Halloween decor ideas. There have been so many fun ideas being shared already this year on Instagram and TikTok, so I thought it was time to create my first Halloween DIY project of the year!
So today I’m bringing you this creepy-crawly spiderweb coaster tutorial! This easy embroidery project is sure to add a spooky touch to your Halloween bar cart decor. Or will protect your coffee table from your next hot pumpkin spice coffee creation. Find out how I made them below! :)


HOW TO EMBROIDER SPIDERWEB COASTERS
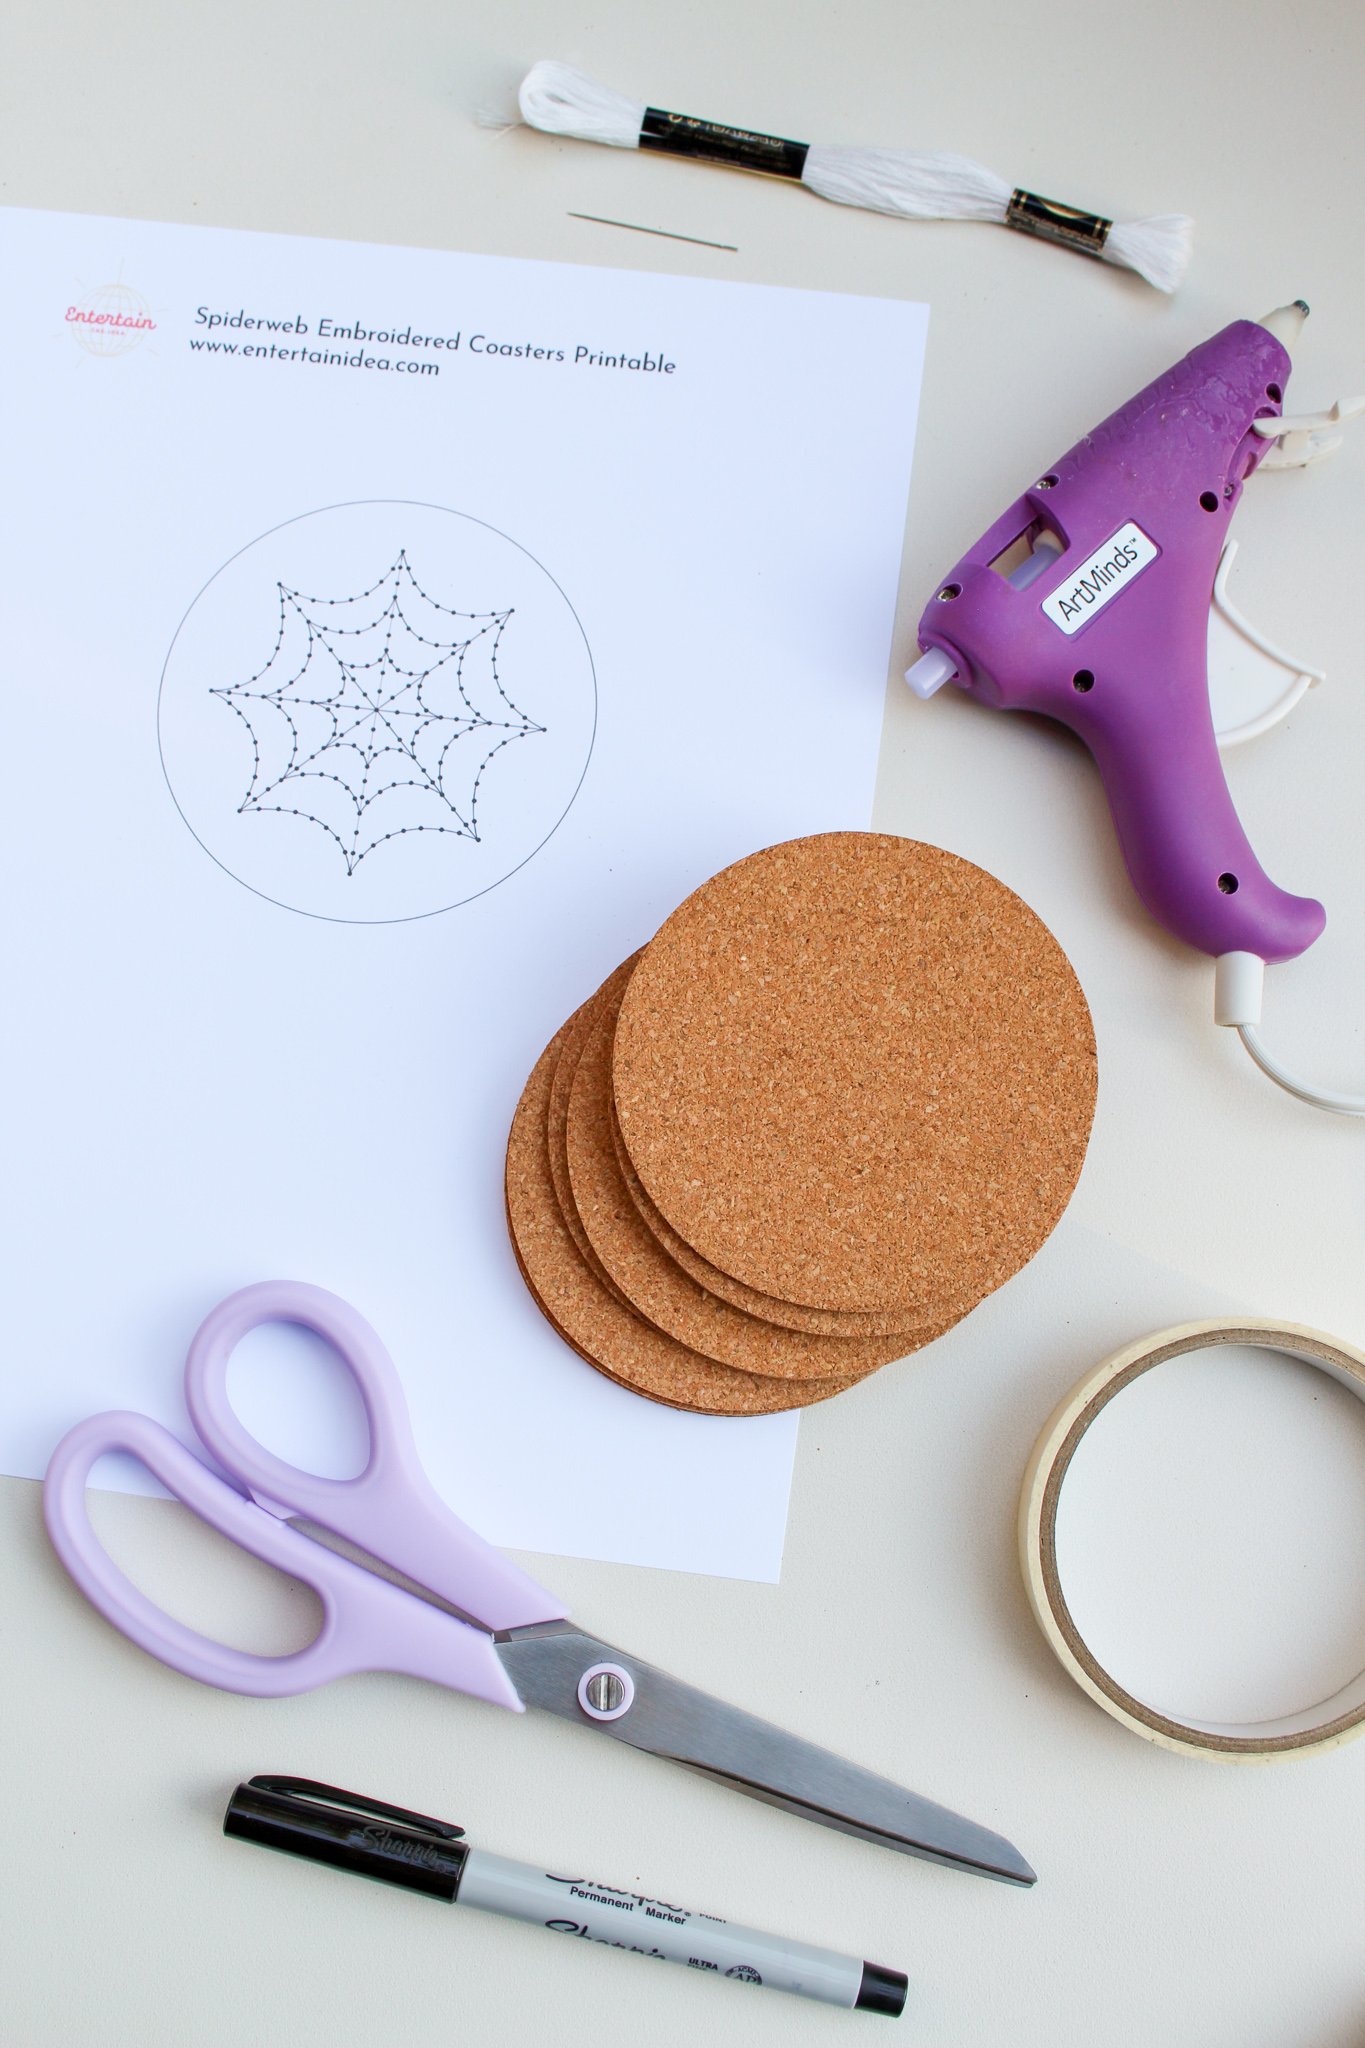
Embroidered spiderweb coaster supplies:
Embroidery floss
Embroidery needle
Hot glue & glue gun
Scissors
Fine tip Sharpie marker
Masking tape
Awl tool (or sharp object like a safety pin)
Piece of scrap cardboard
ETI Spiderweb Embroidered Coasters Printable (download below!)
White cardstock paper
STEP 1: Download our Spiderweb Embroidered Coasters printable from the button above and print the PDF document onto a thick white cardstock paper.
STEP 2: Cut along the circle edge and tape your paper spiderweb template onto a piece of scrap cardboard below to protect your work surface.


STEP 3: Using a sharp tool (like an awl, a safety pin, or even just your embroidery needle), make a hole in your paper template at each of the dots along the design.
This paper template can now be used as a stencil to trace the dots onto your cork coasters.
STEP 4: Next, lay your cork coaster on your piece of scrap cardboard and tape the paper stencil on top of the coaster. Now go through each dot on your stencil again but using a fine tip sharpie marker to make a dot inside each hole. You’re now tracing your dots onto the cork coaster through the stencil.


STEP 5: Now comes the embroidering part! The side of the cork with the Sharpie marks is going to end up on the inside of your coaster so it will not be visible. So this will be the back side of your embroidery.
Cut a piece of embroidery floss (I usually do about a wingspan length) and thread your embroidery needle with your floss. Tie a knot at the end of your floss.
STEP 6: You’re going to be doing a basic backstitch to embroider this pattern. Starting on the back of your cork (the side with the Sharpie marks) thread your needle through your first dot on the design — I started at the outer edge of the spiderweb shape. Pull the thread all the way through until the knot reaches the backing of the cork. Now you are going to thread back through the cork from the front side to the back at the next dot.
**TIP: You will not have any dots on your front side so this part can be a bit tricky. Just give your best guess as to where the next dot is and you can always pull the needle out and try again until you come up through the right spot.
Now continue embroidering with a backstitch by threading your needle through the back side of your cork at the next visible dot on the pattern and then come back up through the previous hole from your last stitch from the front side to the back.
Repeat this backstitch to create all your spiderweb lines. If you run out of floss, just make sure you end with your stitch coming up from front to back and tie a knot on the back. Trim any excess floss. Then thread a new piece of floss and begin again. You can cross over to new lines as much as needed as well, just make sure you do it on the back side of the cork (the side with the Sharpie marks) so that these threads are not visible on the completed coaster.
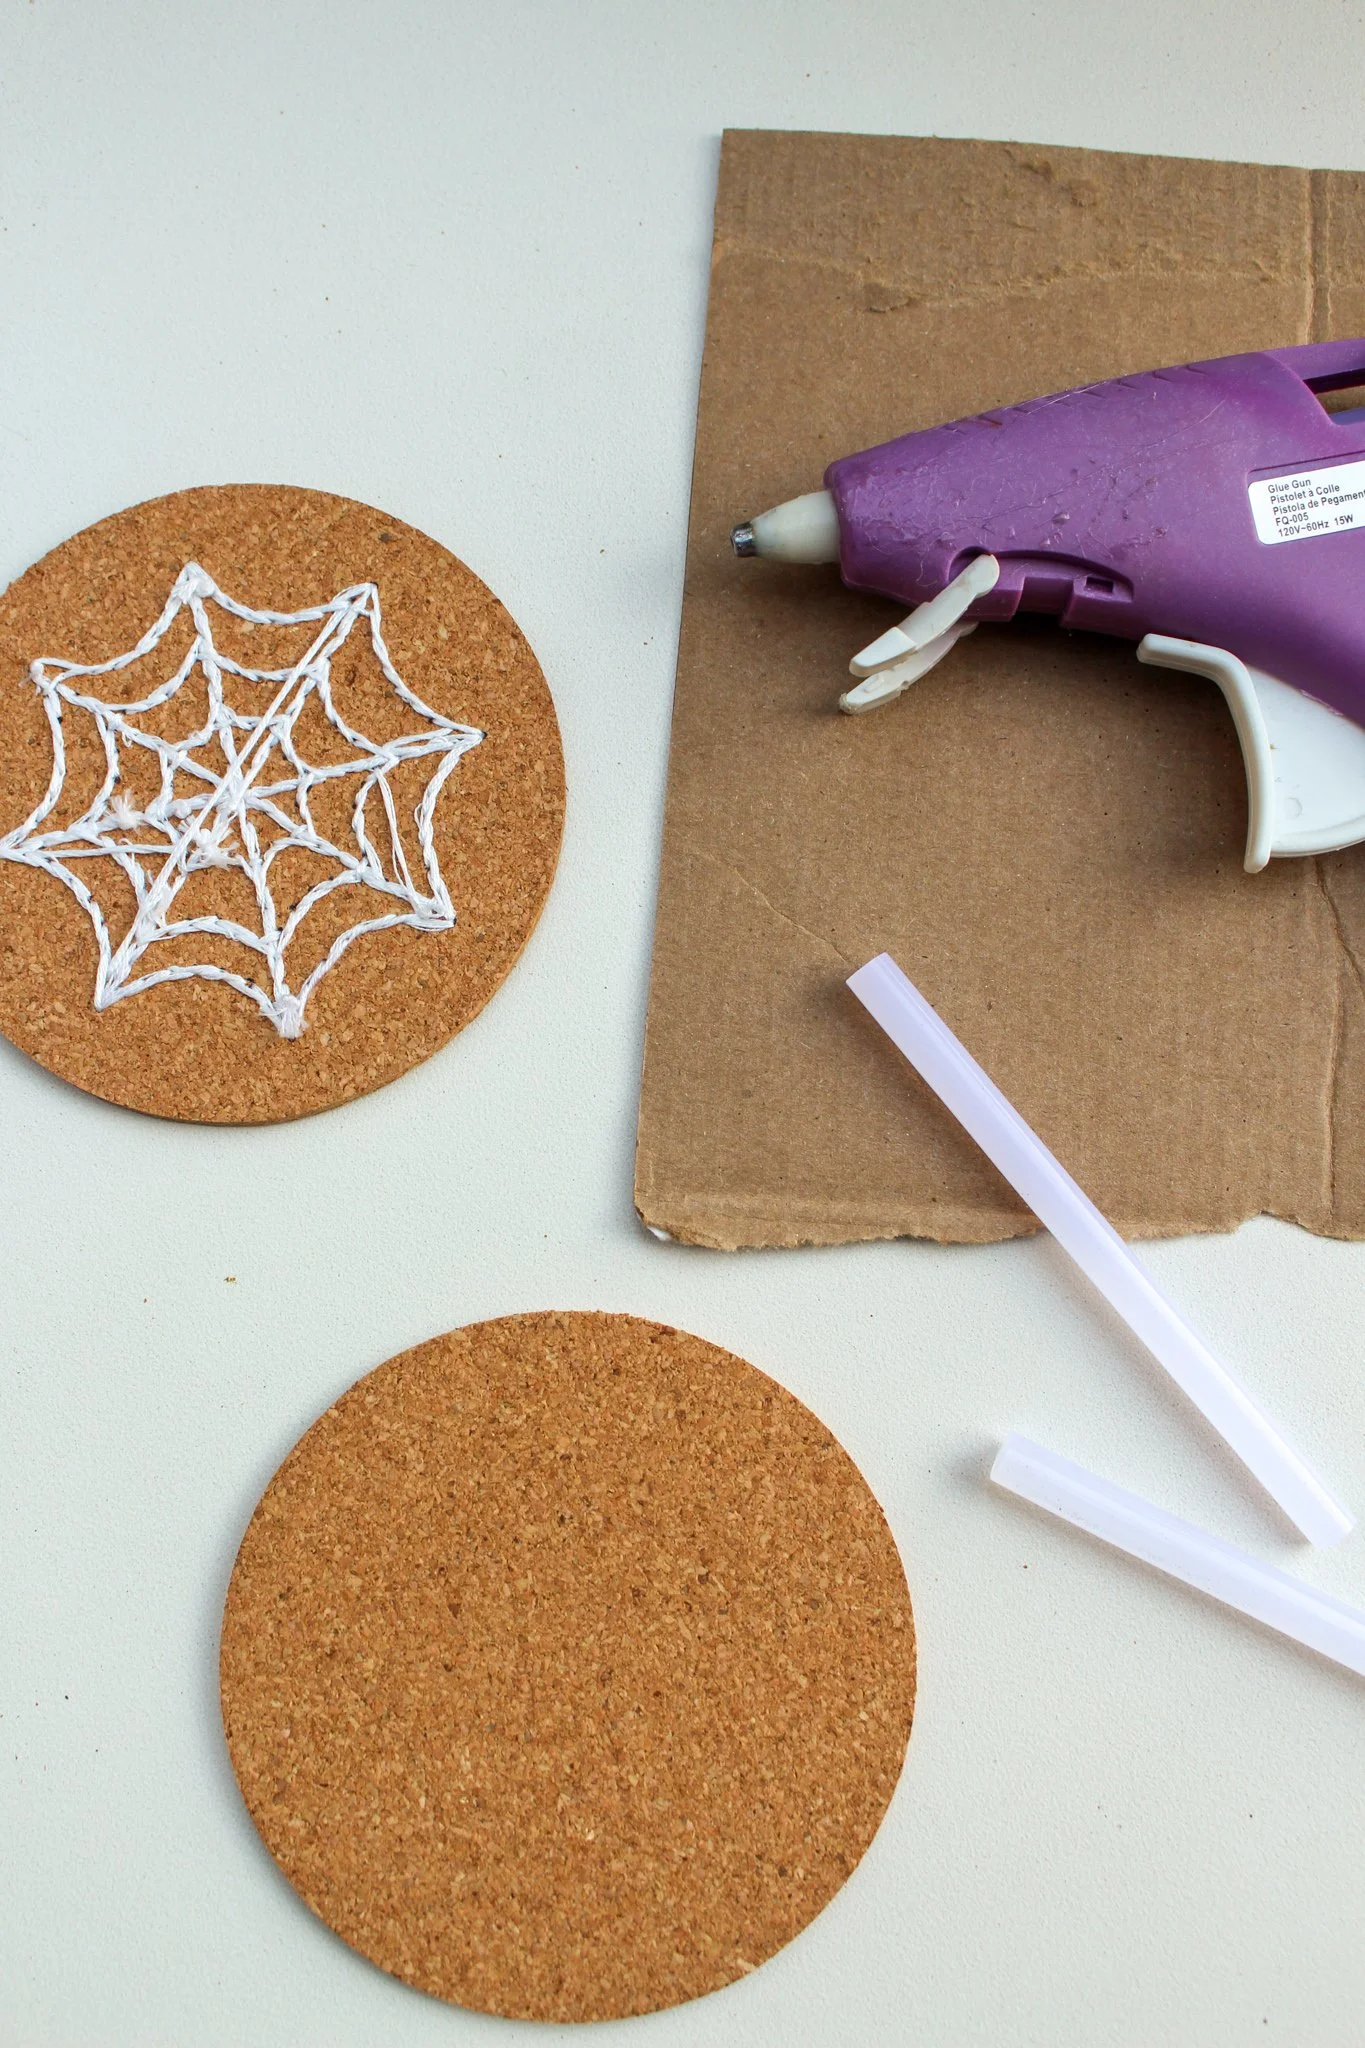
STEP 7: Once you have completed all your spiderweb line stitches, secure your last stitch with a knot on the back of the cork and trim any extra floss.
Now you’re going to glue a second cork round to the back of the first to complete your coaster. Glue a line of hot glue around the perimeter of the back of the embroidered cork coaster. Then press a second cork coaster to the glue, careful to line up the edges as close as possible.
Hold it in place for a few seconds until the glue has dried and now your two pieces of cork should be secured together as one. One side will show the front of your spiderweb embroidery and the other side will now be a blank cork surface.


And now your first embroidered spiderweb coaster is complete! Make as many as you would like, I think a set of four is perfect to have on stash in your Halloween decor collection. Or make a bunch if you’re hosting a Halloween party this year! They are sure to be a hit and your friends will be so impressed when they hear you DIY’d them yourself!


These coasters make such a cute touch to any spoOoOky entertaining you will be doing this season. I will definitely be using mine at my next scary movie night! :) And I’m excited to be able to break them out again and again for years to come every Halloween season.
Have you started watching any Halloween movies yet this year? What should I add to my list?
xo Rachael

