
Make a Pearl Bow Tea Strainer (DIY Gift Idea!)
Last week I posted my 2023 holiday gift guide, and as much as I love searching for the perfect gift for my friends and family, I sometimes enjoy MAKING one even more. And what better feeling is it than receiving a handmade gift?! So I wanted to think up some new DIY gift ideas, here on the blog, in case you are in the mood to get crafty this season. And today I’m sharing my first DIY gift idea of the year, these pearl bow tea strainer charms!

I’ve been seeing bows everywhere this year in holiday decor! I love all the bow ornaments people are making for their Christmas trees and also the trend of adding a bow ribbon above a picture frame for a sweet festive touch. Bows are such a cute and inexpensive way to decorate this time of the year.
So I knew I wanted to incorporate bows into one of my projects, and I loved the idea of seeing this dainty little bow hanging off the side of your cozy winter drink! So find out how I put these together in the simple tutorial below.

Affiliate disclosure: This post may contain affiliate links. When you buy from these links, I may earn a small commission, at no additional cost to you. As an Amazon Associate, I may earn commissions from qualifying purchases from Amazon.com. Thank you for your support!
HOW TO MAKE A PEARL BOW TEA STRAINER
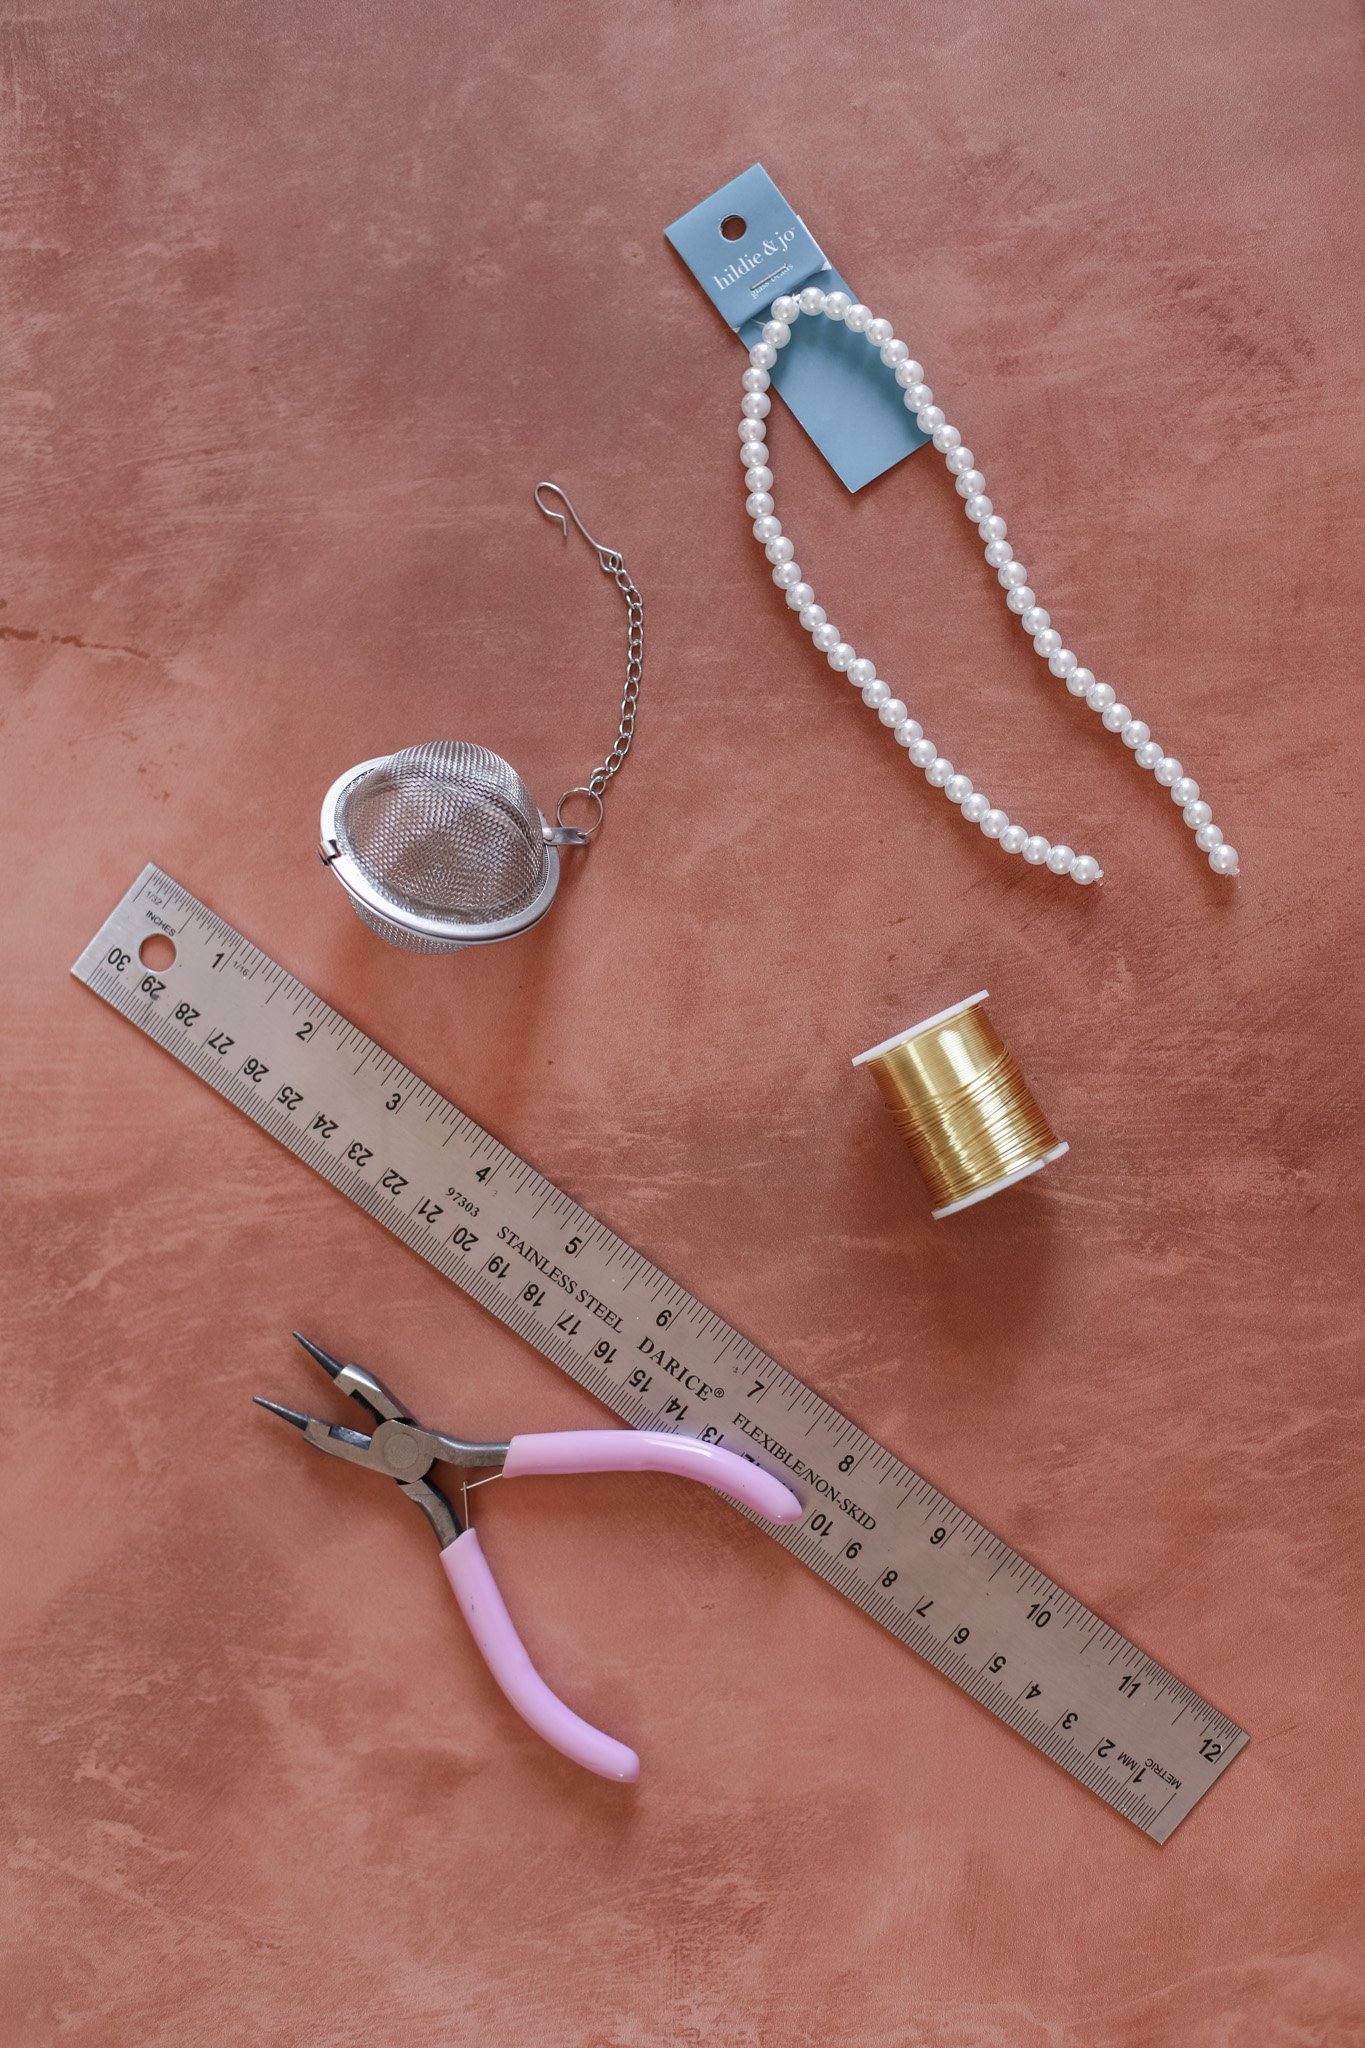
Supplies:
Pearl beads (I used this pack of 6mm beads but these would work as well)
Gold beading wire (I used this 24 gauge gold beading wire)
Ruler
Needle nose pliers (& wire cutters are helpful too — this set would be perfect)
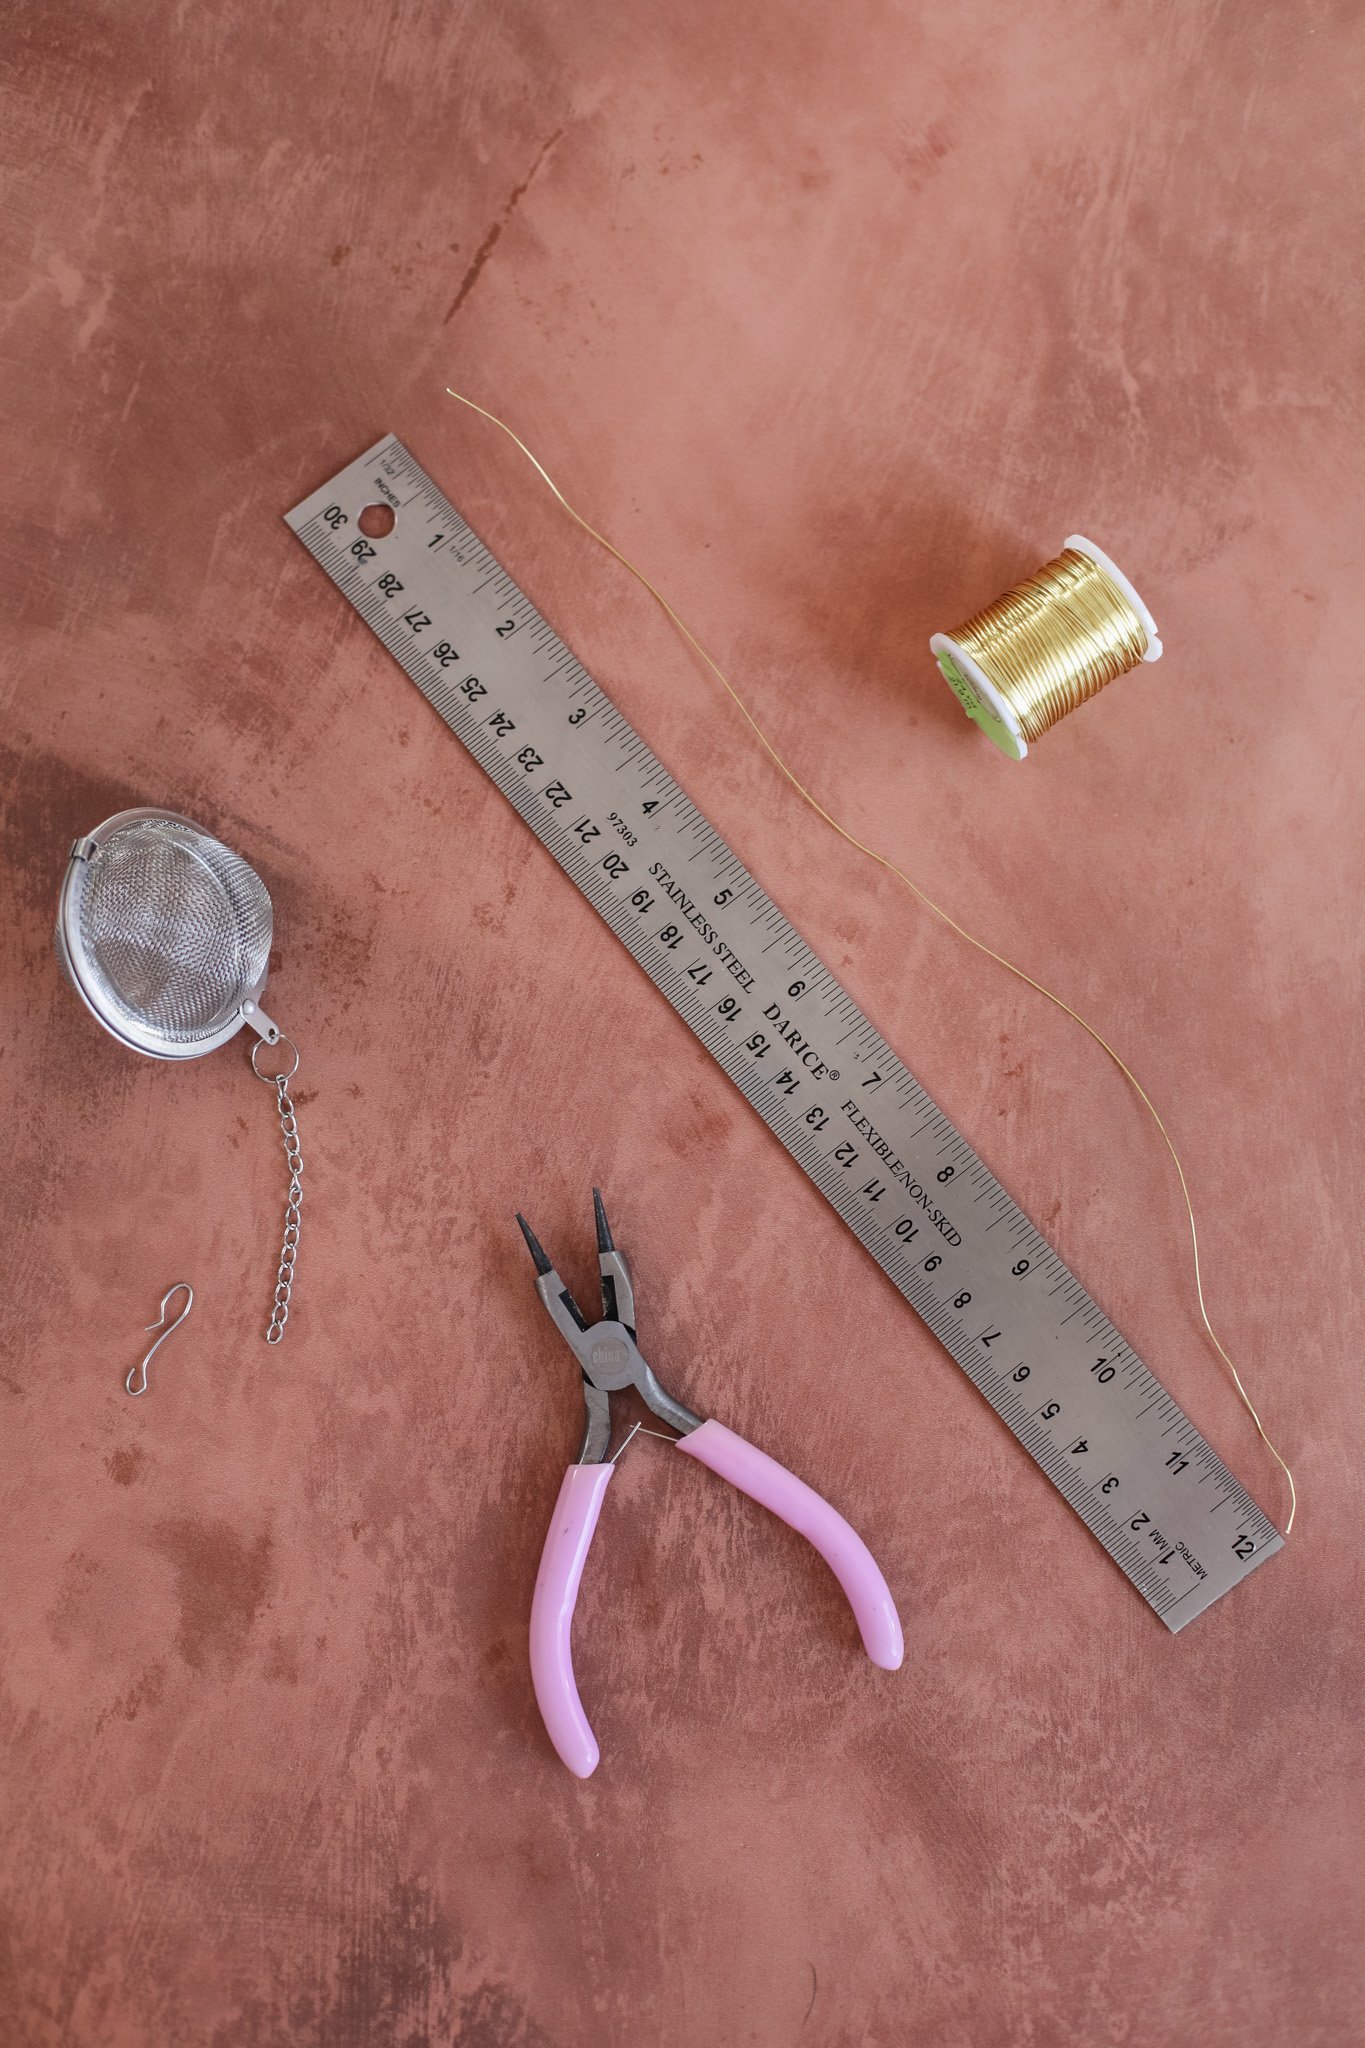

STEP 1: First measure out a piece of wire that is roughly 12” in length. Cut with your wire cutters or pliers.
STEP 2: Use your pliers to remove the metal hook on the end of your mesh tea strainer chain and set aside for later.
STEP 3: Bend your 12” piece of wire in half so that it makes a V shape and then string on 12 beads to the right side.


STEP 4: Take the right end of your wire and bend it down and through your first bead (toward the left), creating a loop. Pull the tail as tight as possible.
STEP 5: Add the end of your mesh strainer chain to the left tail of your wire and then string on 11 more pearl beads.


STEP 6: Now take the left end of your wire and bend it down and through your first bead again (toward the right), creating another loop. Pull the tail tight. You should be left with the two upper loops of your bow shape.
STEP 7: Now string 6 beads on either end of your wire to form the ends of the ribbon.
STEP 8: Finish off the bow shape by bending the end of each wire tail into a small circle with your needle nose pliers to secure the beads in place. Then use wire cutters to trim off any extra wire.

Now your tea strainer is ready to fill with your favorite loose leaf tea! Turn on the kettle and fill your favorite mug. Drop the filled tea strainer into the water and let your cute beaded bow dangle off the edge of your mug as a sweet little decorative charm while your tea brews!


How precious does this tea strainer look?! If you have any tea-lovers in your life, this would make a really perfect DIY gift idea! It’s the best mix of a cute but practical gift. Gift it with their favorite loose leaf tea or a fun new mug.
Happy Gifting! xo Rachael

