
Flower Wine Gift Bag DIY
I’m back with another Valentine’s day gift idea! And in my quest to think of gift ideas that are actually useful and not just additional junk, I thought of one gift that I know I would LOVE to receive any time of year. A bottle of wine!

And what better way to personalize a wine gift than with a cute complimentary wine carrying bag! These wine gift bags are perfect for Valentine’s day, Mother’s day, a housewarming gift, a hostess gift, or even a bachelorette party gift. And if your recipient doesn’t drink or is not a fan of wine, you could fill it with something like a bottle of Sparkling Pink Lemonade from Trader Joes! The possibilities are endless. This project is super simple and requires no sewing (which we love), so follow along below to see how I made it!
Affiliate disclosure: This post contains several affiliate links. As an Amazon Associate, I may earn commissions from qualifying purchases from Amazon.com. Thank you for your support!
HOW TO DECORATE A CANVAS WINE GIFT BAG

Supplies:
Cotton fabric in assorted colors — I got all my solid fabric colors from Joann Fabric! They had a ton of great color options
Scissors
Pen/marker
Iron & ironing board
White cardstock paper
ETI’s Flower Wine Bag Template Printable PDF (Download below!)

Instructions:
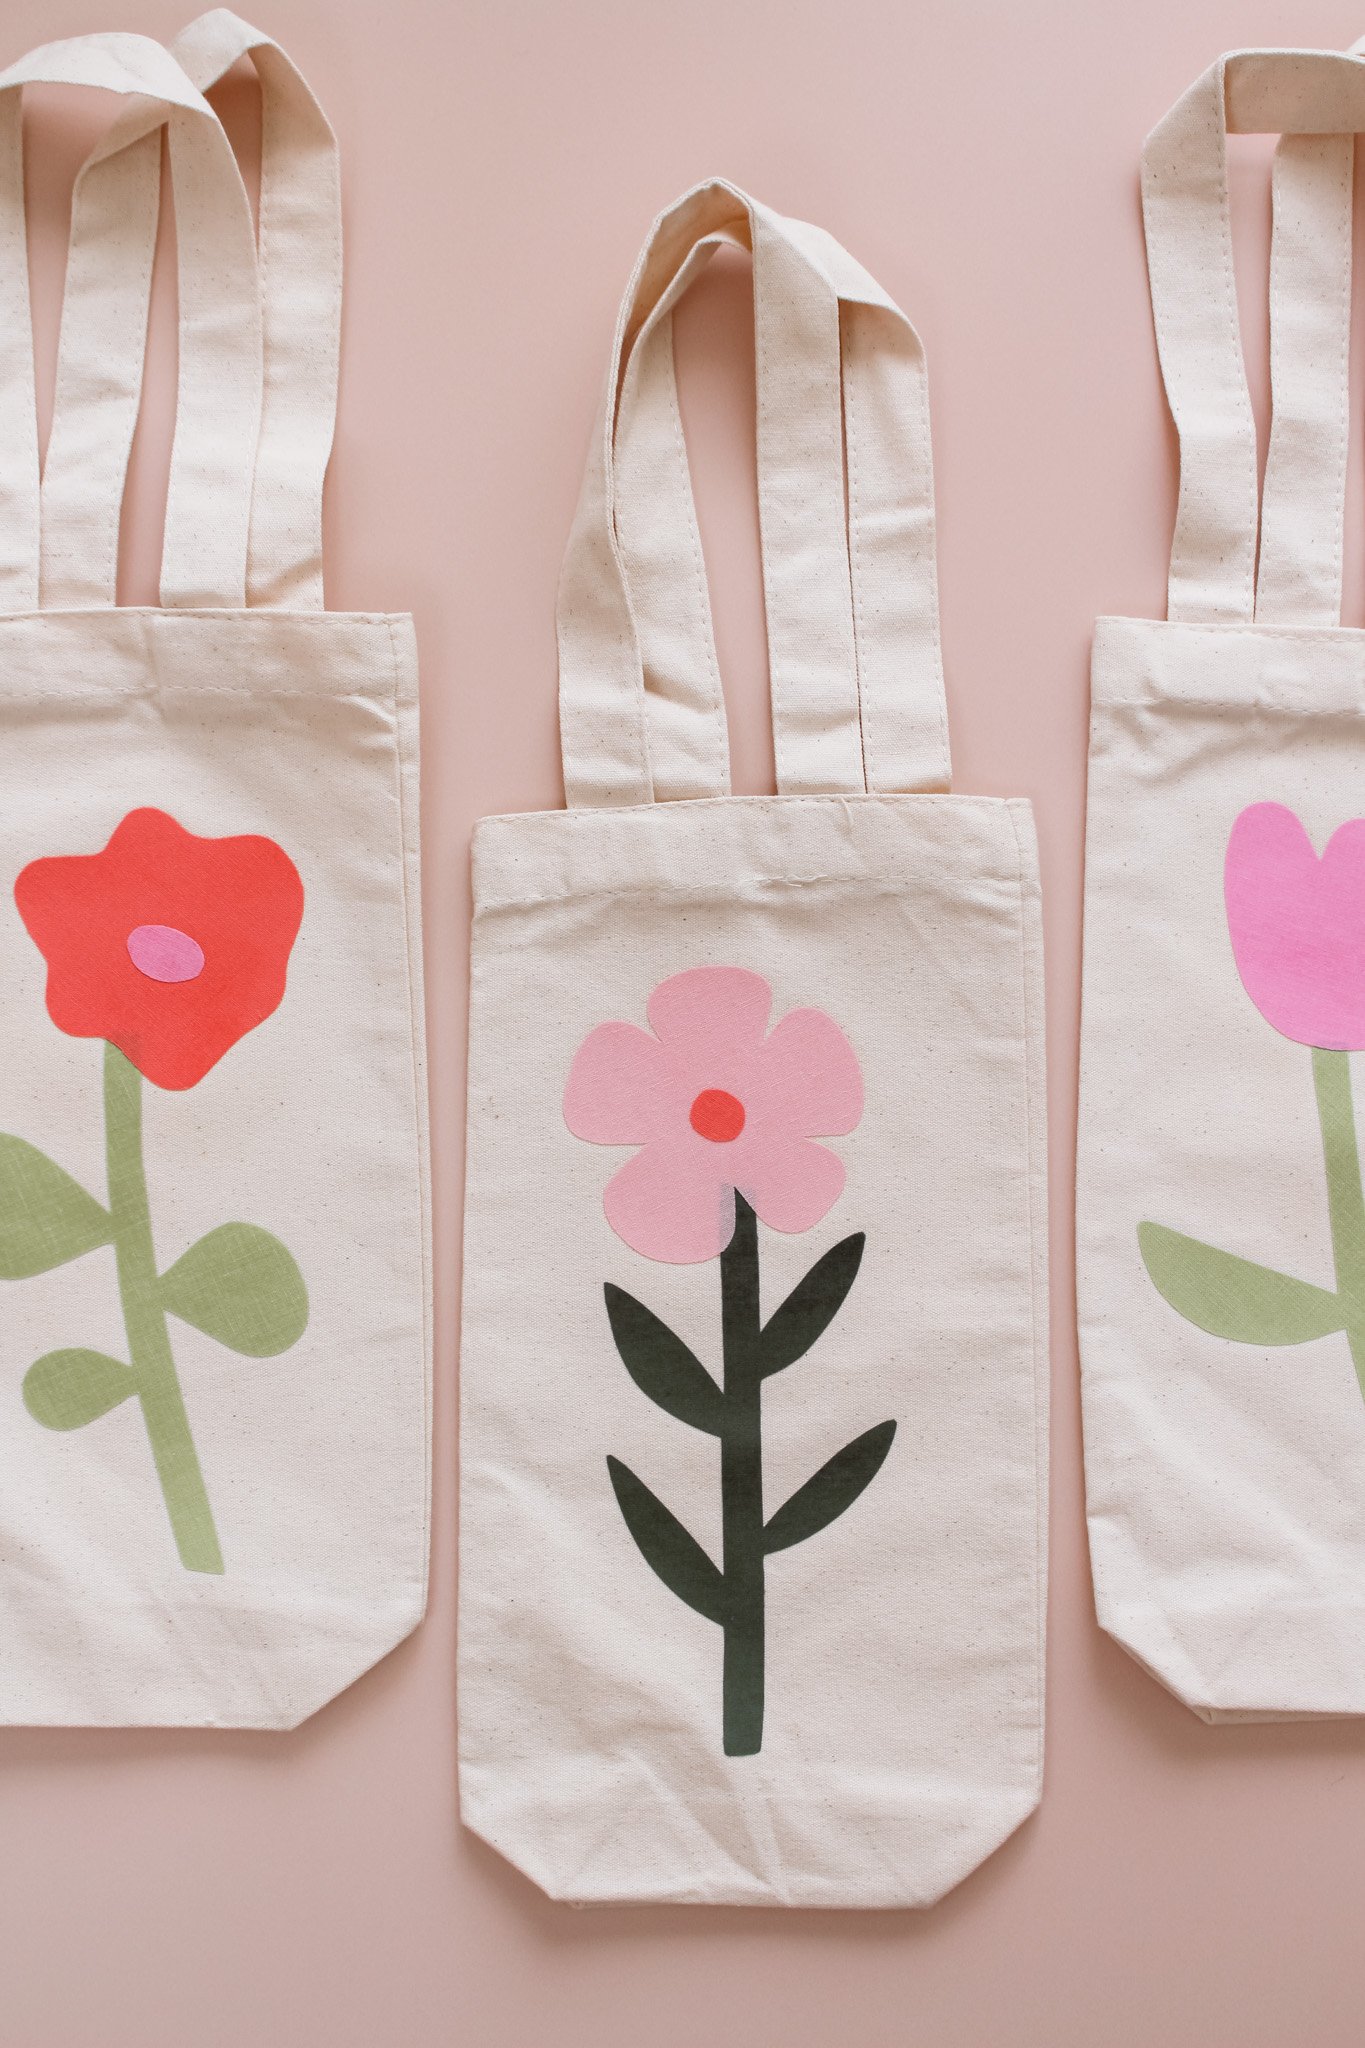
STEP 1: To begin, click the button above to download our Flower Wine Bag Template Printable and print the PDF on thick white cardstock paper. Carefully cut out the flower shapes that you would like to use. There are three stem options and three flower top options to mix and match as you would like!

STEP 2: Next you are going to want to decide which color fabrics to use for which shape. I purchased a few different green fabrics and a few different pink/coral fabrics for the tops.
Cut out a piece of the HeatnBond adhesive material that is just slightly larger than each template shape. Then, cut out a corresponding piece of fabric that is a bit larger than the size of the HeatnBond adhesive.

STEP 3: Lay out all your pieces so that your colored fabric is on your ironing board and the HeatnBond paper is set on top (the paper liner side should face up).
Now gently place and hold your heated iron on top of the HeatnBond paper for about 2 seconds. Try not to move the iron around too much, just place it and hold. Repeat this until the entire paper surface has bonded to the fabric.

STEP 4: Allow the fabric to cool completely for a few minutes. Then lay your template shapes on top of the paper liner and trace out your flower shapes.
Using a pair of scissors, carefully follow your drawn lines to cut out your flower shapes.

STEP 5: Starting with the flower stem shape, peel off the paper liner backing and place the shape (adhesive side down) onto your canvas bag.
Again, place and hold your heated iron on top of the fabric shape for about 8 seconds. Repeat as needed until the entire surface of the shape is bonded to the canvas.
Repeat this step with the top petal part of your flower as well. Allow the fabric to cool and your wine bag is complete!


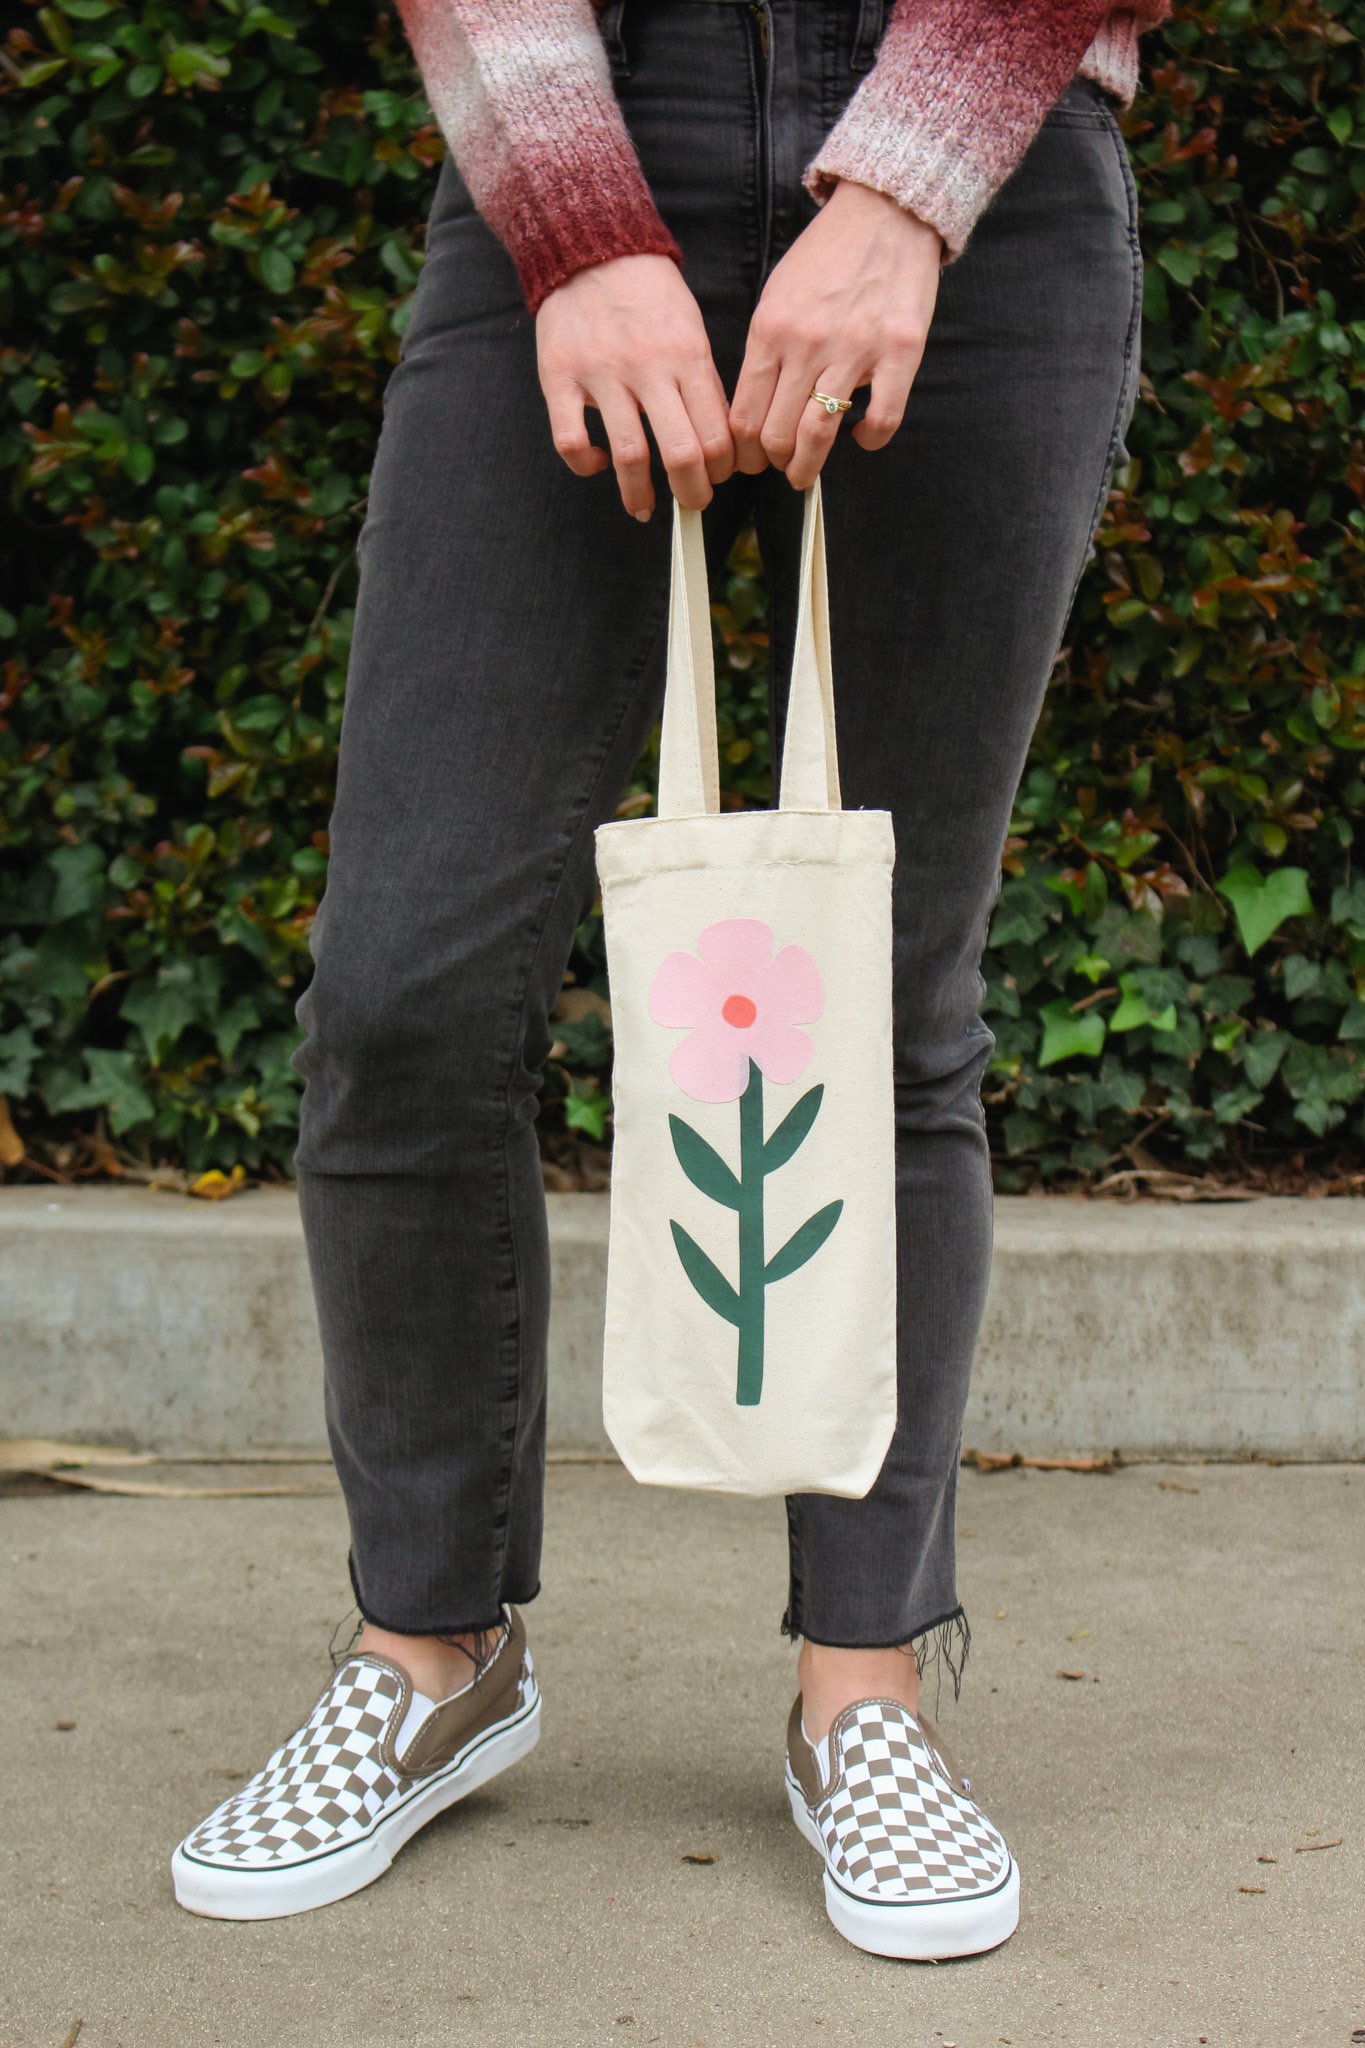
These bags turned out so cute that your recipient can reuse them over and over again! Going to a picnic in the park? These bags are perfect for bringing along your favorite beverage. Carry around a water bottle? This would make a super cute water bottle tote for everyday use. Or they can always reuse this as a gift bag for the next celebratory bottle of wine that they give to a friend.
If you try out this project, be sure to share it with us on instagram @entertainidea or #entertaintheidea! Happy crafting.
xo Rachael

