
Easy DIY Easter Treat Boxes
Is there anything more memorable in the spring season than doing a backyard Easter egg hunt and opening up the plastic Easter eggs to find those cute little toy chicks? It was always so exciting as a kid to spot one of those colorful plastic eggs up in a tree branch or hiding in the mailbox.
But when it comes to decorating for Easter and the spring season, can we all agree that those cheap plastic primary-colored Easter eggs are just not the vibe?! Well I decided this year that, even though I will not be participating in any kind of Easter egg hunt, I still wanted to make some cute Easter egg treats for my family and friends. So I set out to create a more aesthetically pleasing Easter egg treat box, and all you need are some oval paper mache boxes from the craft store and a little paint! Follow along below for how I decorated these easy DIY Easter Treat Boxes.
HOW TO MAKE EASTER TREAT BOXES
Here are the supplies you will need for this simple DIY project:
Acrylic paint
Paint brushes

To begin, mix up your acrylic paint colors to create your Easter color palette. I went with very soft pastel colors in mint green, purple, pink, and yellow. My trick for getting these muted natural tones was to begin with a large dollop of warm white paint, and then I added in one drop of a light brown/tan (fawn) color. I then added about 2-3 drops of a bright color and gave the whole thing a mix with my paint brush. This typically yielded that soft pastel color I was going for, but you can definitely add more white or add more color as needed.
Take apart your oval boxes from their corresponding lids and paint the entire outside surface of both the box and lid with acrylic paint. I would recommend doing about 2-3 layers for a nice opaque color. Leave the inside blank since you will be filling this with your Easter candy.

Once the background color has fully dried, set up a splatter paint station for yourself (this is a messy process so make sure you are in clothes that you don’t mind getting covered in paint). I did this by placing my oval boxes in the bottom of a cardboard box with tall sides.
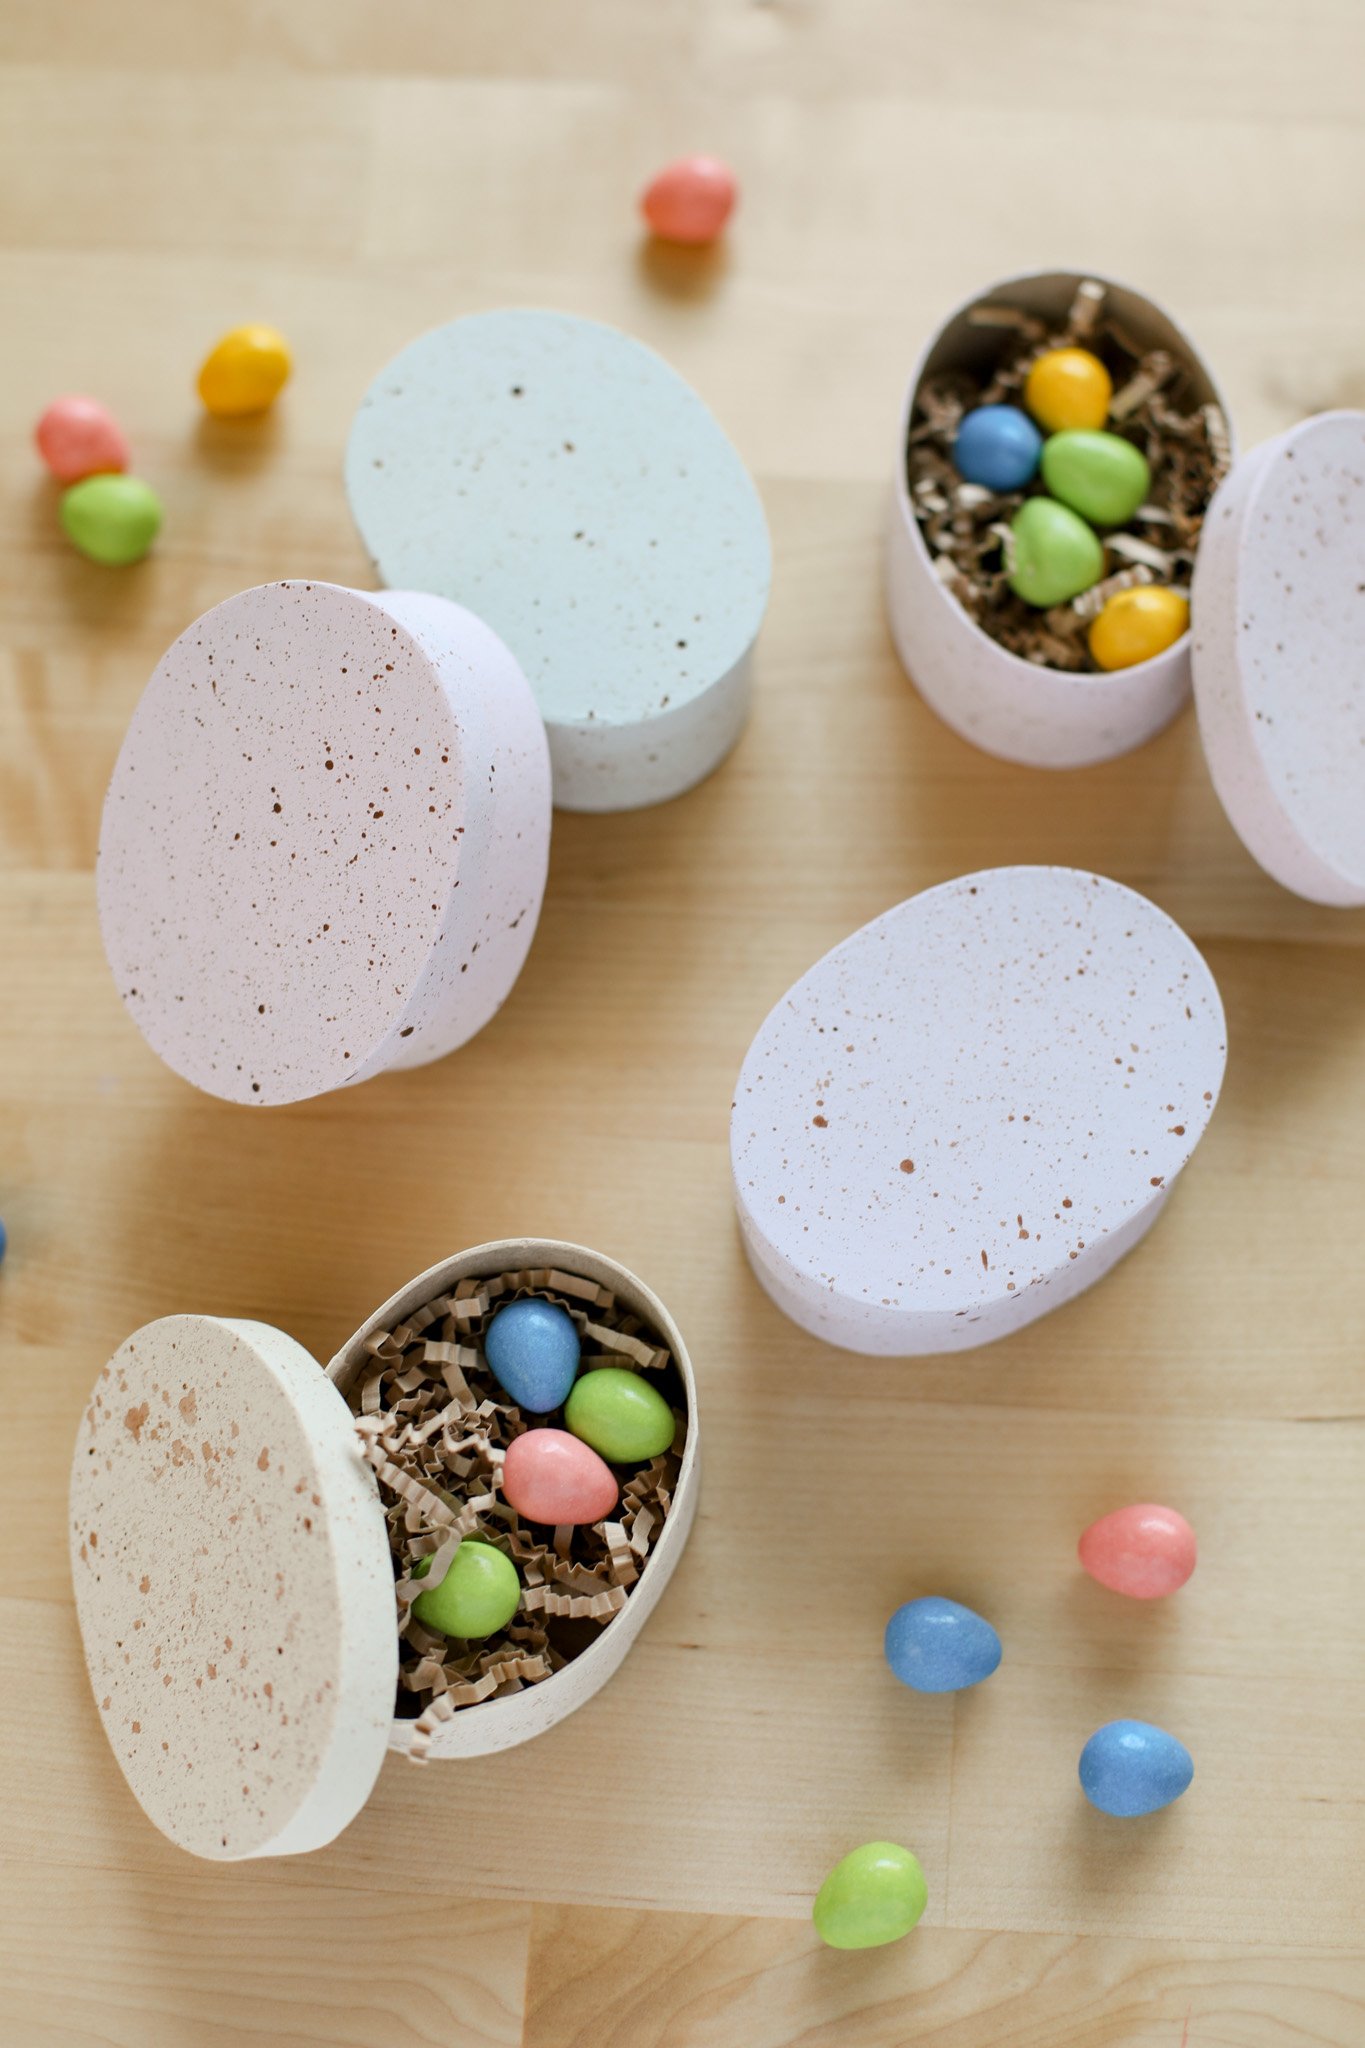
Using a dark brown acrylic paint color, carefully dip the end of your paint brush into the paint and then dip it into a water glass. Dab the brush on a piece of paper towel to get off excess water. Now using your thumb and pointer finger, carefully flick the bristles of the paint brush towards the oval boxes & lids. You should end up with a speckled effect like the image above.
You want to make sure there is more paint than water on the brush, if it is too watery you will be left with a more drippy looking design instead of a speckled egg look.

Allow the boxes to fully dry and then they are ready to assemble! If you plan to use these year after year, I would probably recommend covering them in a sealer of some kind (like matte Mod Podge) just to protect the painted surface.

Fill these up with shredded crinkle paper and add in your candy or gifts. Obviously I had to go for my personal favorite iconic Easter candy, the Reese’s Pieces peanut butter eggs. But you could also fill these with jelly beans or I always used to like the Easter Sweetarts shaped like little ducks and bunnies…so cute! What is your go-to Easter candy?
xo Rachael

