
DIY Baby Monthly Milestone Cards (with the Cricut!)
With a new baby in my life, you know I just HAVE to throw in a few adorable baby-themed crafts every now and then. And this is a project that I worked on in my nesting days leading up to the birth of my daughter last spring. Hey…better late than never!
I had seen so many sweet monthly milestone markers on pinterest (like these beautiful hand painted ones or these sweet pennant flags) that people used to take the cute monthly photos of their little ones growing up, but before I clicked purchase I stopped myself and was like be so for real, Rachael, you can make something just as cute, that will be super unique and personalized, and you can do it for $0 with supplies you already have in your crafting collection!
So I set out to make some cute monthly milestone cards with my Cricut. And here’s how they turned out!

Affiliate disclosure: This post may contain affiliate links. When you buy from these links, I may earn a small commission, at no additional cost to you. As an Amazon Associate, I may earn commissions from qualifying purchases from Amazon.com. Thank you for your support!
MAKE YOUR OWN BABY MONTHLY MILESTONE CARDS
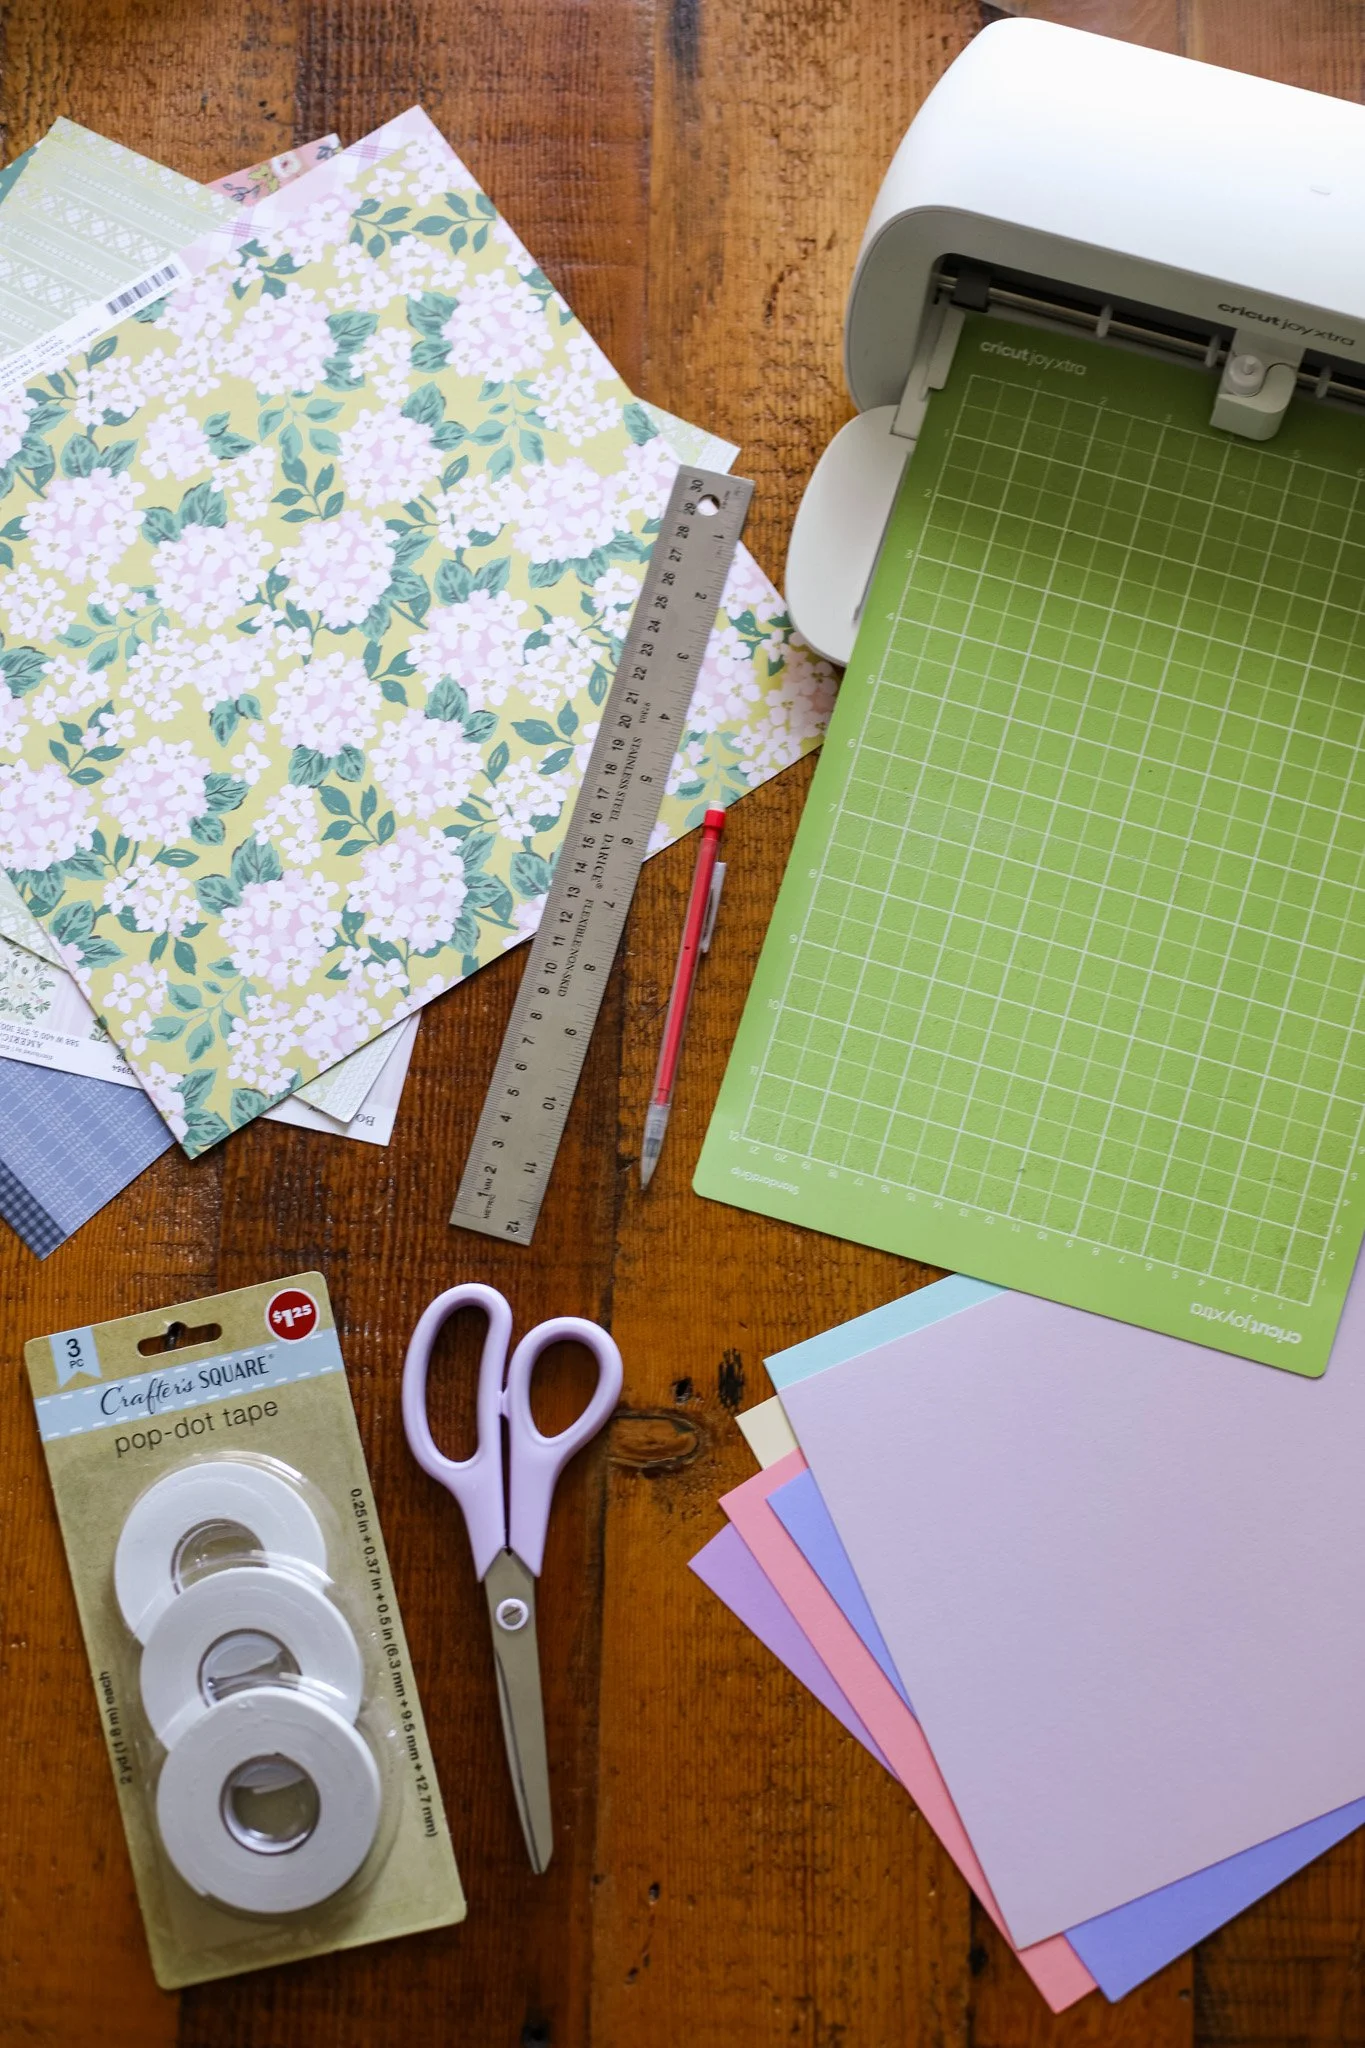
Supplies:
Scrapbook paper (assorted patterns & colors)
Cardstock paper in solid colors
Cricut Joy Xtra cutting mat
Ruler
Scissors
Pop-dot tape (I got mine from Dollar Tree but something like this 3D craft foam tape works too)
ETI’s Baby Monthly Milestone Numbers (download below)
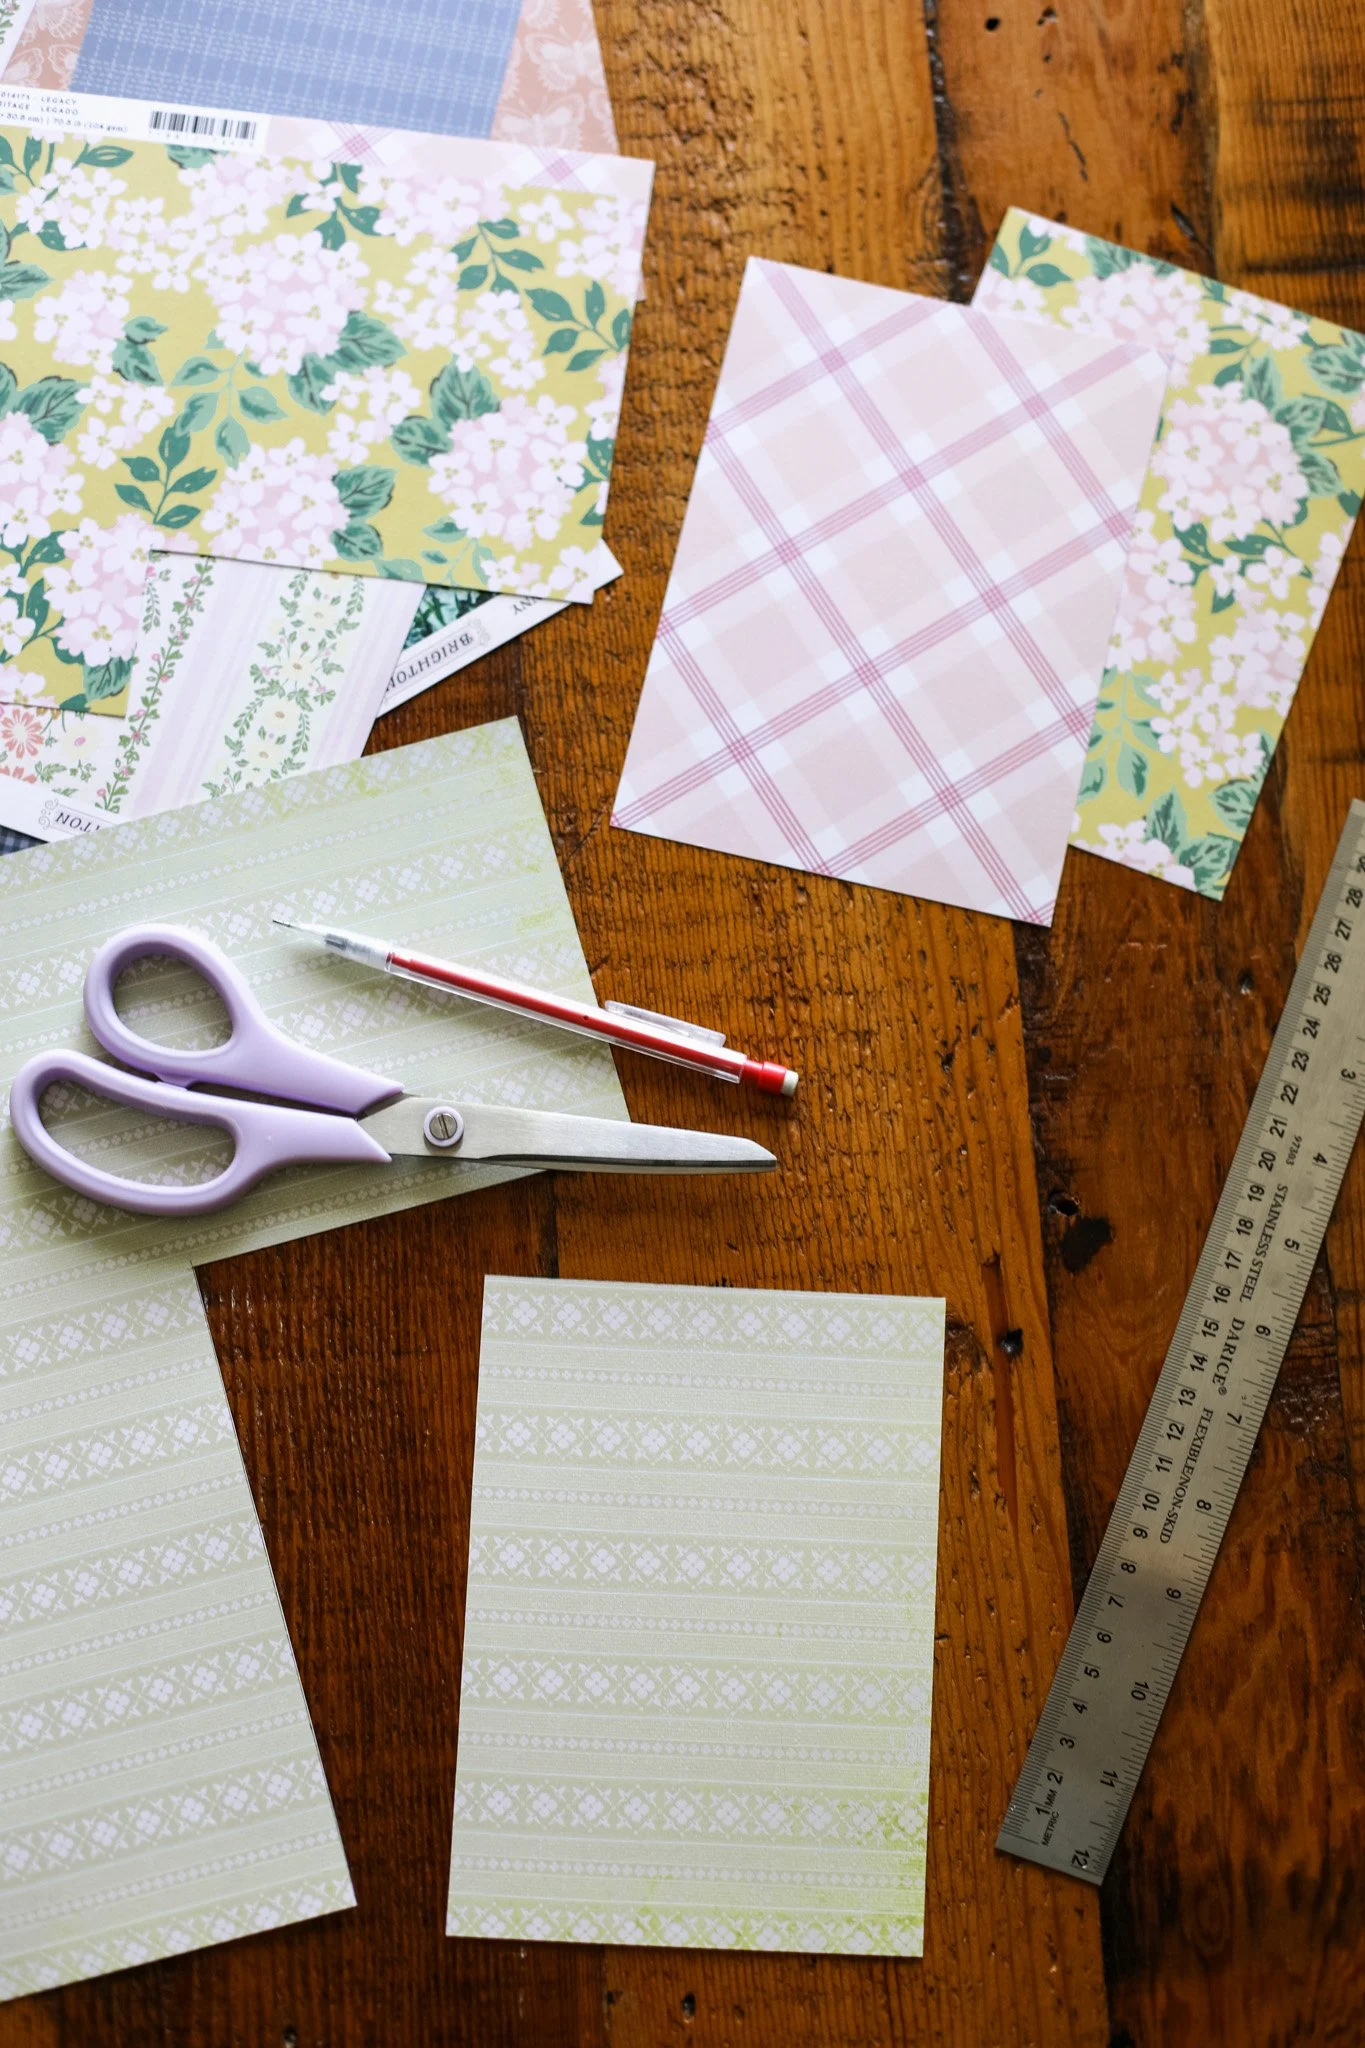
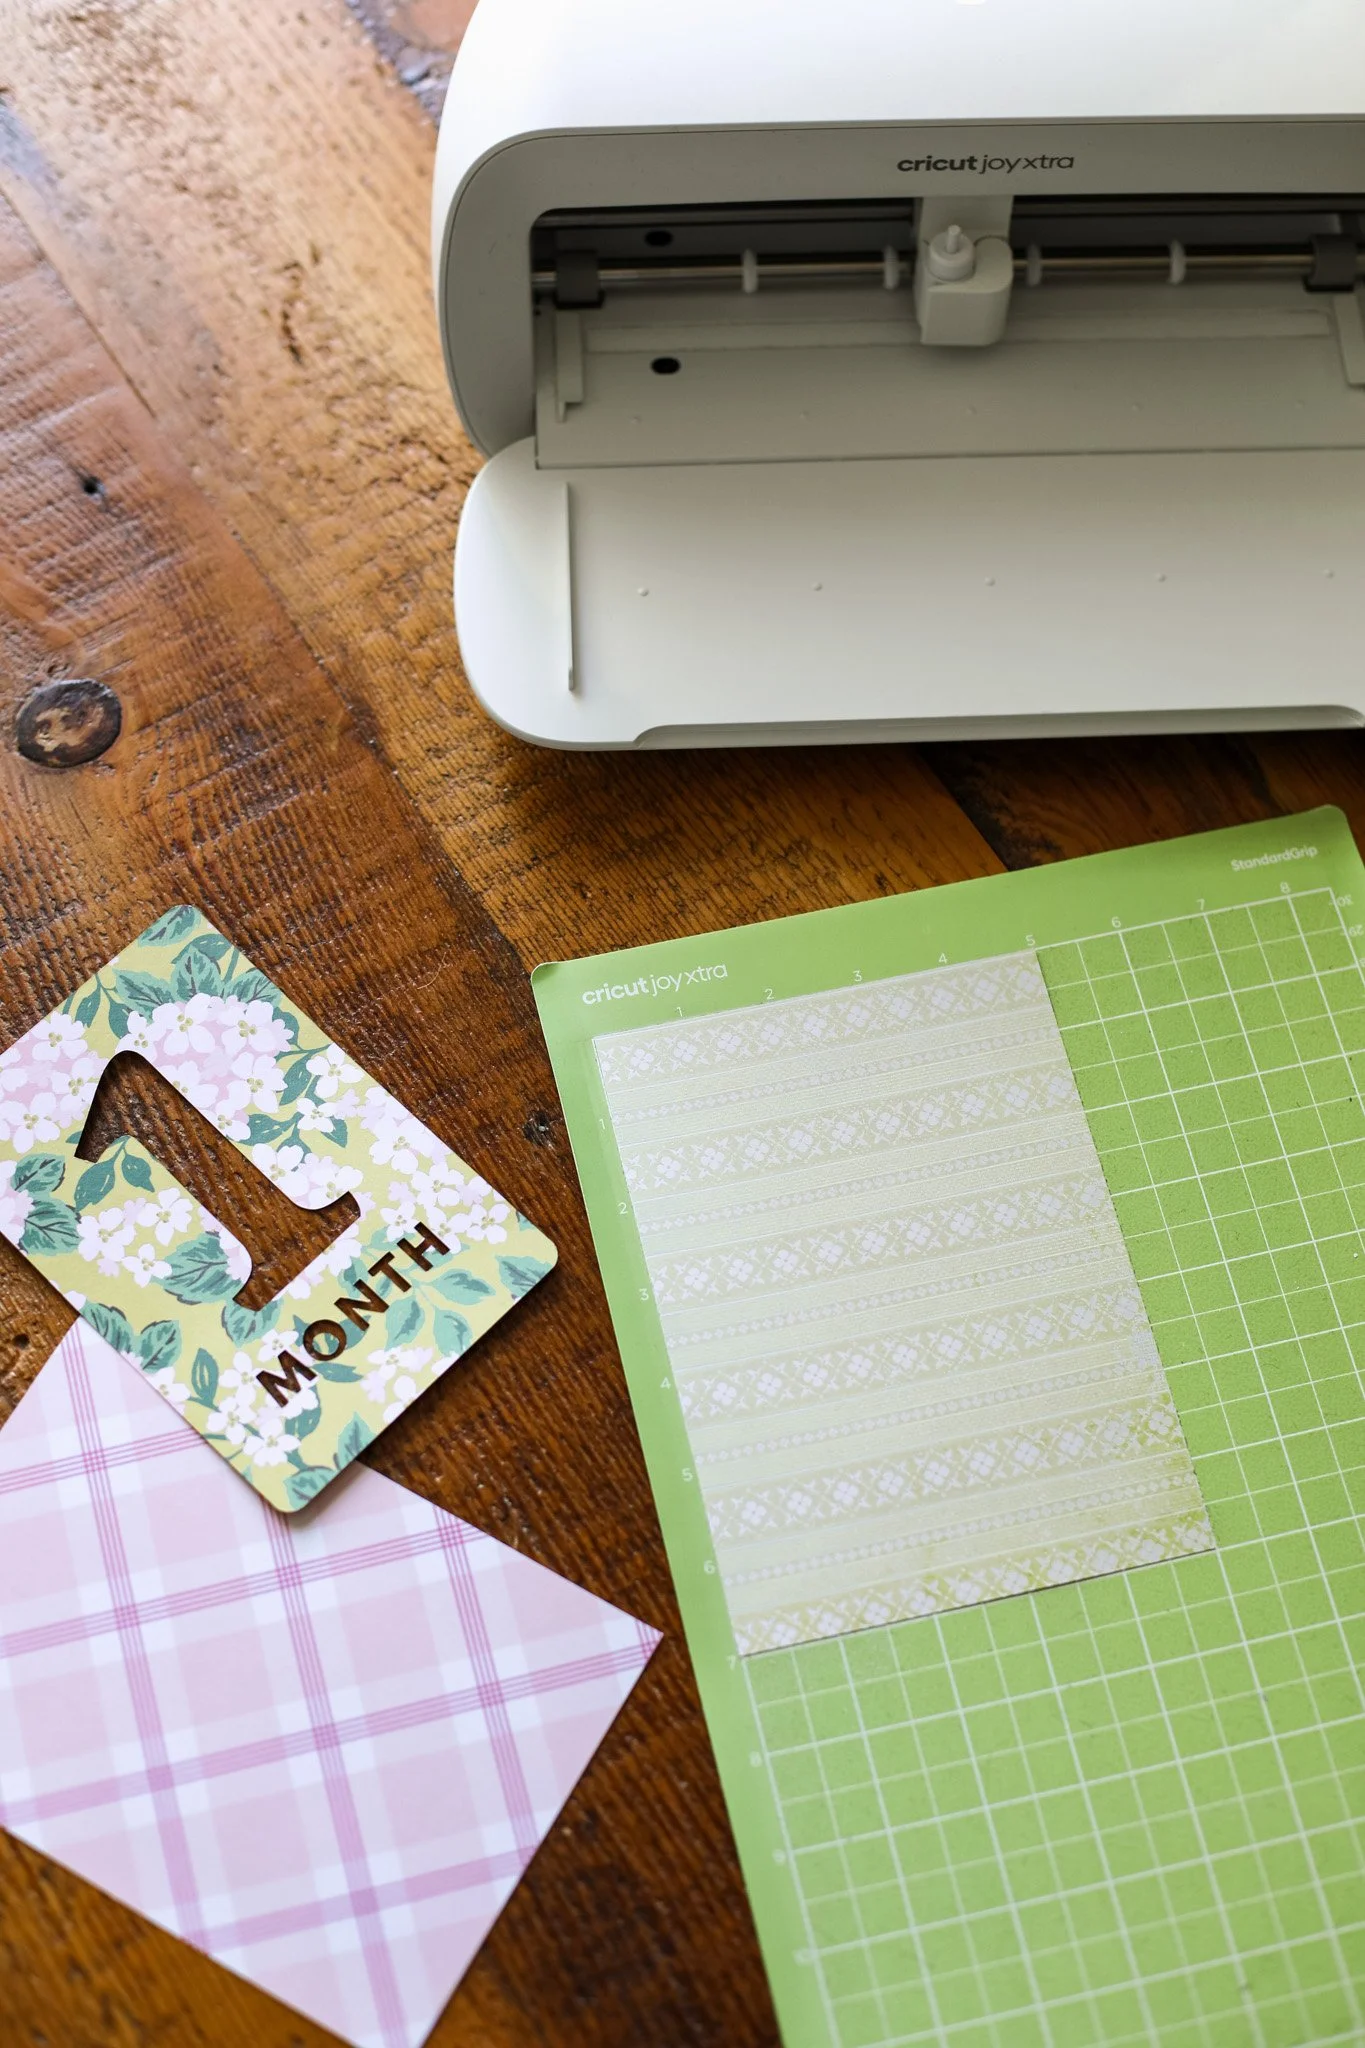
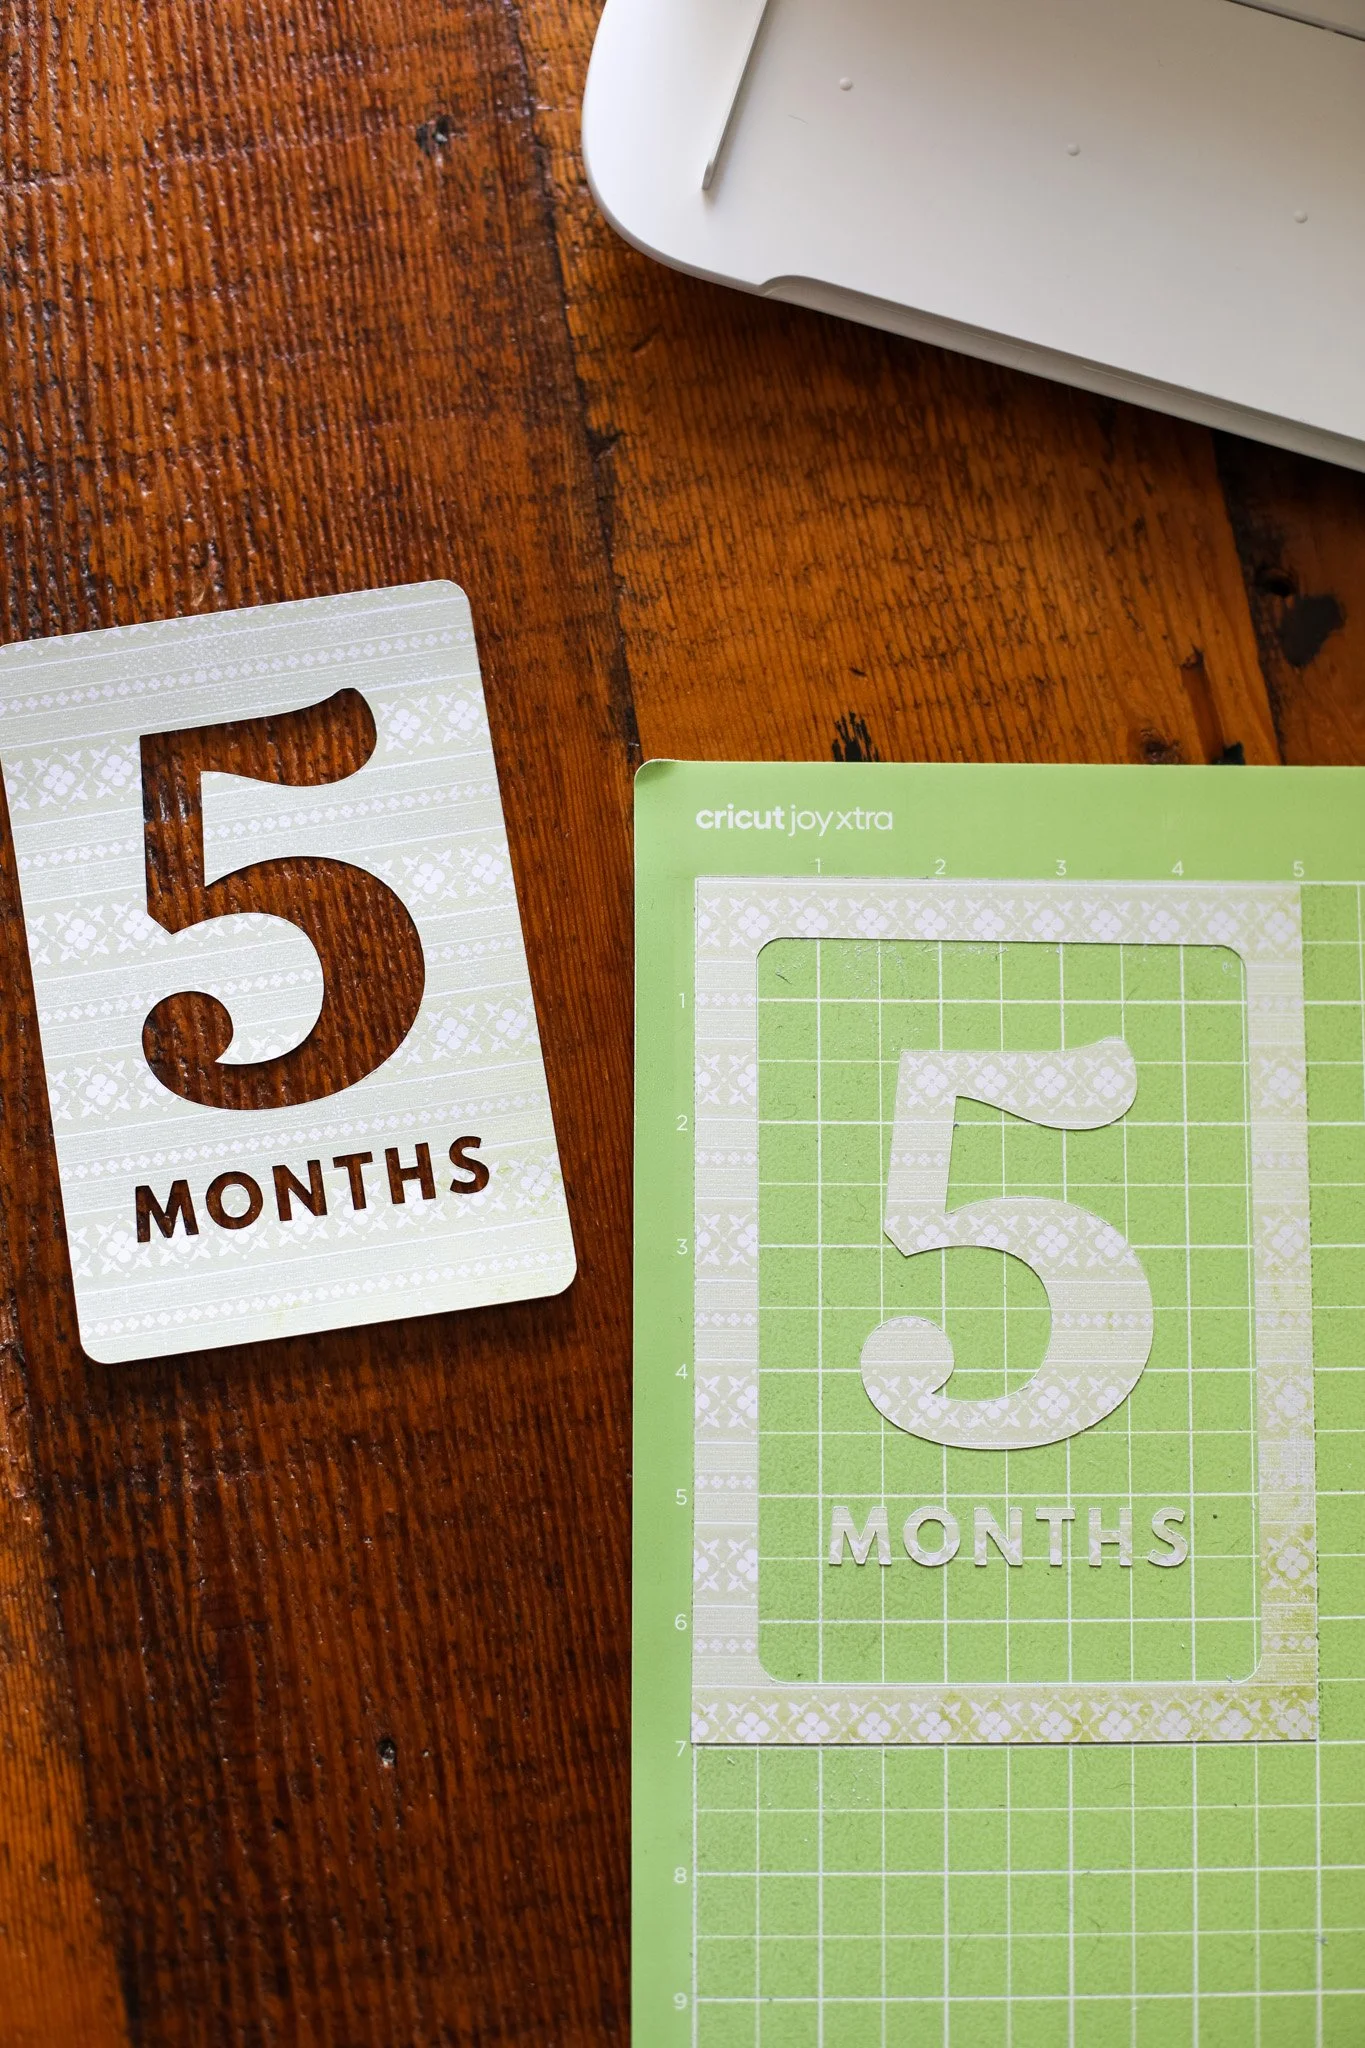
STEP 1: First, I cut out 12 pieces of different patterns/colors of scrapbook paper to 5” x 7” in size. And then I placed one at a time on the Cricut cutting mat in the top left corner.
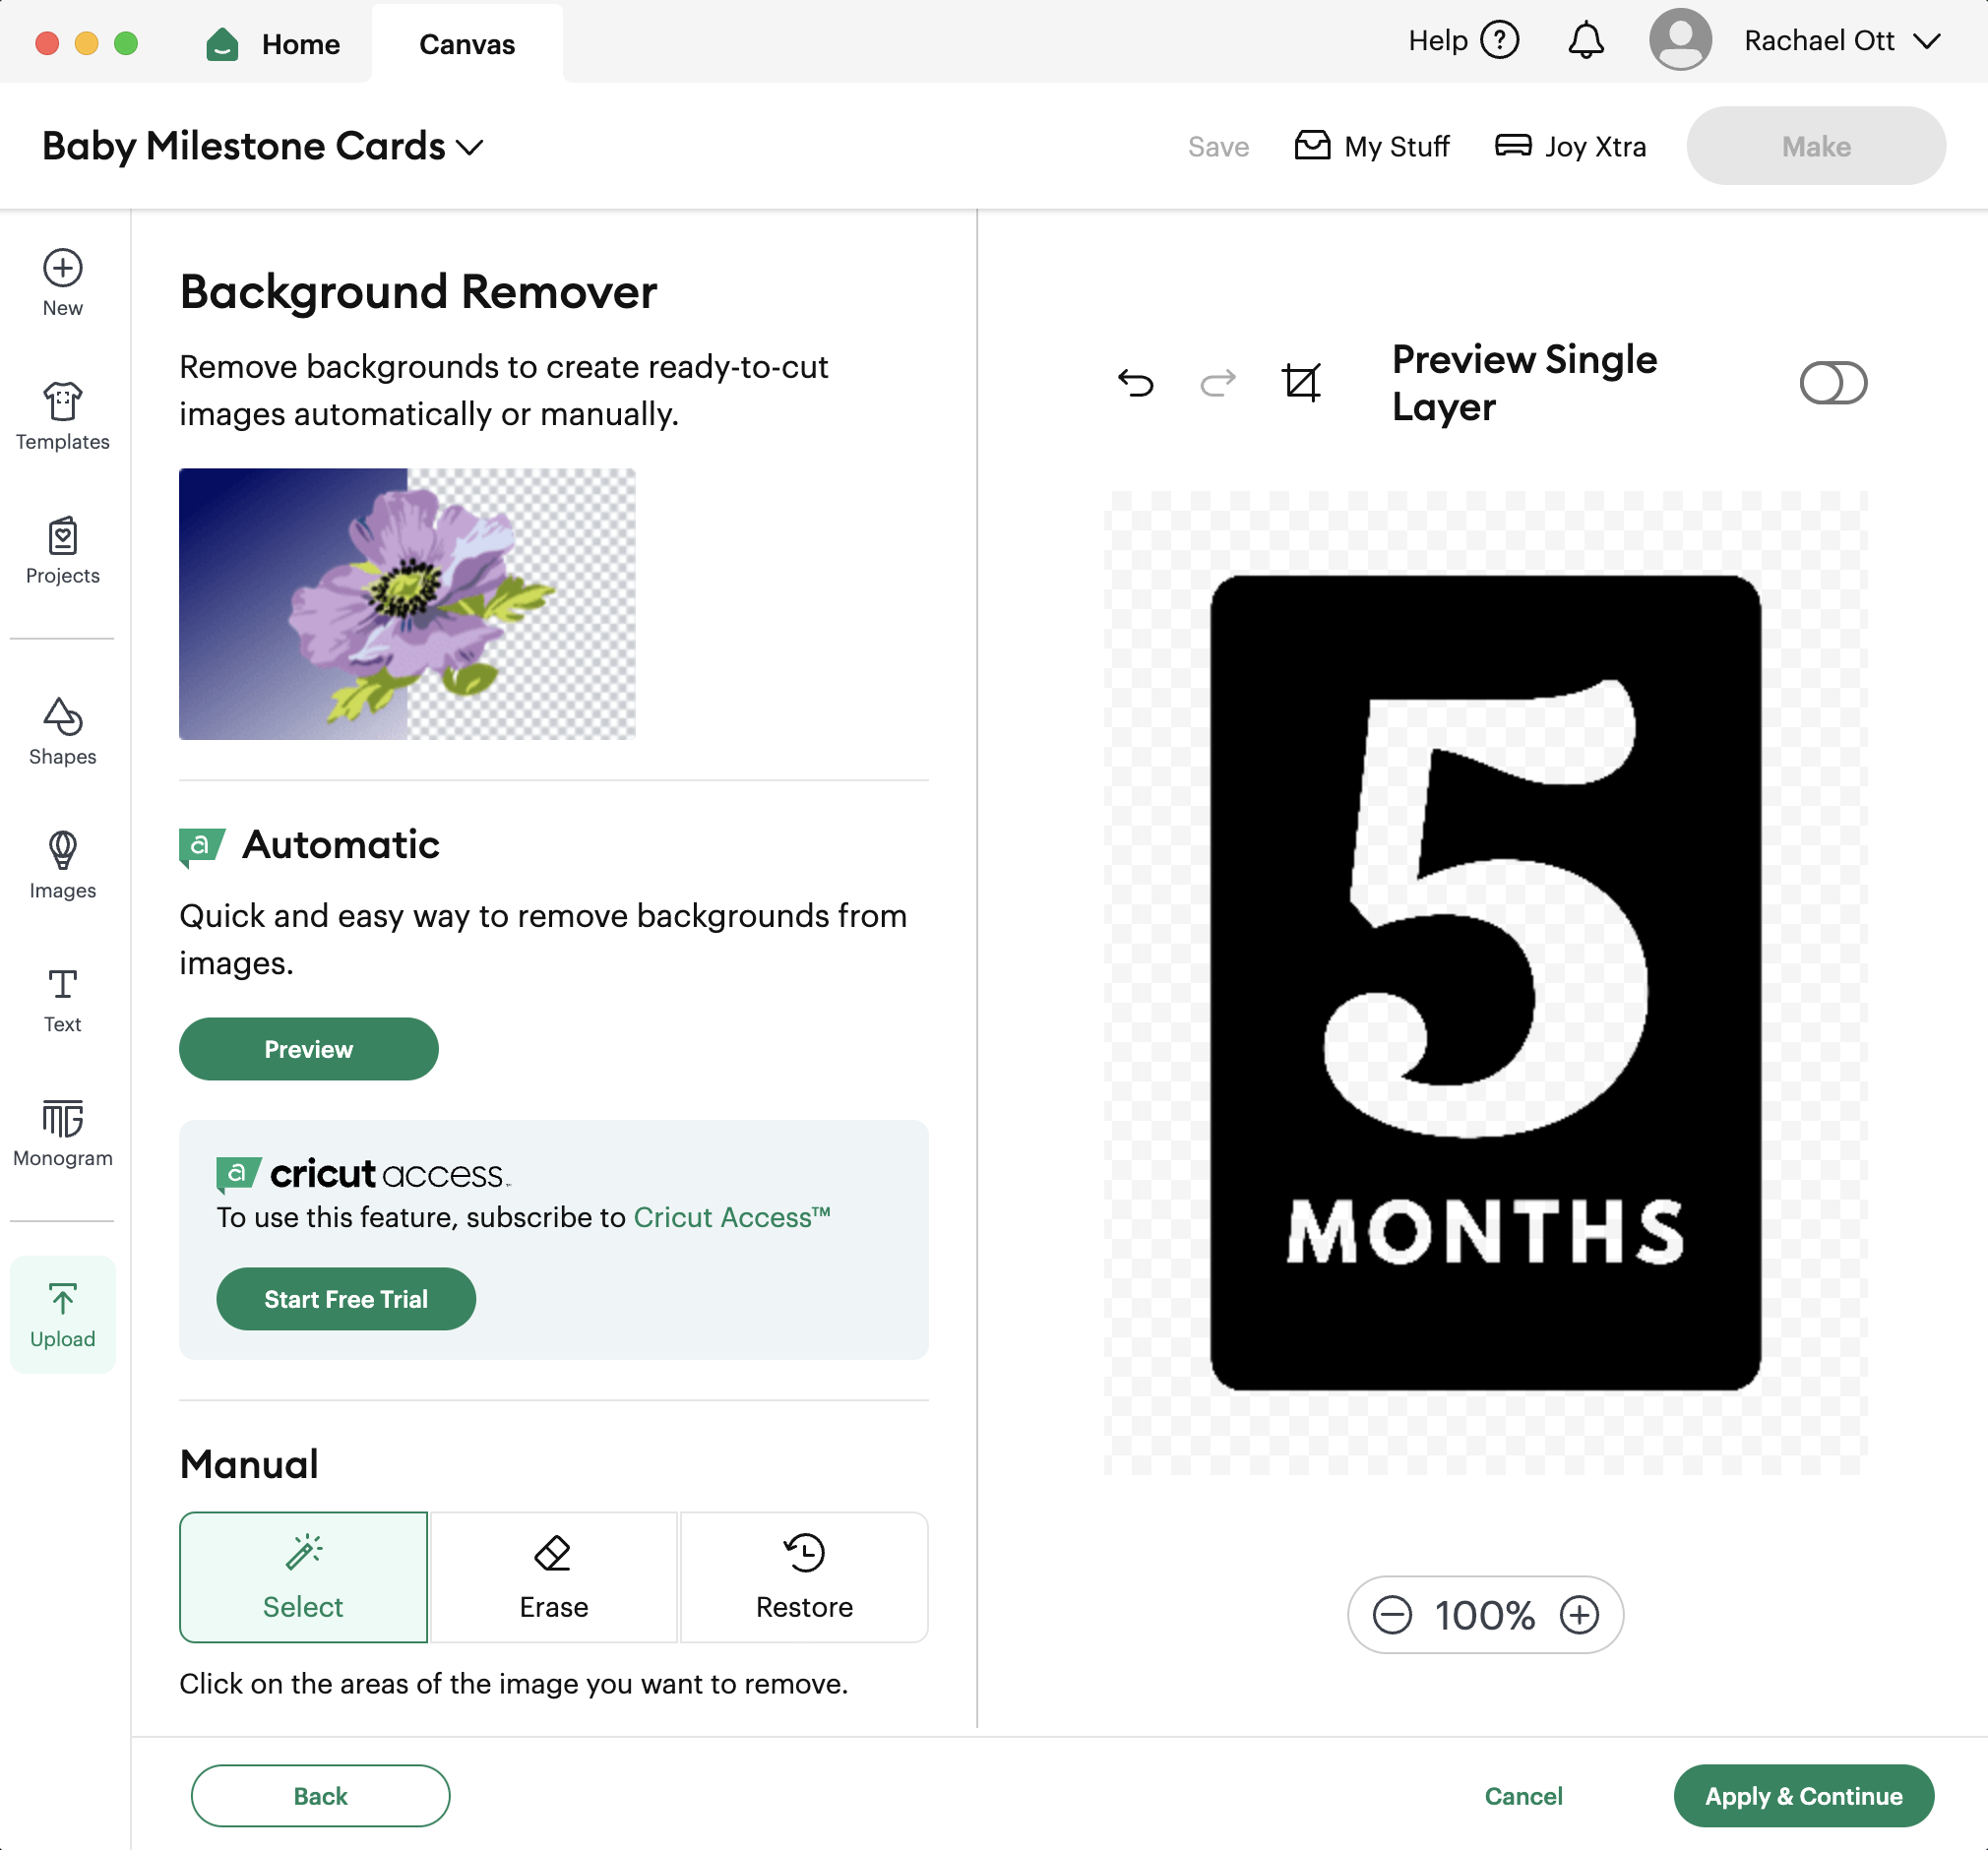
STEP 2: Next, I uploaded one of the ETI’s Baby Monthly Milestone Numbers (download above) to Cricut Design Space and removed the background and the text that I wanted cut out so that I was left with just the graphic above.
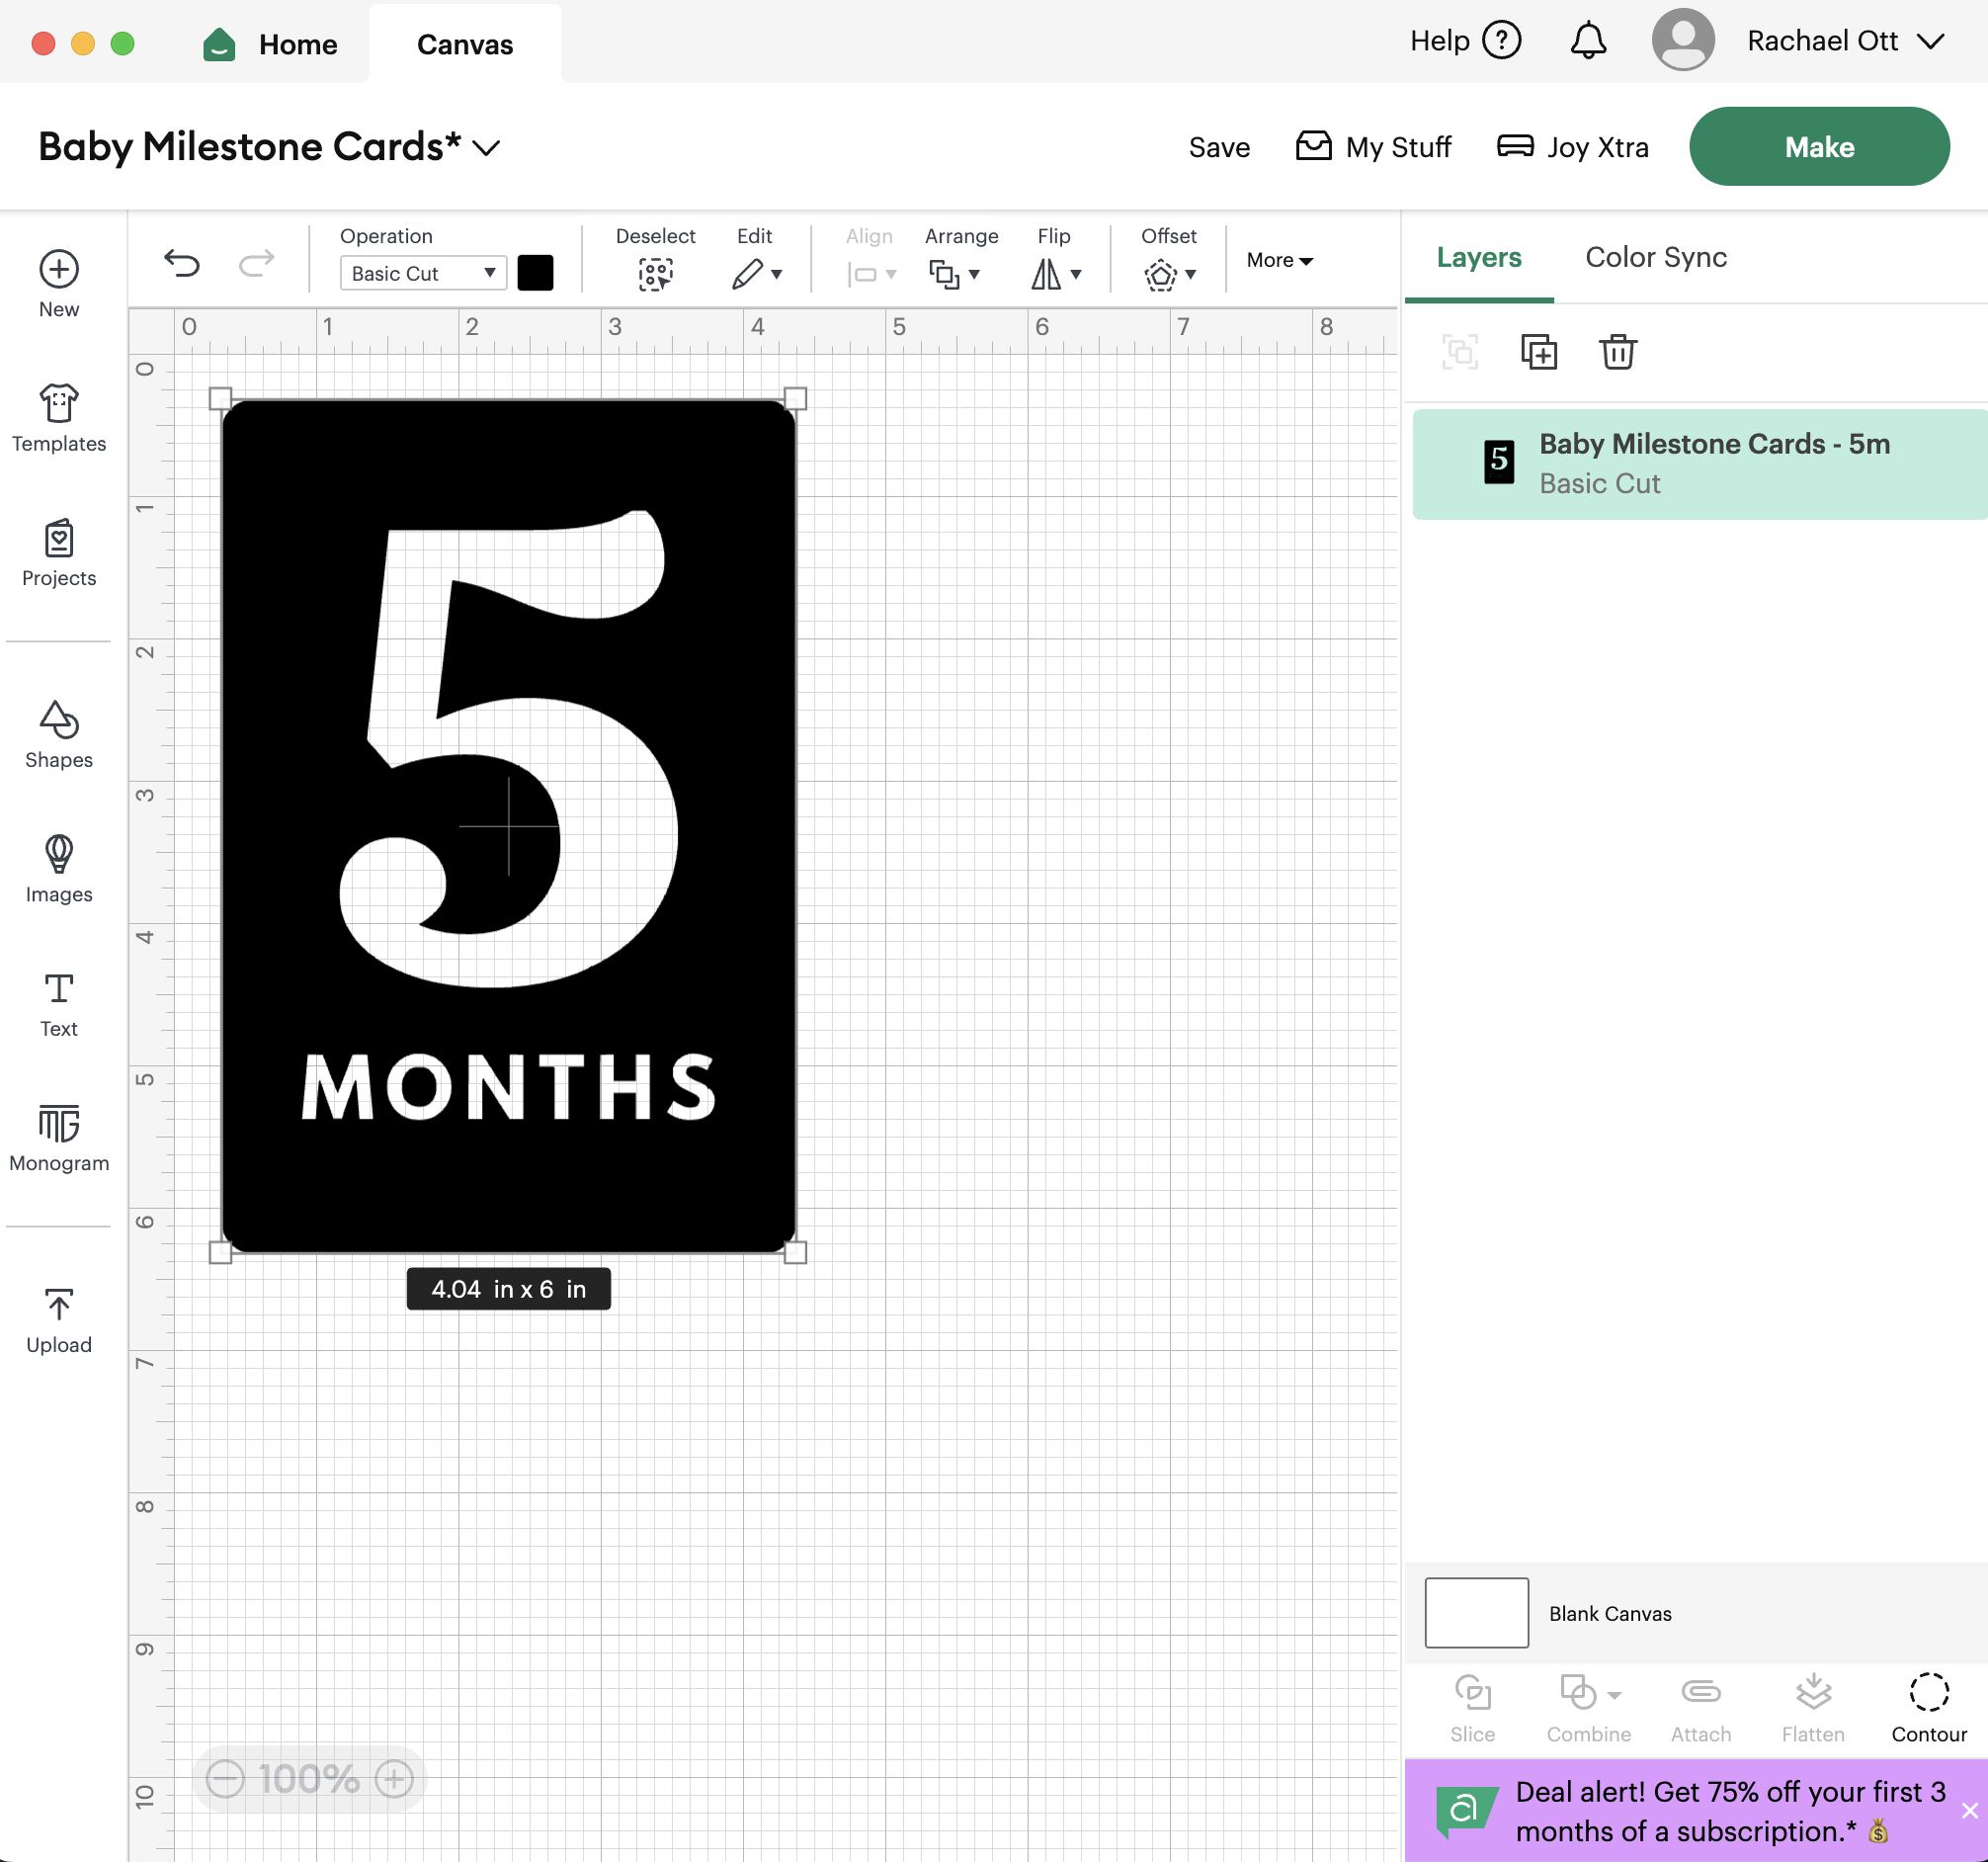
And I resized the image to be as close to 4” x 6” as possible.
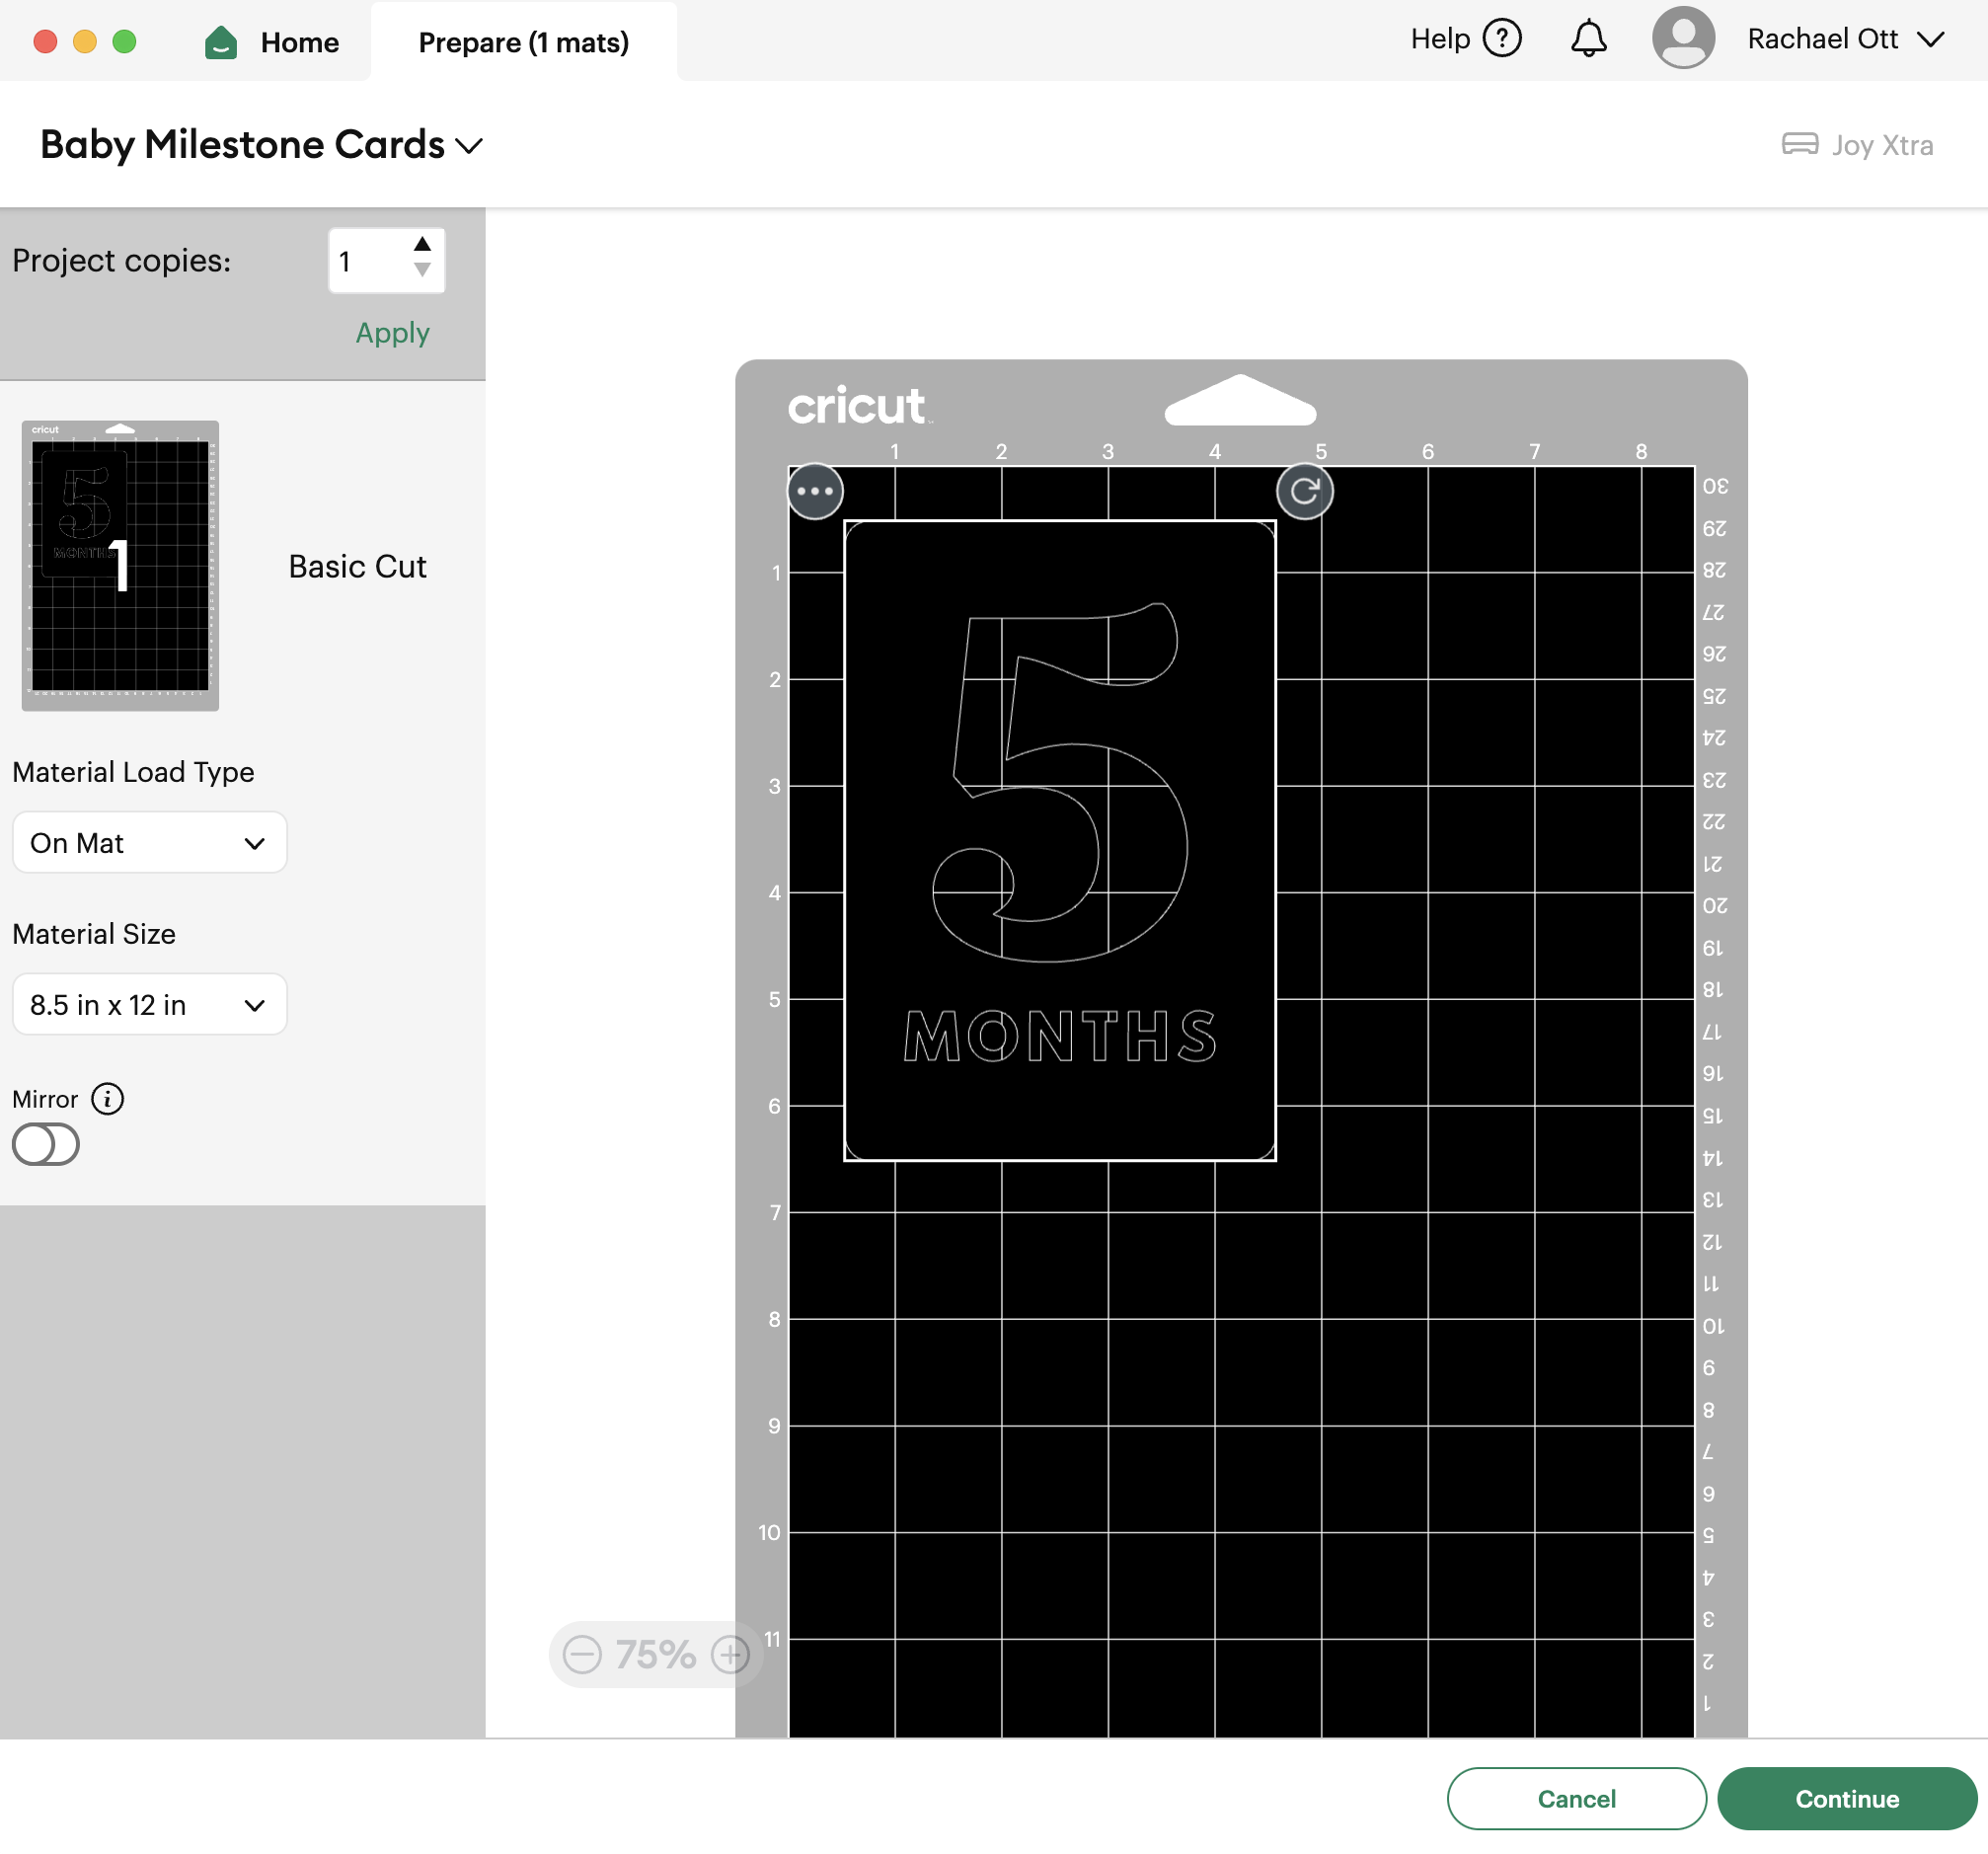
Then I clicked “make” and positioned the graphic within the 5” x 7” space where my scrapbook paper was positioned on the mat. I chose “medium cardstock” as the material and clicked “go.”
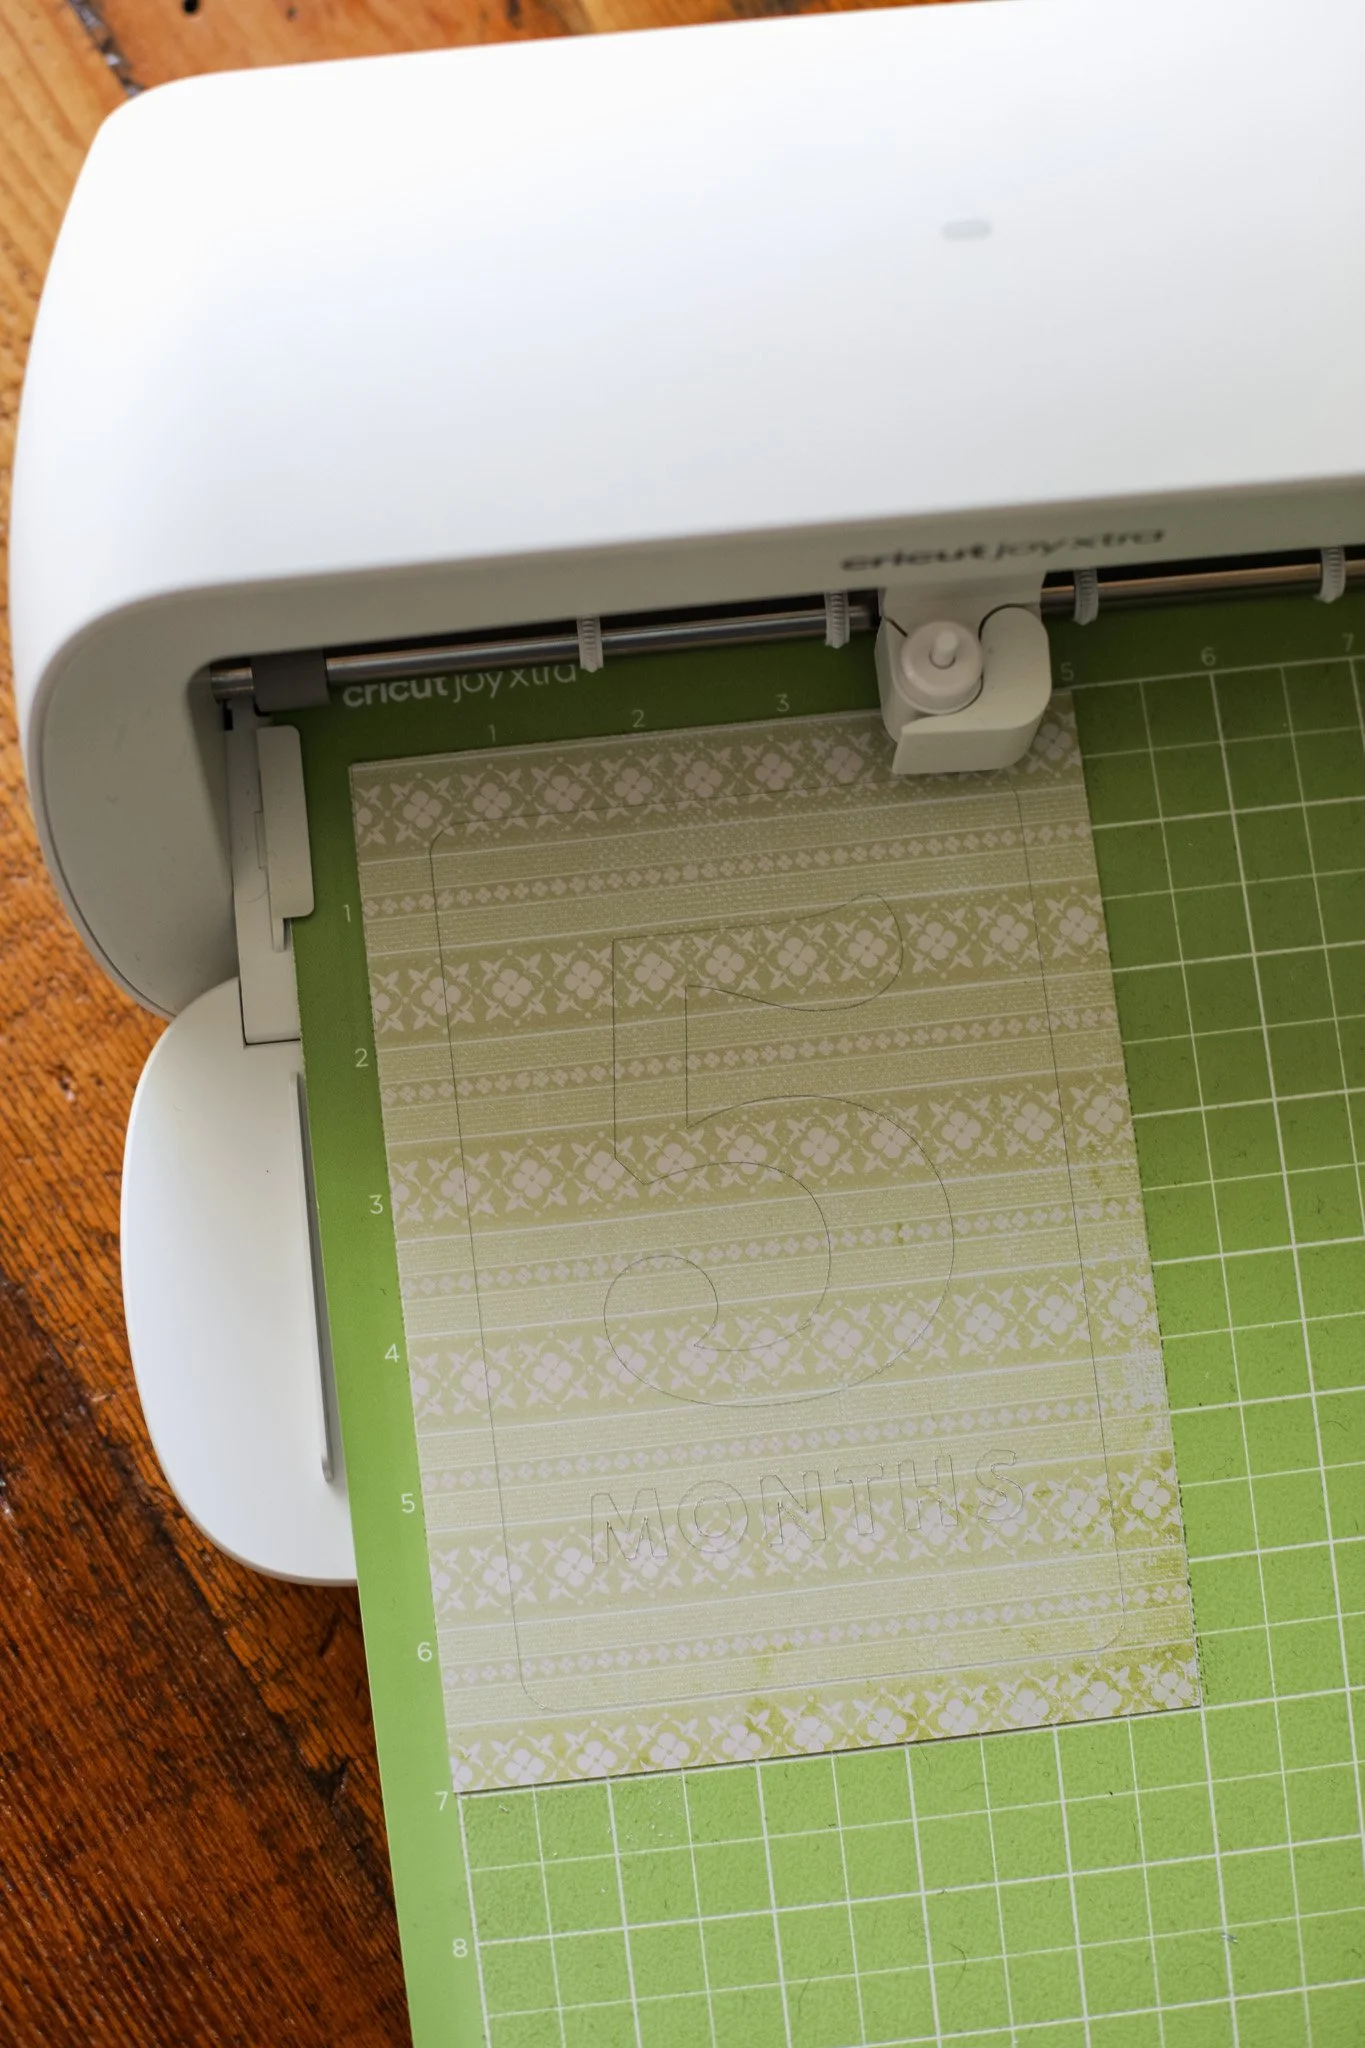
My machine cut out the graphic and I carefully peeled it off the sticky mat.
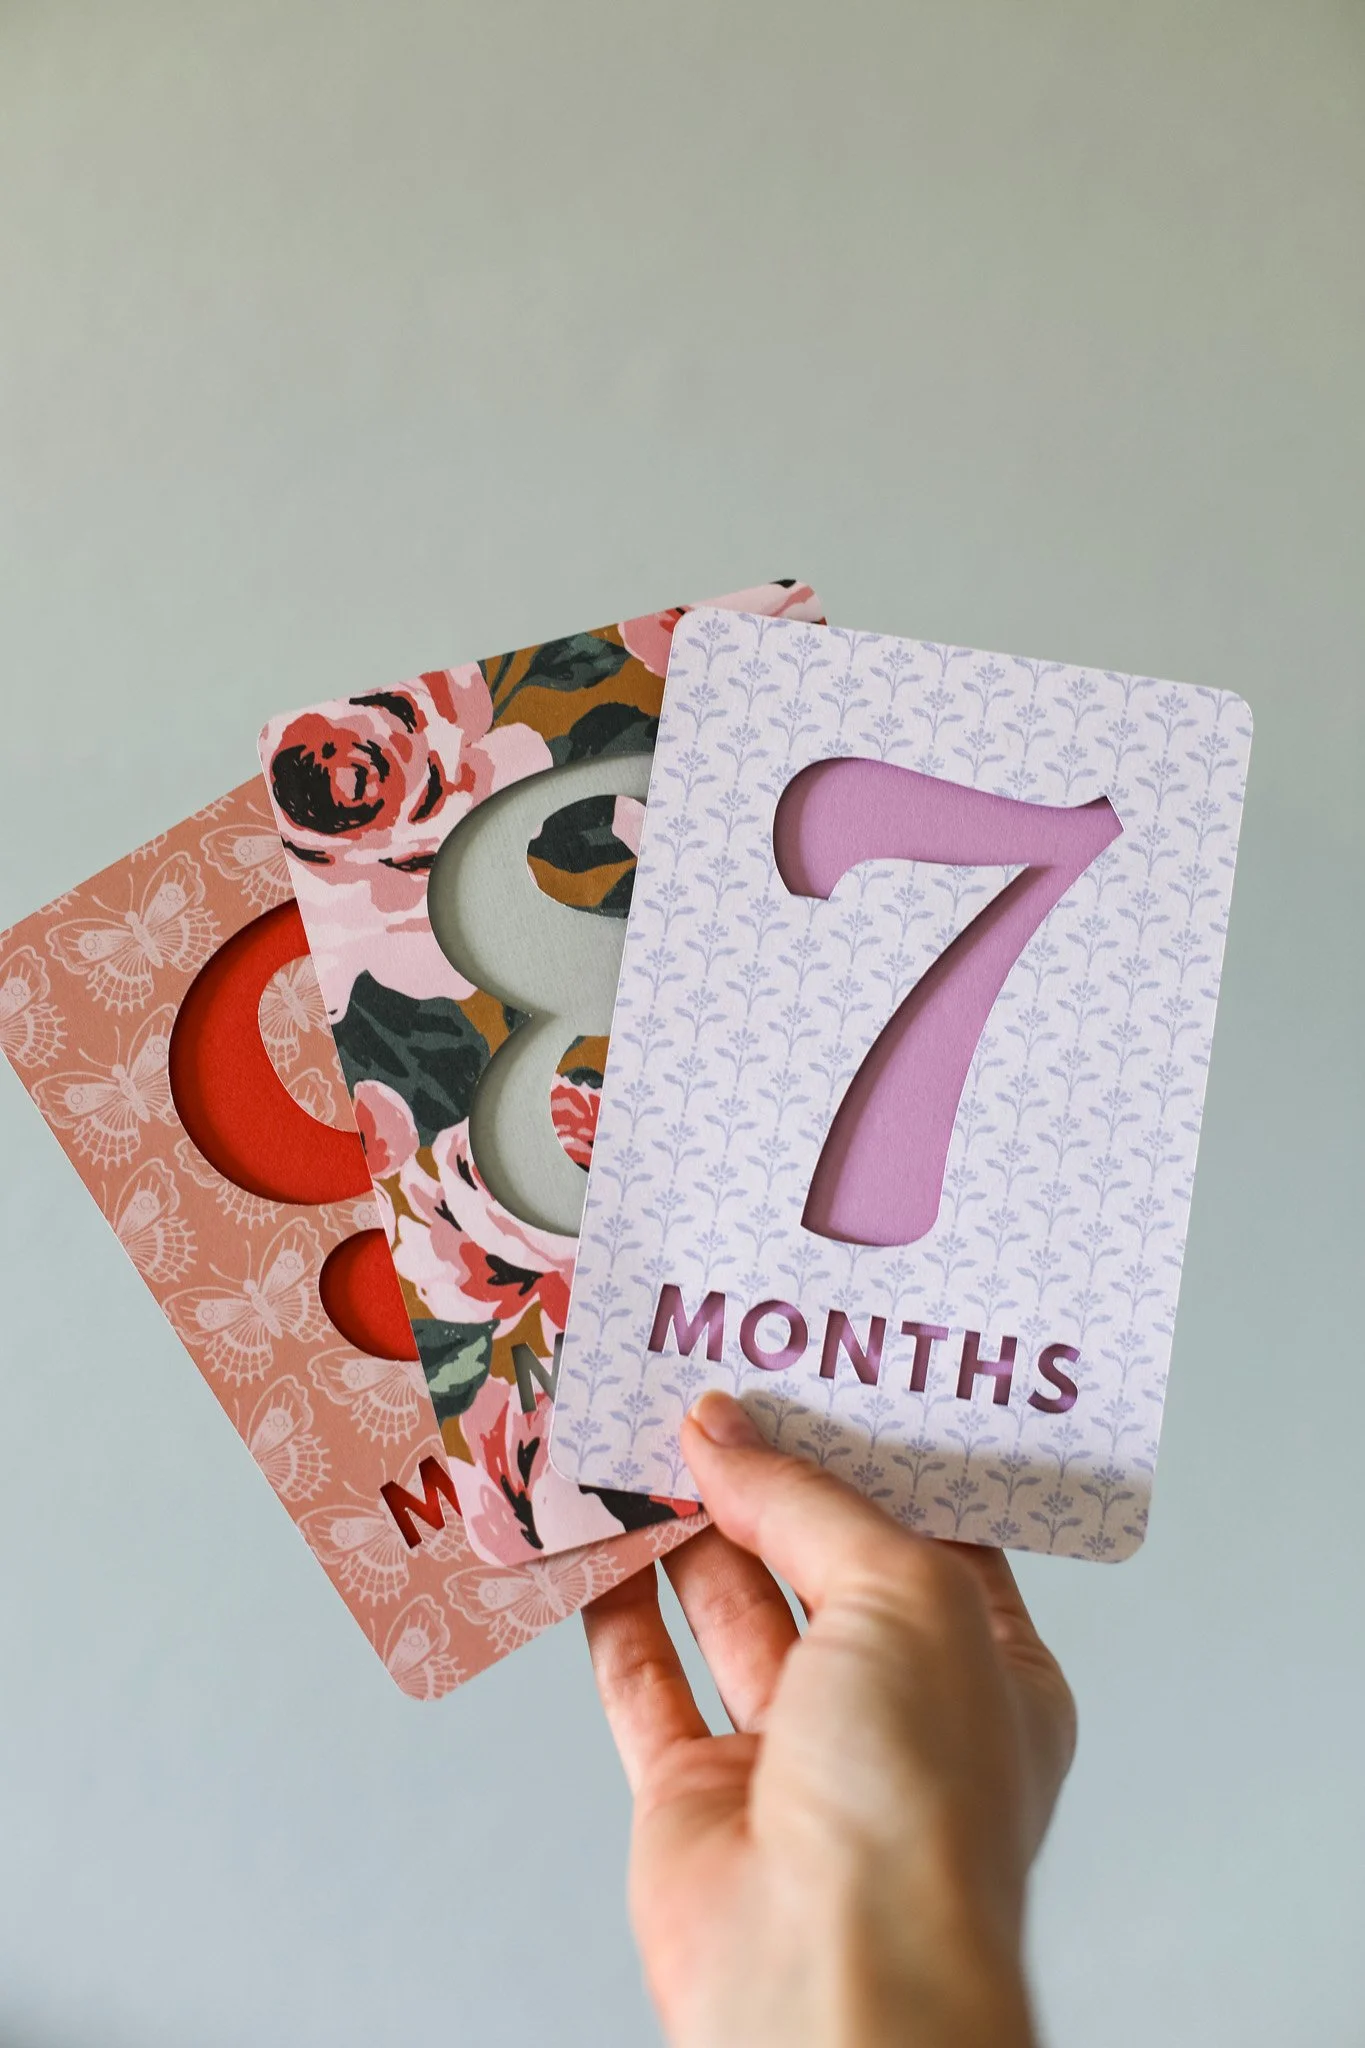
NOTE: Don’t forget to also peel off and save the tiny circle shape that goes inside the letter O in “months” at the bottom. And also the interior pieces of numbers 4, 6, 8, 9, 10.
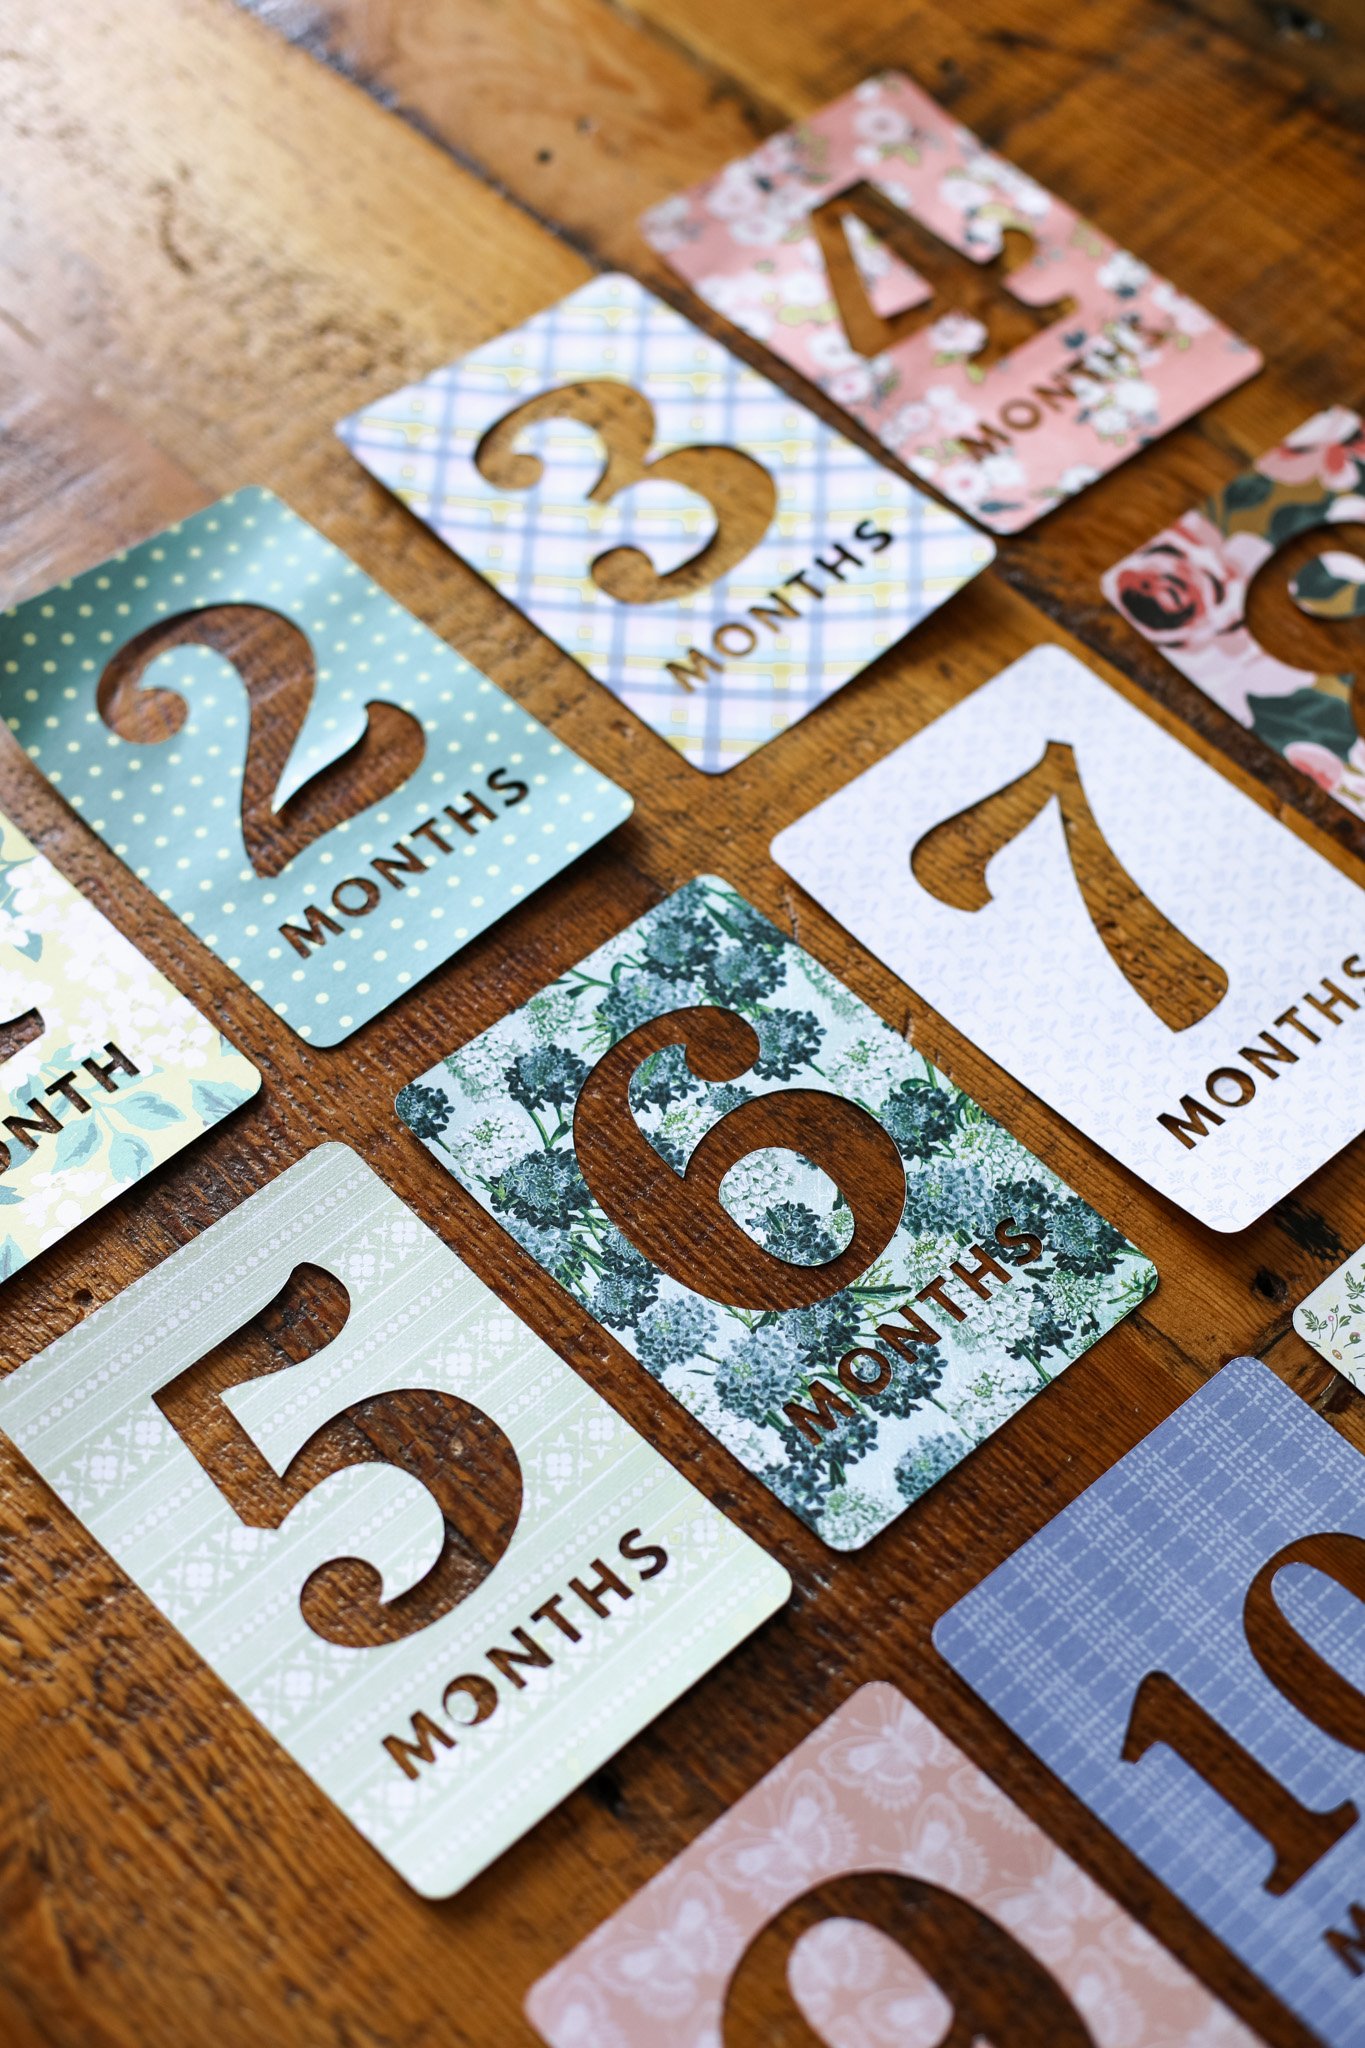
STEP 3: I repeated step 2 for each of the 12 month numbers, each on different patterns of scrapbook paper.
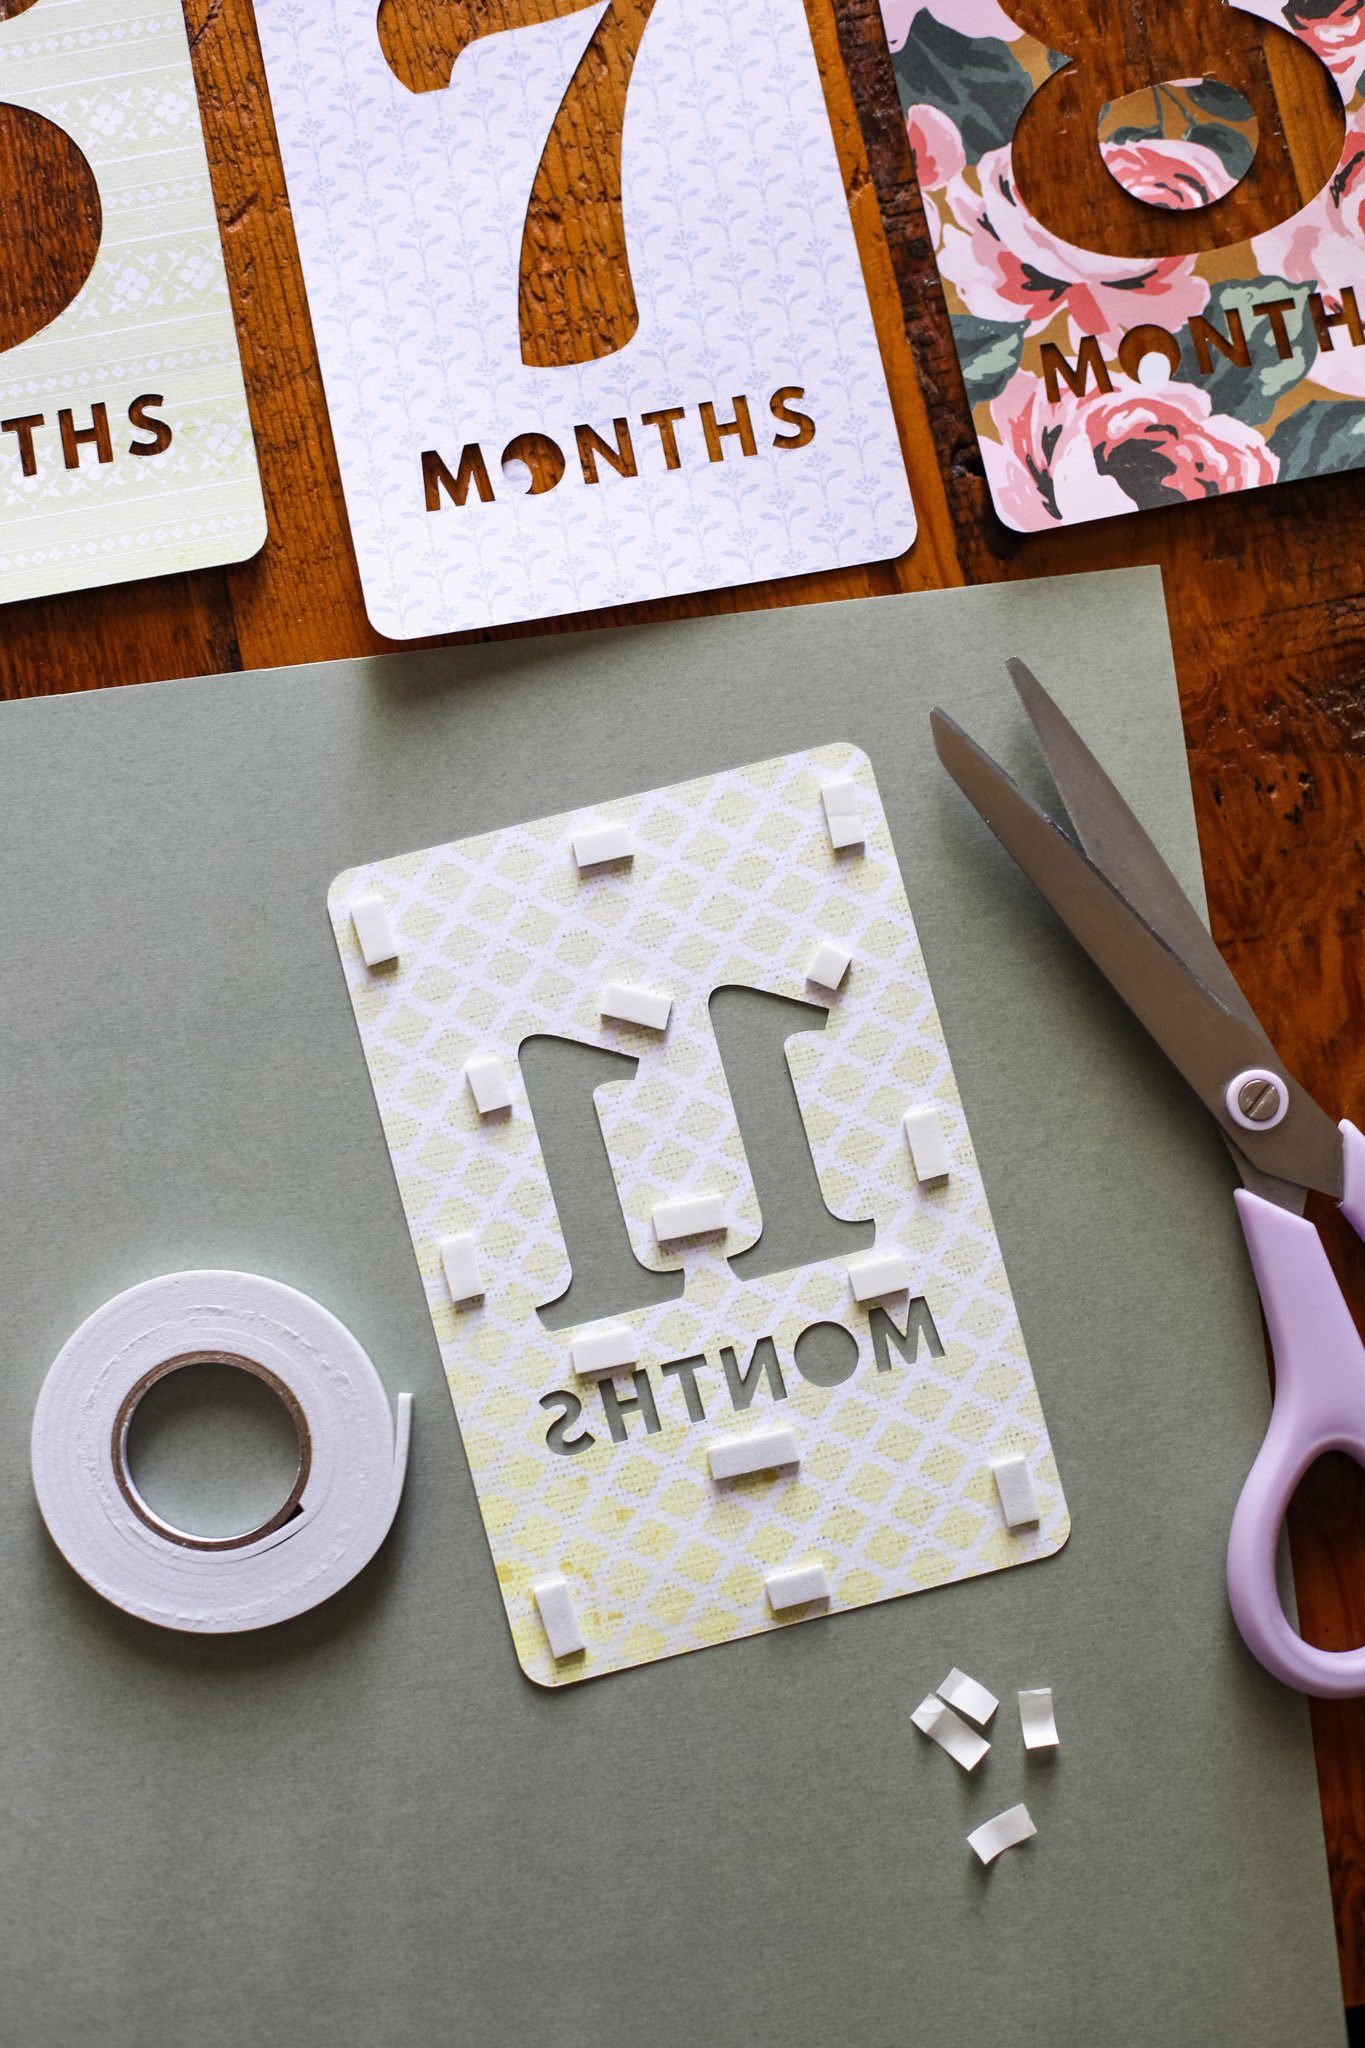
STEP 4: I turned my cut out scrapbook paper pieces over and adhered a bunch of small pieces of craft foam tape all around the edges and interior spaces.

Then I stuck it down to colored cardstock paper in a color that I felt like corresponded with the scrapbook paper pattern.
I also stuck down the little circle in the “O” of “months”.
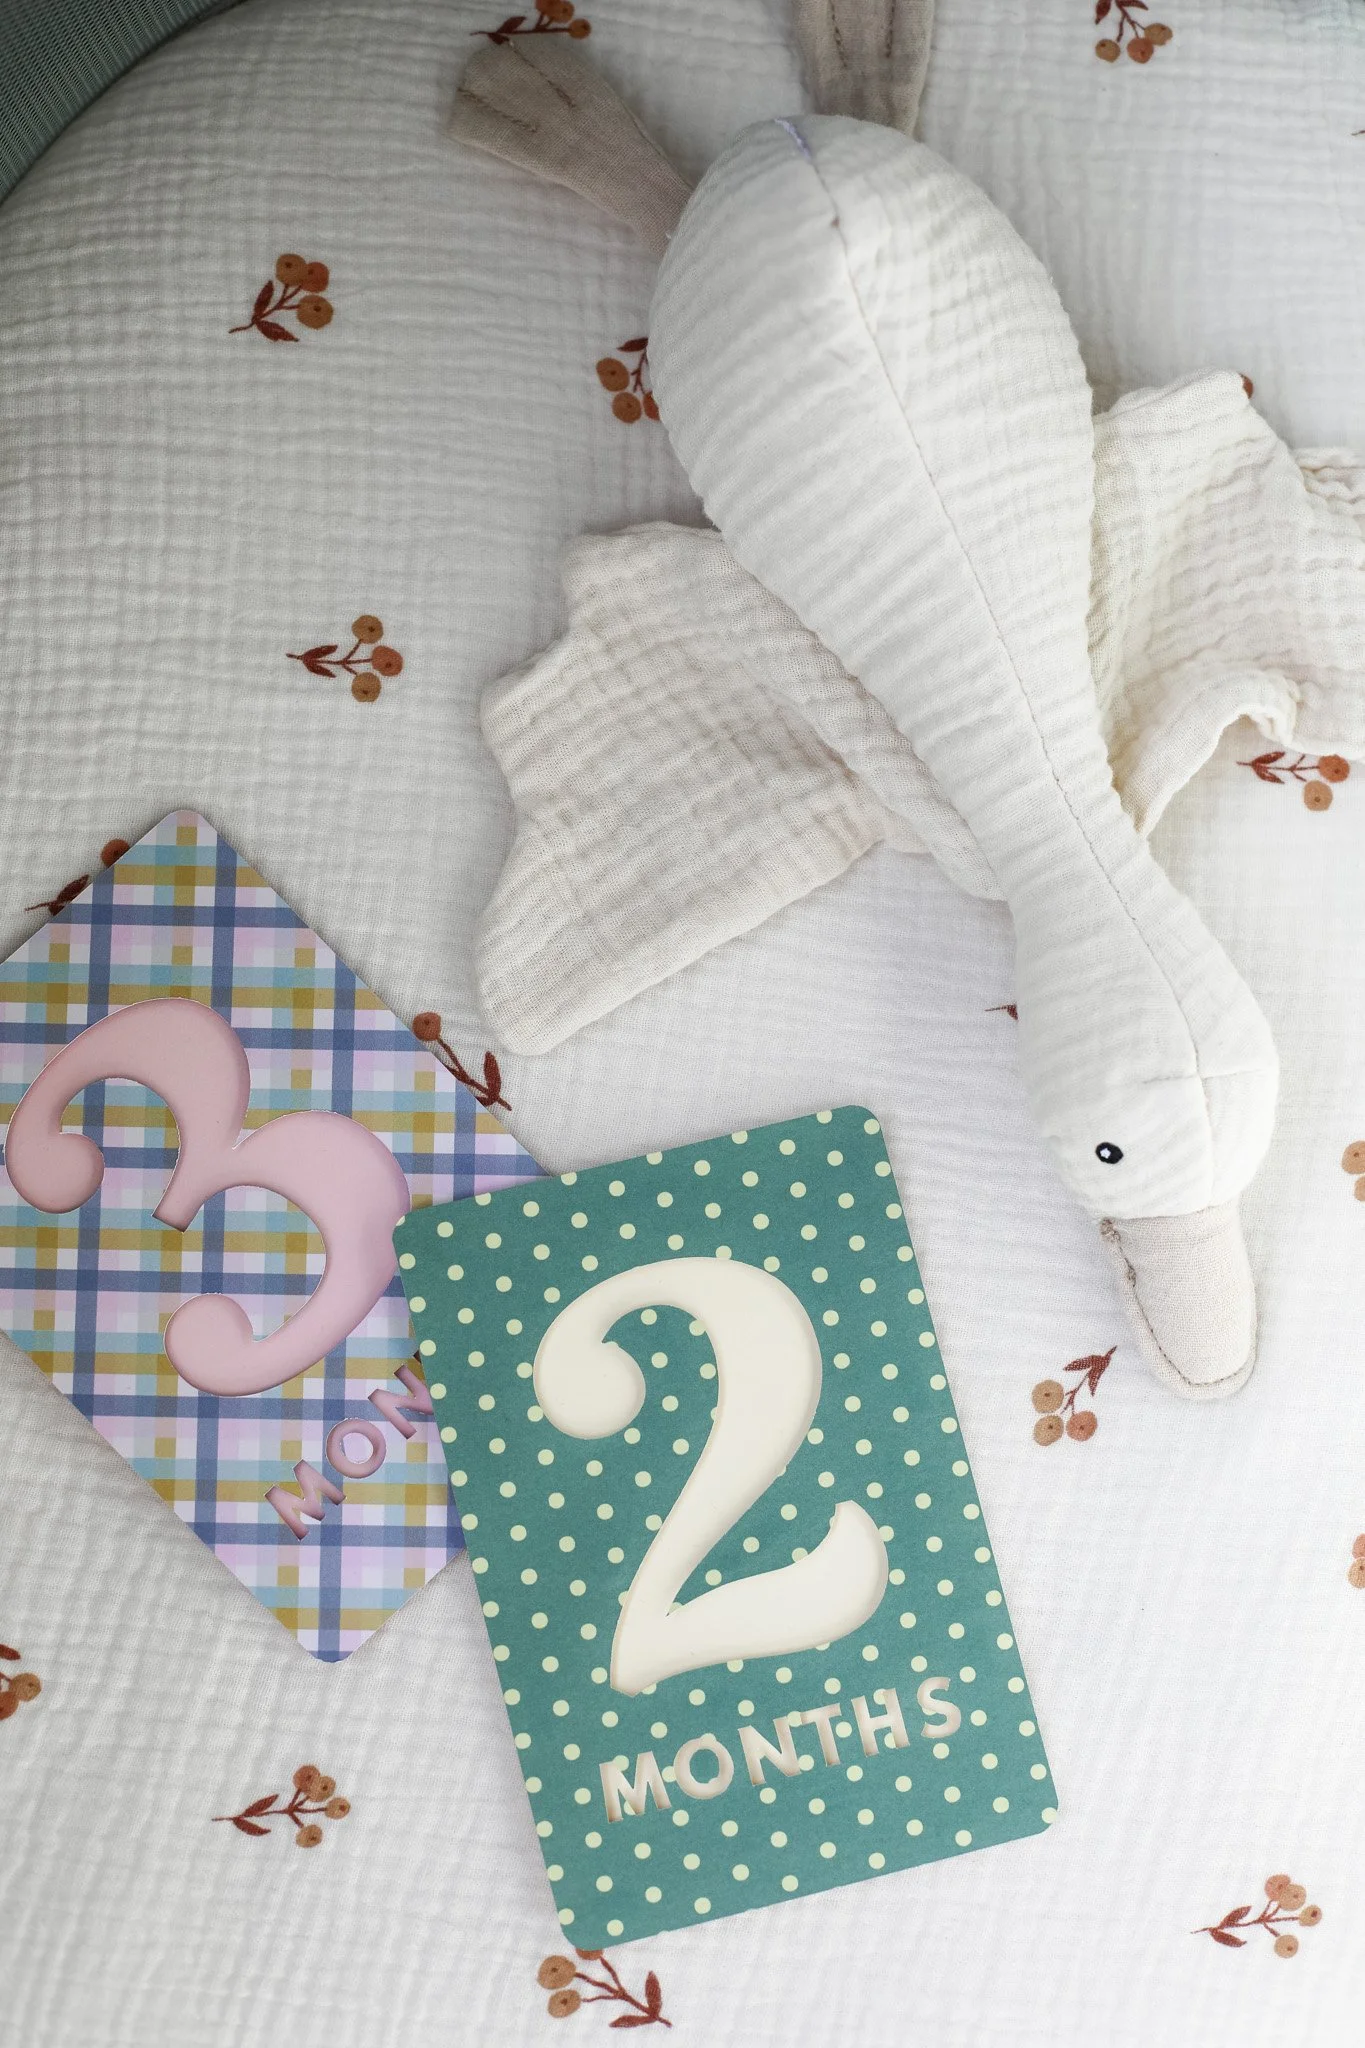
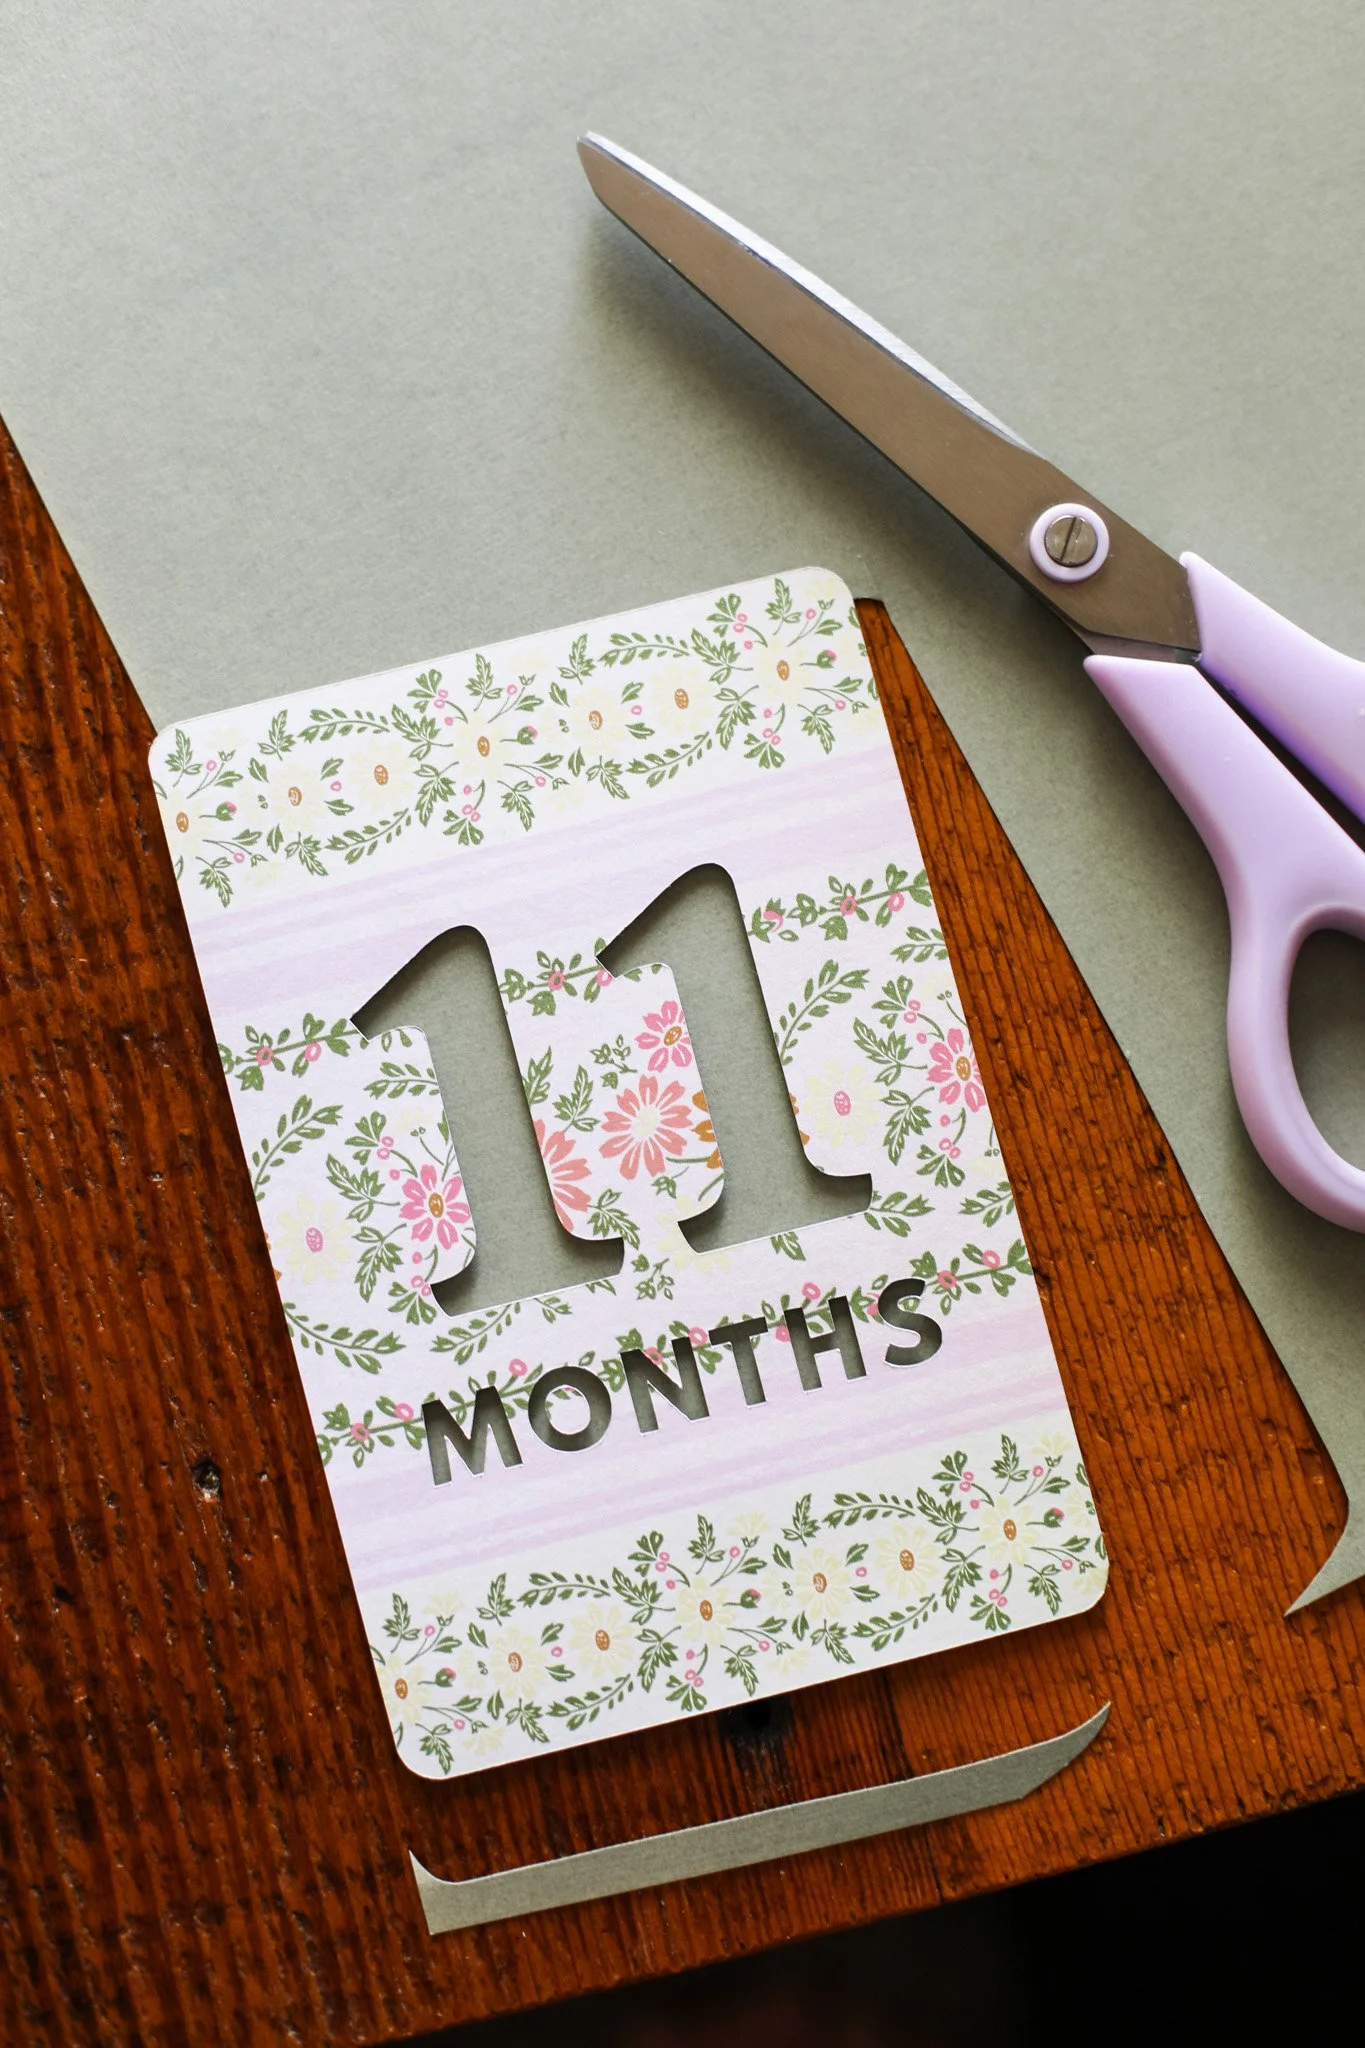
STEP 5: And last, I cut out the cardstock paper with scissors along the edges to match the scrapbook paper. And my 12 months turned out like this!
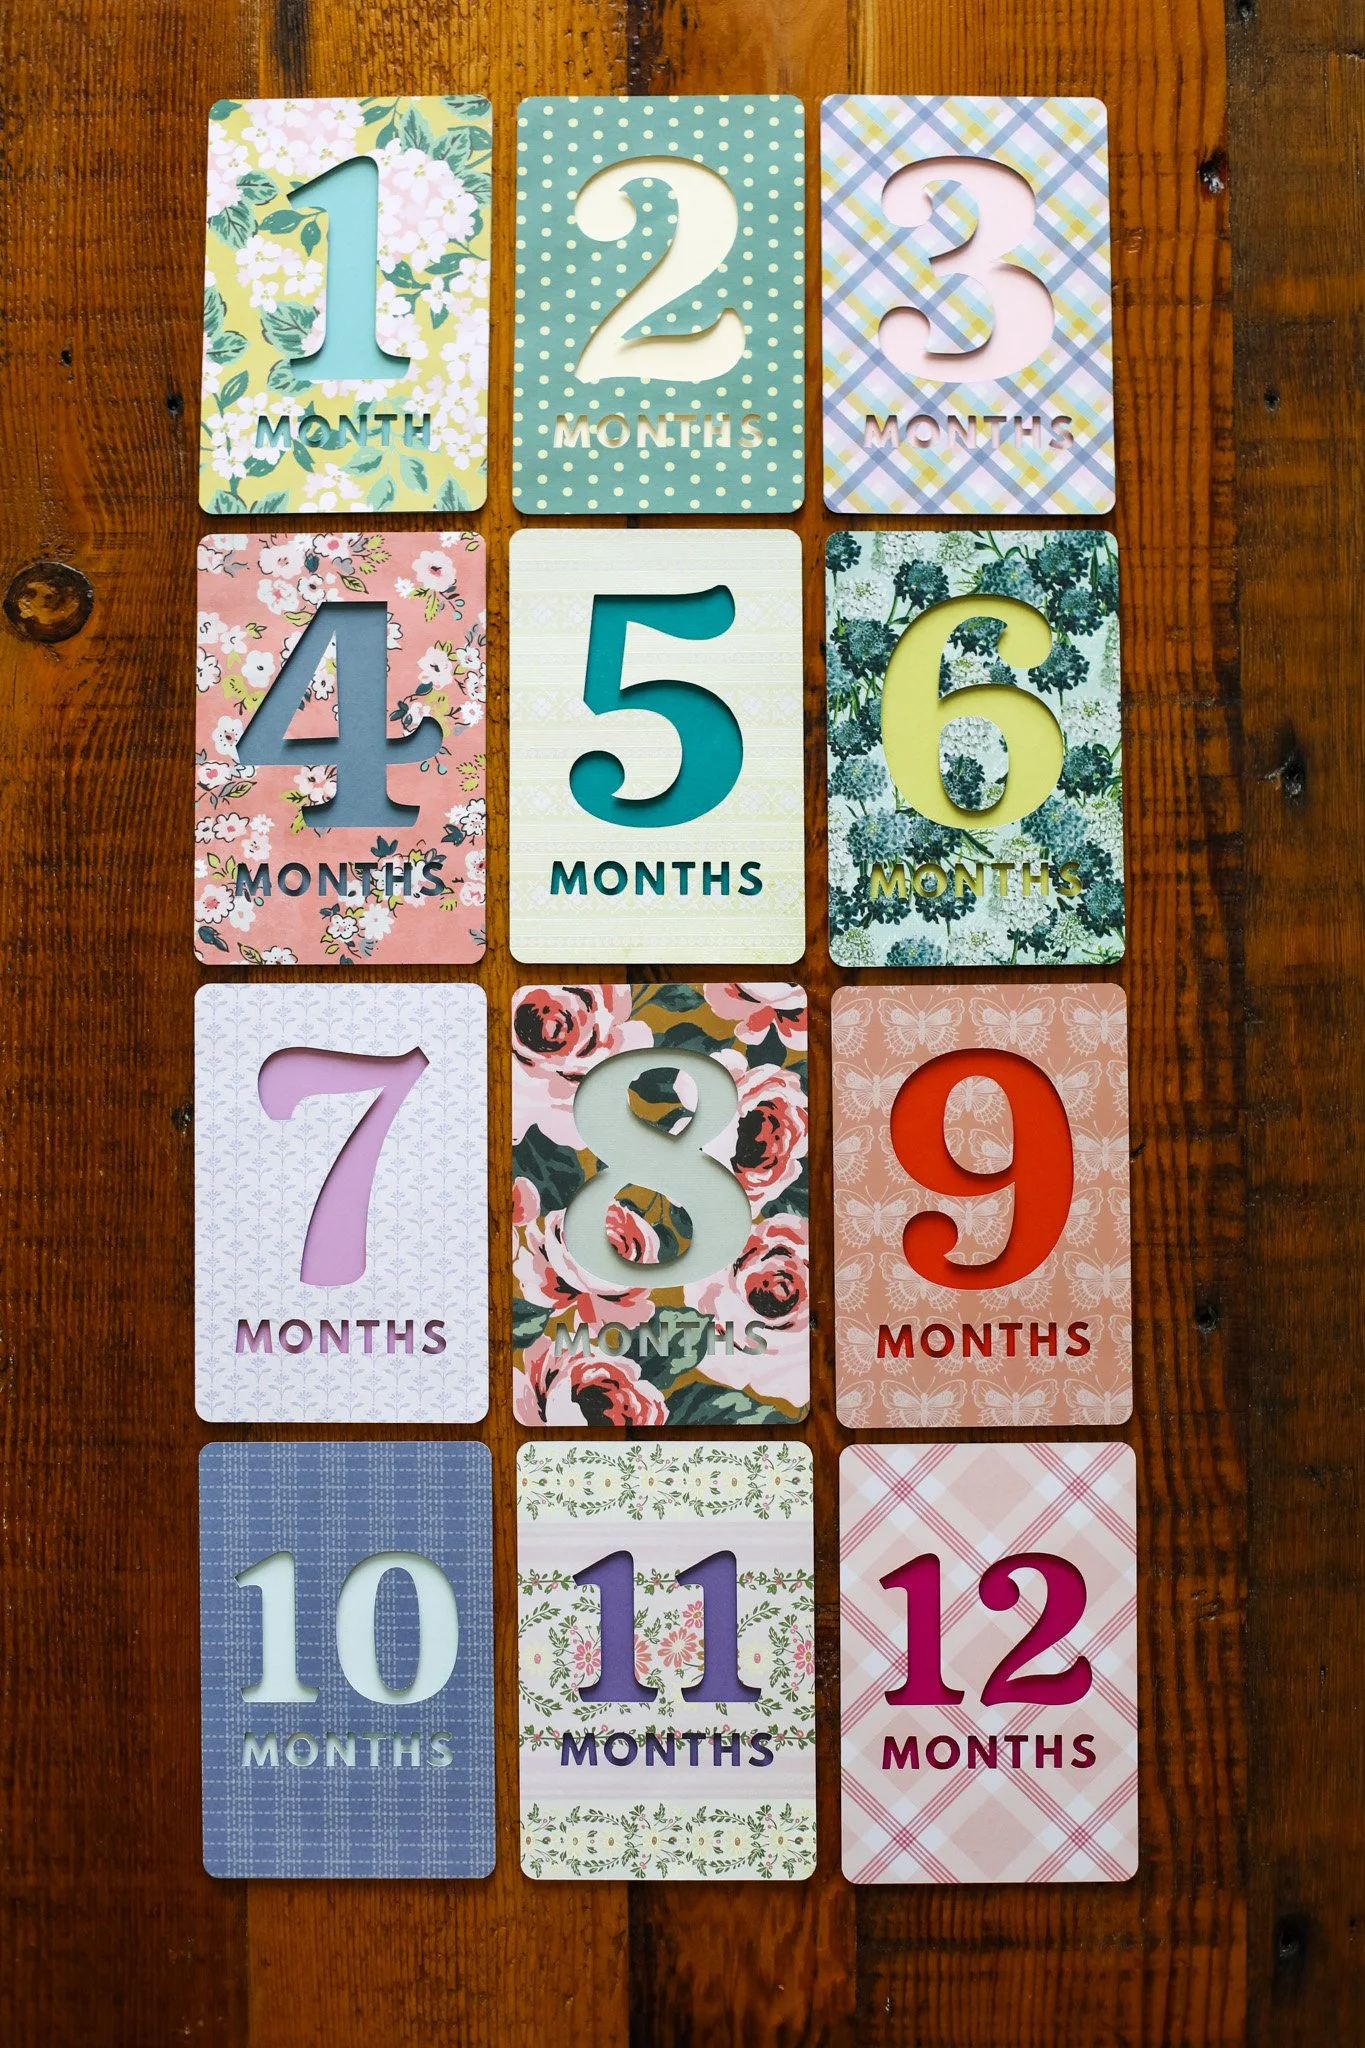
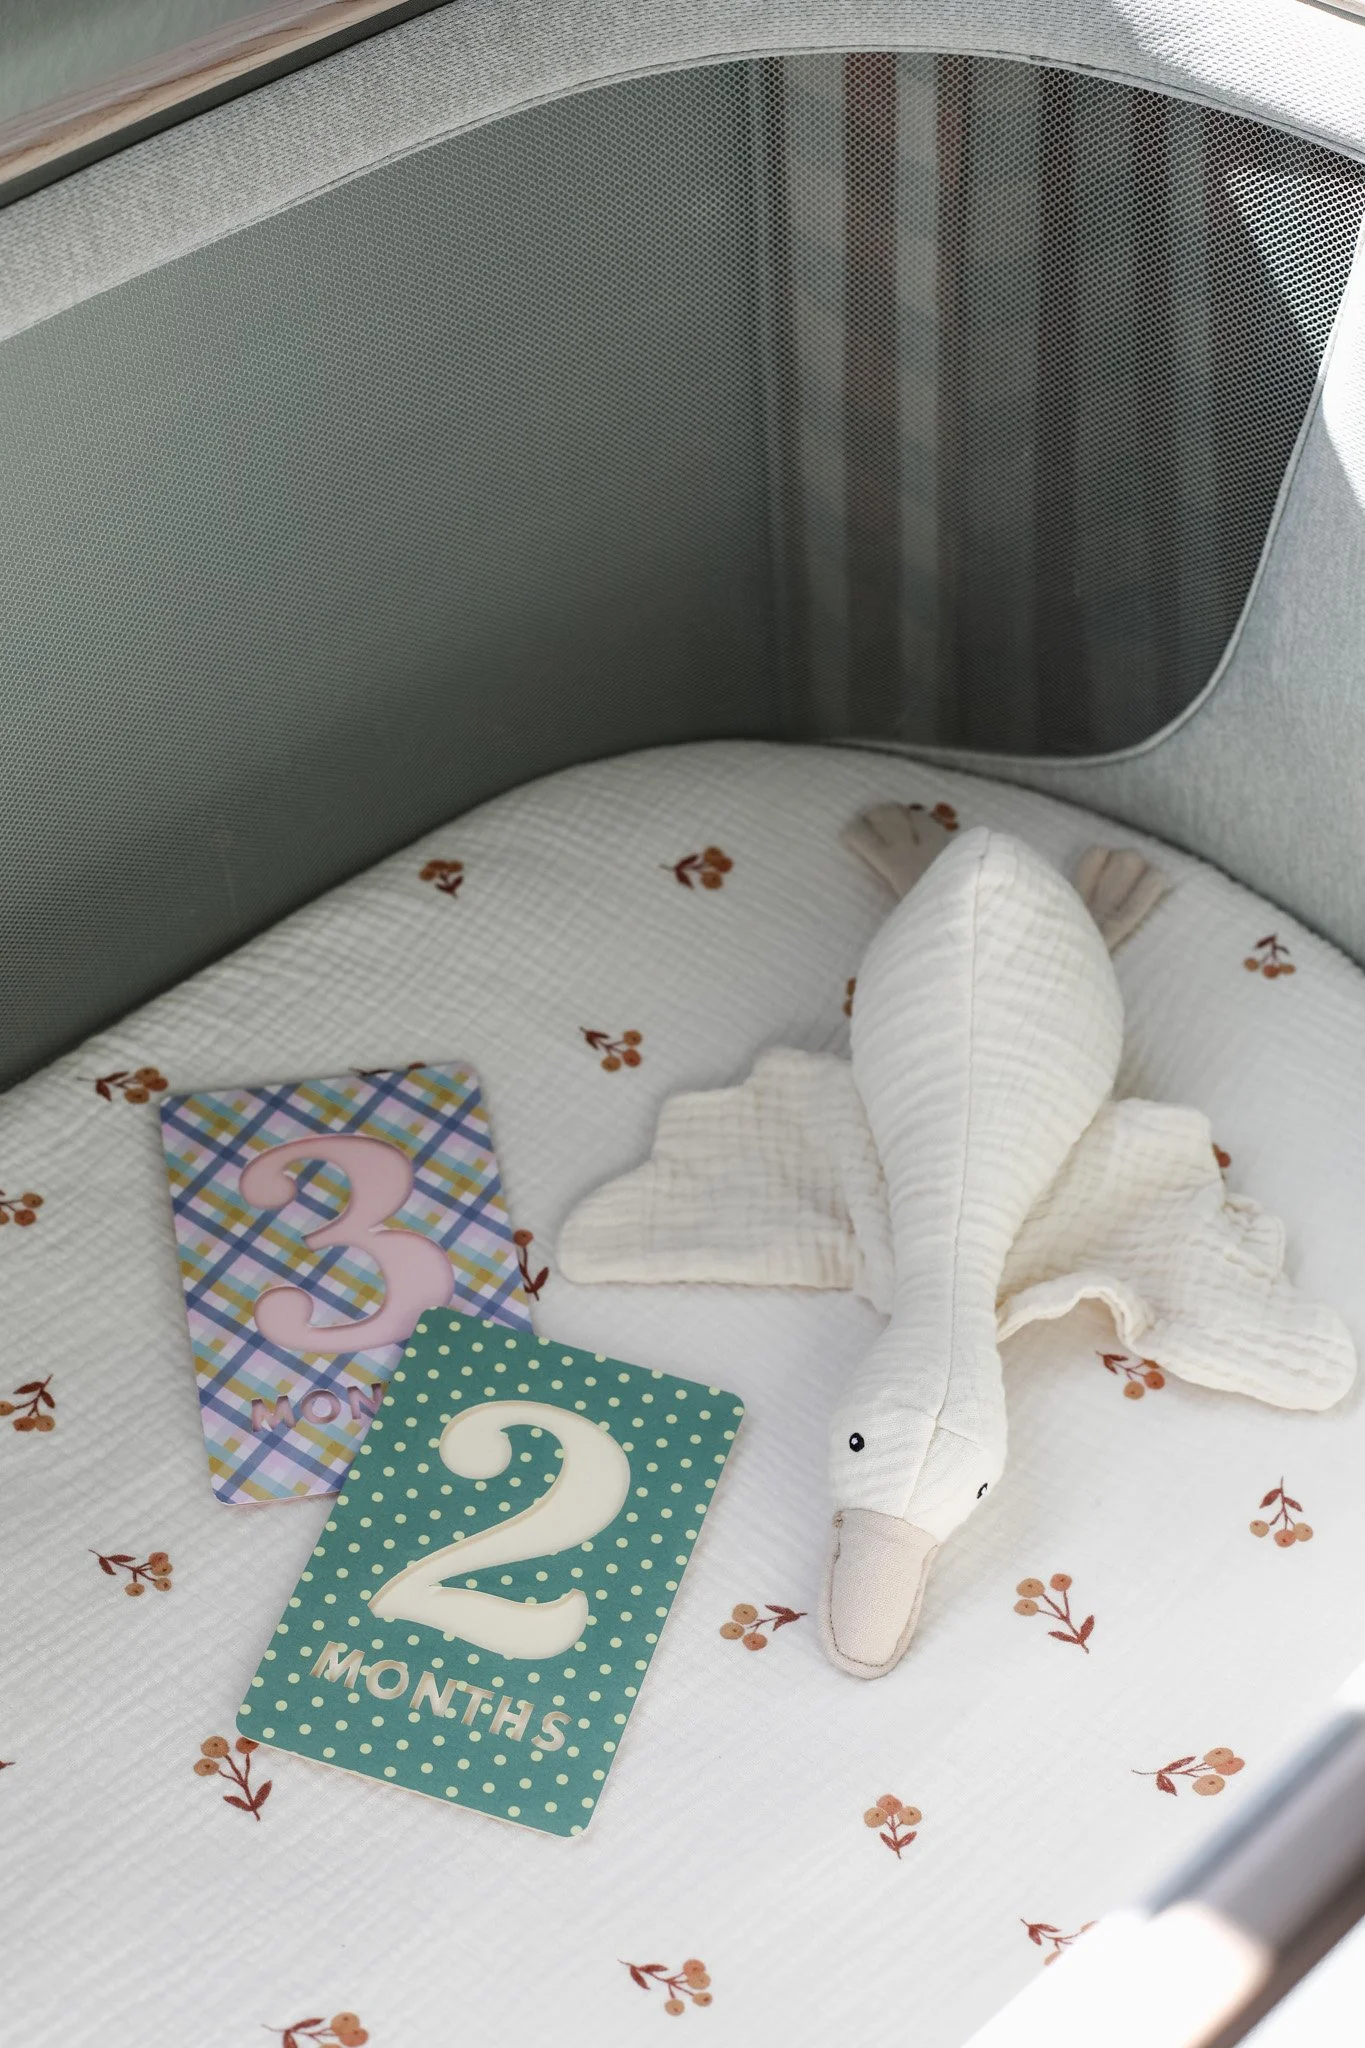
I love how colorful and cute these 3D monthly milestone cards turned out and I’m having so much fun taking Della’s picture next to them each month!
It is obviously not necessary to make them 3D with the craft foam tape, you could just glue the two pieces of paper together, but I think it photographs better and why not add some extra cute-factor.
I love that you can make this project for whatever design style you want or however you are planning to decorate your nursery by just finding some scrapbook paper that fits your color scheme or style.
It would also make such a sweet DIY gift for a mom-to-be in your life that doesn’t have the time or the desire to make something custom on their own!!
I hope you enjoyed today’s craft idea, and as always, I’d love to see your final product! Tag me on Instagram @entertainidea.
Happy crafting! xo Rachael

