
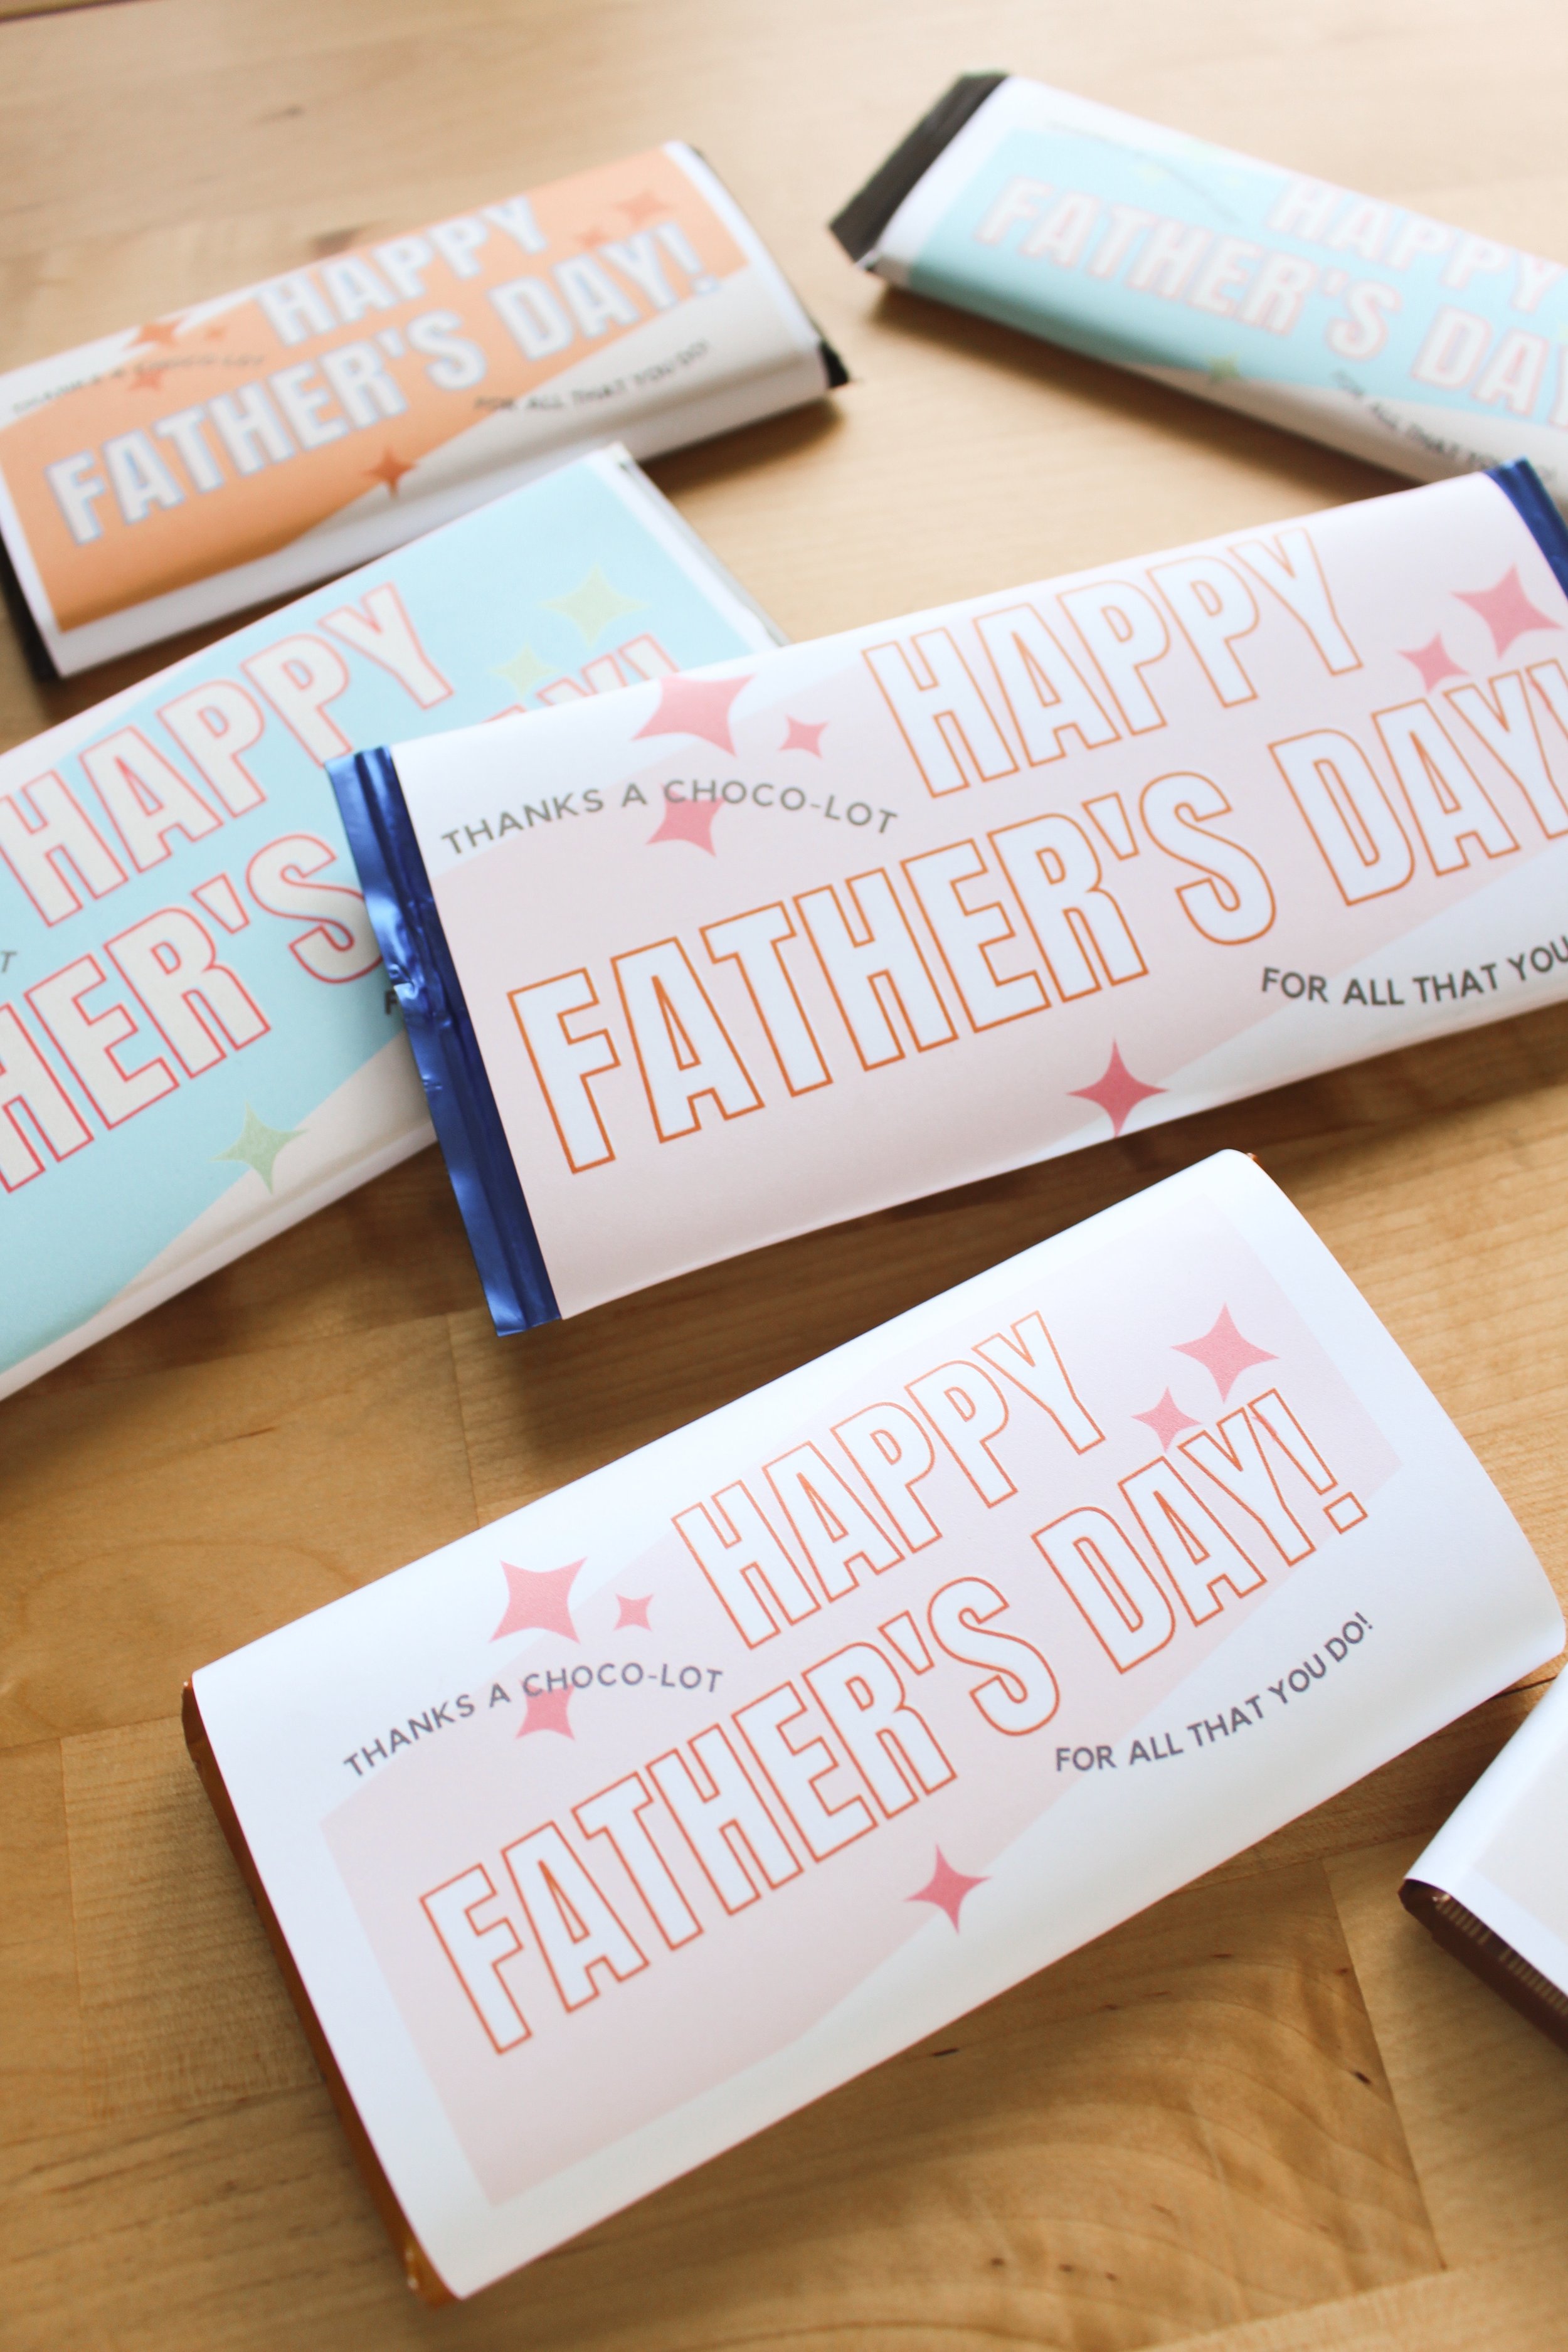
Chocolate Father’s Day Gift Idea (& Printable!)
Happy Friday, friends! Today we are back with another printable project and this time it’s for all the Dads in your life! With Father’s Day coming up on Sunday, June 19th, we set out to give you a super simple gift idea that any dad is sure to love! Chocolate :)
I love this idea of a personalized chocolate bar for dad because it is inexpensive, it is something they will actually enjoy (can we all agree that there are some really terrible Father’s Day gifts out there?), and it only takes a few minutes to put together — so if you are a last minute gift giver, this is the idea for you!
So pick out your dad’s favorite chocolate bar and let’s get started…

PRINTABLE FATHER’S DAY CHOCOLATE BAR GIFT
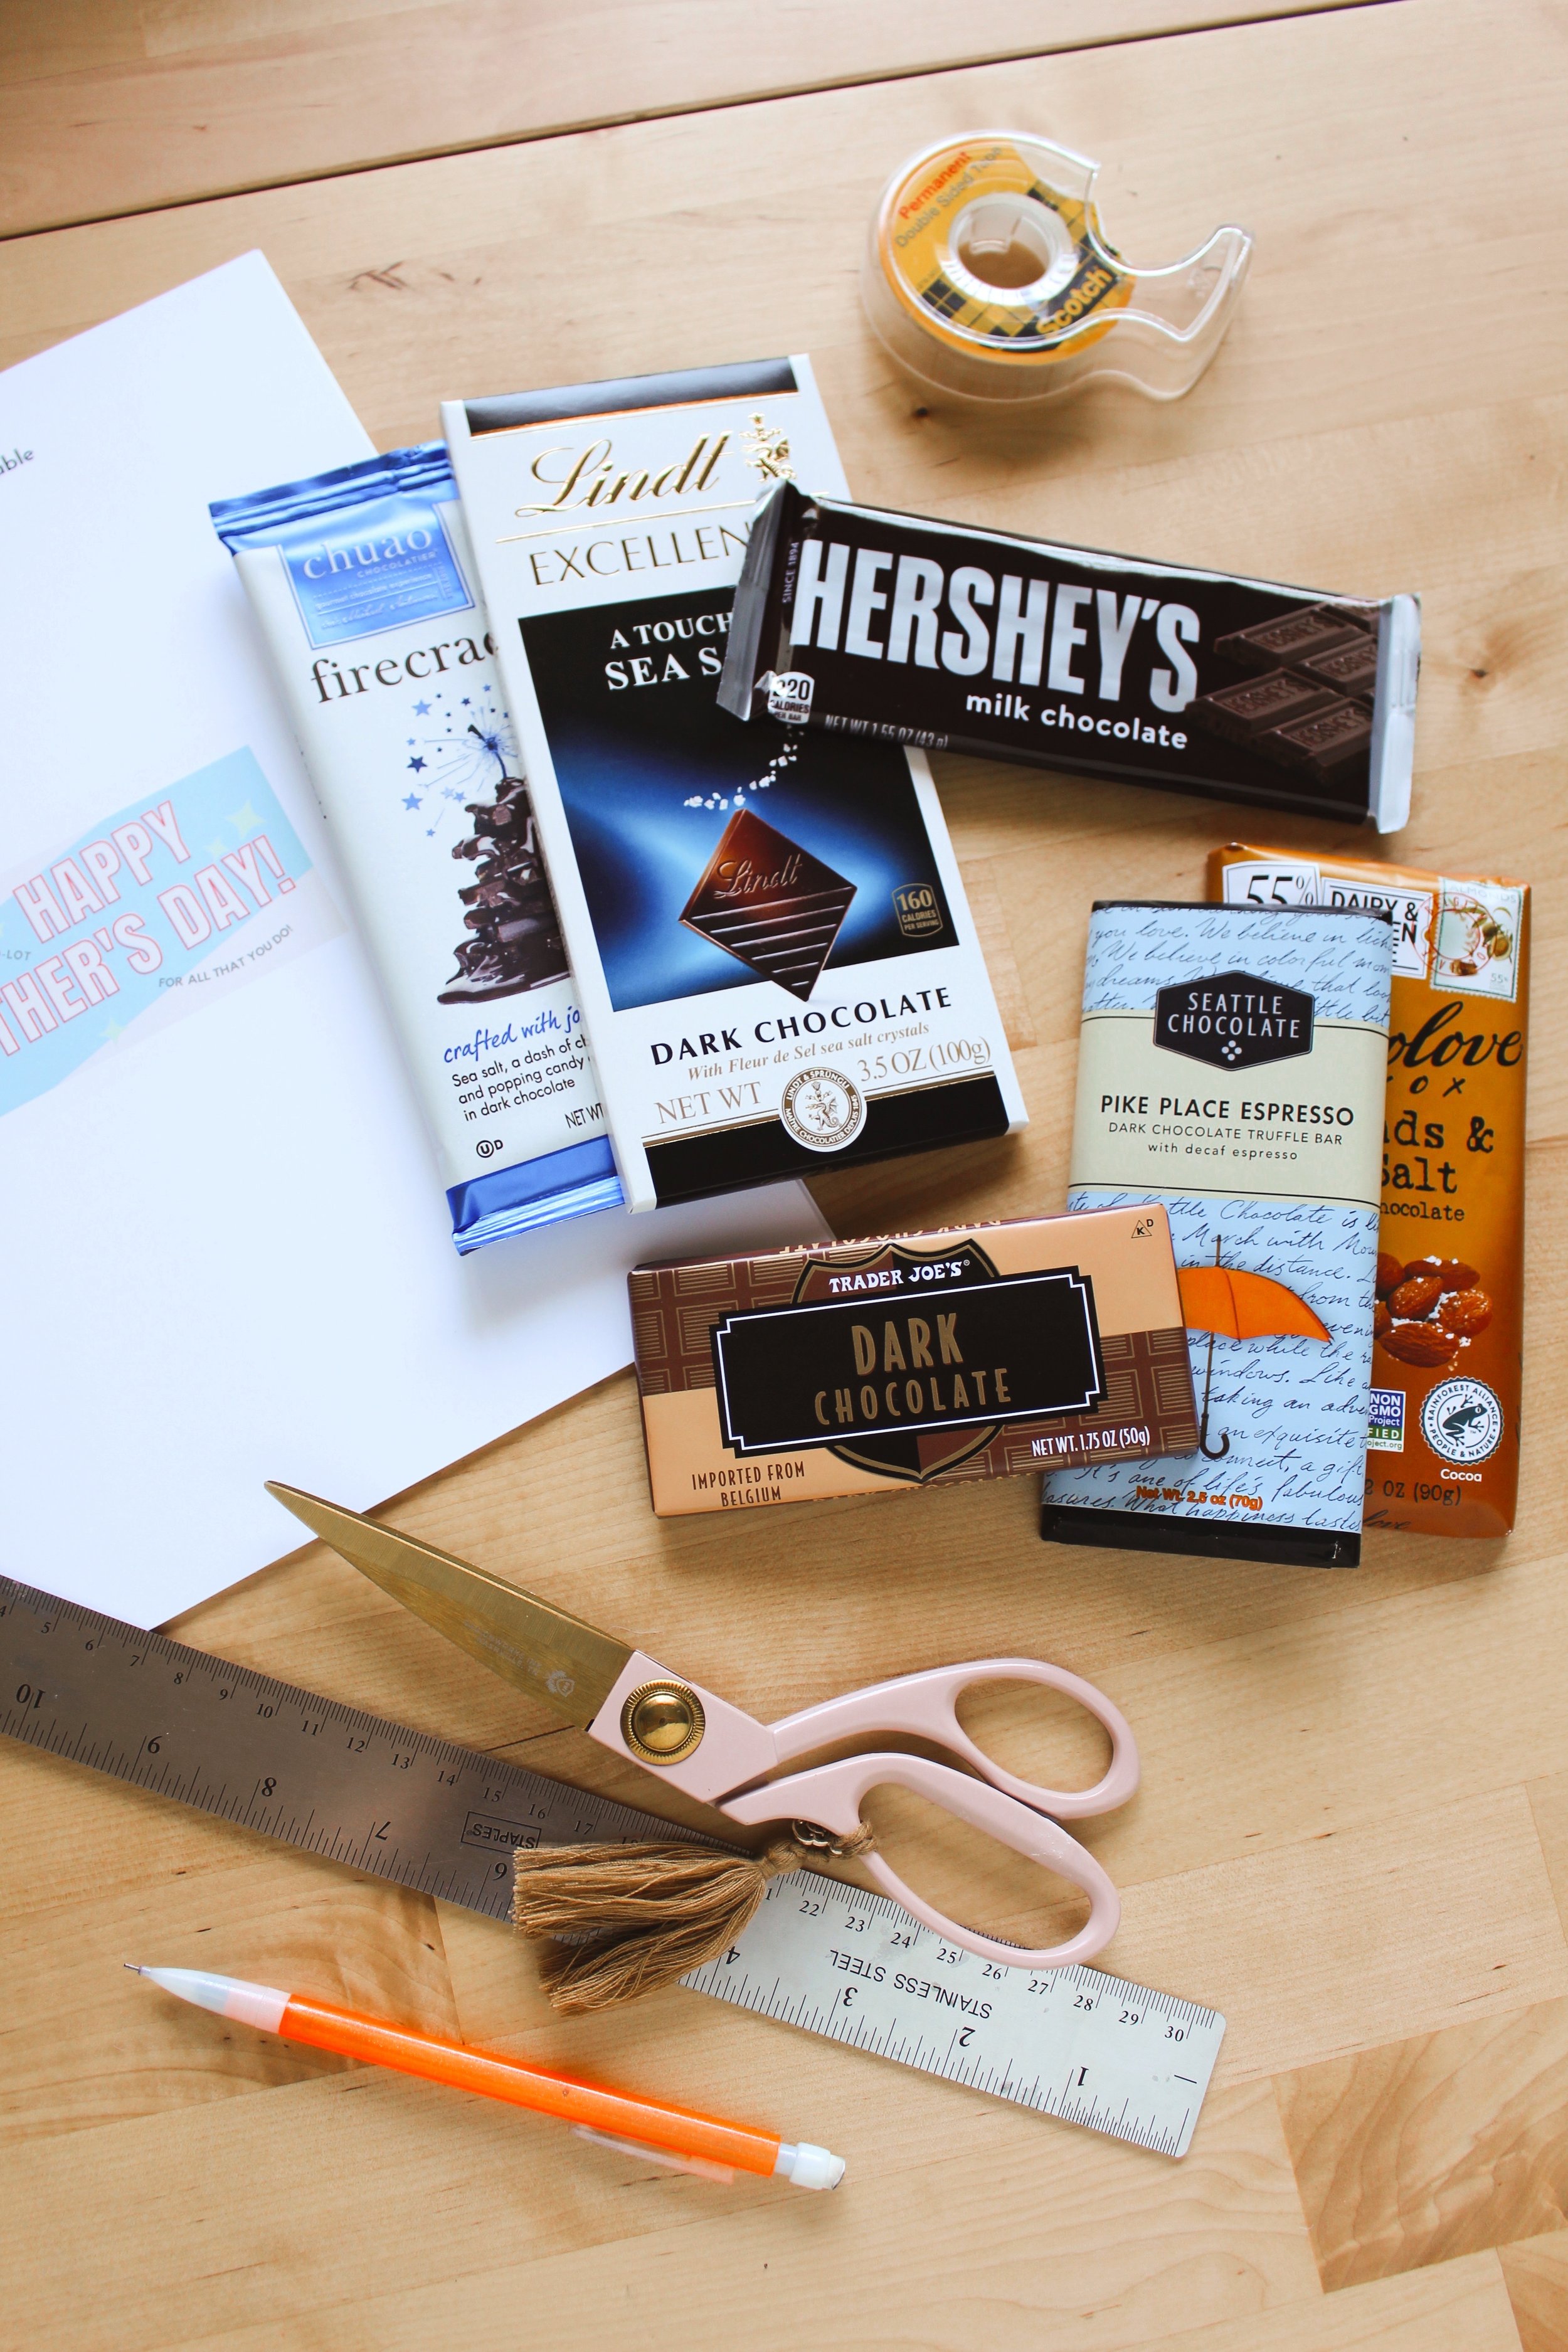
You will need:
Chocolate bars
Double sided tape
Scissors
Ruler
Pencil
Printer
White cardstock
ETI Father’s Day Printable PDFs (available in blue, pink, and orange options) — download below!
STEP 1: Print out our Father’s Day Chocolate Bar Printables on white cardstock paper. There are three different color options (blue, pink, and orange) and each PDF includes 3 different sizes of each color (4”, 5”, and 7” wide).

STEP 2: Once you have all your sizes printed, lay your chocolate bar next to the labels to determine which size is going to work best. There are so many different sizes of chocolate bars depending on the brand you buy, so we tried to create 3 different useful sizes. You can also trim them down a bit so if your bar is just slightly bigger or smaller than the label, that is no problem.
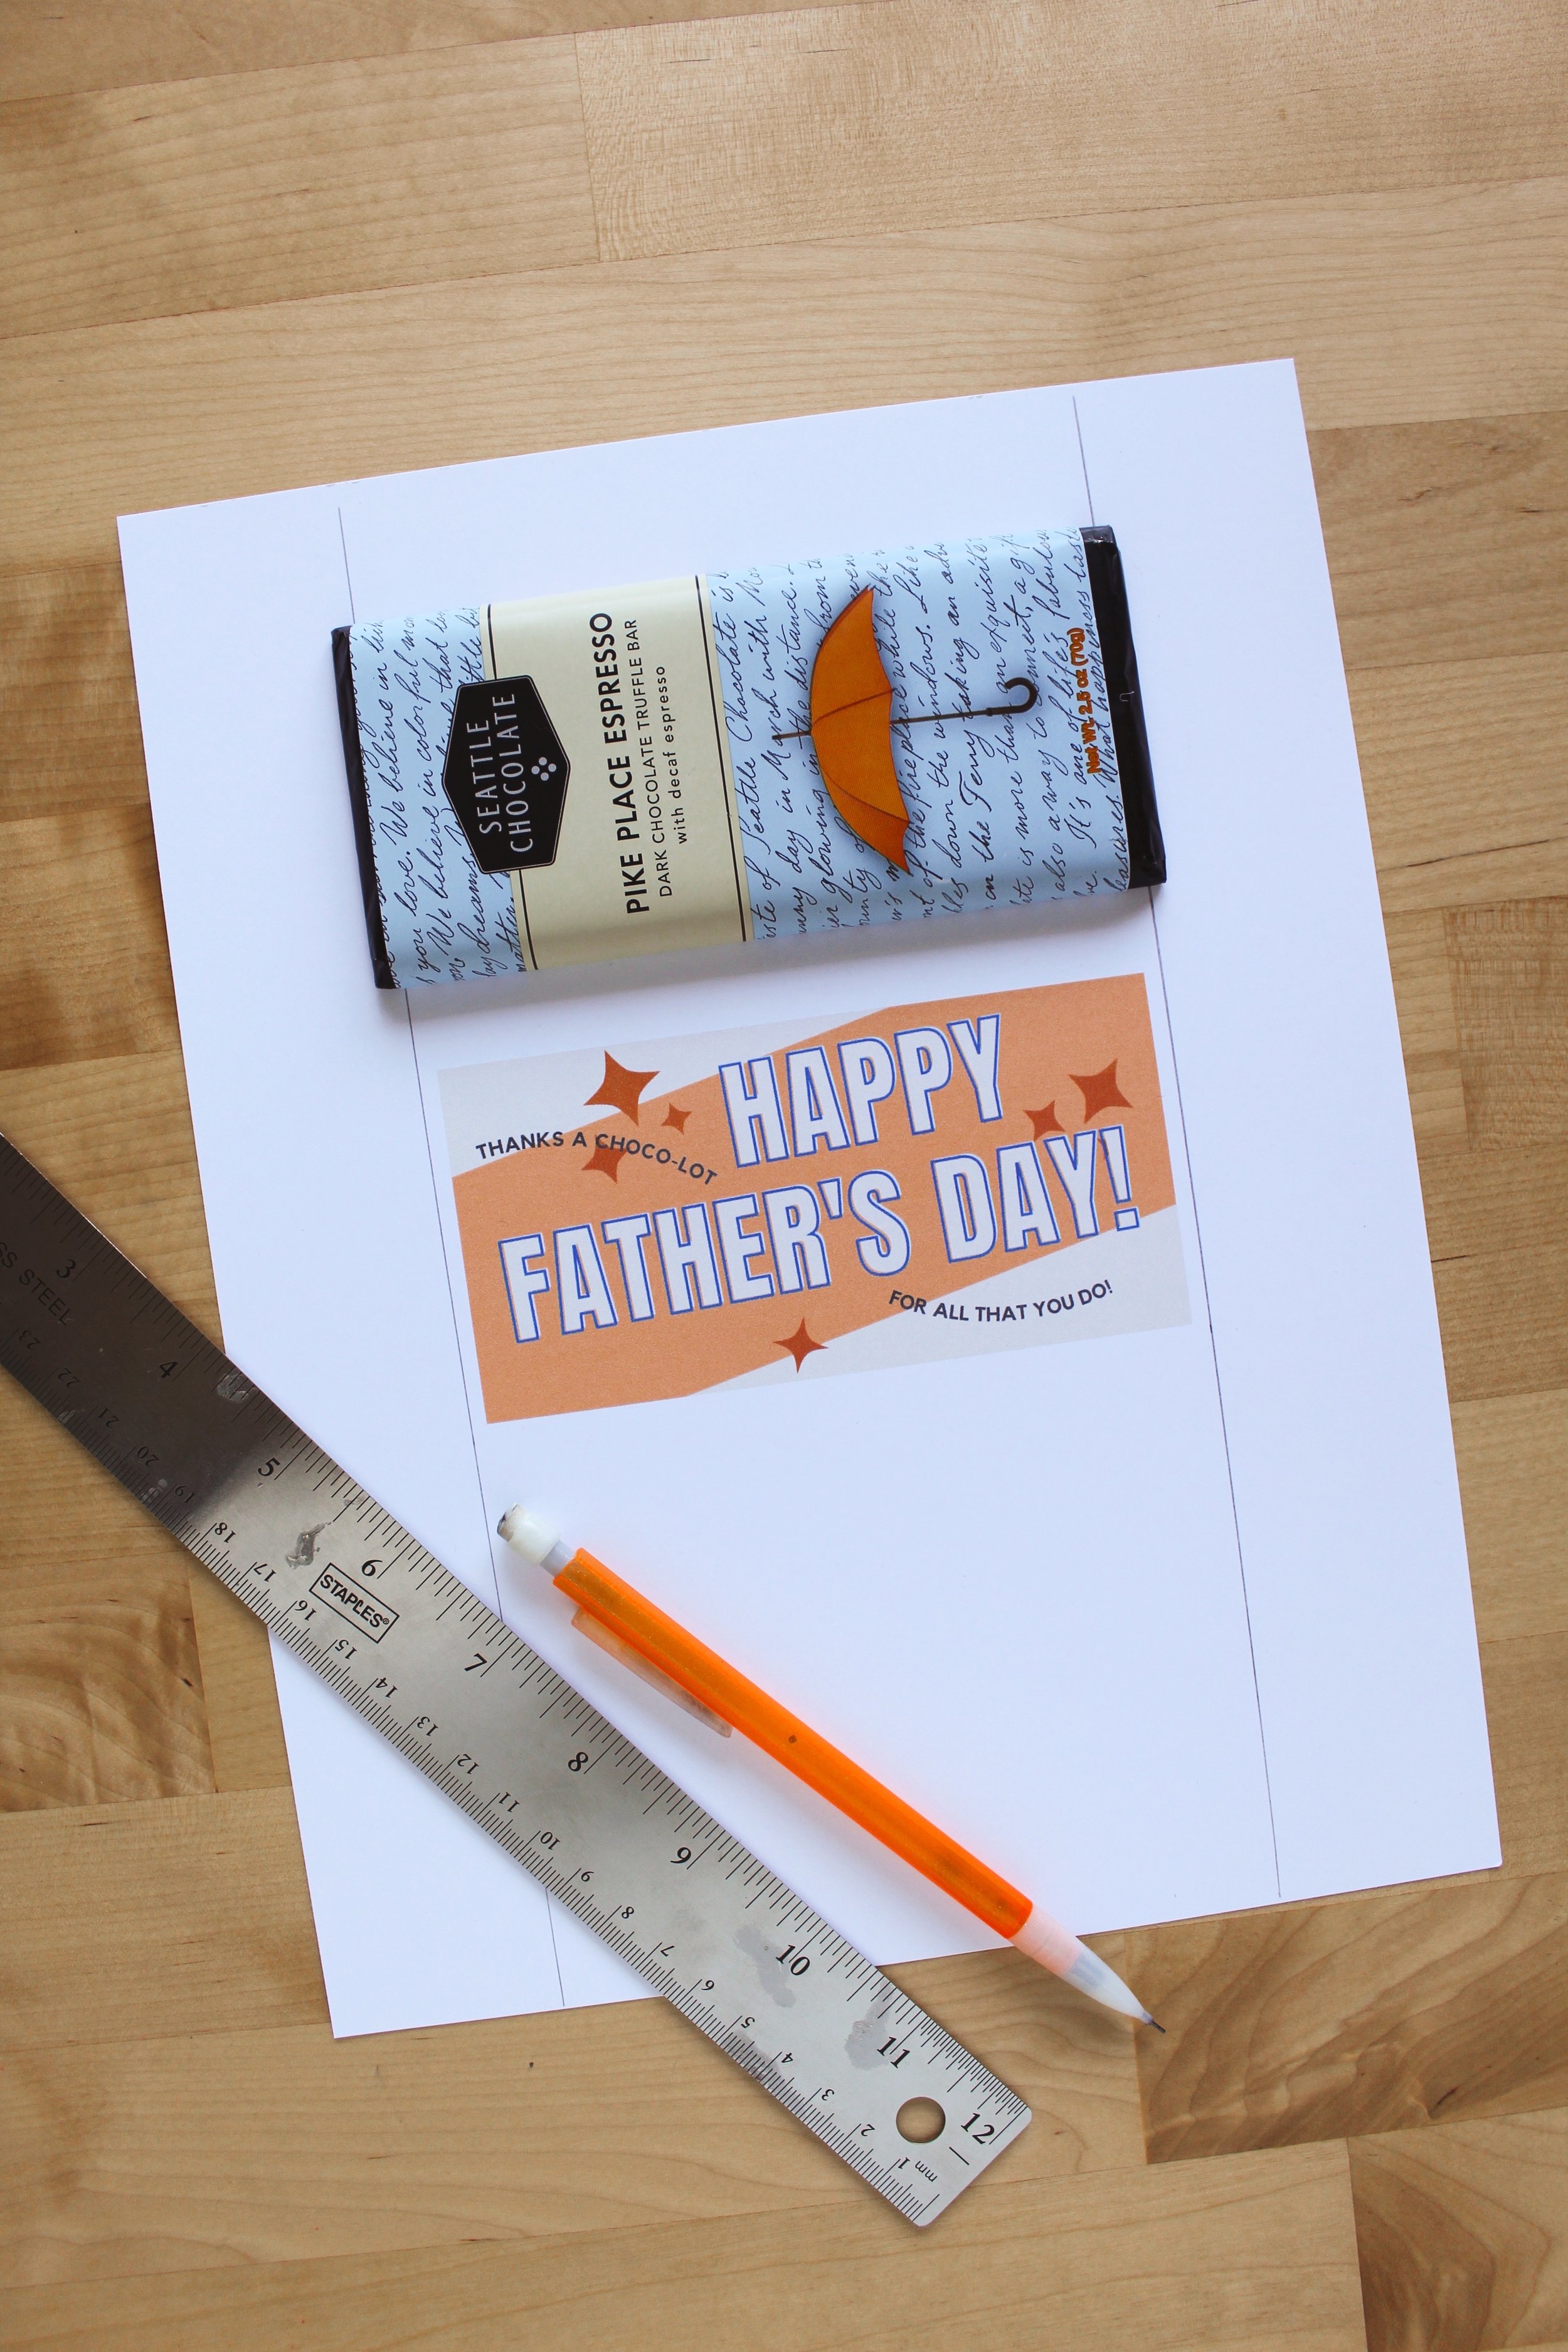
STEP 3: Lay your chocolate bar centered just above the label and create a mark on either side of how big you need the wrapper to be. I came in just a bit from each side so the ends of the original wrapper will be slightly visible (as shown in the photo above). Use your ruler to draw a line down both sides, making sure it is the same width all the way down.
Cut out the cardstock along your vertical lines.

STEP 4: Now draw a horizontal line with your ruler that is slightly less than the width of your chocolate bar away from the label. So if the bar is about 2” wide, i would go about 1.75” up and down from the graphic. You are creating the flaps that will close the wrapper.
Cut out the cardstock along these horizontal lines.

STEP 5: Now it is time to assemble your chocolate wrapper! Add two pieces of double sided tape to the front of your chocolate bar and lay the new Father’s Day label centered over the top.
Fold one side over and use double sided tape to attach to the back of the chocolate. Then do the same with the other side, overlapping the first.

And you’re all set! You can add a cute ribbon to give it a little something extra if you would like :)


So to all the dads out there, thanks a choco-lot for all that you do!! I mean, what dad doesn’t love a cheesy chocolate pun on Father’s Day!?
Hope you enjoyed this simple and inexpensive gift idea! Happy Father’s Day!
Xo Rachael

