
How to Upcycle a Shadow Box into Jewelry Storage
I’m back with another upcycle idea today! This one is a bit more labor intensive than some from the past, but I promise the end result will be worth all the blood, sweat, and tears — I may or may not have burned myself on a hot glue gun a few times for this project… oops! :)
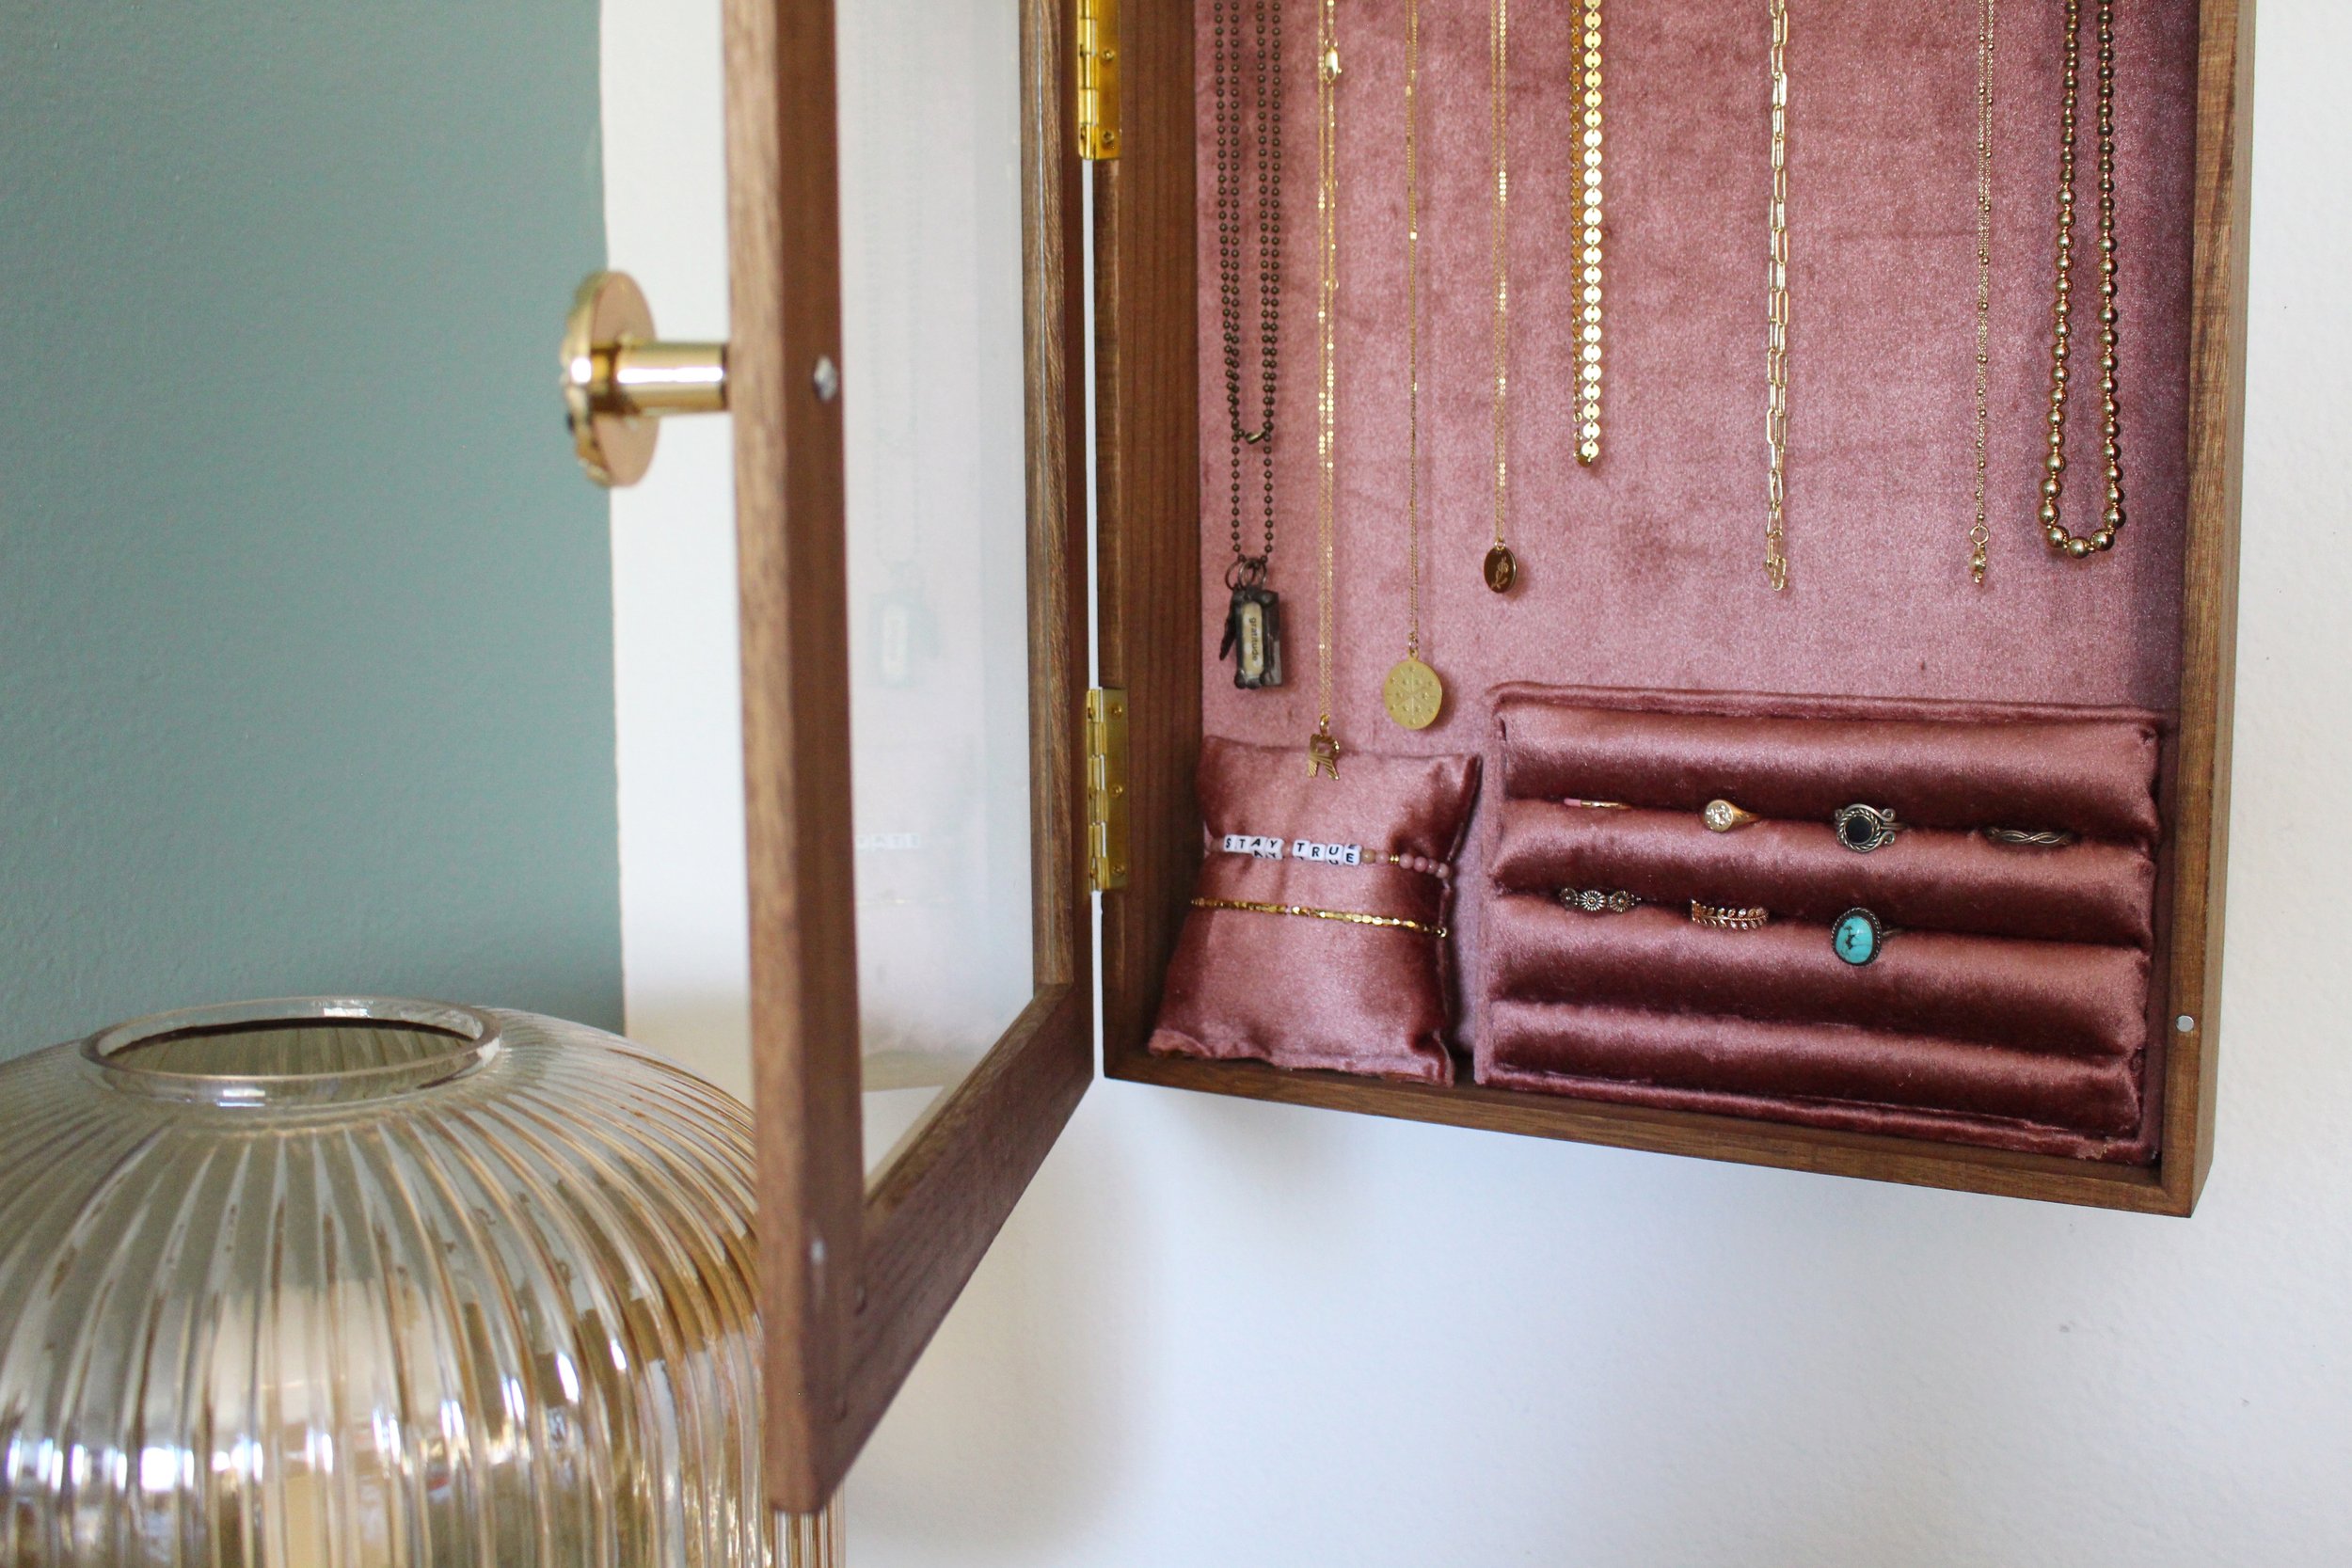
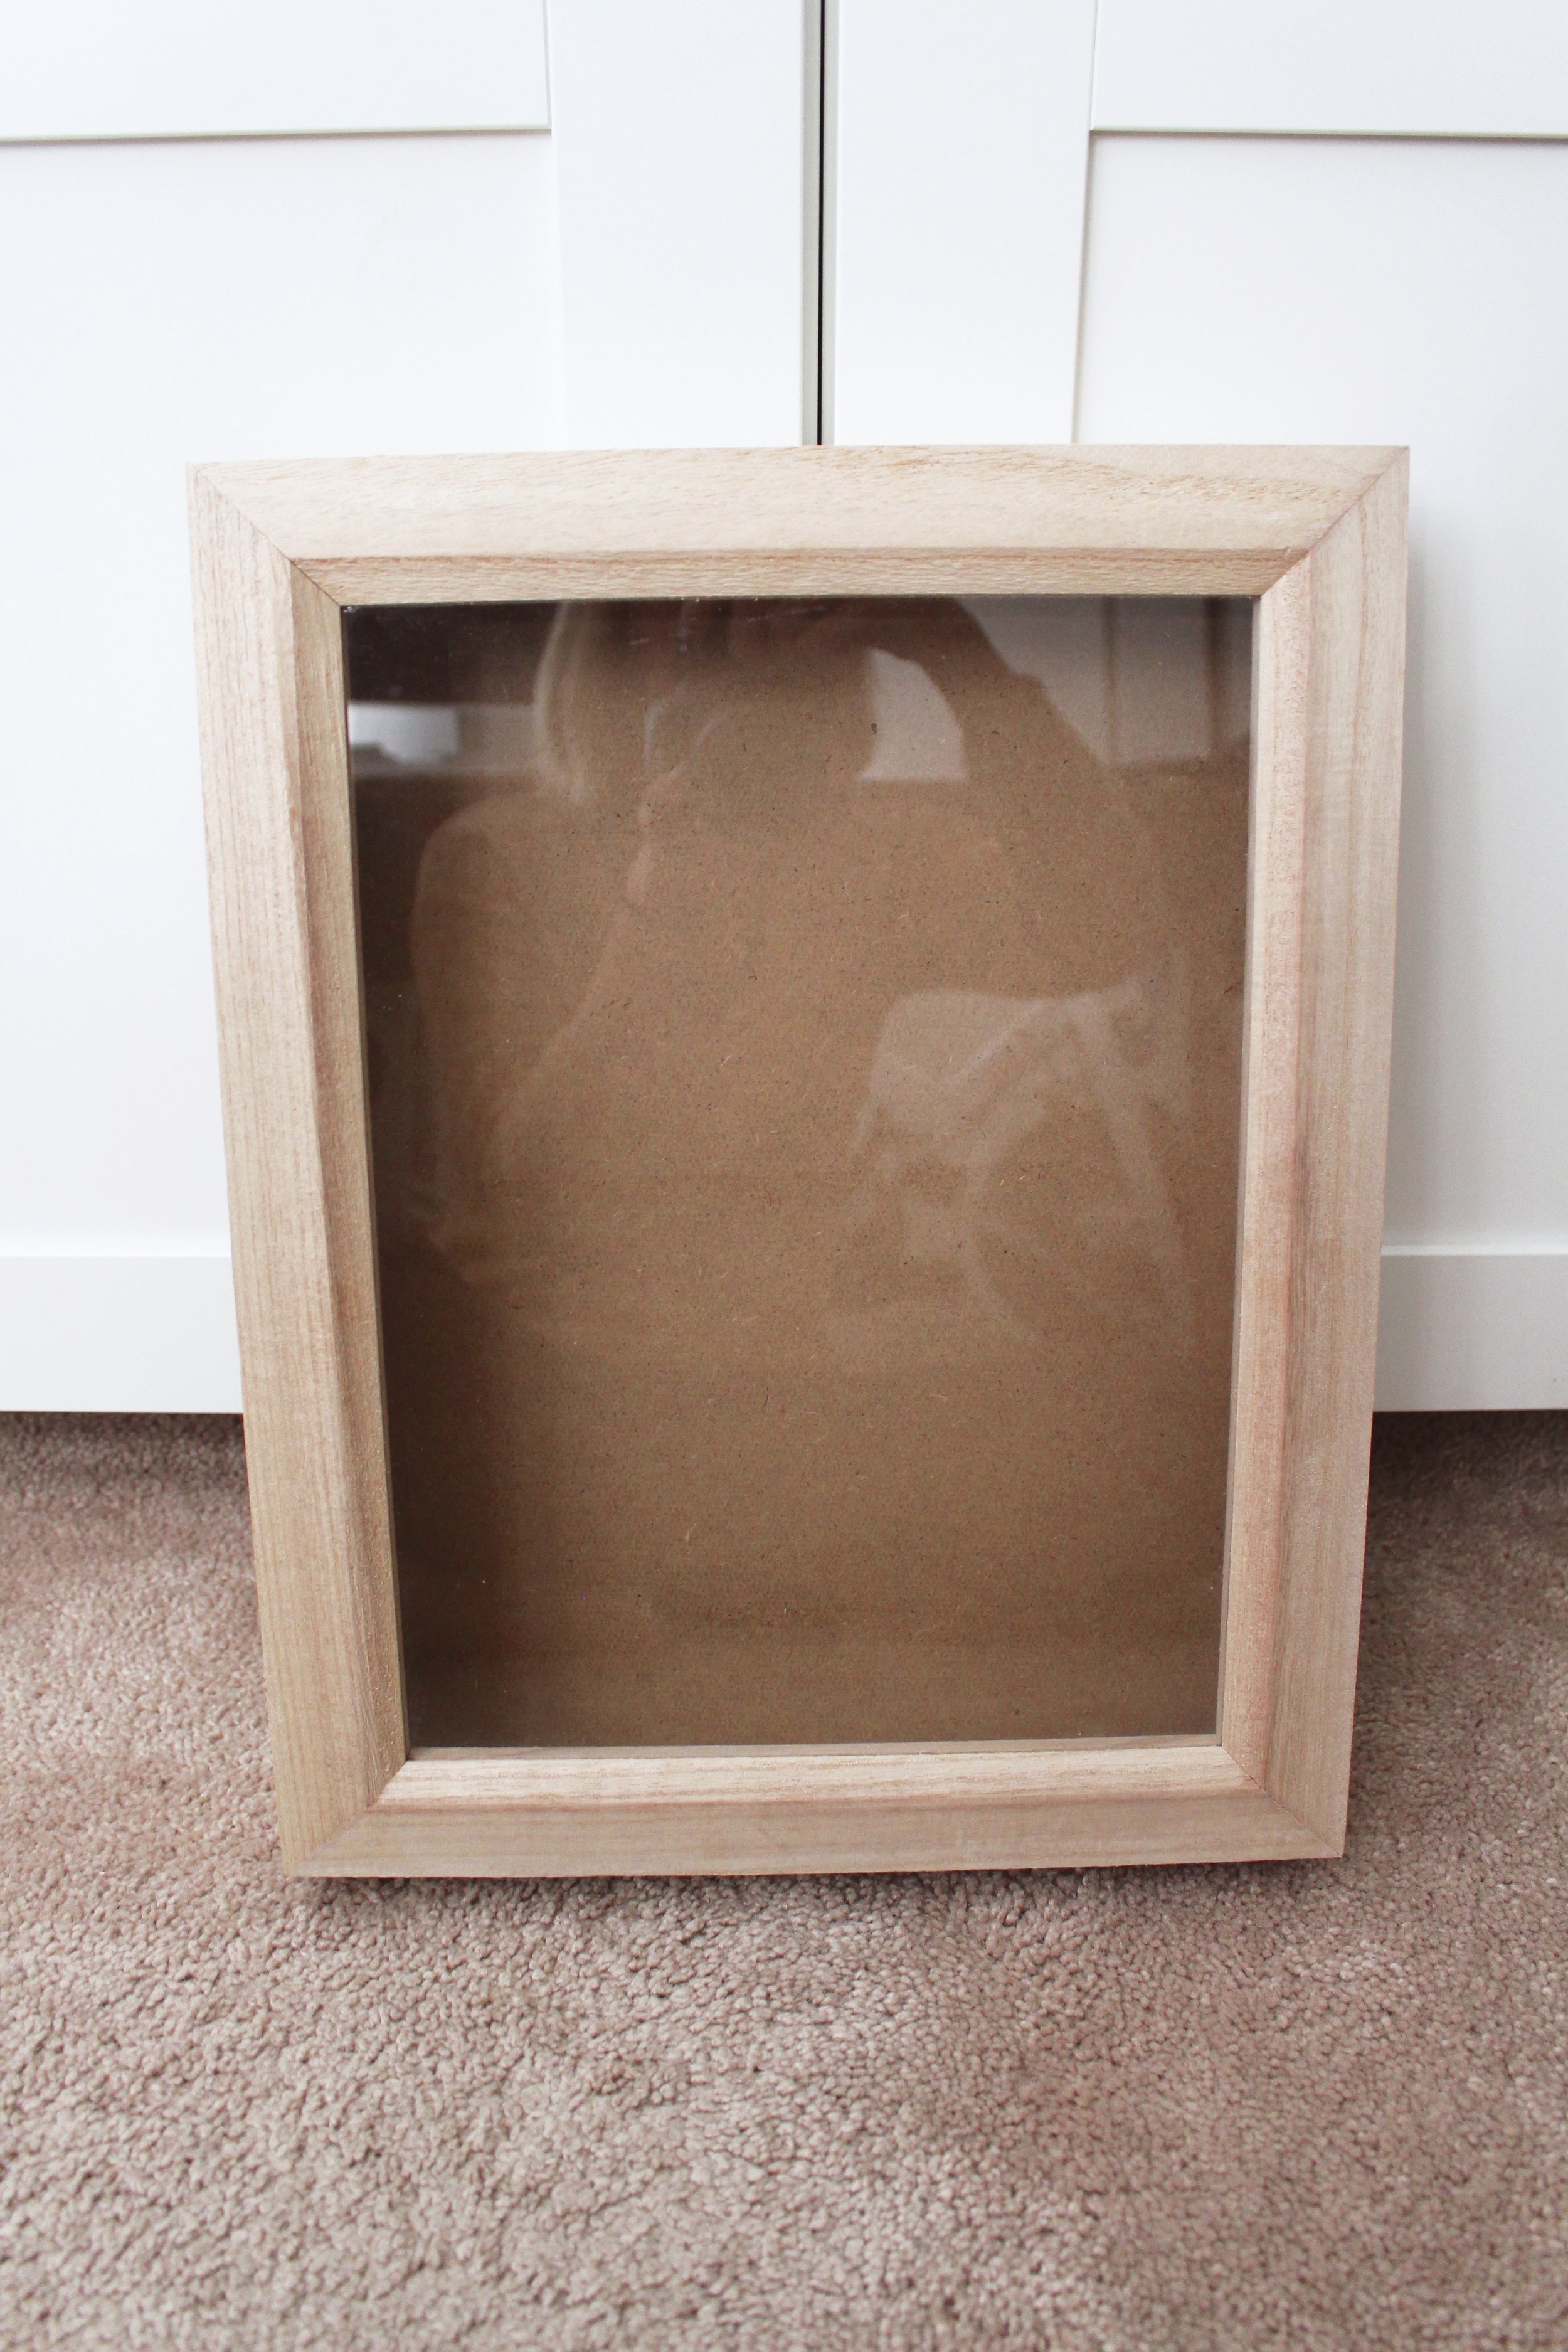
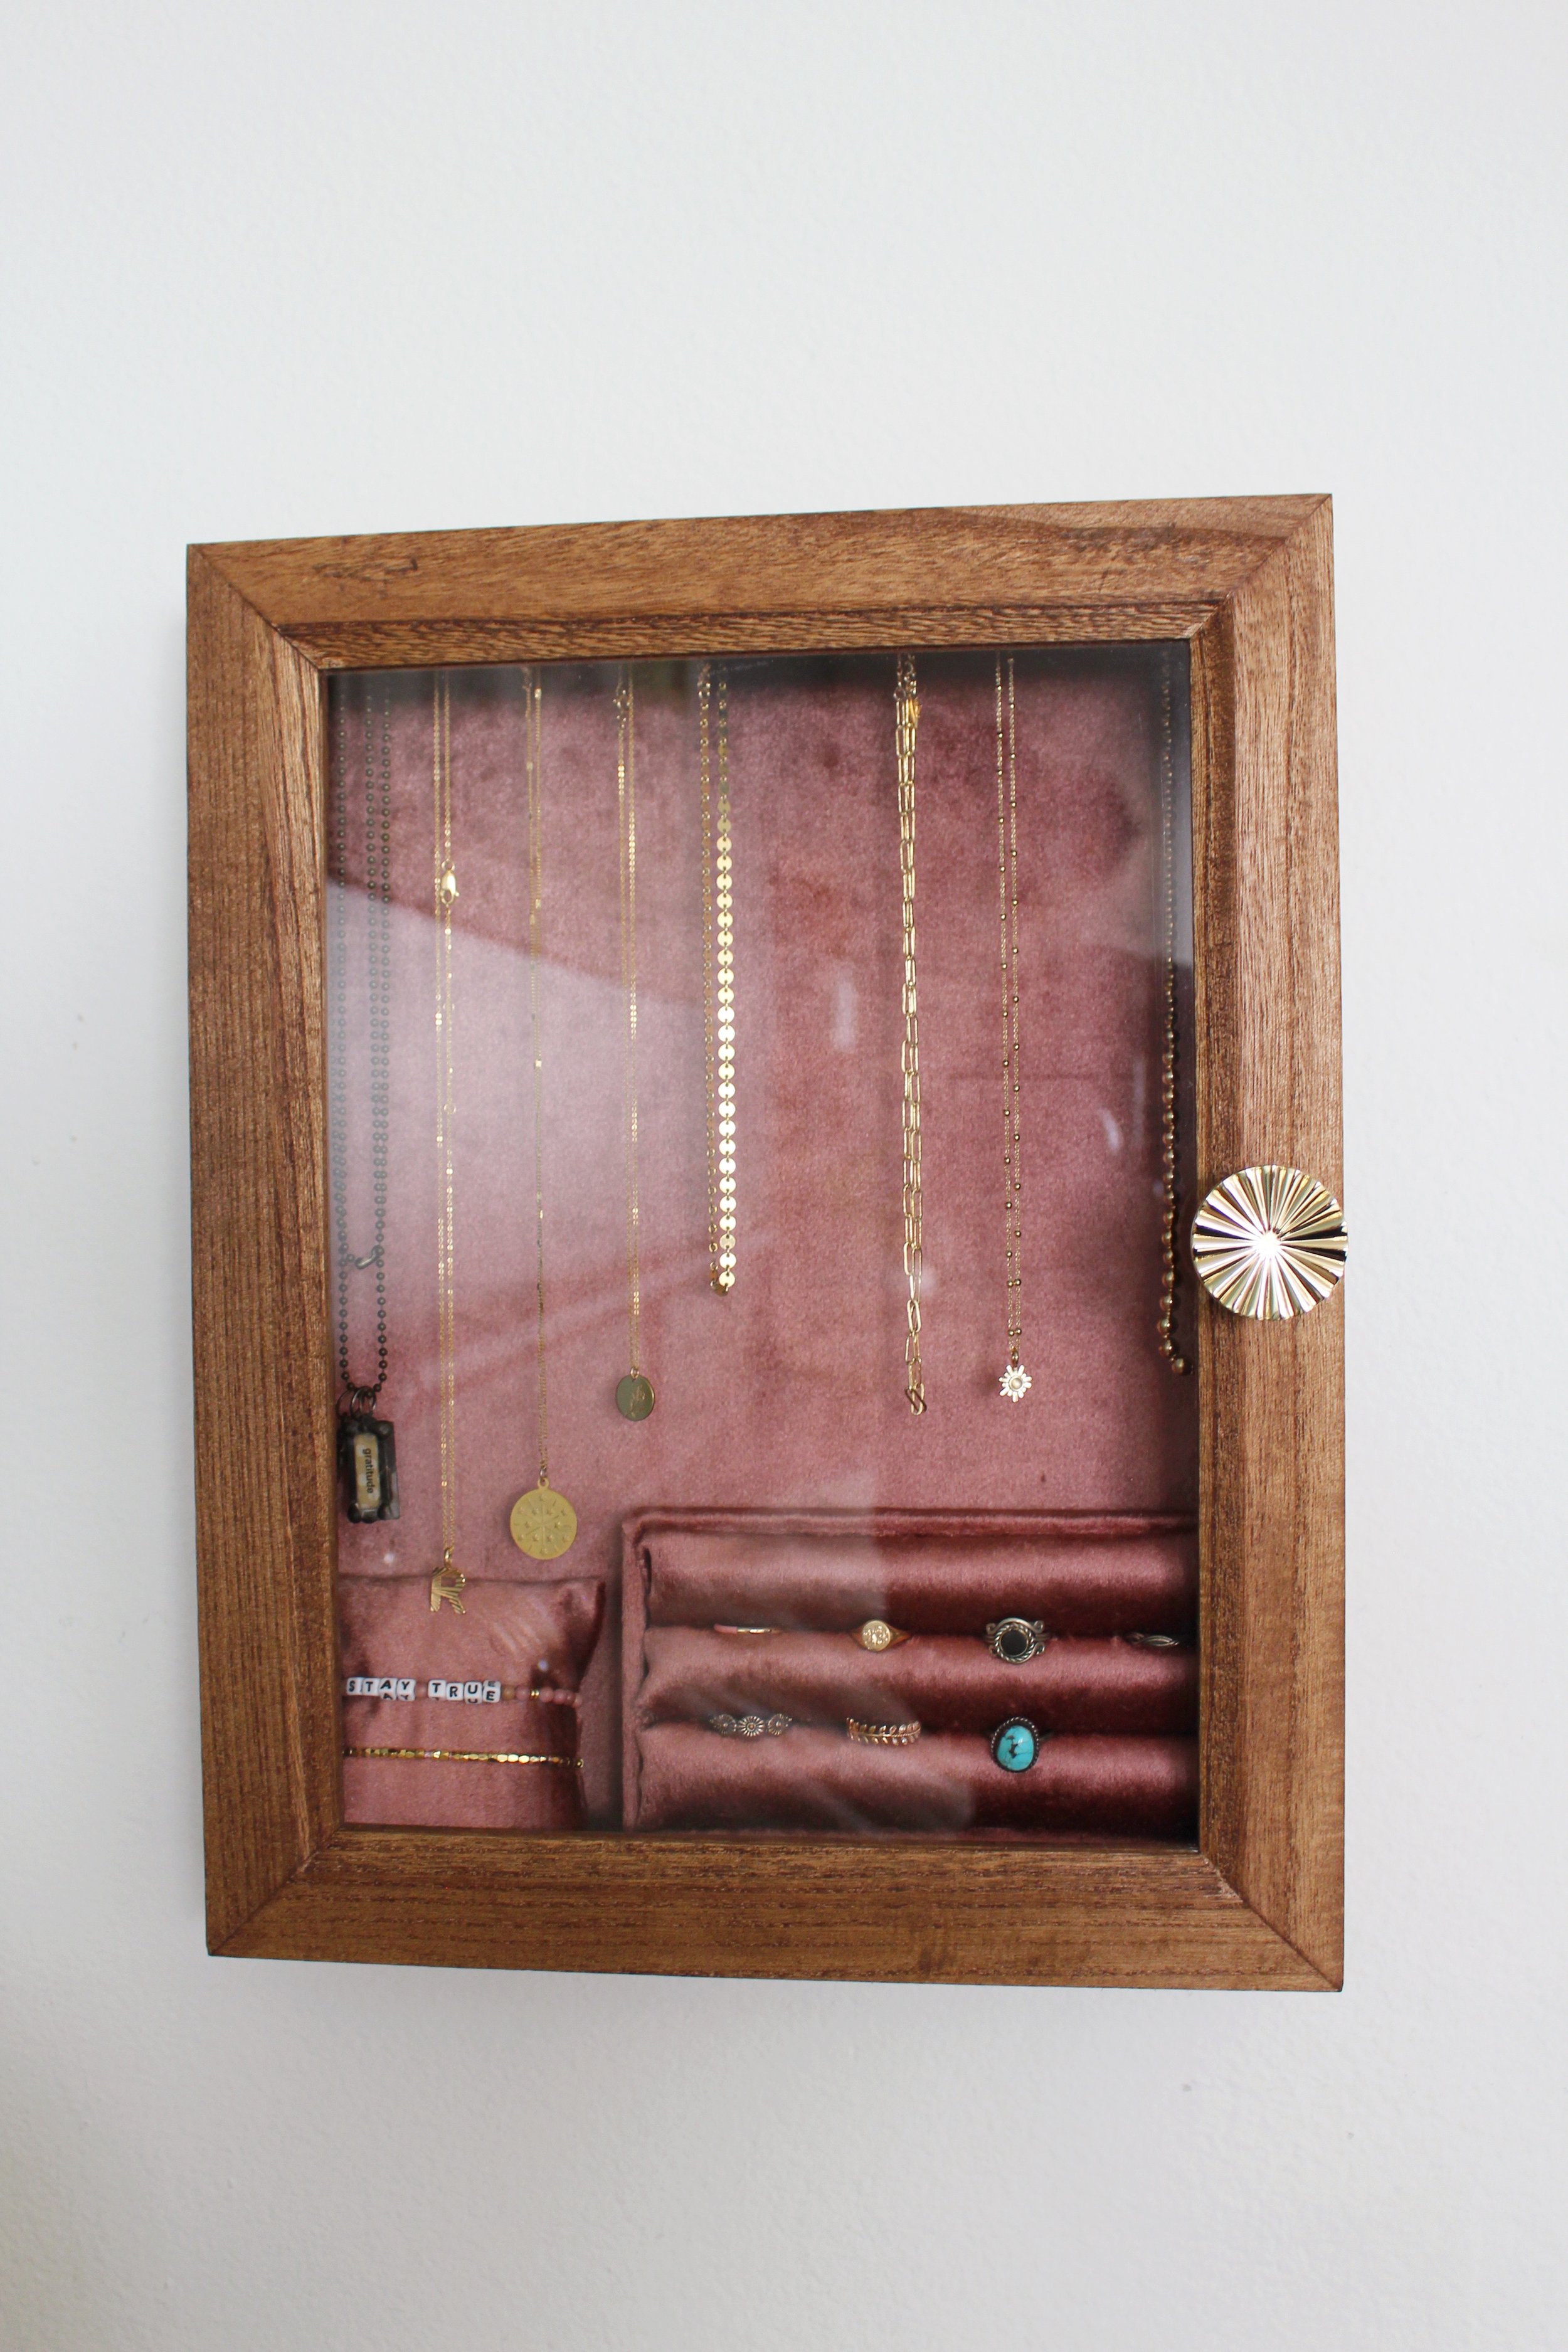
Today I’m showing you how you can take this basic unfinished wood shadow box from the craft store and turn it into this chic anthropologie-esque wall mounted jewelry box. Follow along below for the full tutorial!

You will need:
11”x14” Unfinished wood shadow box
Velvet fabric (I used this rose gold velvet fabric - you will need less than 1 yard)
Sand paper
Wood stain
Brass knob (I used this fan shaped pull handle)
Screwdriver
Drill
Cardboard
1/2” Brass cup hooks (I used 10)
Small box (could be a wood box or an old gift box, etc.)
Foam rollers (you can find these at the dollar store!)
Hot glue gun
E600 craft adhesive
Fabric scissors
Ruler
Cotton balls
Preparing the Wood Jewelry Box
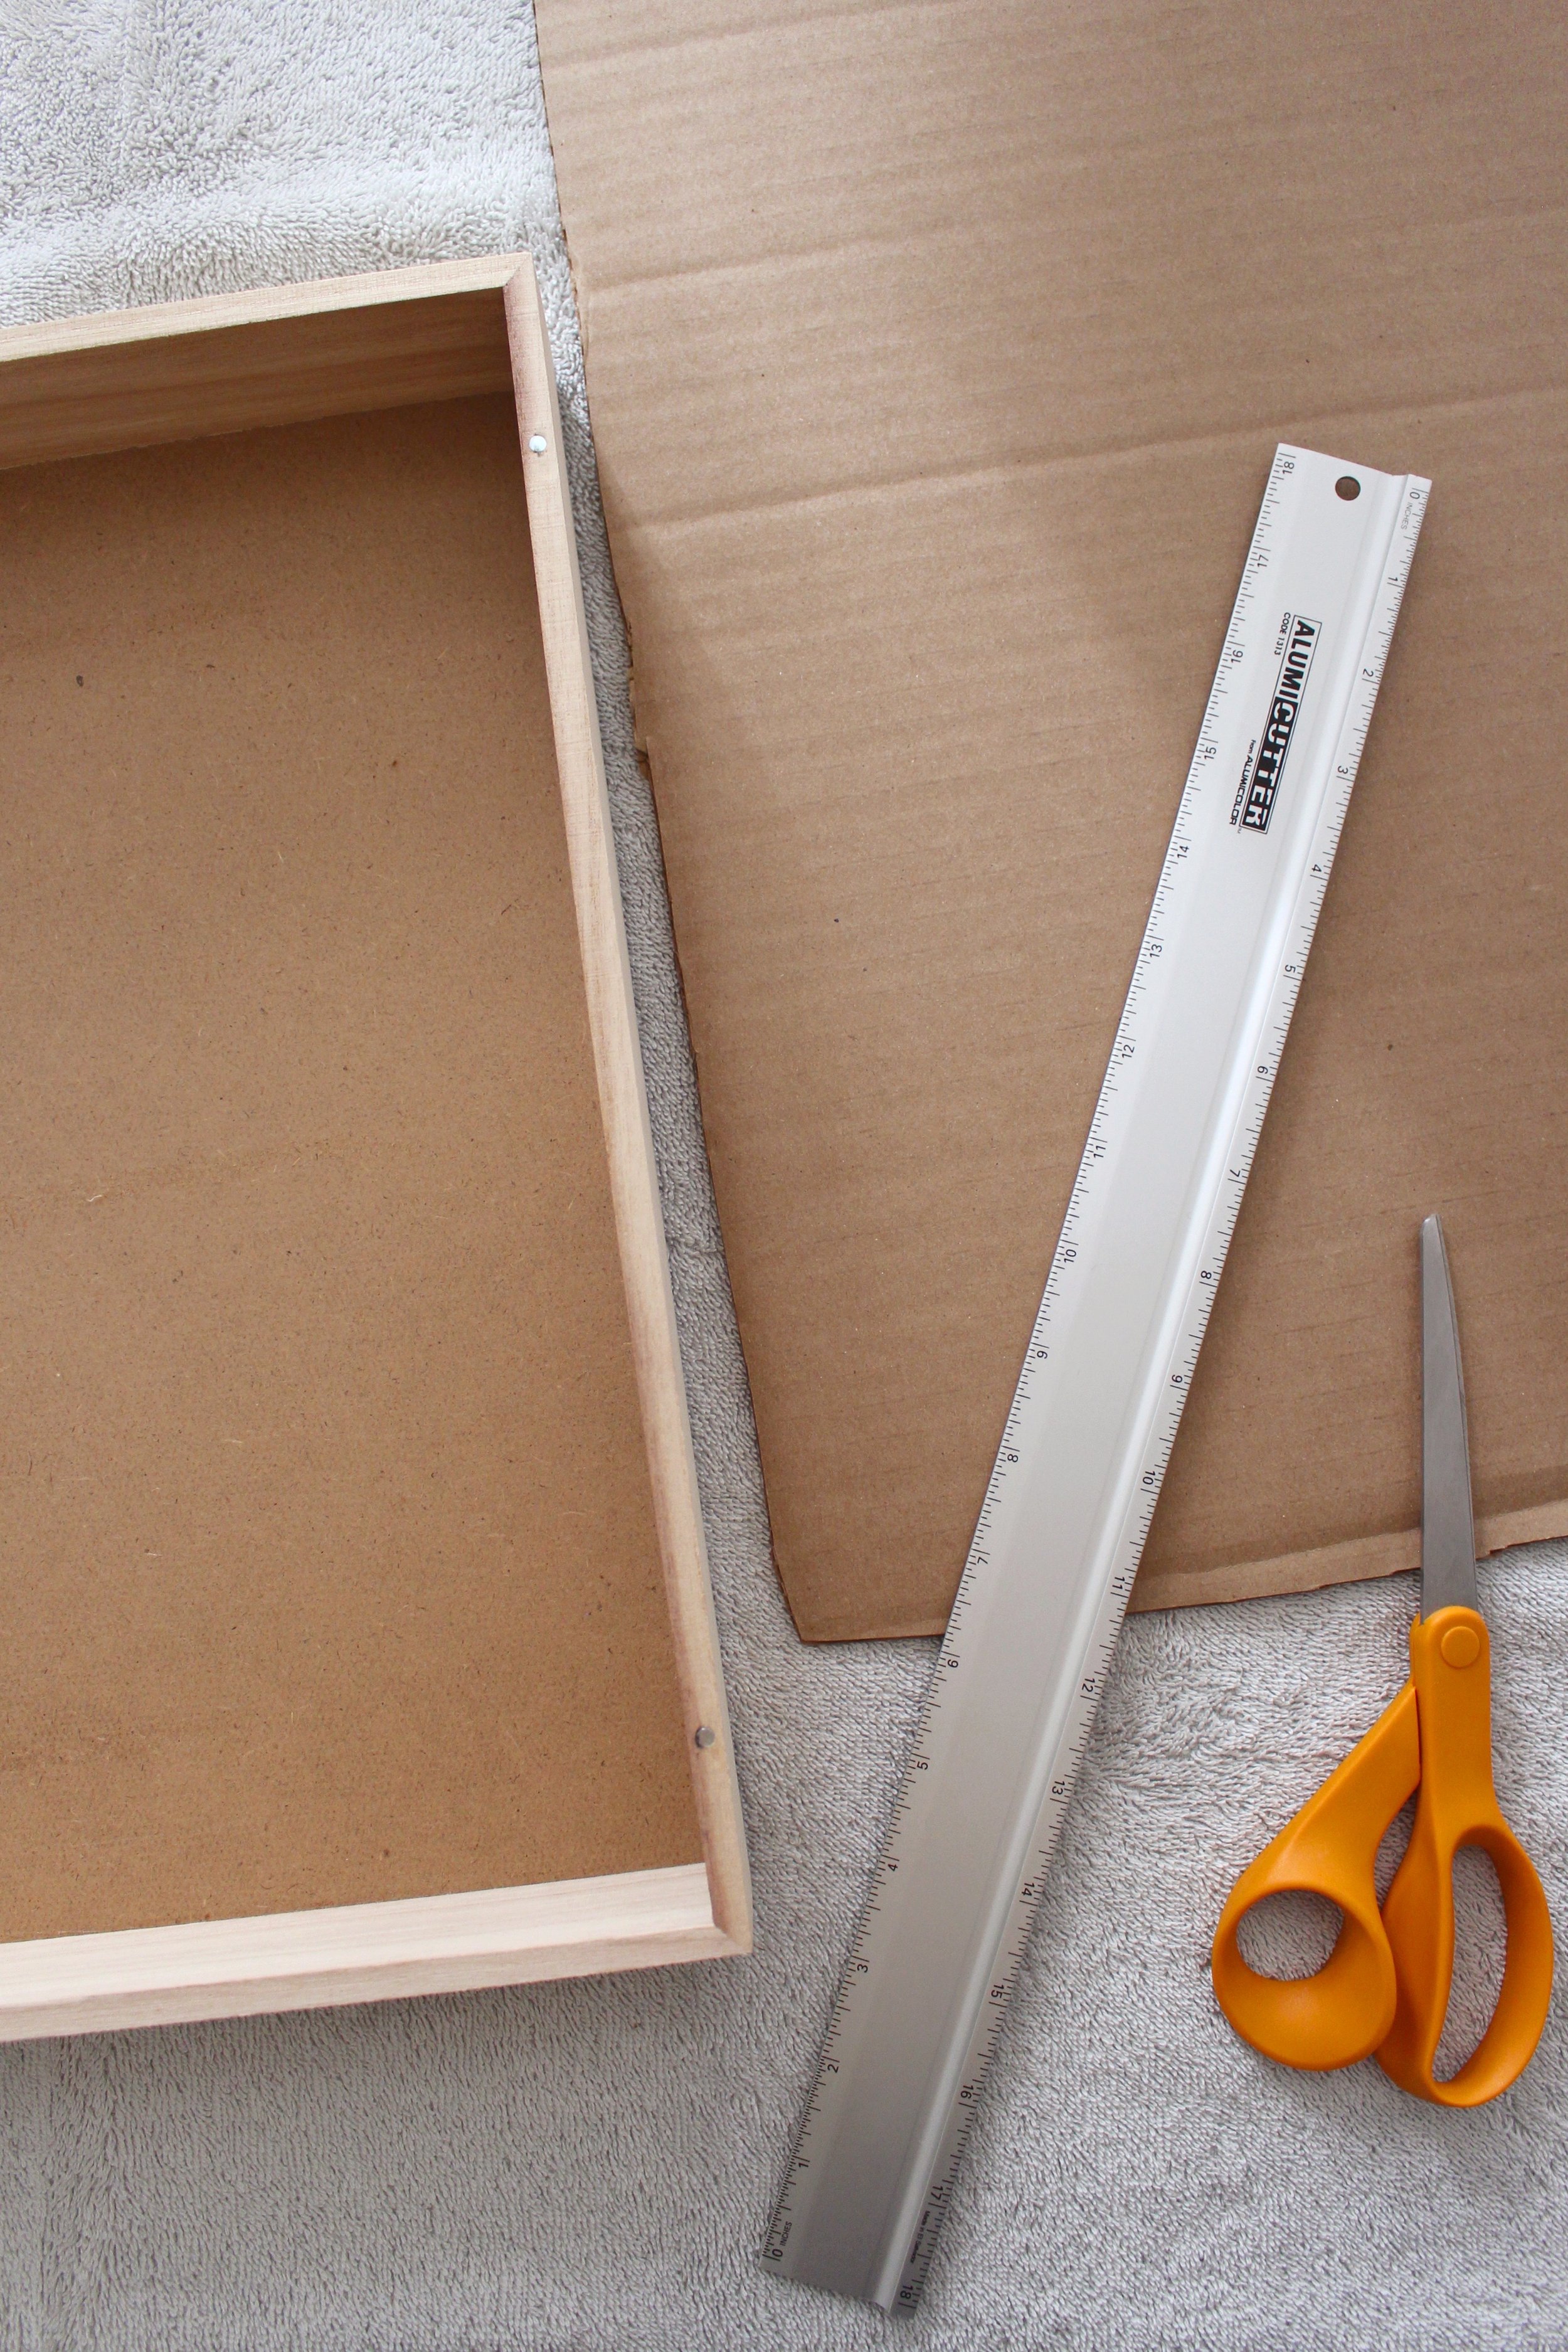
STEP 1: Begin by cutting a piece of cardboard the size of the inside of your shadow box. My shadow box conveniently had a piece of paper on the inside that I just removed and traced for size. Set the cardboard aside to be used later.
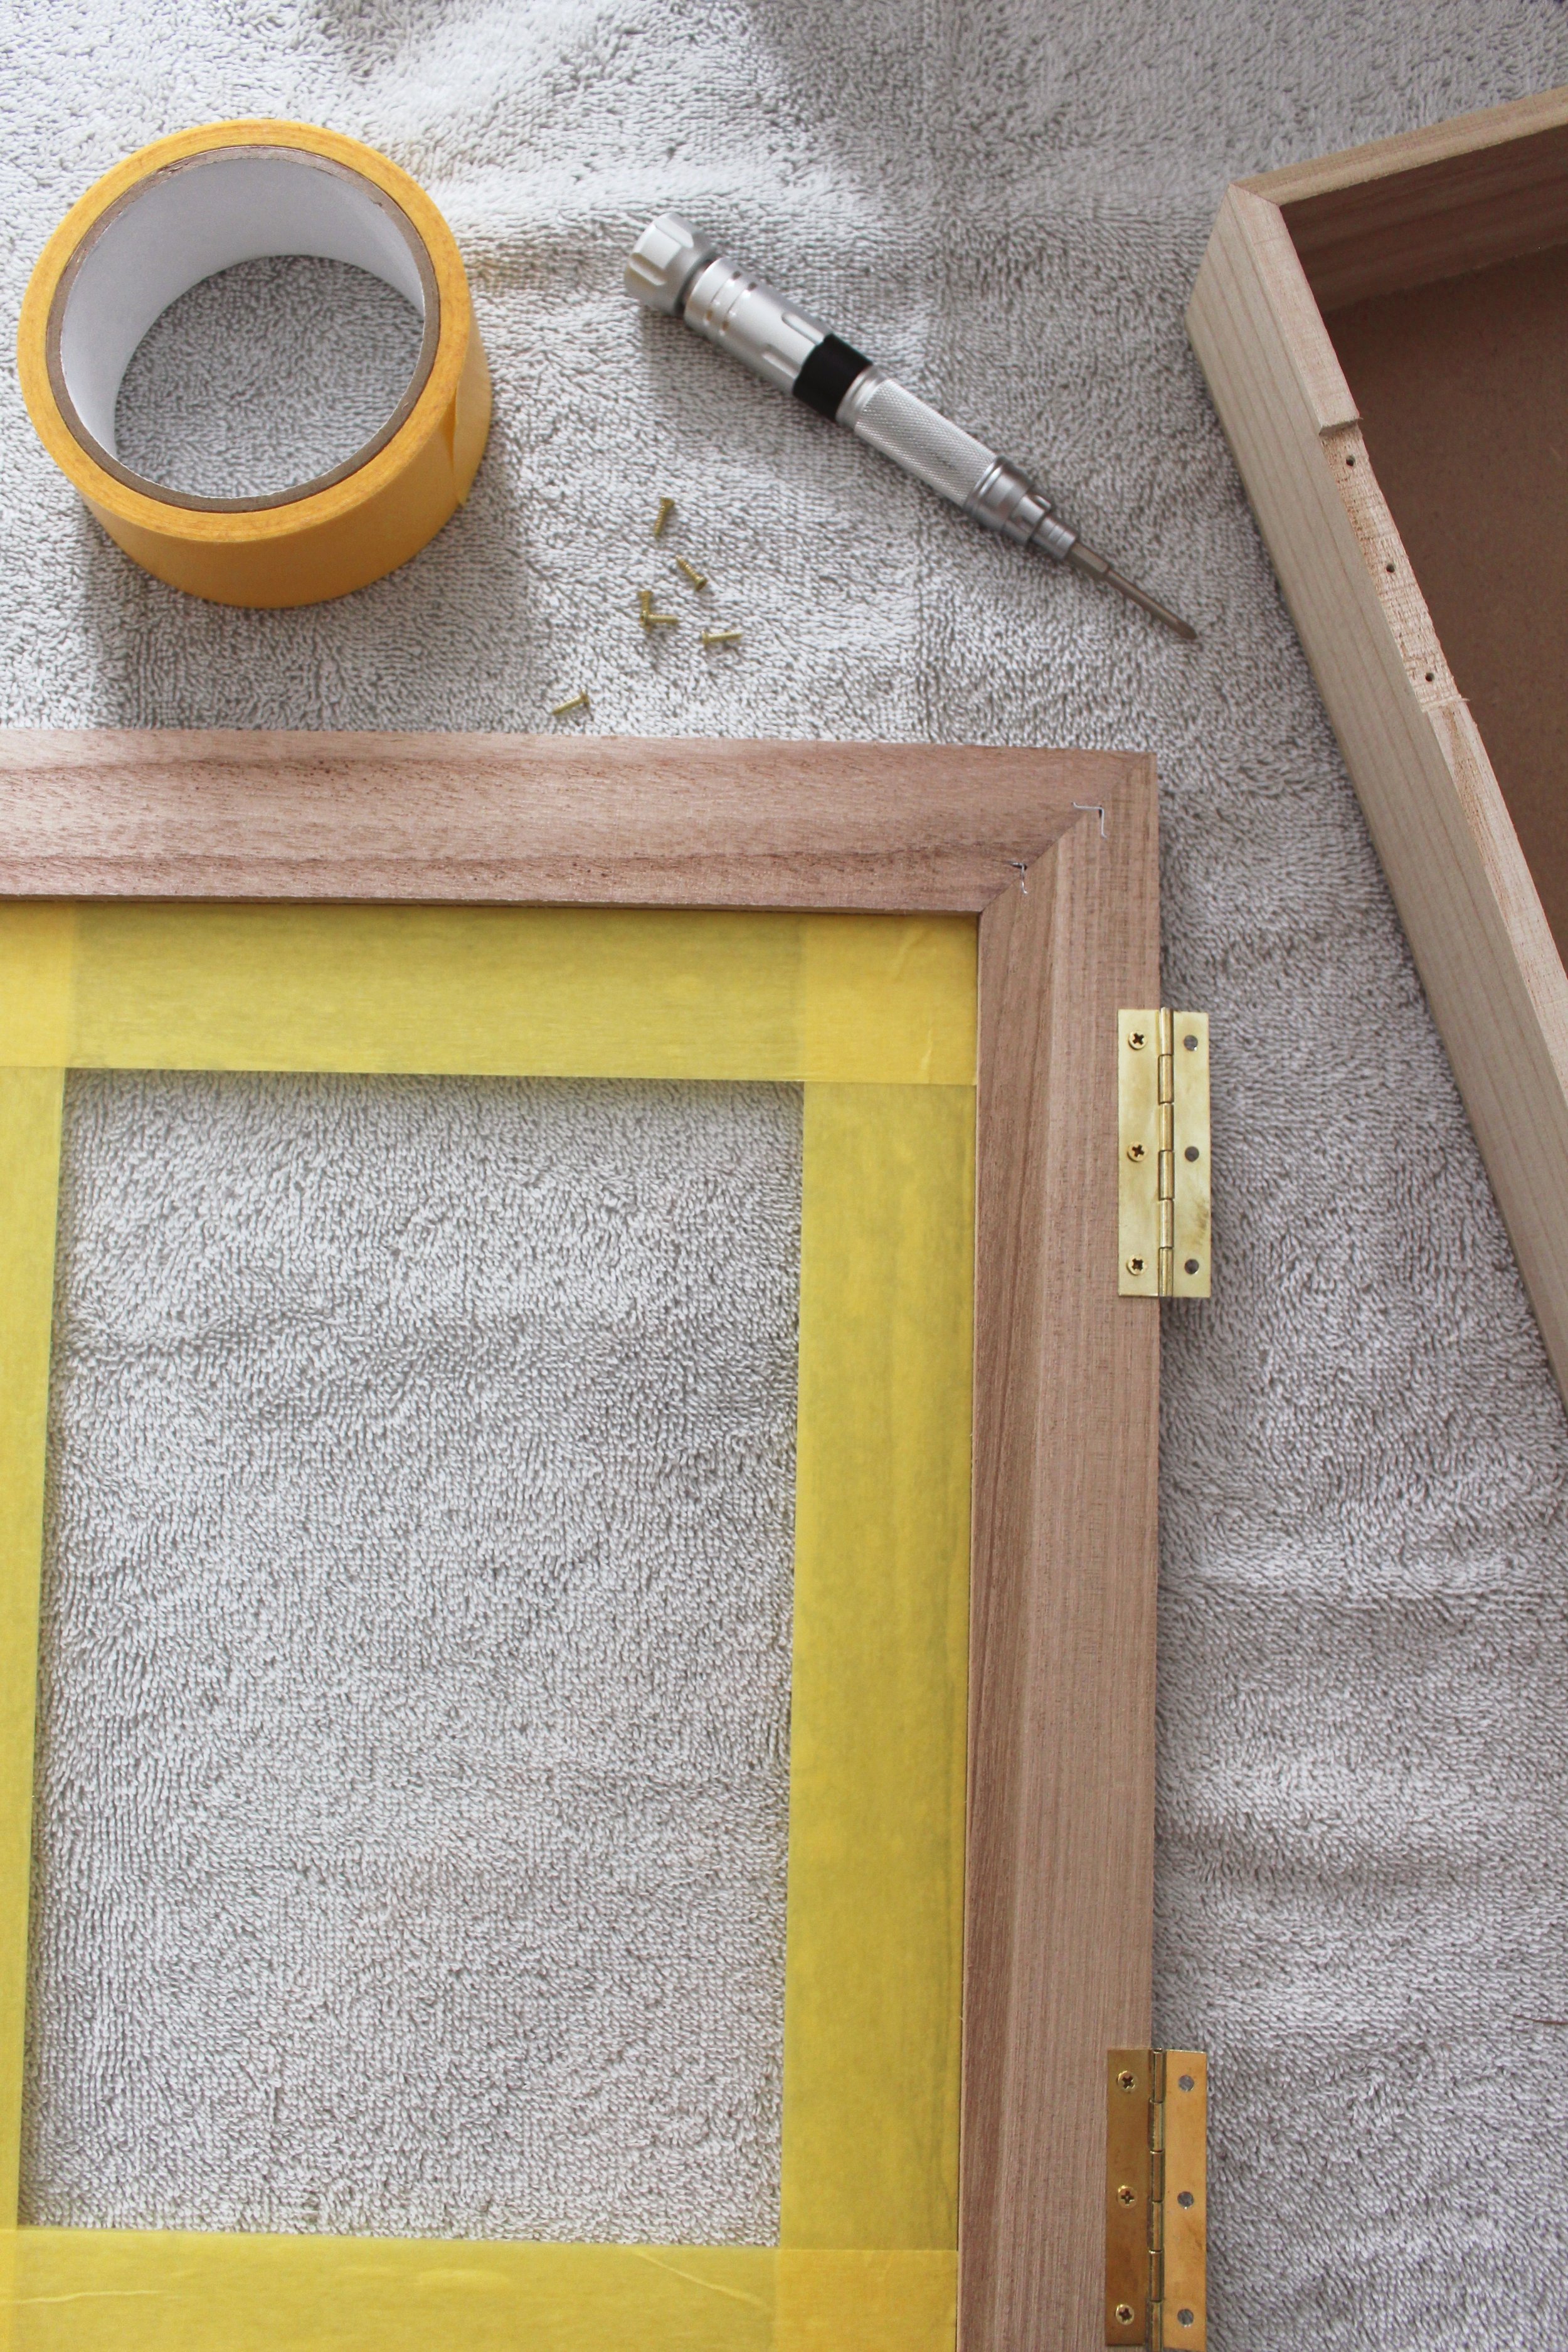
STEP 2: Use a small screwdriver to remove the hinges from the shadow box to make staining easier.
STEP 3: Give all wood surfaces of the shadow box a good sanding with sand paper. I just used what I had on hand which was a 150 grit sandpaper, but since this shadow box was from the craft store, the unfinished wood was already pretty smooth. Wipe away any sawdust with a clean towel.
STEP 4: Place painter’s tape around the edge of the glass (on both sides) to protect from the stain.
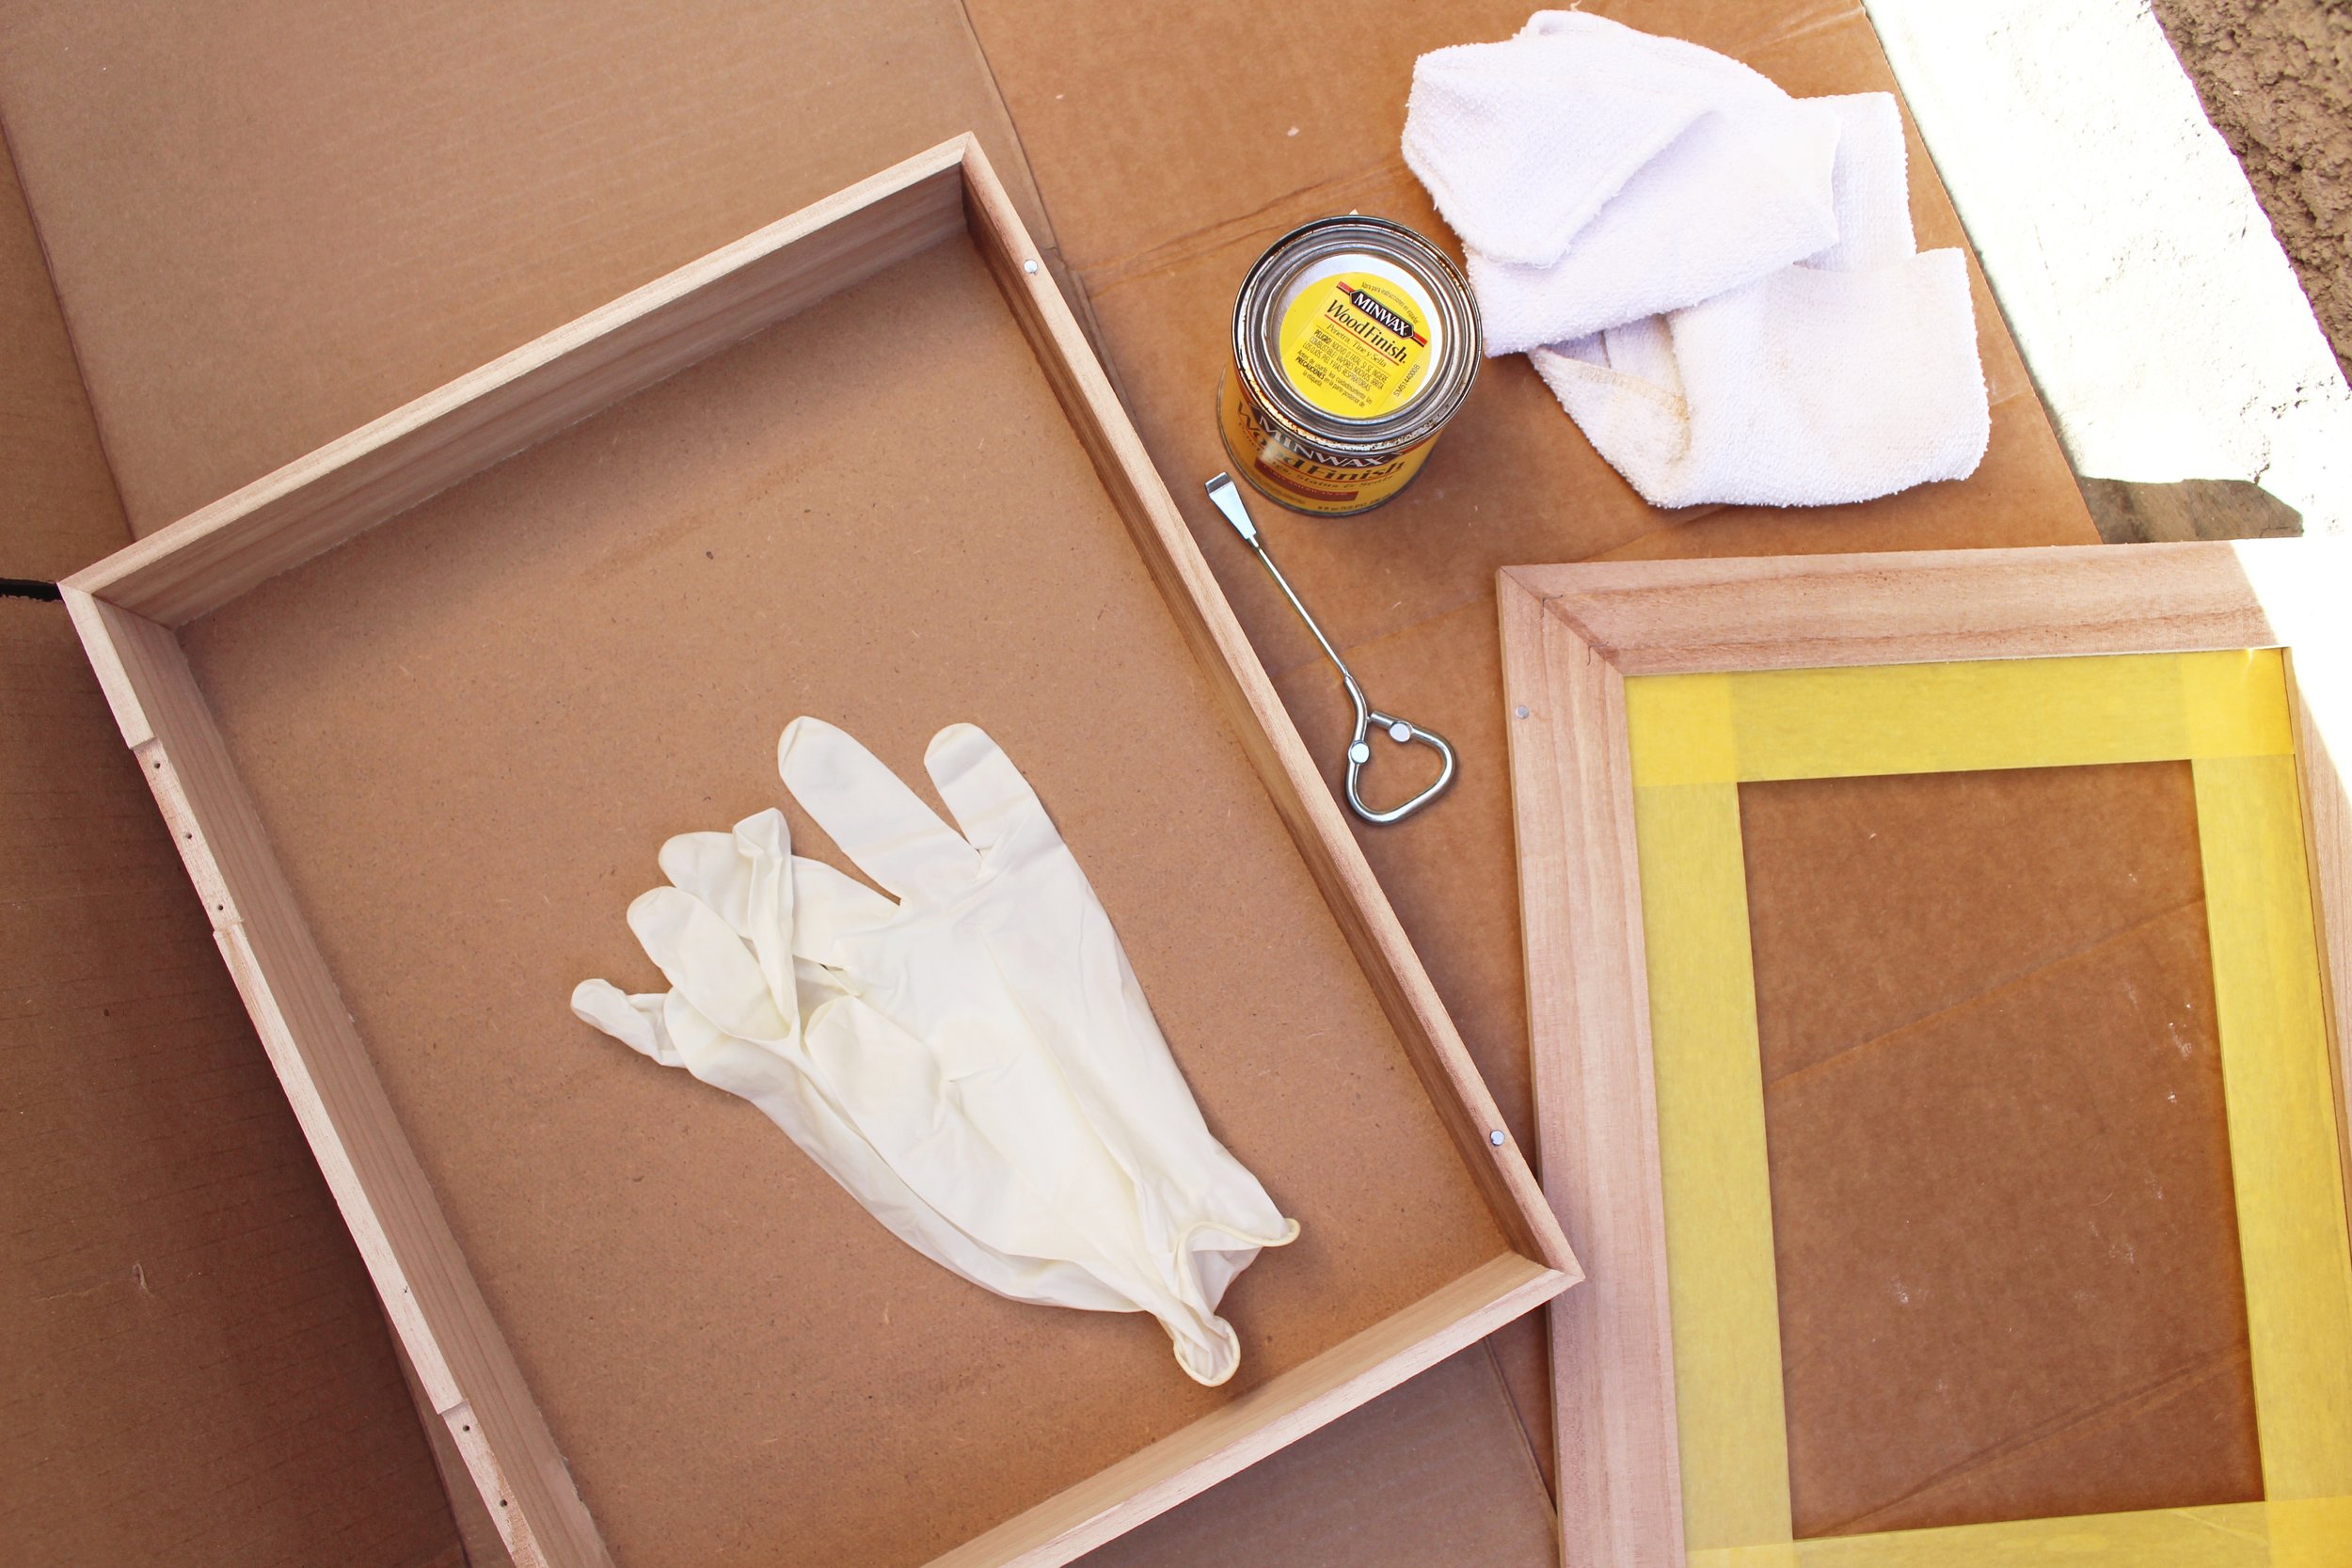
STEP 5: Move to a well ventilated area and follow the directions of your specific wood stain. I used Minwax Early American 230. I would also recommend wearing a pair of disposable gloves for easy cleanup! You will want to make sure to stir your stain before applying (you can use a wood stir stick or popsicle stick). Then using a clean rag, dip the rag into the stain can and apply to the wood surface in the direction of the wood grain. Once you have covered all sides with the wood stain, wait about 15 minutes and then come back with a new towel and wipe off any extra stain that has not soaked into the wood. Then let the stain dry for about 4 hours. After 4 hours you can repeat this step if you’re looking for a darker/richer color. I liked the color I got from only one coat so I did not repeat.


STEP 6: Once your stain has completely dried (overnight), measure out where you want to place your necklace hooks. Measure where the halfway point is on the inside of the top of your shadow box. Mark this space with the edge of a piece of painters tape (like the image above), then use a pen to mark where each hook should be placed. I did one hook every inch so I ended up with 10 hooks total. Then go in with a drill bit the same size (or a bit smaller) than your brass cup hooks. Drill a small hole at each pen mark, careful not to drill all the way through to the outside of your box. Pull off the tape and then carefully hand screw your brass cup hooks into each hole. Make sure you screw them in so the hook openings are all facing out (to hang your necklaces easier).
STEP 7: Use your screwdriver to reattach your hinges so the glass front is reattached to the shadow box.
STEP 8: Now it is time to add your knob. Drill a hole down straight into the middle of the wood on the right side of your shadow box front. Make sure your hole is past the inside thickness of the box so that the built-in magnets of the shadow box can still touch (without the knob hardware getting in the way). Screw on your knob backing from the inside of the box up then screw on the face of the knob.

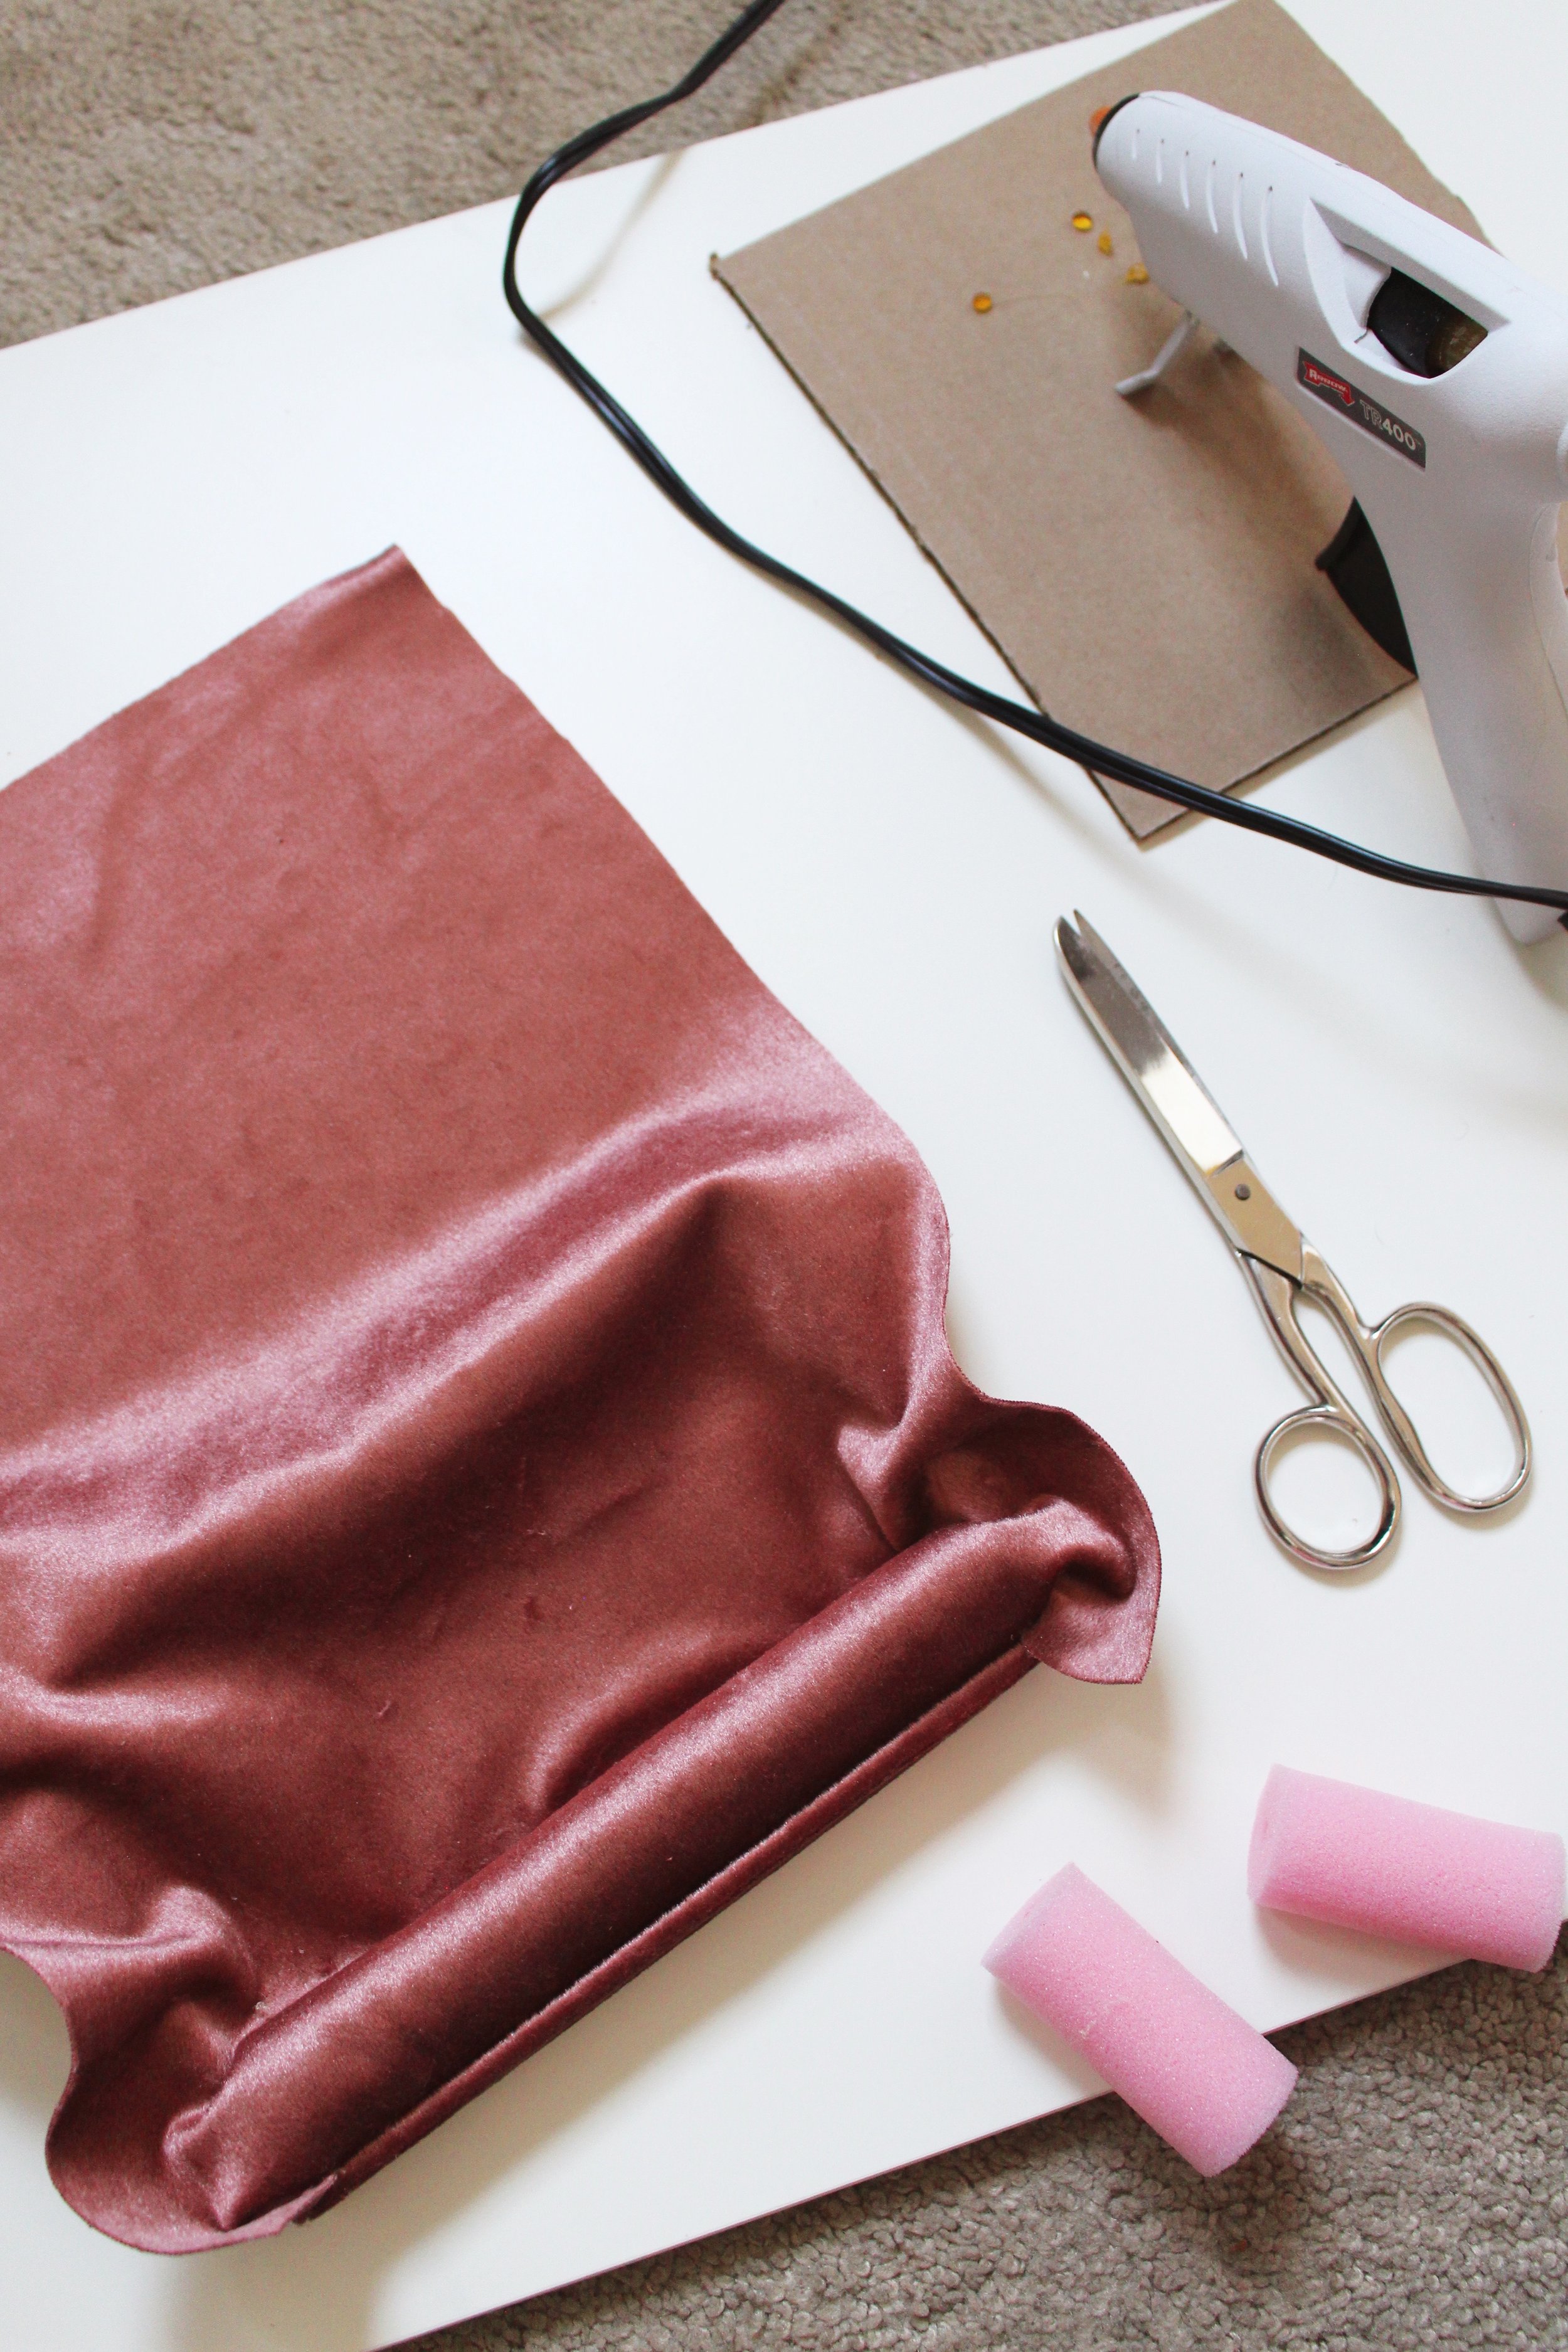
STEP 9: Now you will need that piece of rectangular cardboard that you cut out in the beginning. Place your velvet fabric onto a flat surface, velvet side facing down. Place your piece of cardboard on top. Cut out the fabric just slightly larger than your cardboard on all four sides. Using E600 adhesive or hot glue, glue the outer edges of the fabric to the back of the cardboard. As you complete each side one at a time, pull the fabric taut as if you are upholstering the cardboard to try to eliminate any wrinkles or loose fabric on the front.
STEP 10: Apply a good amount of E600 adhesive to the inside backing of your shadow box and press your fabric covered cardboard piece to the back of the box. Let the glue set overnight.
assembling the Velvet Ring Holder
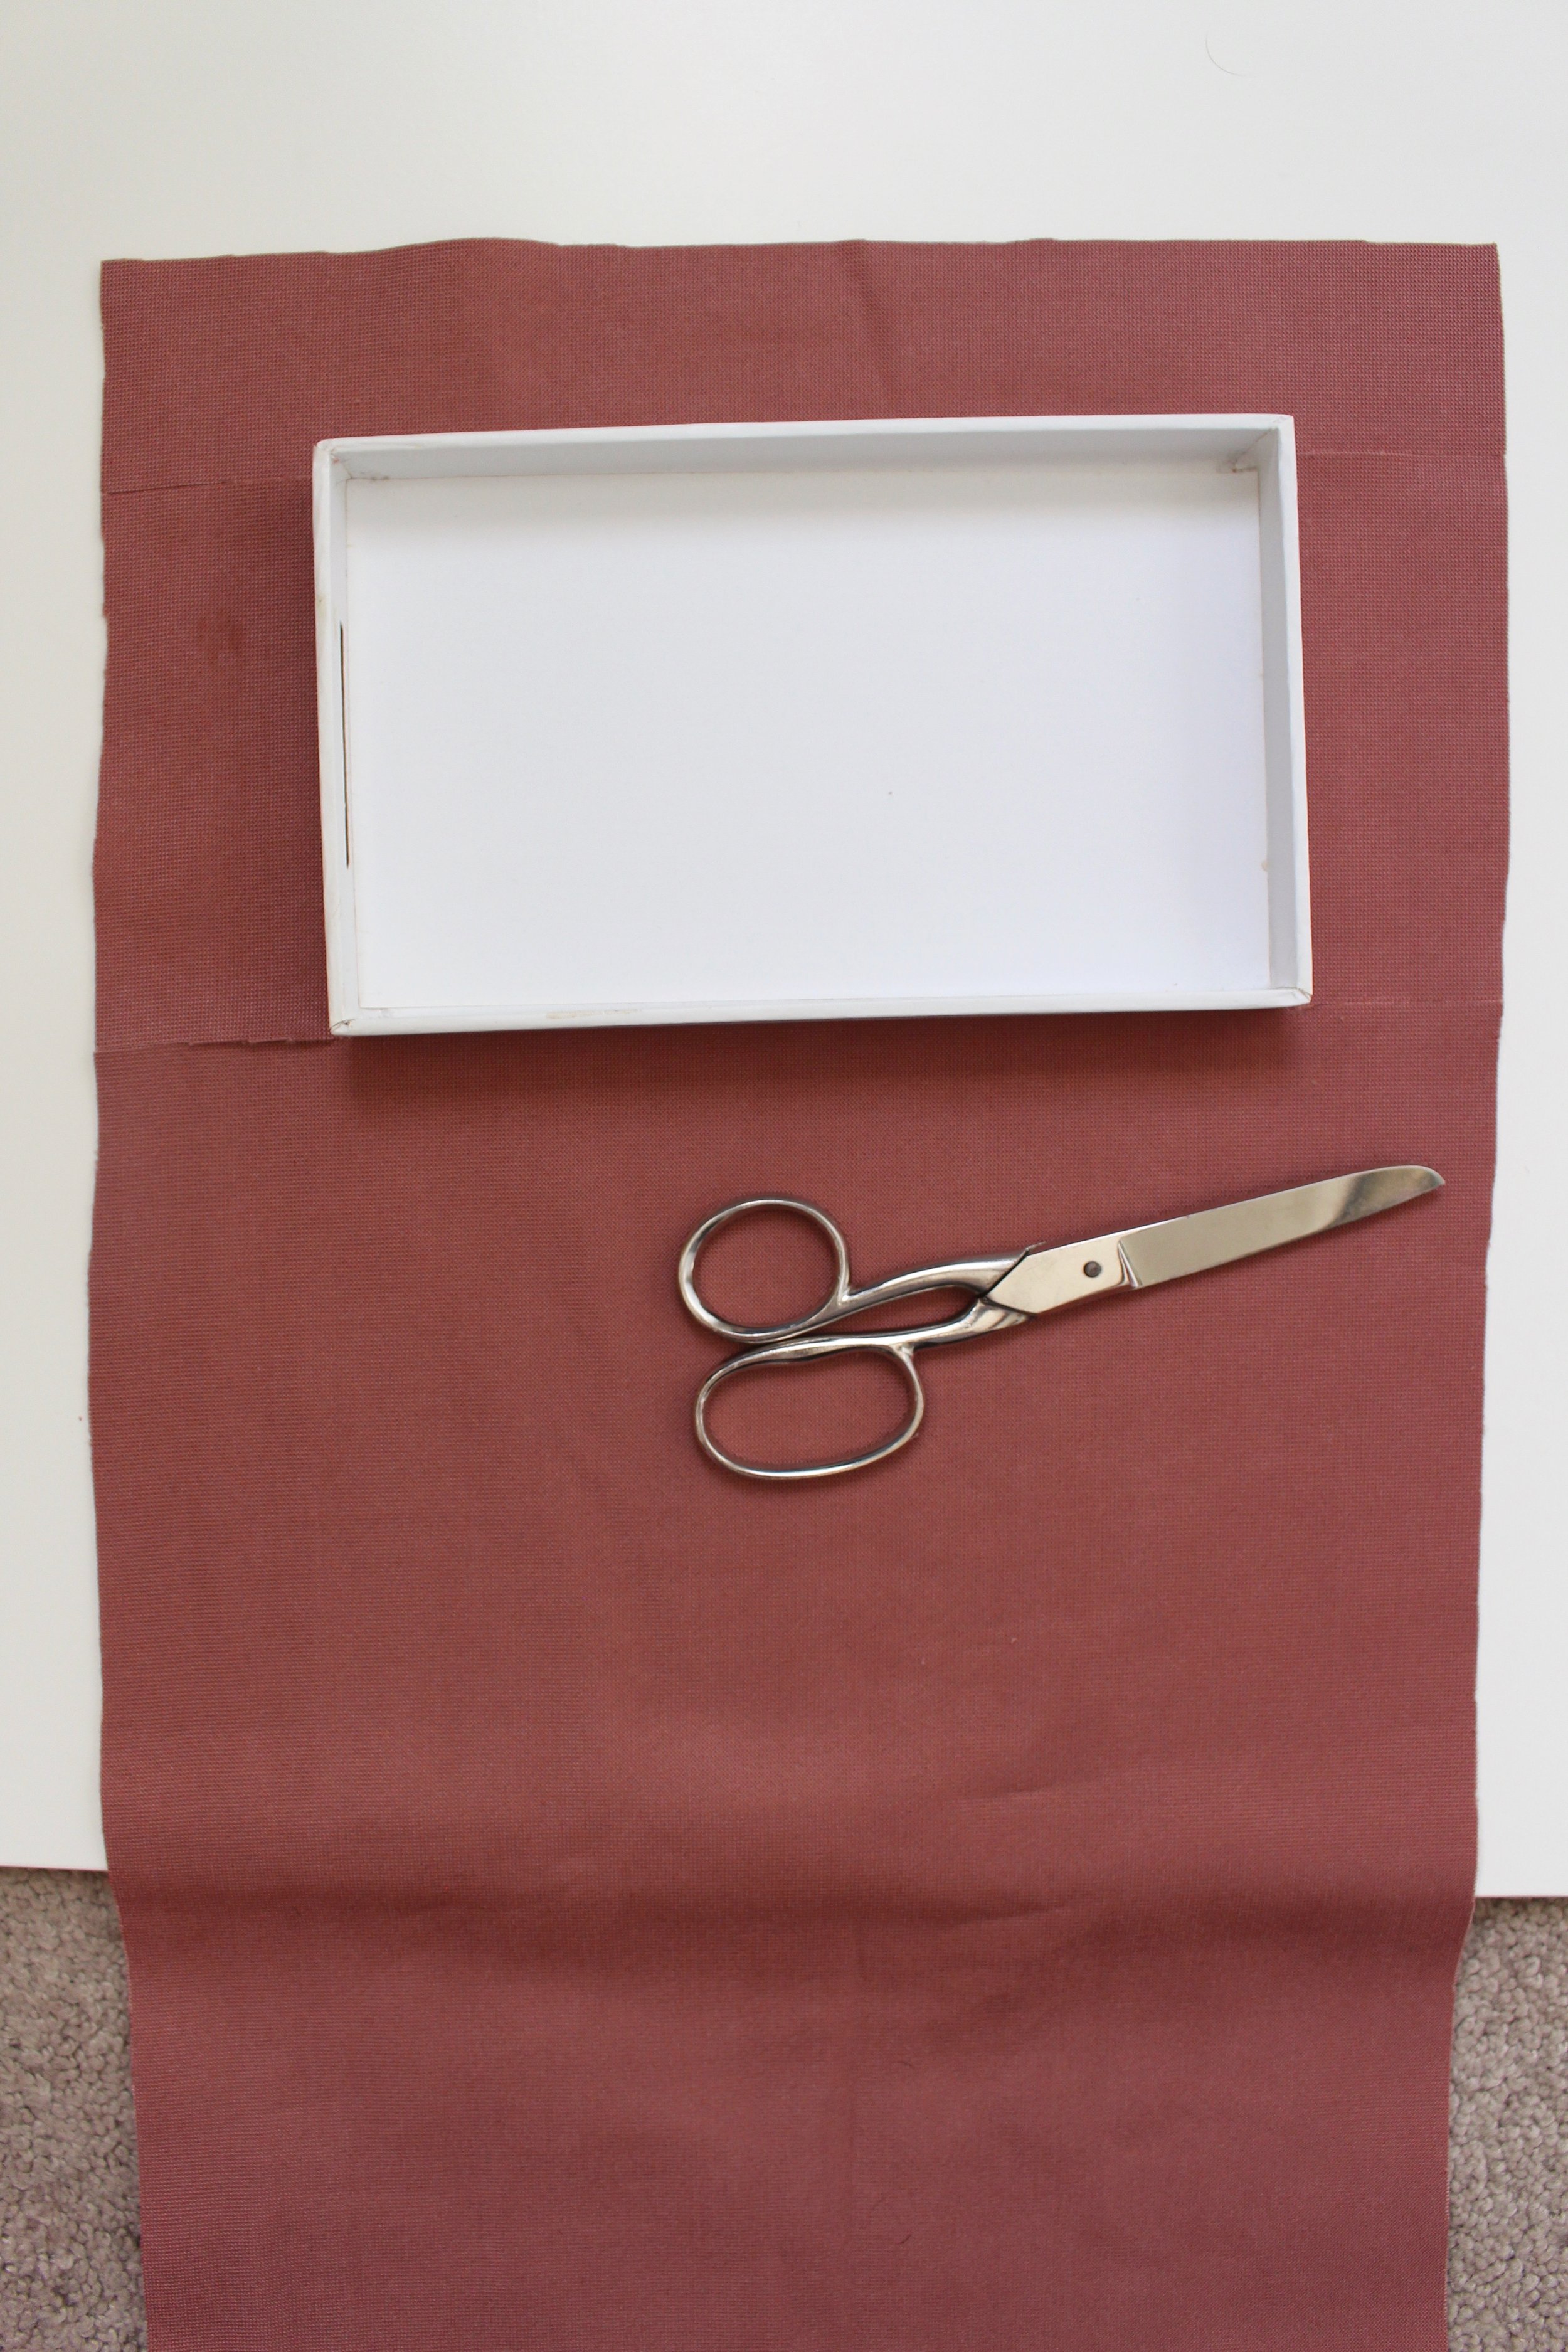
STEP 11: Now we are going to be making the ring holder which you can place inside your jewelry box. Start by placing a piece of velvet fabric on a flat surface, velvet side down. Place your box on top. I used an old phone case box but you can use any kind of sturdy small gift box you might have (or you can possibly buy a small wooden box from a craft store). Cut the fabric so that it is just a bit larger than the box on the sides and top, but make sure you have a good amount of fabric left at the bottom (maybe about two or three times the width of the box). Make a cut at each corner of the box, then wrap the fabric up and over the box edges. Use hot glue to attach the fabric to the inside edges of the box. Repeat for the top and two sides. When you’re doing the top section, you will need to cut off the extra squares of fabric in the corners. Your box should now look like the image below.
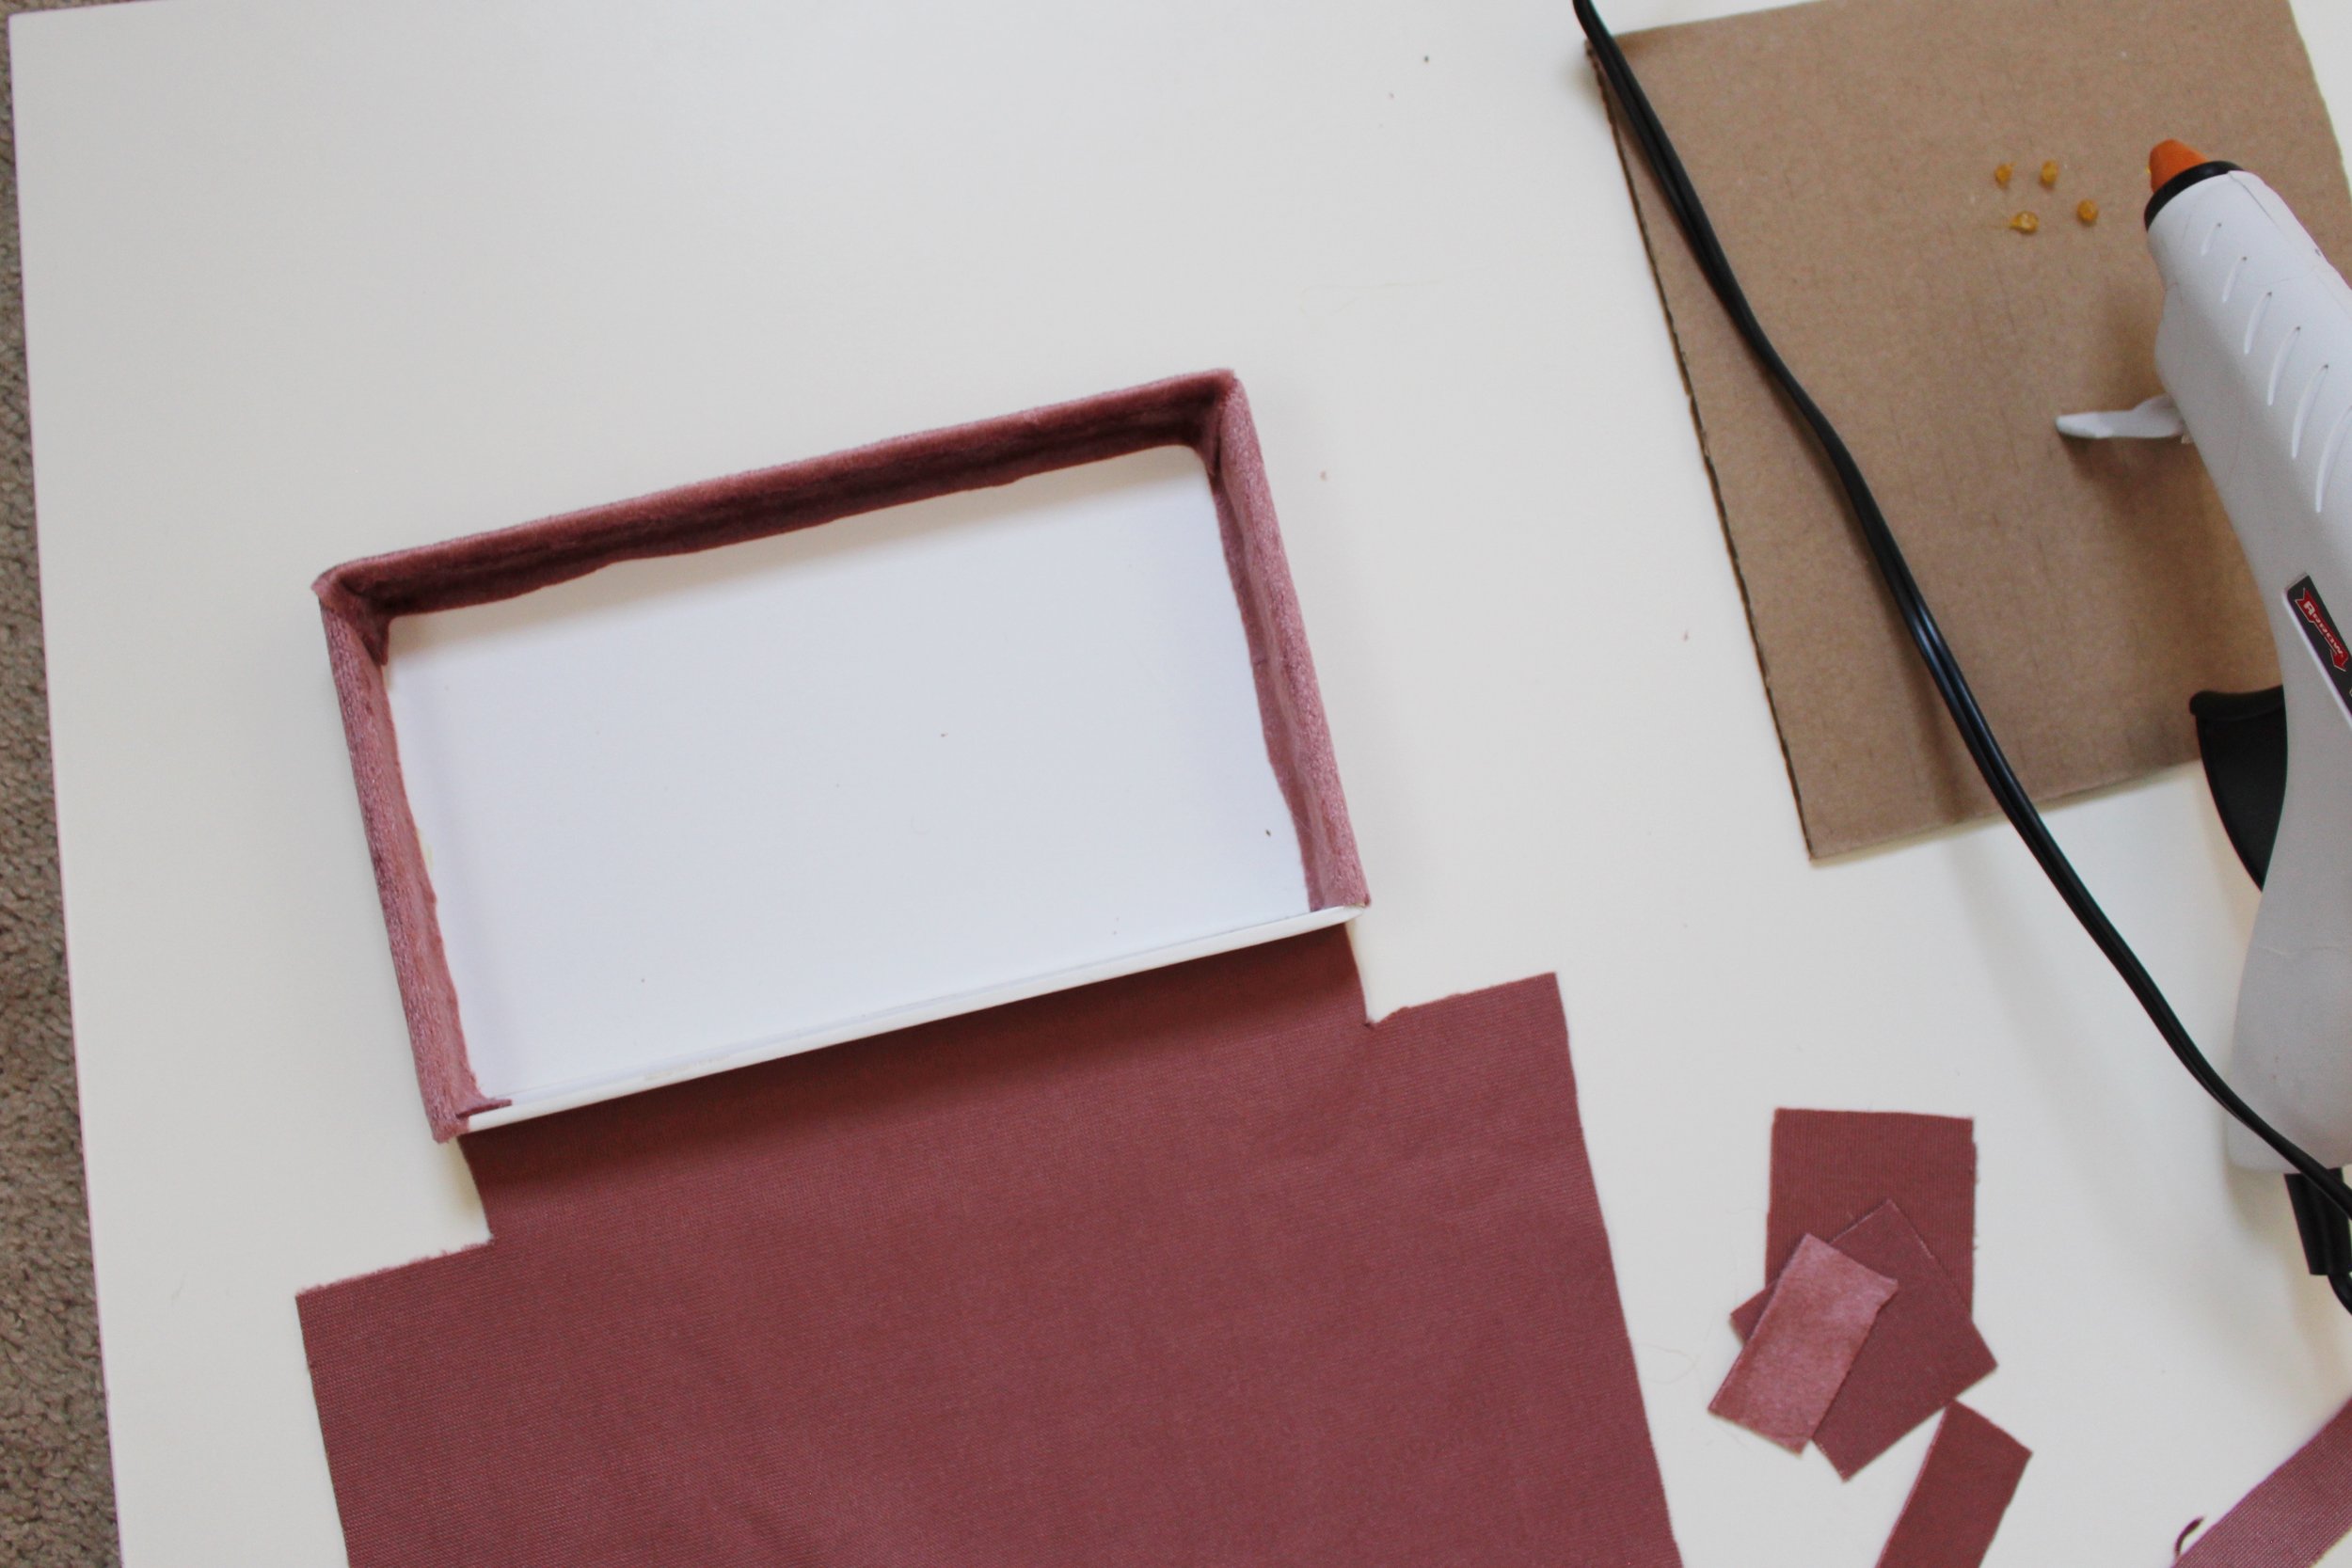
STEP 12: Cut off the bottom corners (as shown above) so that you can wrap the bottom edge with fabric next. For this final edge, you are going to add a row of hot glue to the bottom of the box, wrap your fabric over and press down the fabric so it attaches to the bottom, but you should now have a long tail of fabric remaining which we are going to use to wrap the foam rollers.

STEP 13: Disassemble your foam hair rollers from the plastic so you are left with just the cylinders of foam. Hot glue together the rolls of foam to make long rows. I needed 3 rollers per row for my box length. You can trim the length of the rows as needed so they are all equal length. You want enough rows so that there is some pressure between the rows, so for my box width I prepared four rows of rollers.
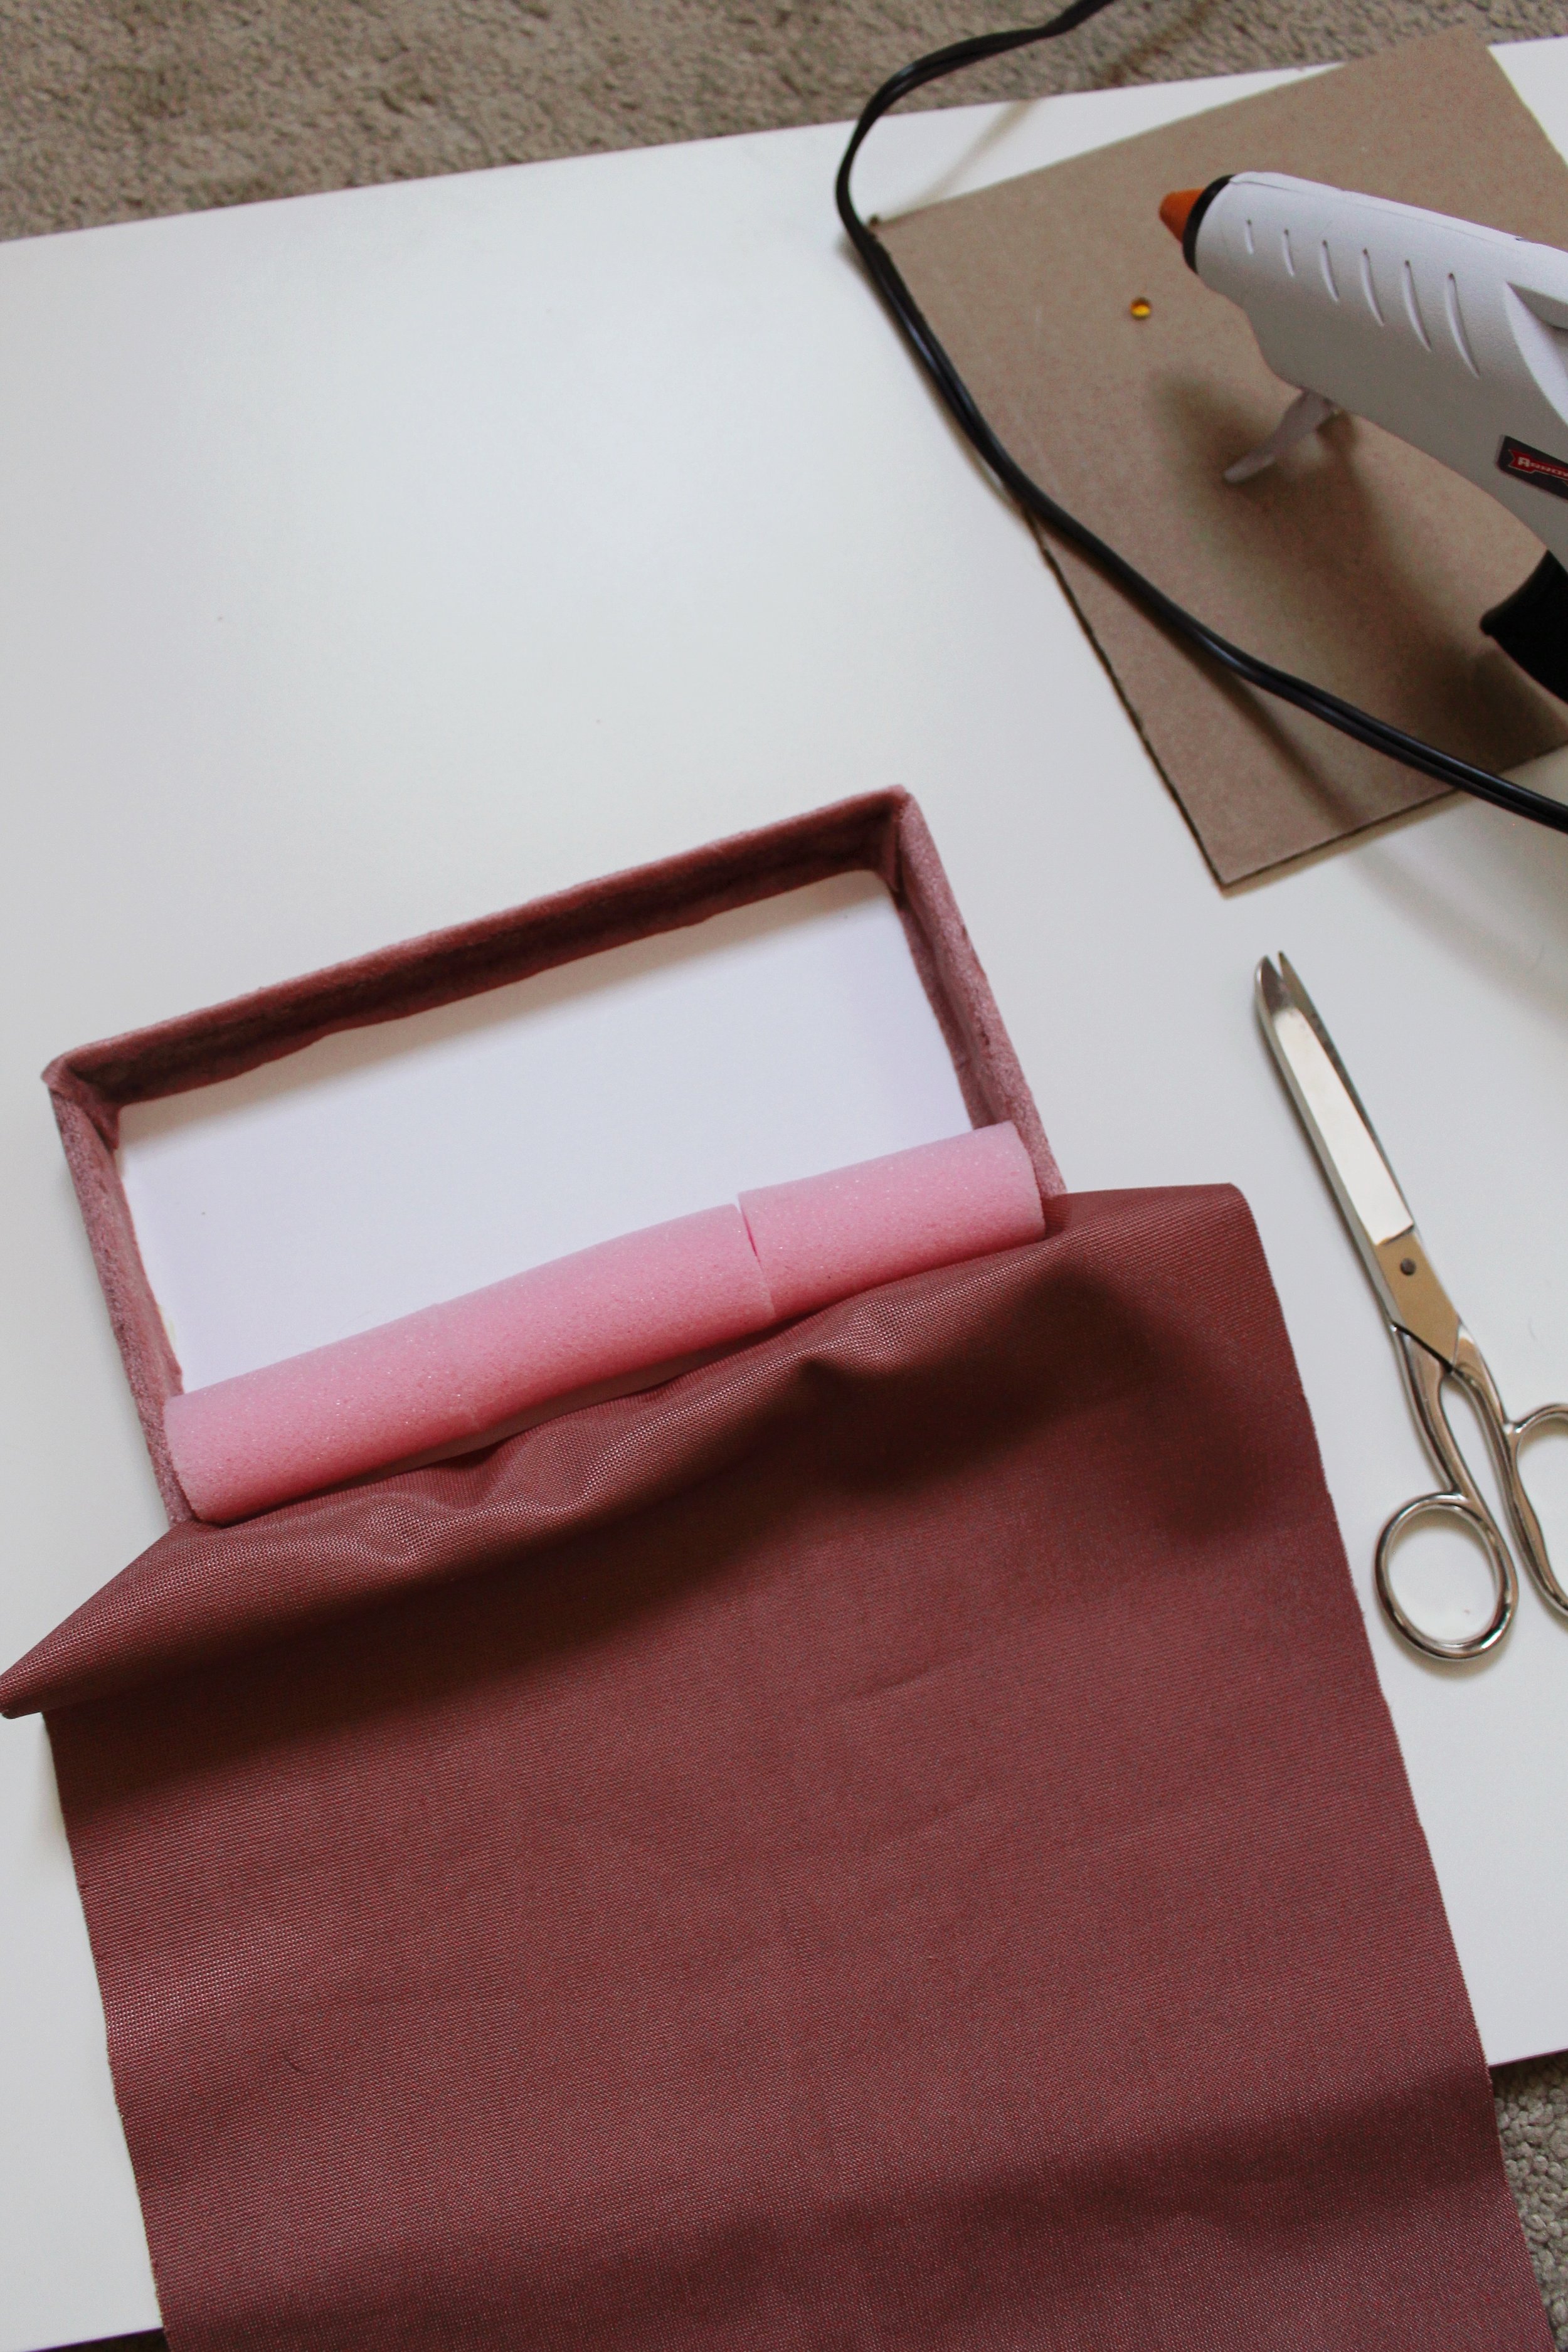
STEP 14: Add a row of hot glue to the bottom of the box and glue your first row of foam rollers into place. Then add a second row of hot glue beside the foam rollers (as close as you can get) and pull your fabric over the foam and press it down to the line of hot glue.

Repeat this step with each row of foam to fill your box, gluing the foam rollers down first, then pulling the fabric over the rollers and gluing the fabric down right after.
Once you have glued the final rollers in, trim your fabric so that you have just enough to close the last row of rollers and glue the edge to the bottom of the box. This is the trickiest part because you really have to shove your glue gun into the last small crevice between the rollers and the side of the box. Be careful not to burn your fingers!

STEP 15: Now you will be left with edges hanging loose along the sides of the box. I would recommend first trimming these edges down with scissors. You only need enough fabric left to cover the sides of the foam rollers, so maybe about a half inch at most. Use a butter knife or some kind of flat utensil to push the edges in between the side of the box and the side of the foam roller. You could use hot glue here if you’re worried about them coming out, but I didn’t. There was so little space between the rollers and the box that the edges seemed to stay in place without gluing them down.
Creating a Velvet bracelet holder
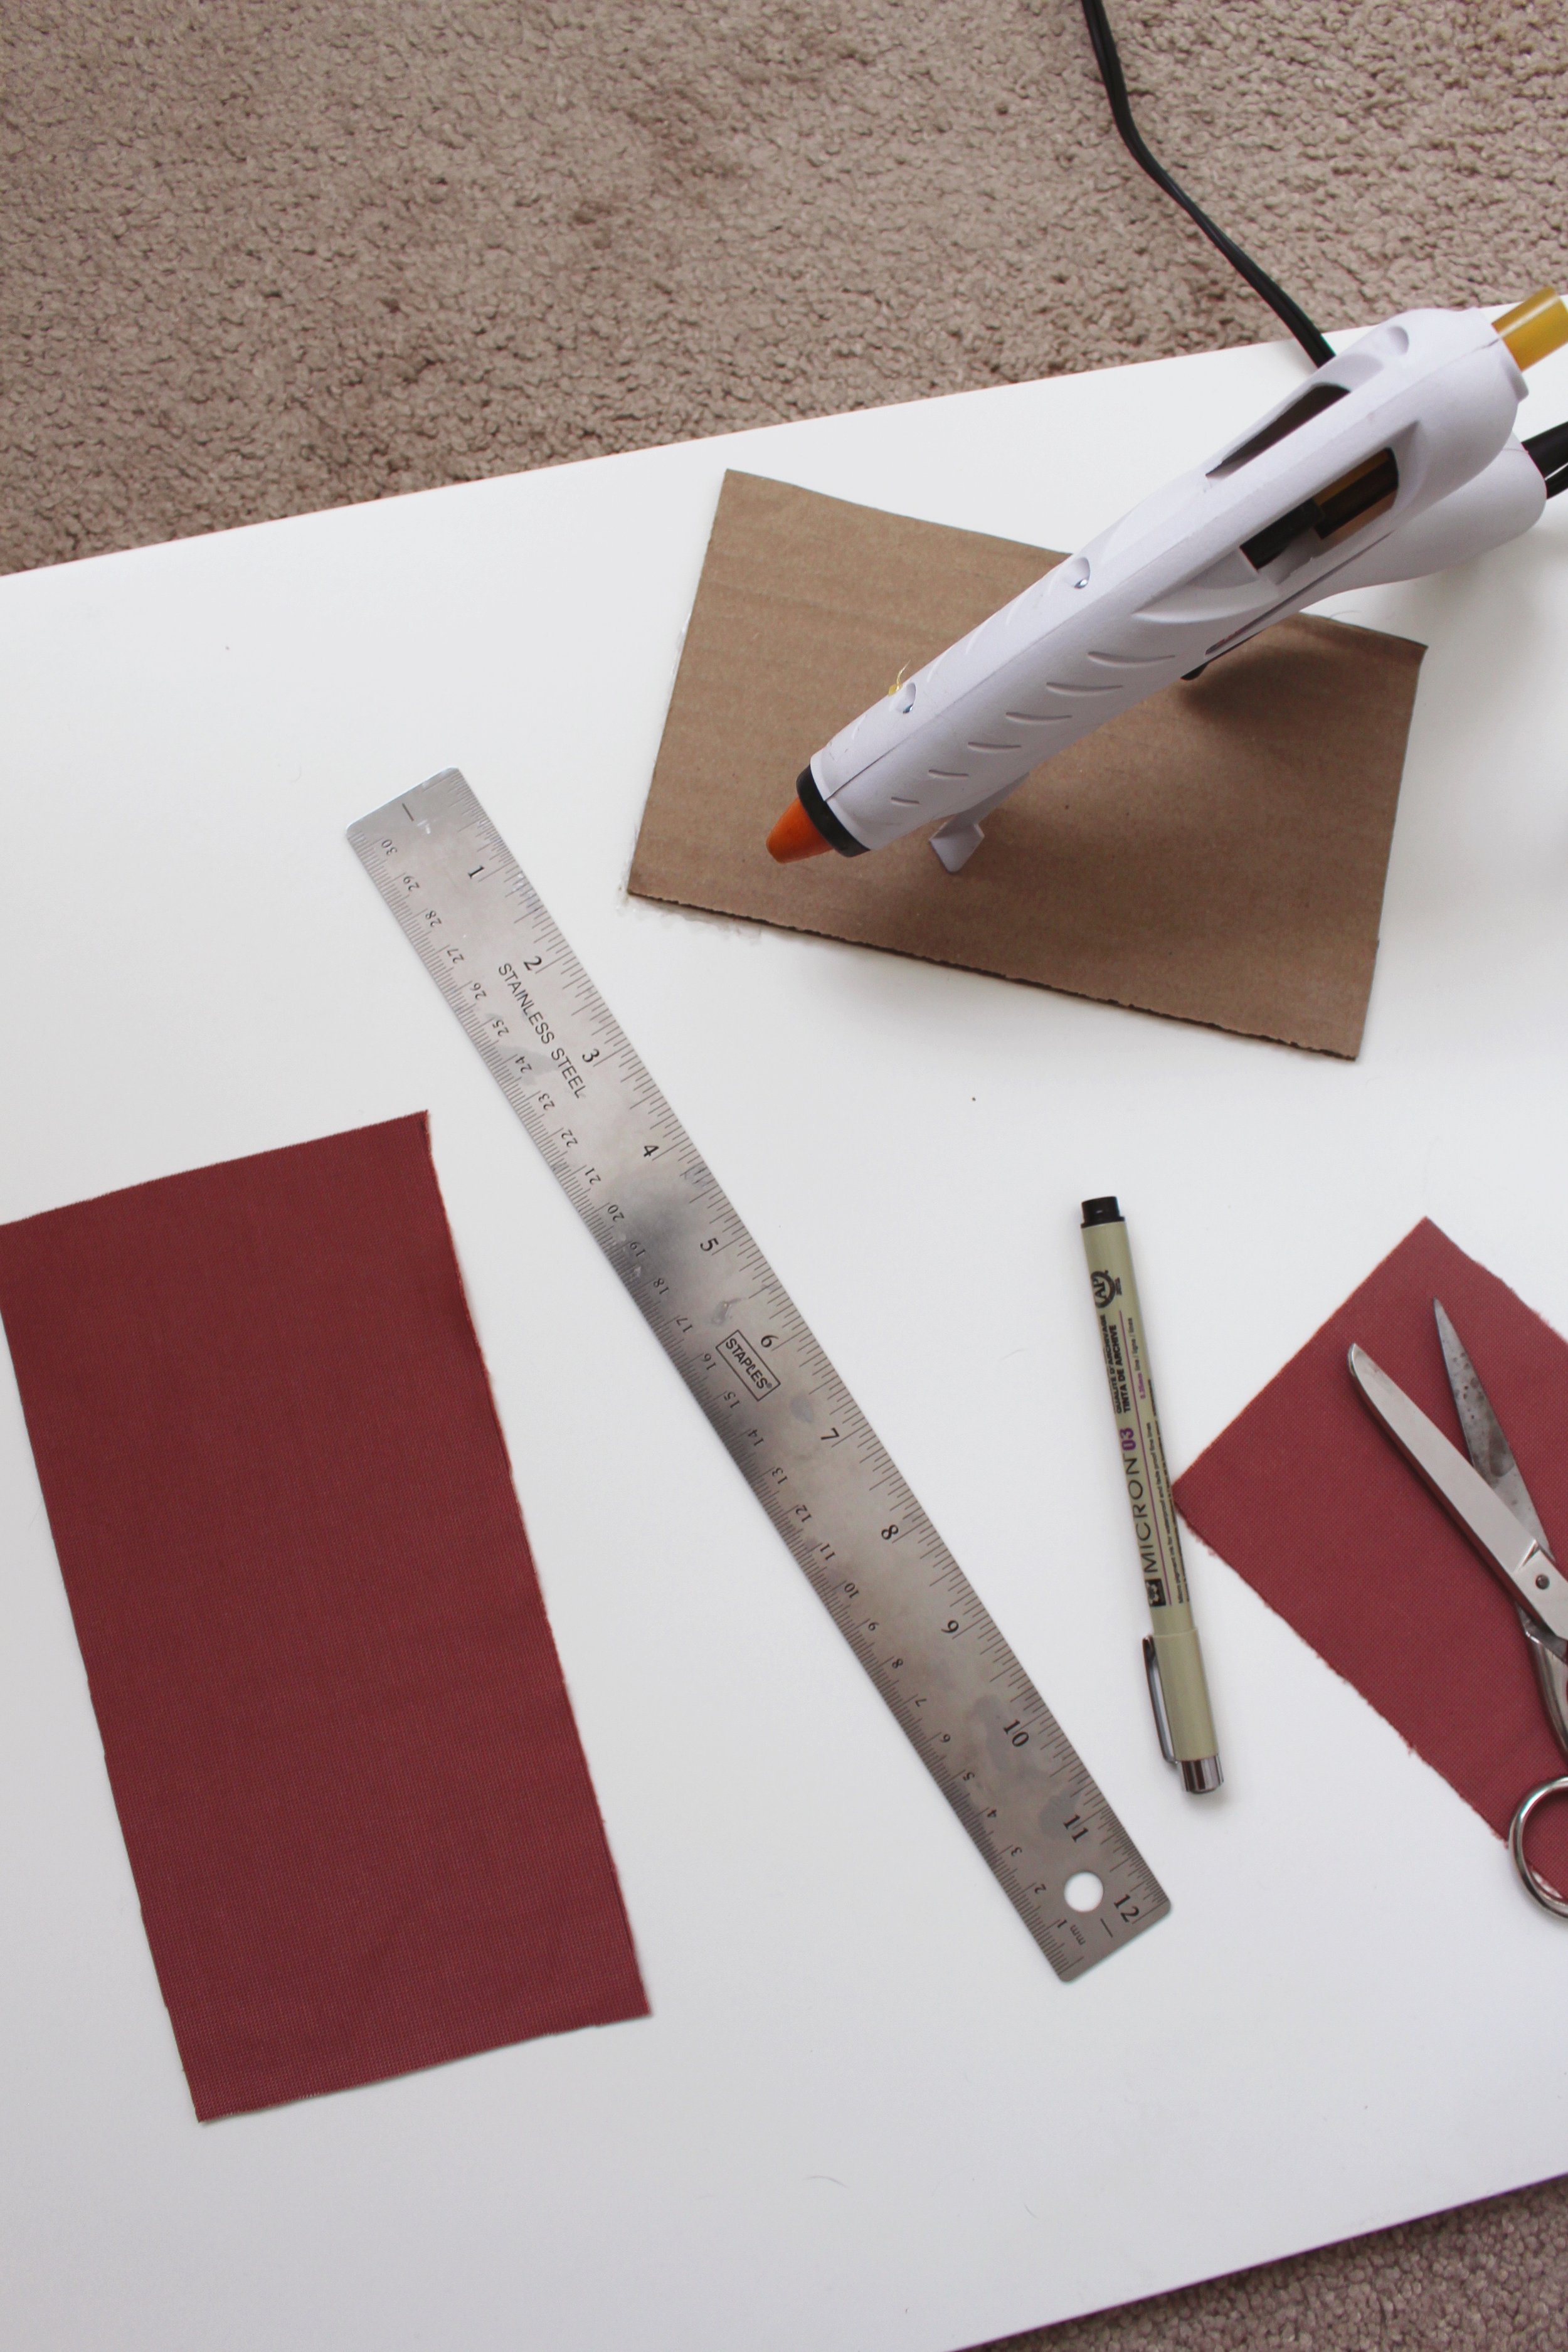

STEP 16: Next, I needed something to store my bracelets on as well, so I created a small velvet no-sew pillow. First, cut a piece of velvet fabric about 4” wide by 8” long. Place the fabric on a flat surface velvet side up. Fold the fabric in half and mark the center point with a pen. Add a line of hot glue along the edge of the left and right side and fold the fabric in half hamburger style to close the sides together. Once the glue has dried, carefully pull your fabric inside out so that the velvet is now on the outside.
You should now have a velvet pillow cover with one open side. Stuff the open side with cotton balls until it has a good full shape. Then carefully add a line of hot glue to one side of the open flap and press the fabric down to close.
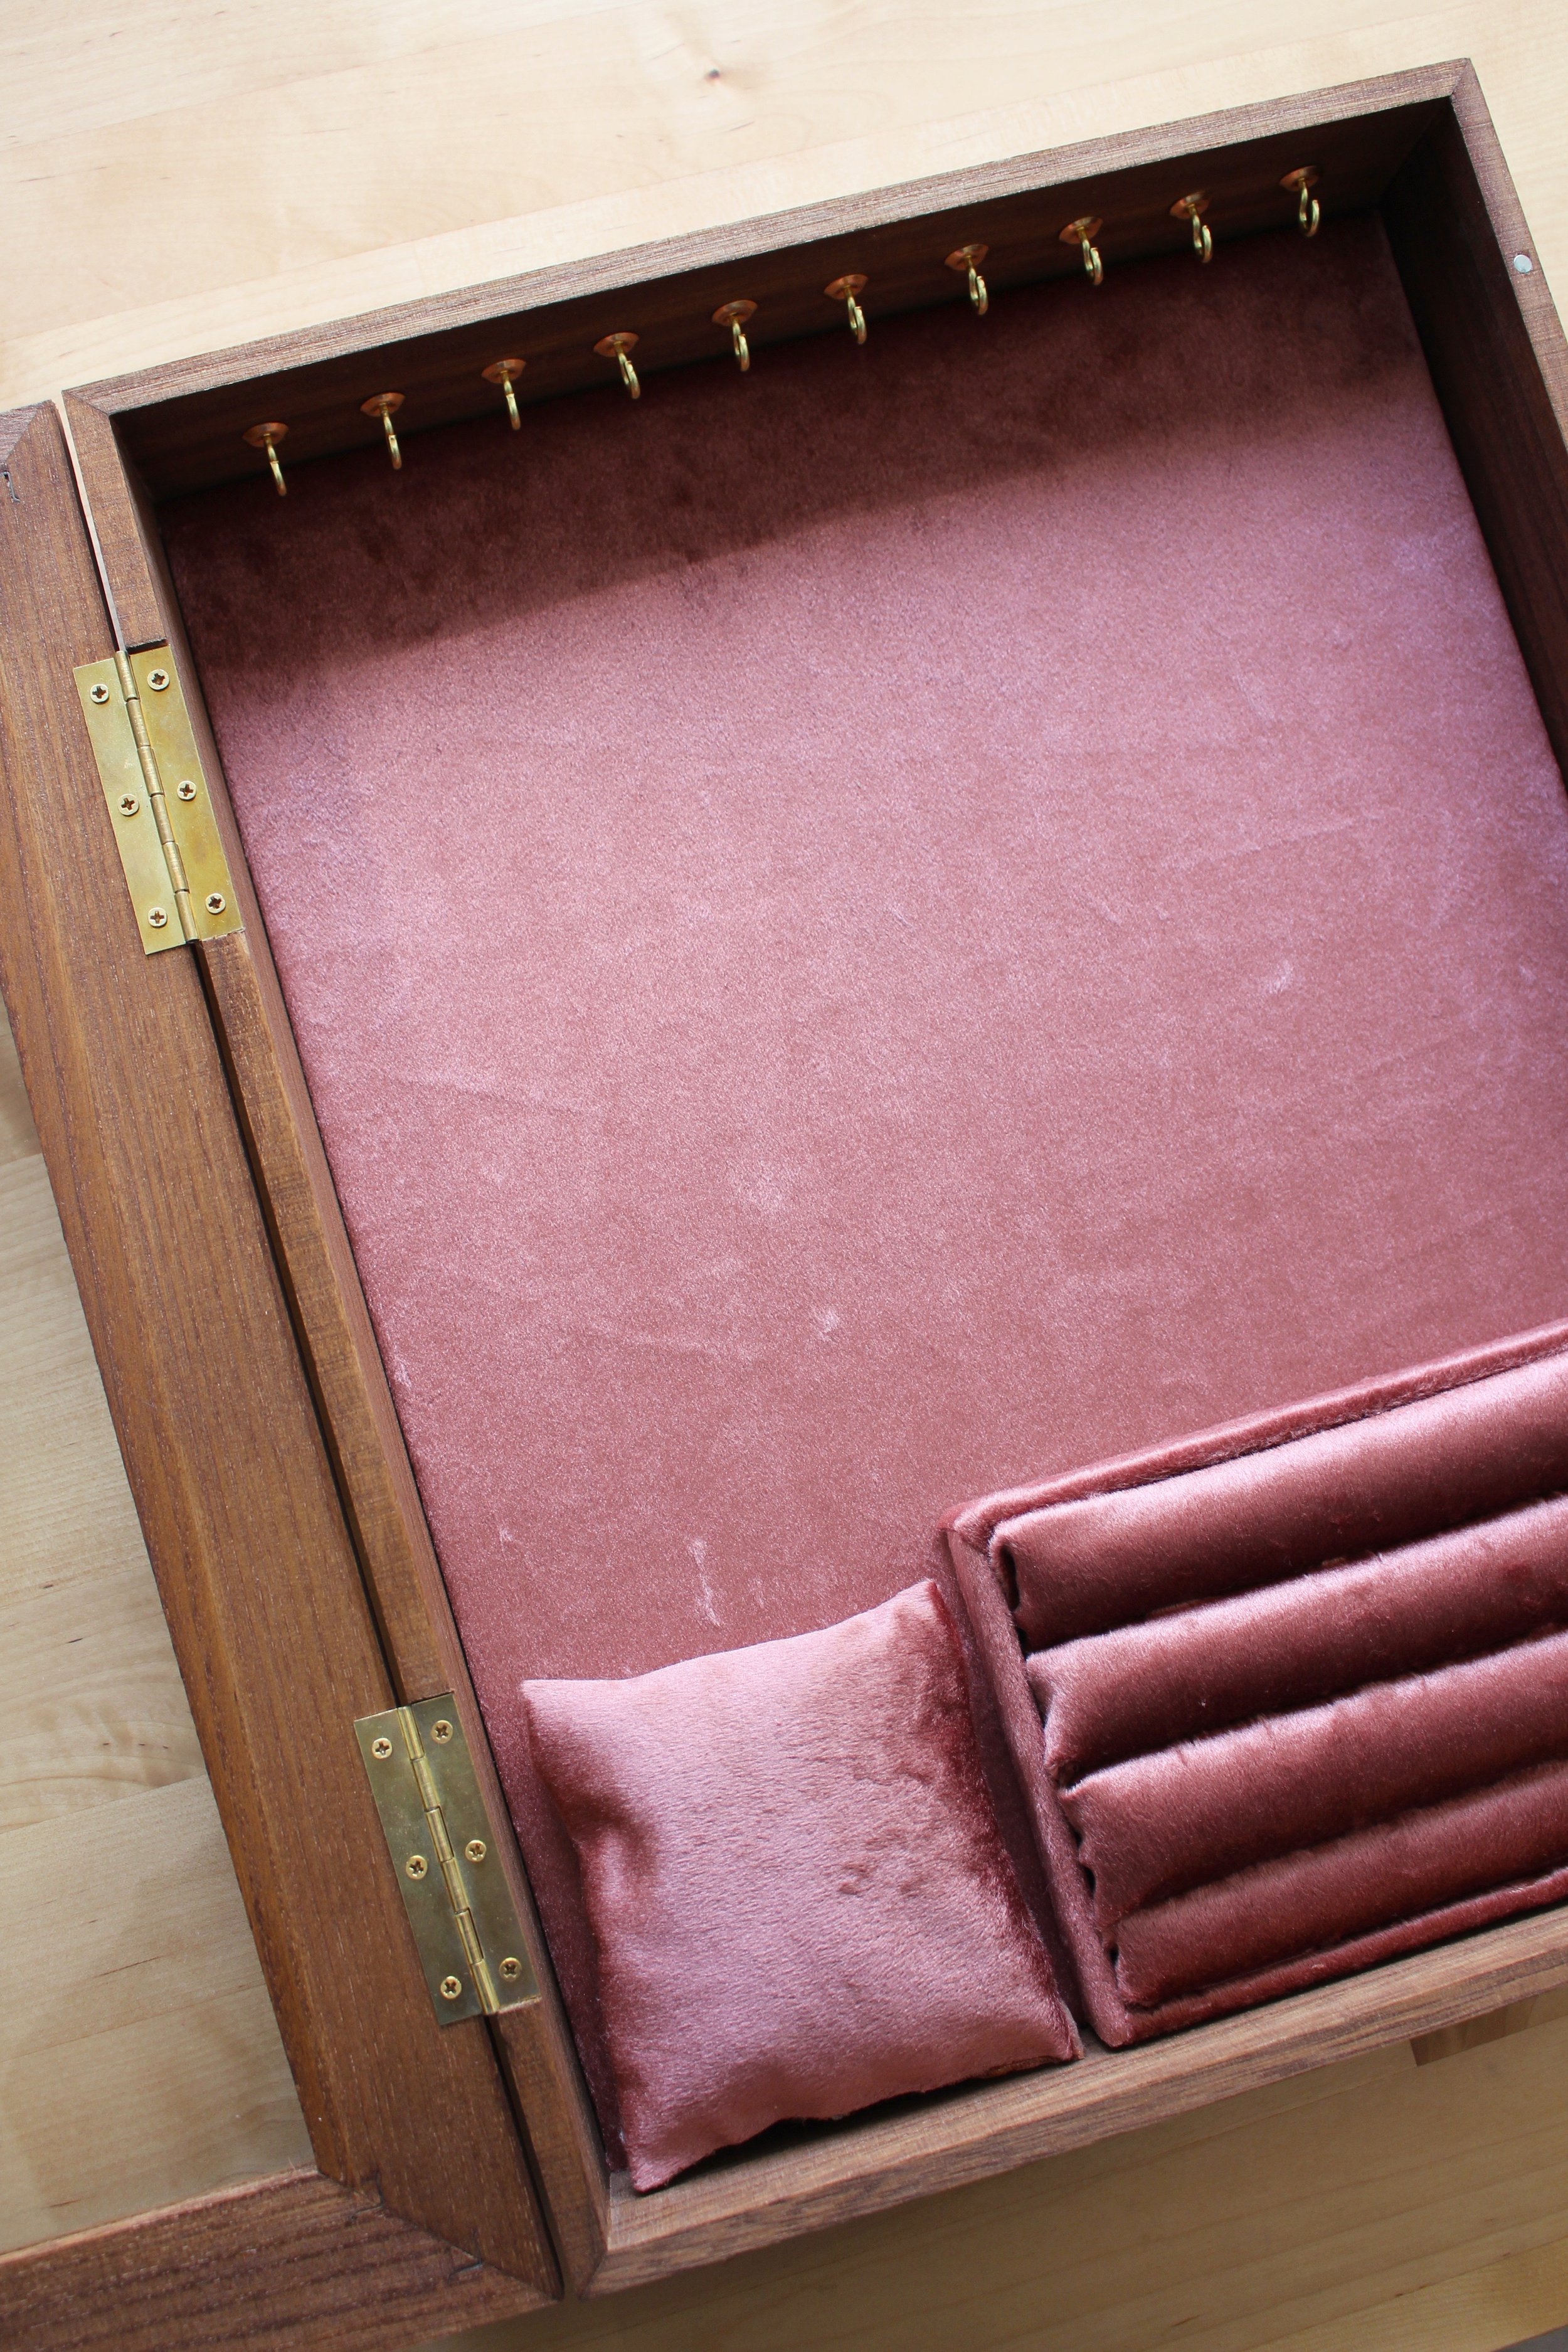
And now all that is left is to assemble your box and add your jewelry! I chose to keep the ring holder and the bracelet pillow unattached to the box so I could easily pull them out as needed. If you are worried about them falling out, you could always add a piece of velcro between them and the jewelry box backing to hold them in place.
My shadow box came with brackets attached to the back to easily hang on the wall, but if yours didn’t, you could easily attach two of these sawtooth hangers to the back of the box, just make sure you are hammering into the wood part of the box and not just the backing.


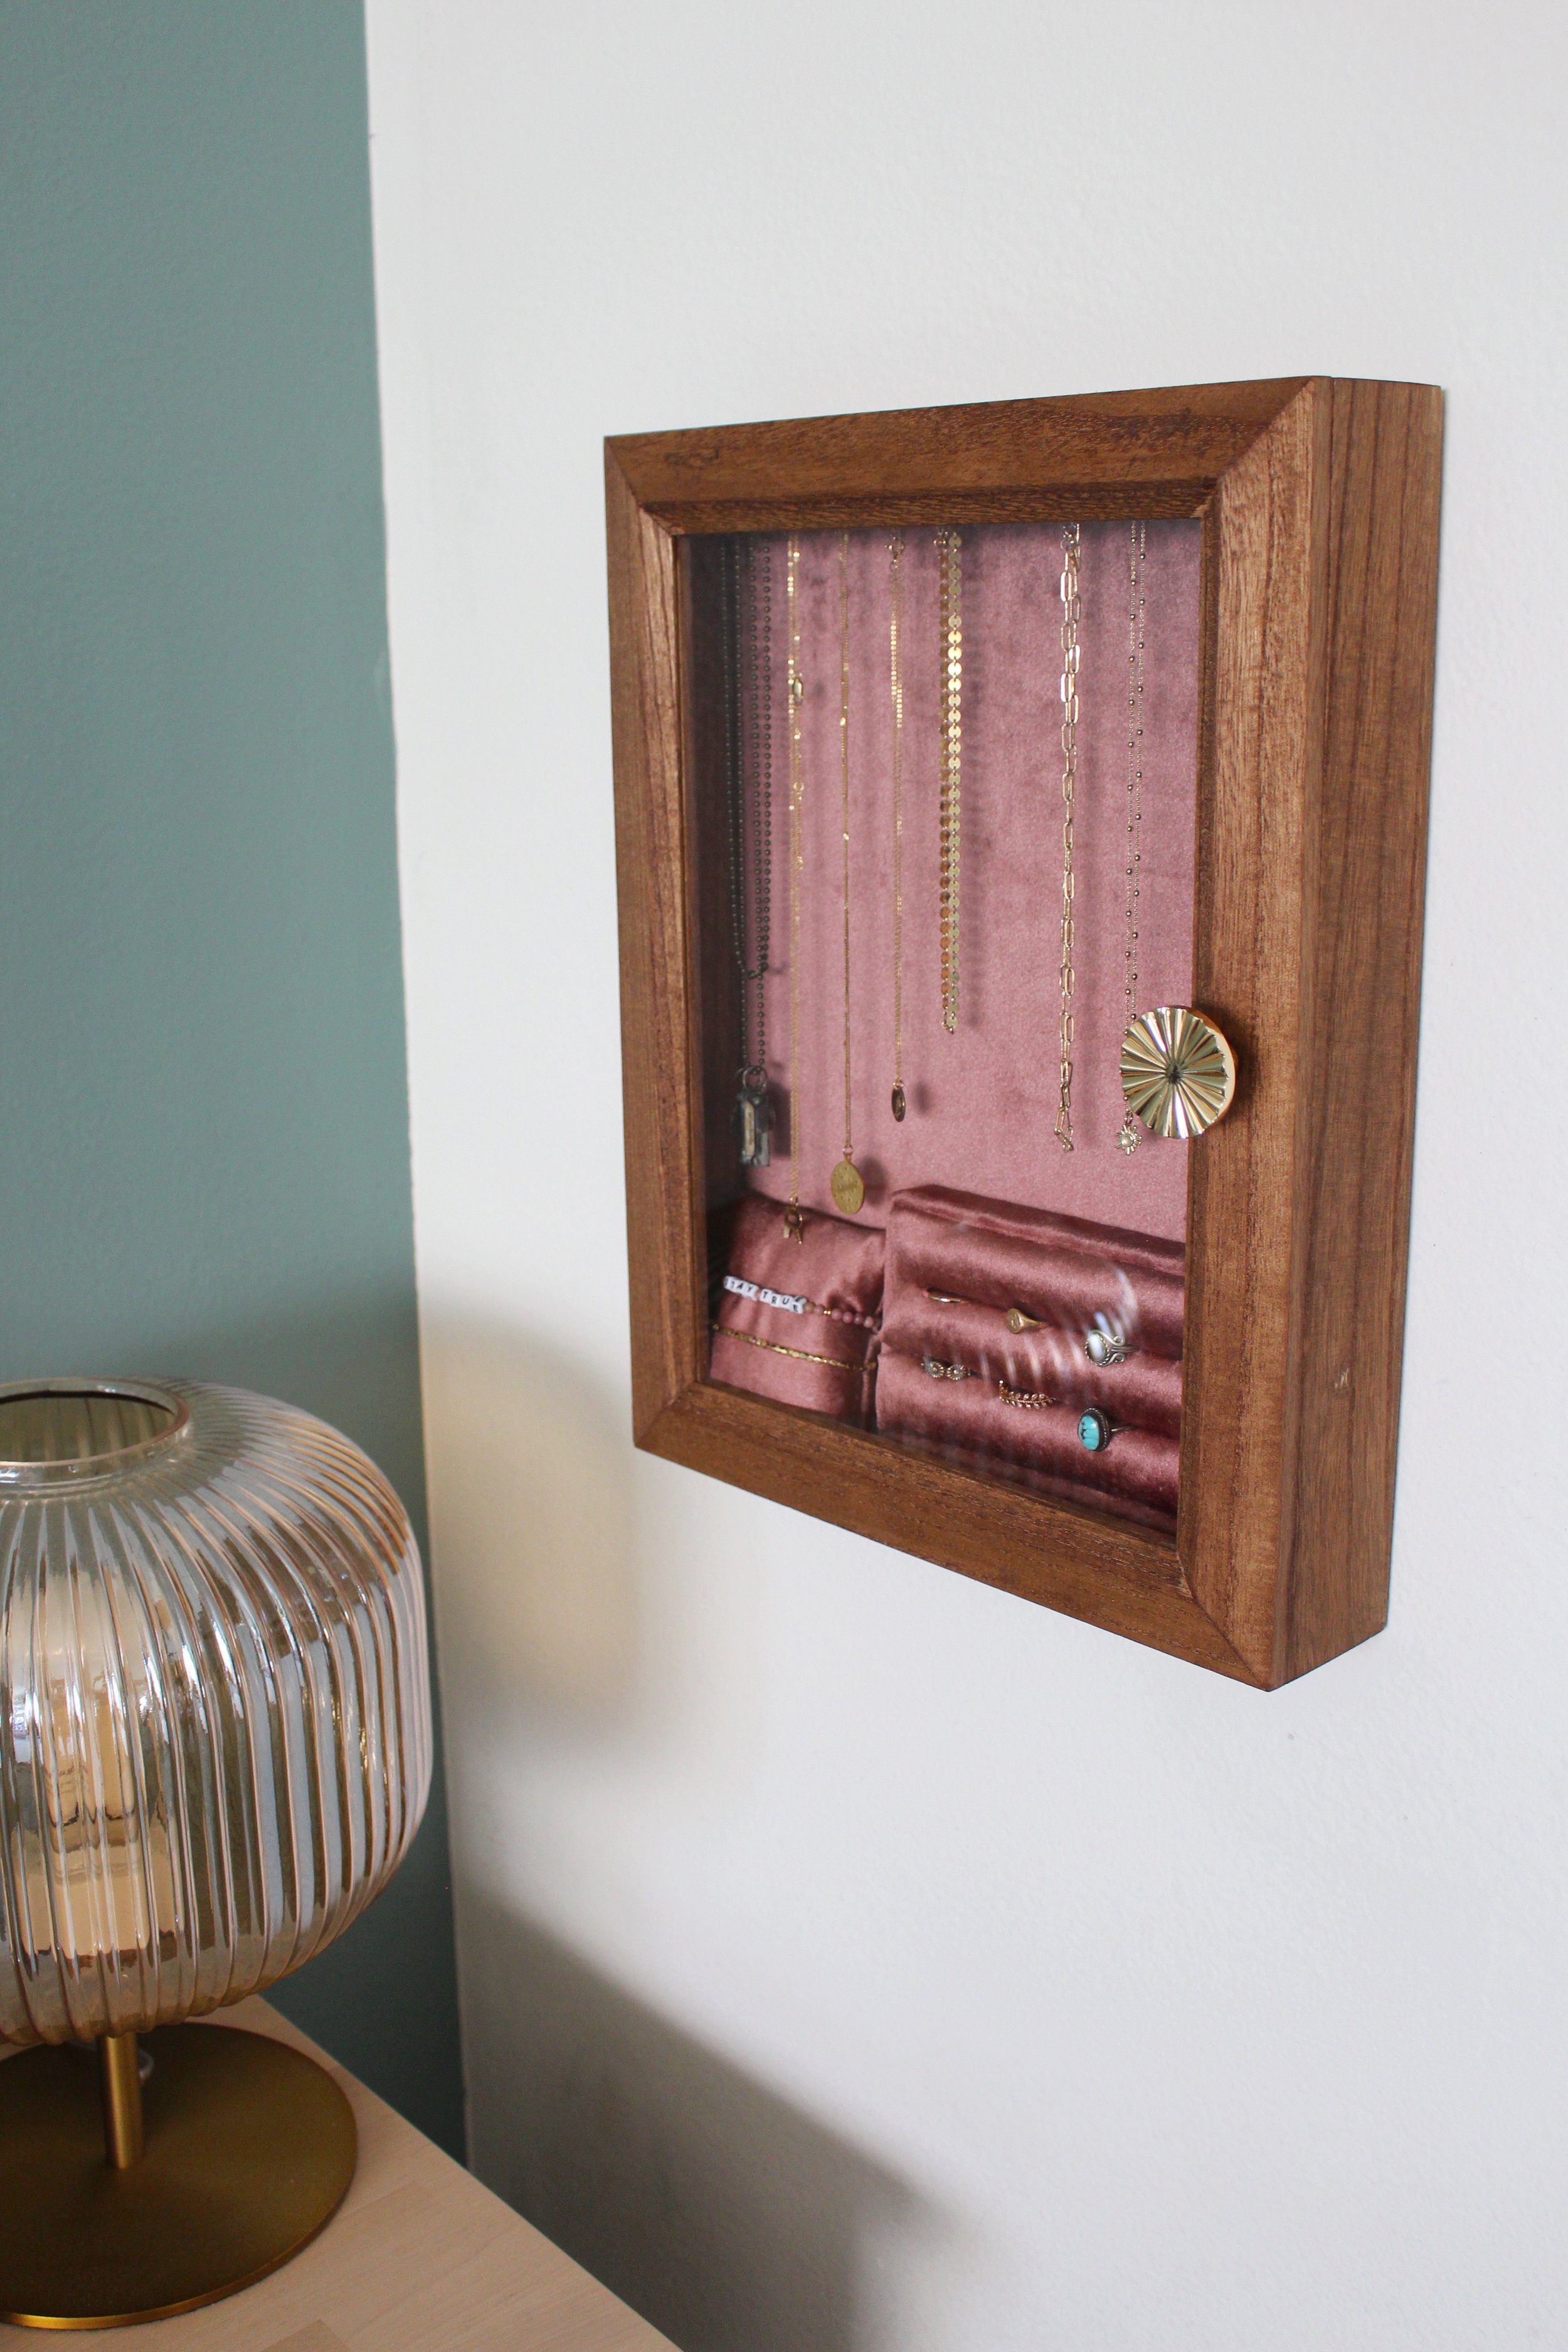
I absolutely love how this piece turned out! I think it has a bit of a mid century modern feel and I’m already dreaming up what to do next with the leftovers of this beautiful rose velvet material :) I’m also happy to have a place now to keep some of my jewelry pieces protected from tarnishing out in the open.

Where are your favorite places to shop for everyday jewelry? I’m currently a huge fan of Made by Mary and want like every single piece in their collection.
Hope you enjoyed this DIY upcycle tutorial! xo Rachael

