
DIY Reusable Emoji Coffee Stencils
I’m so excited to announce that my husband Daniel is FINALLY into coffee. It only took me a few years to convince him but he is in full force barista mode now coming up with different concoctions and analyzing the intricacies of lattes, pour overs, espresso, etc. The highlight was probably introducing him to iced coffee which is a whole new beautiful world of its own!
In an attempt to add a bit of flare to our daily coffee drinking, I decided to try my hand at a bit of stencil latte art. If you’re interested in finding out how to make these adorable (& reusable!!) emoji coffee stencils, check out the steps below!

You will need:
Clear Acetate Sheets - I used these (I don’t have a Cricut machine but these were the only ones my art supply store currently had, they still worked great!)
X-acto Knife & Cutting Board
Scissors
Printed emojis of your choice :)
Sharpie Marker
Painters Tape or Drafting Tape
Small round object (I used a quarter)
Coffee drink of your choice :)
Ground cinnamon in a shaker bottle
Coffee mug

STEP 1: Printing your emojis — You will want to measure the diameter of your mug to figure out what size to print your emoji images. My mug was roughly 4” wide, so I needed my emojis to be approximately 3” x 3” in size. To print the emoji images, I used the Pages application and copied and pasted my favorite emojis into the document as text. Then I increased the font size of the emojis until they were about 3”x3” in size (using the side rulers of the page for approximate measurement).

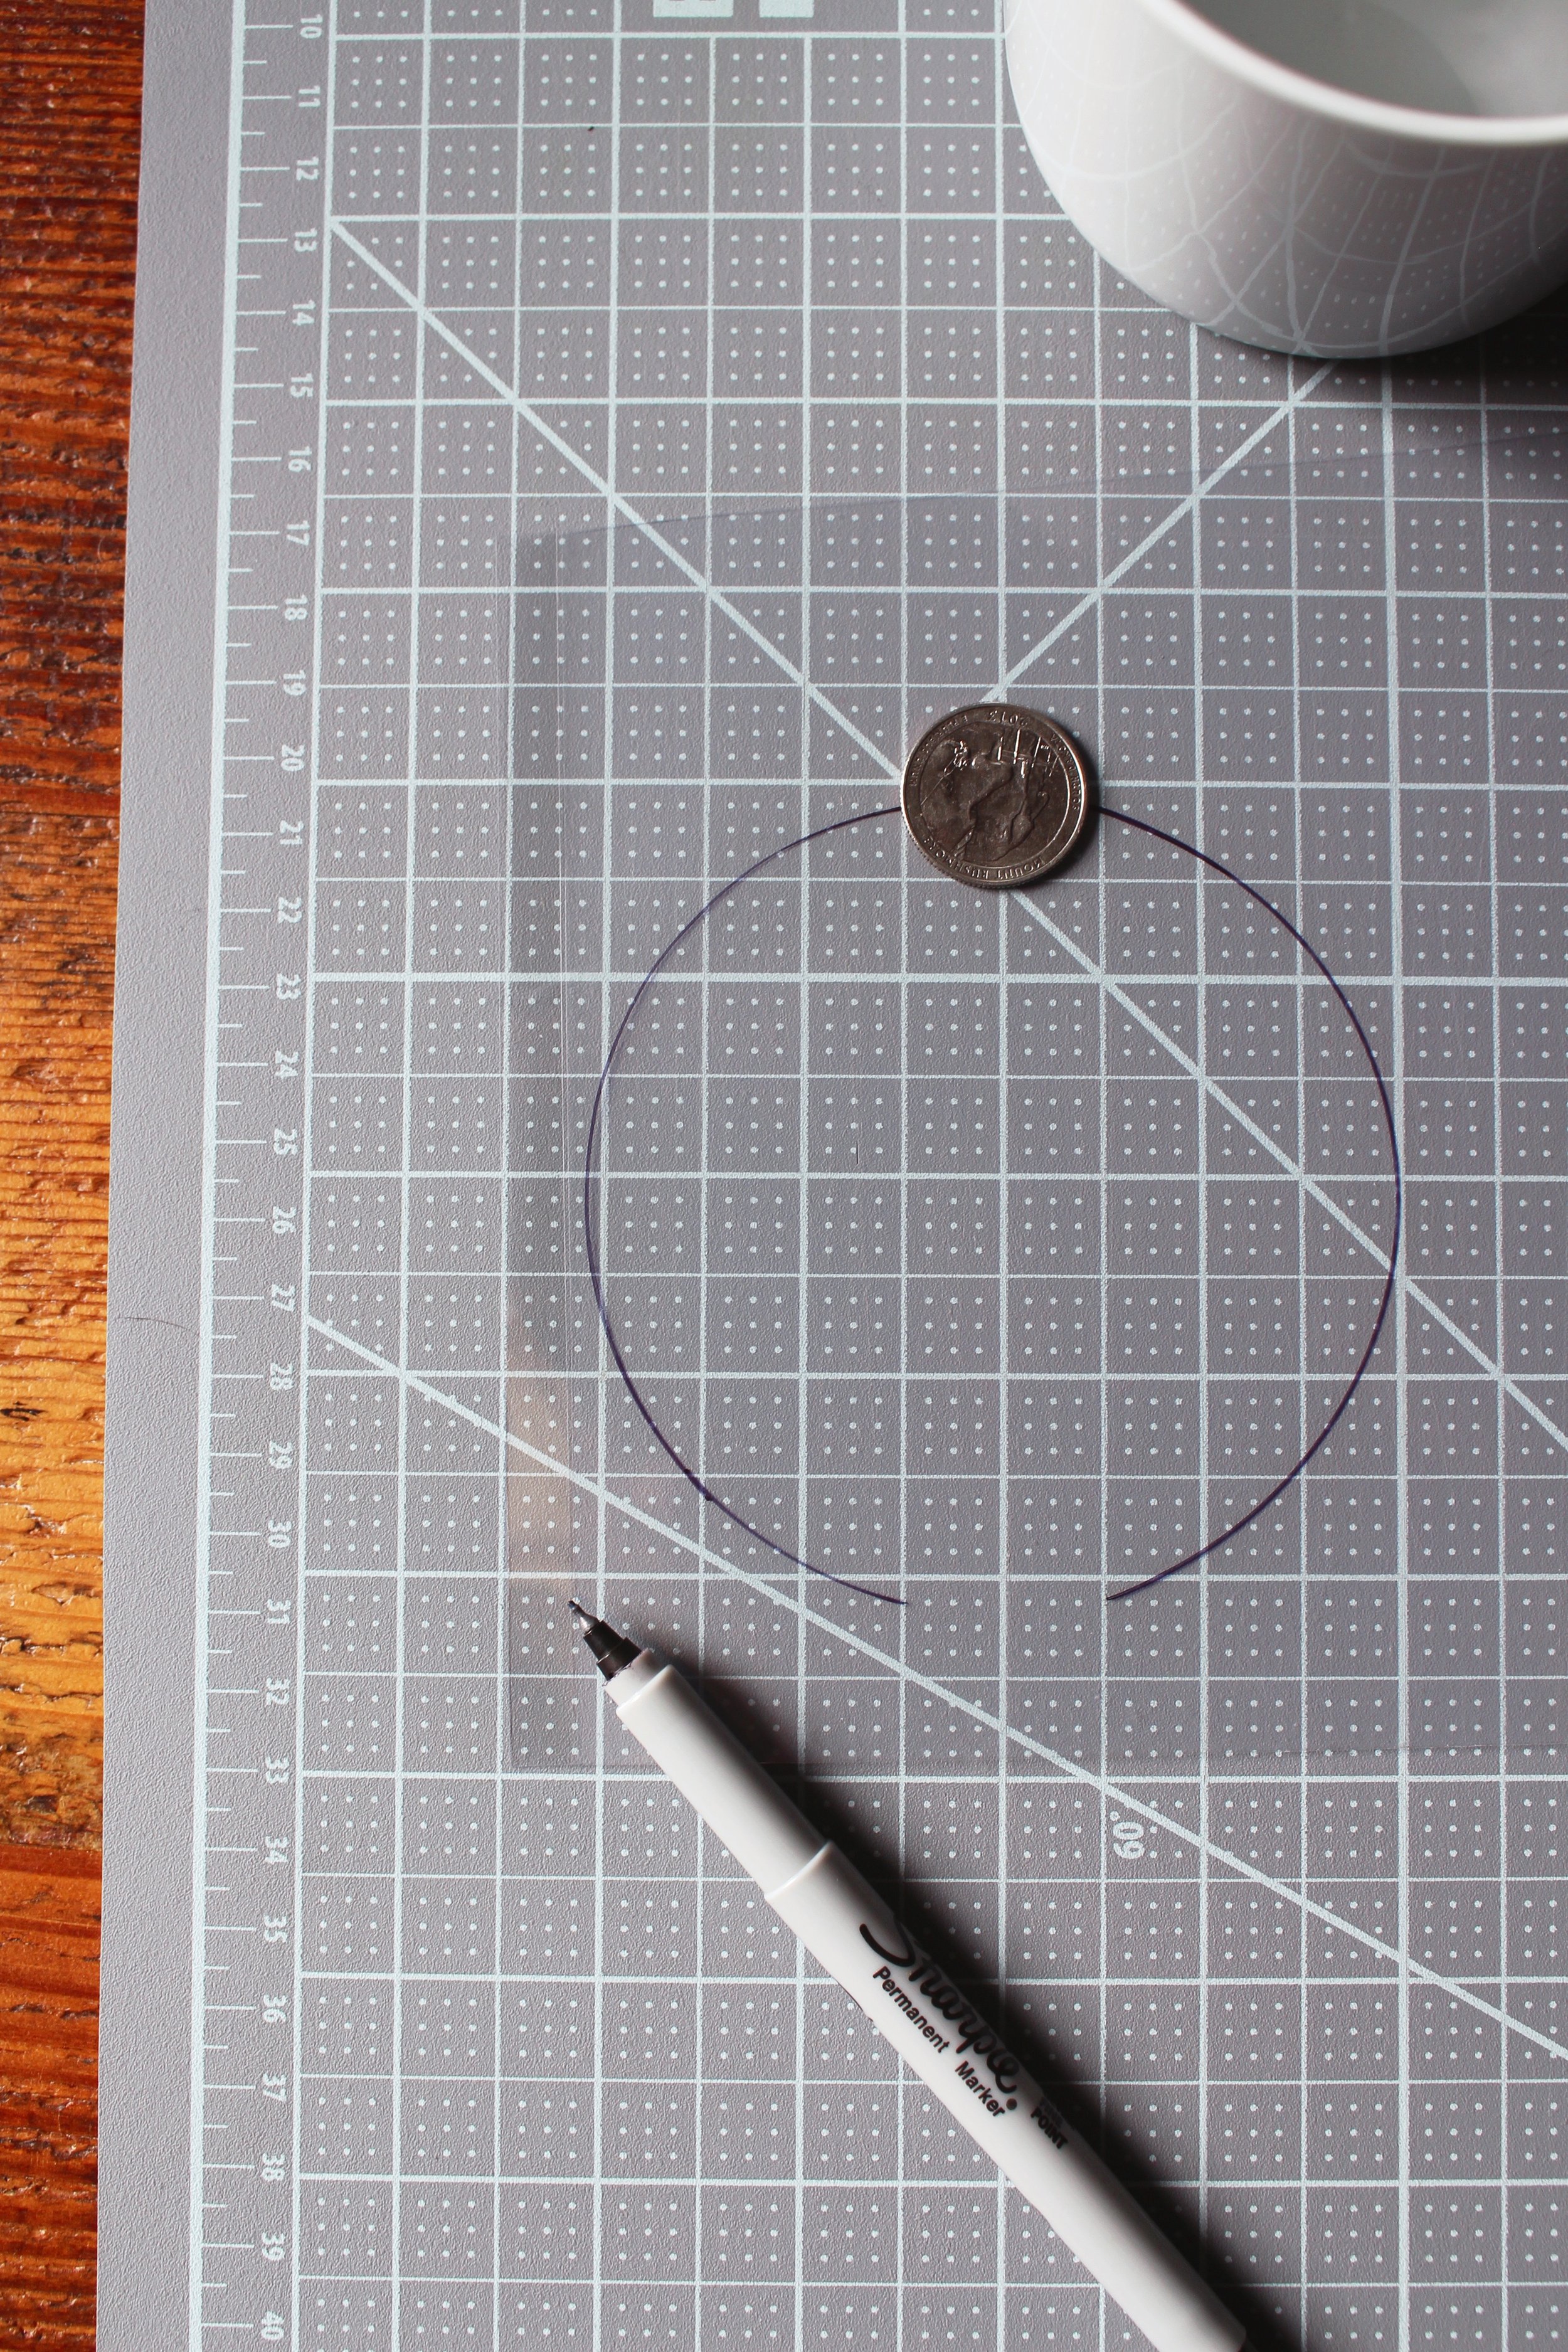
STEP 2: Preparing your stencil paper — Set your mug upside down on top of your clear acetate paper. Using a sharpie, mark around the edge of the mug but leave about an inch blank on the top and bottom (shown in the 2nd image above). Remove the mug and now use your small round object (like a quarter or a bottle cap) to help guide you to making two rounded handles for your stencil. These will help your stencil to sit on the top of your mug instead of falling inside your coffee.
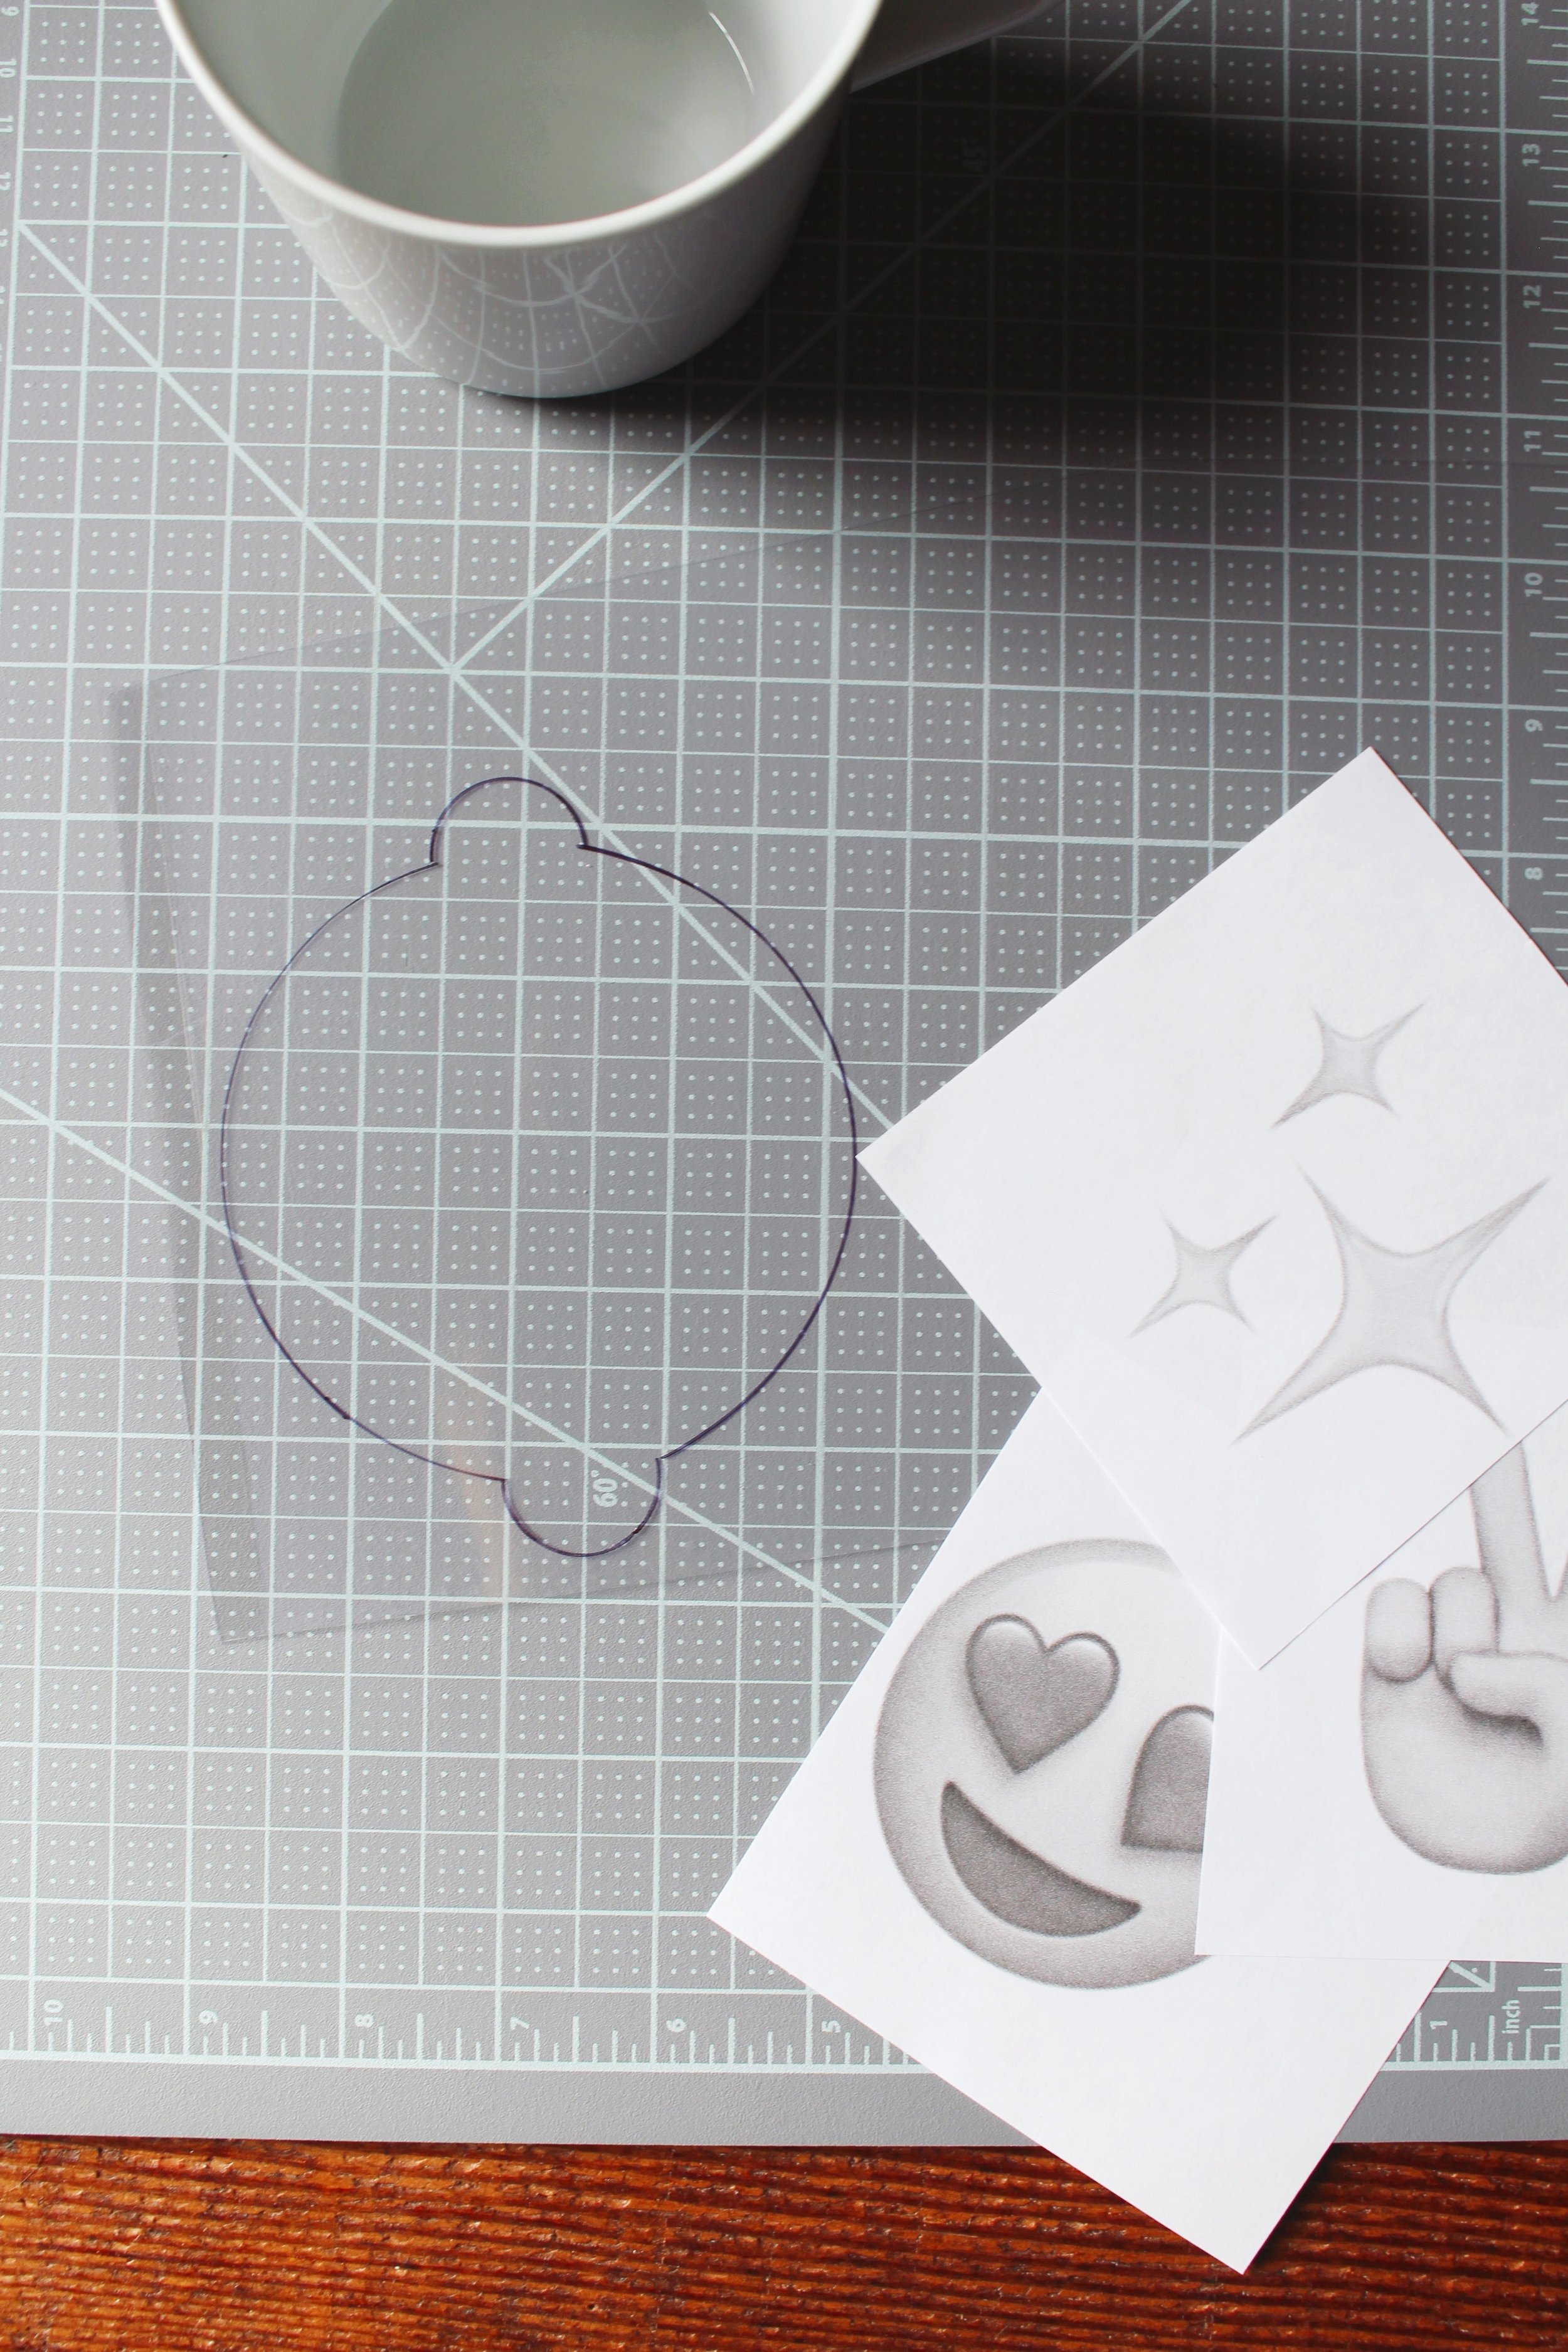
STEP 3: Using your scissors, cut out the stencil perimeter trying your best to cut inside the marker lines so that no marker lines are visible once you’re done. Your stencil should now look like the shape above! Very flying saucer-esque. If you’re going to be making more than one stencil at the same time, now would be a good time to trace this shape out onto more acetate sheets to prepare more pieces.
At this point, if you’re using the same Cricut acetate paper as me, I would recommend removing the very thin plastic protective layers that are on either side of the sheet (it got kind of messy the first time I tried cutting out the stencil with these left on).

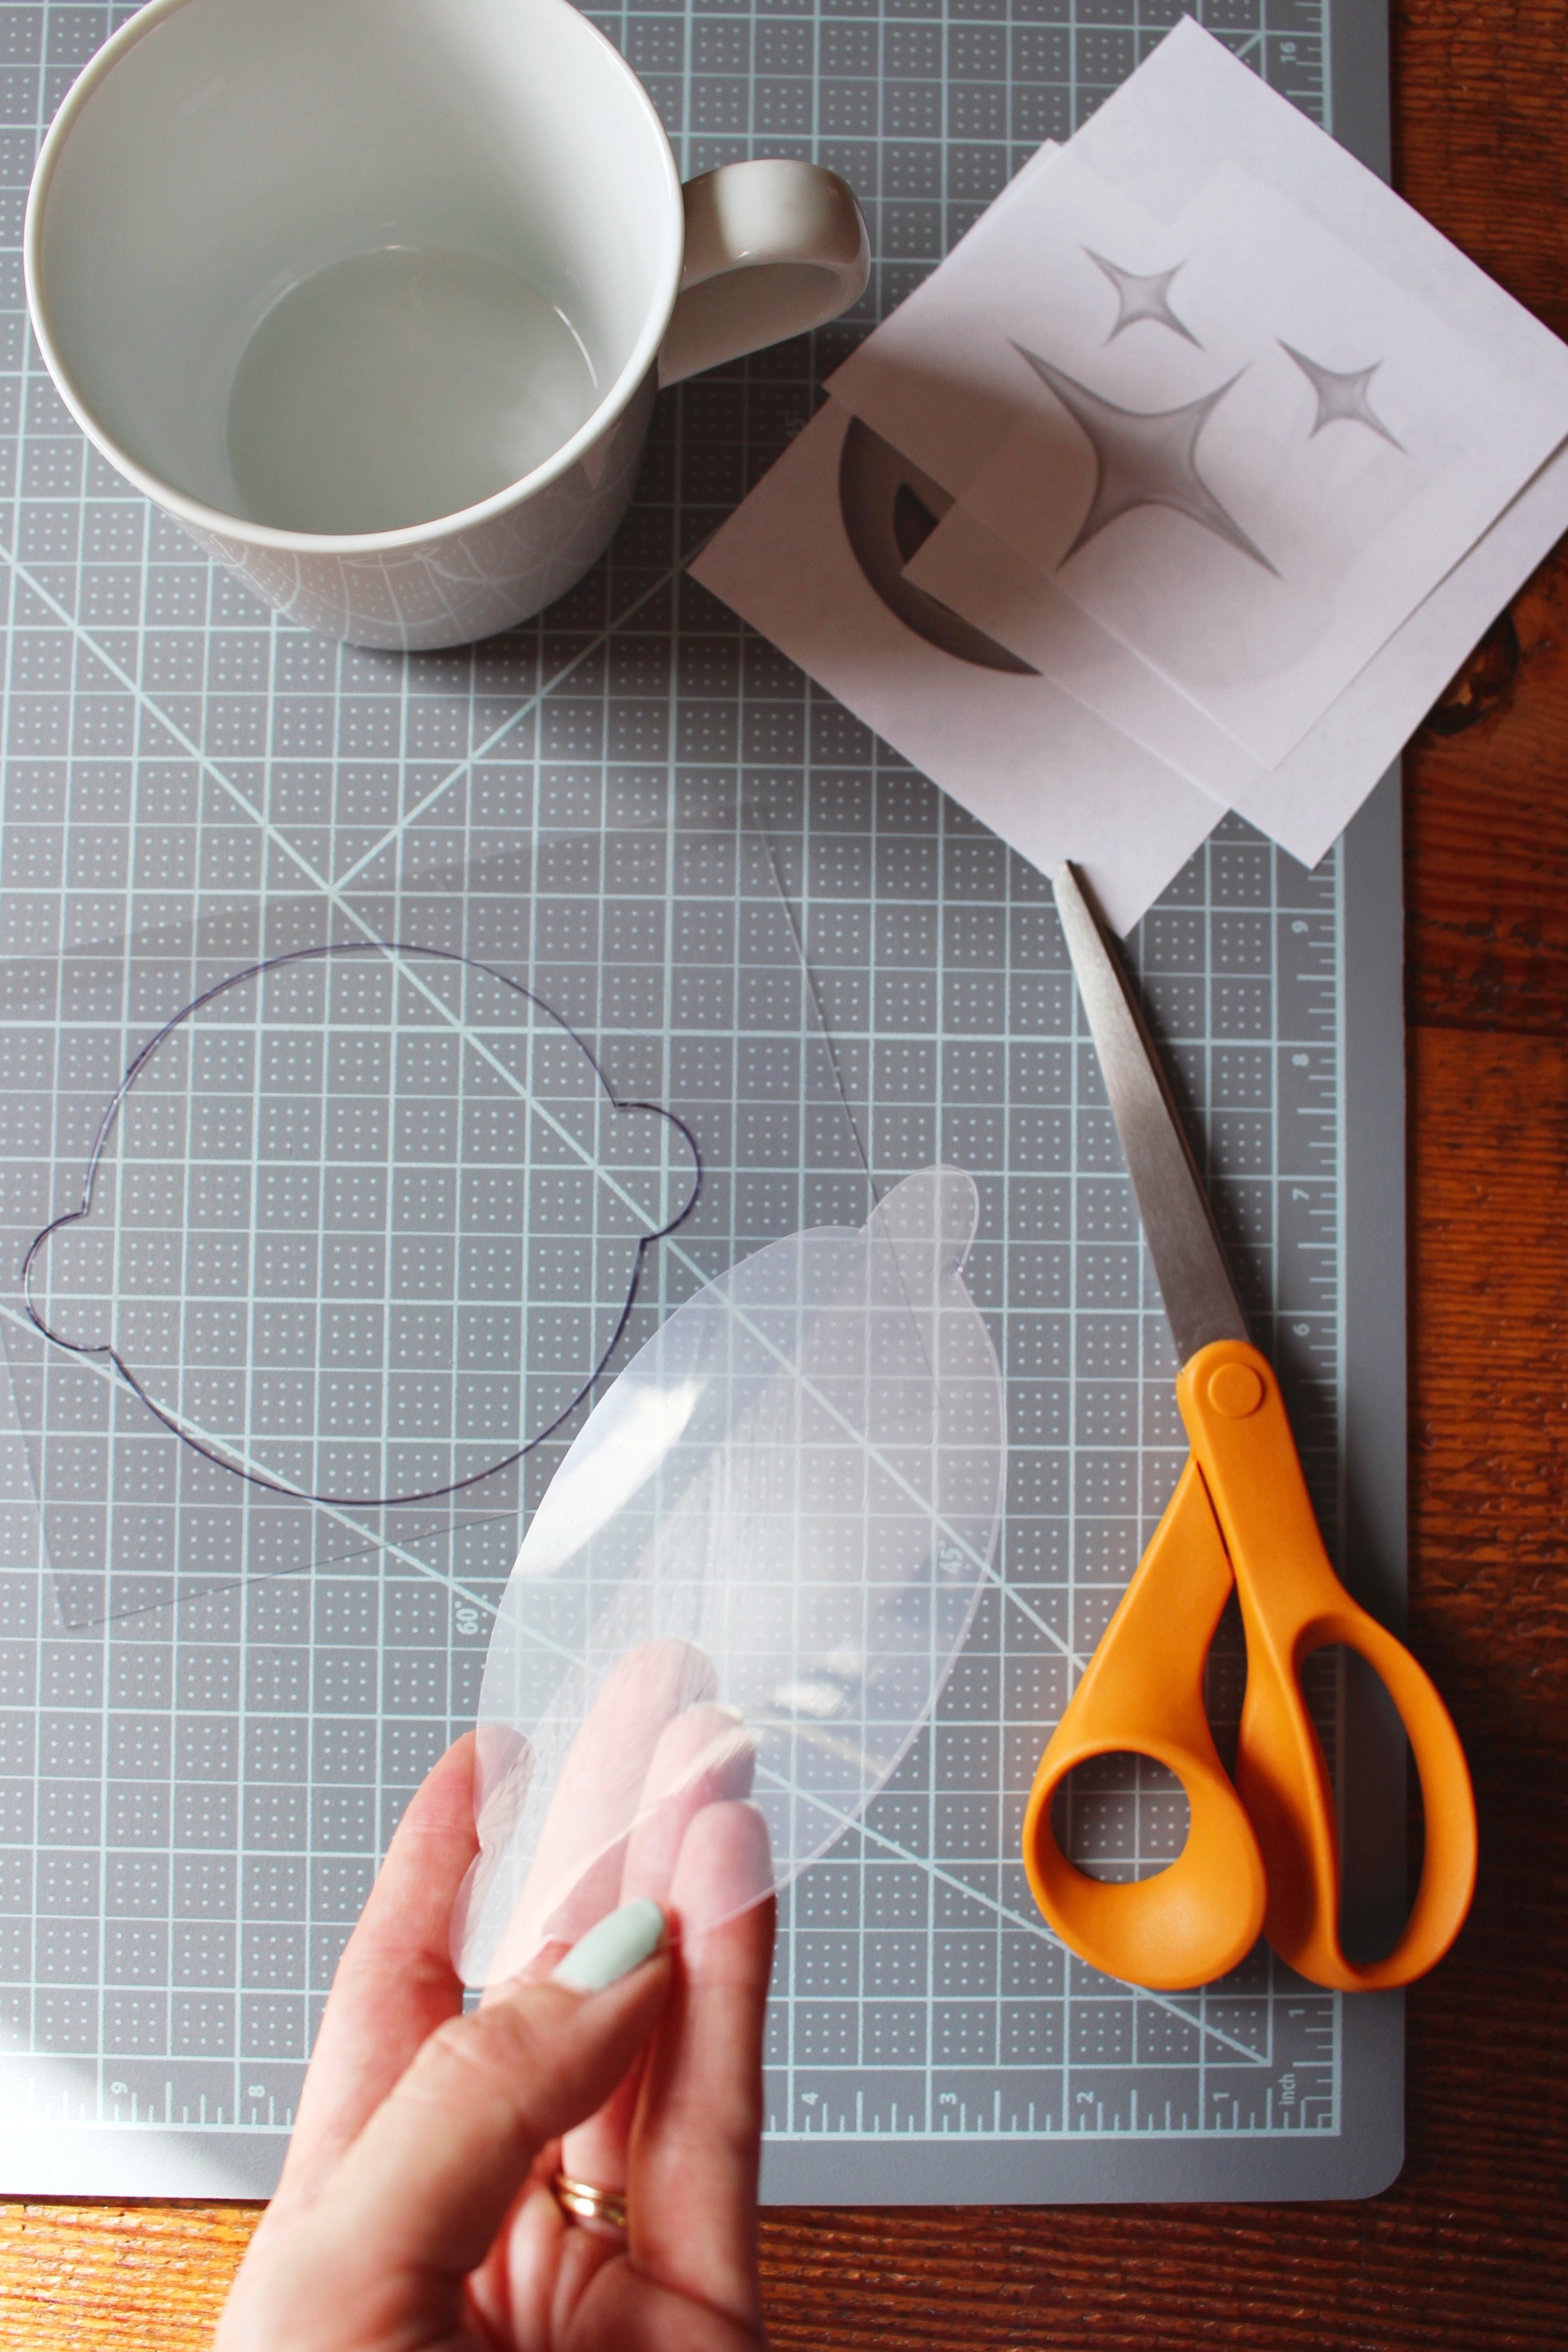
STEP 4: Lay your emoji image onto your cutting board, lay the clear acetate stencil that you just cut out on top, then tape down both layers using painters tape or drafting tape. This will help your image and your stencil stay in place while you’re cutting it out.
STEP 5: And now comes the trickiest part! Cutting out your stencil — This step takes some patience so I would recommend doing some practice cuts on the scrap acetate paper that you cut off until you get the hang of cutting the plastic. You are going to follow the edges of the image that you’re looking to cut out with your X-acto knife. Your knife can kind of have a mind of its own as you’re tracing your image, so just try to go very slow and follow the lines as best as you can. It doesn’t have to be perfect, I definitely threw away my first few tries and my finished products are not perfect either — you won’t notice when you pour on the cinnamon I promise!
One tip that I found helpful, especially when cutting out more rounded shapes (like the heart emoji eyes), was to use the back side of the X-acto knife tip almost like a pencil and just do a light cut to first trace out the shape. Then go back with the correct side of the blade and some harder pressure and your knife should have an easier time following the indent that you already made.

Some emojis are definitely easier than others. For example, I found the star emoji the easiest because it was a pretty simple shape and I could just cut out the stars perimeter. When it came down to the peace sign emoji, I knew I didn’t want the entire hand shape to be cut out because I wasn’t sure you would really be able to tell what the image was suppose to be, so this specific emoji took an additional step:
STEP 5 1/2: If you’re working with a more detailed emoji (like the peace sign hand), you will want to draw out first what areas you are going to be cutting out. So for the peace sign, I wanted to see the detailed inside lines so I knew I wanted to just take out an outline of the shape. But if I carved around the whole outside then the middle would be gone, so it took a bit of thinking through where there needed to be breaks in the lines so that the image didn’t fall through. Think pumpkin carving — same concept!

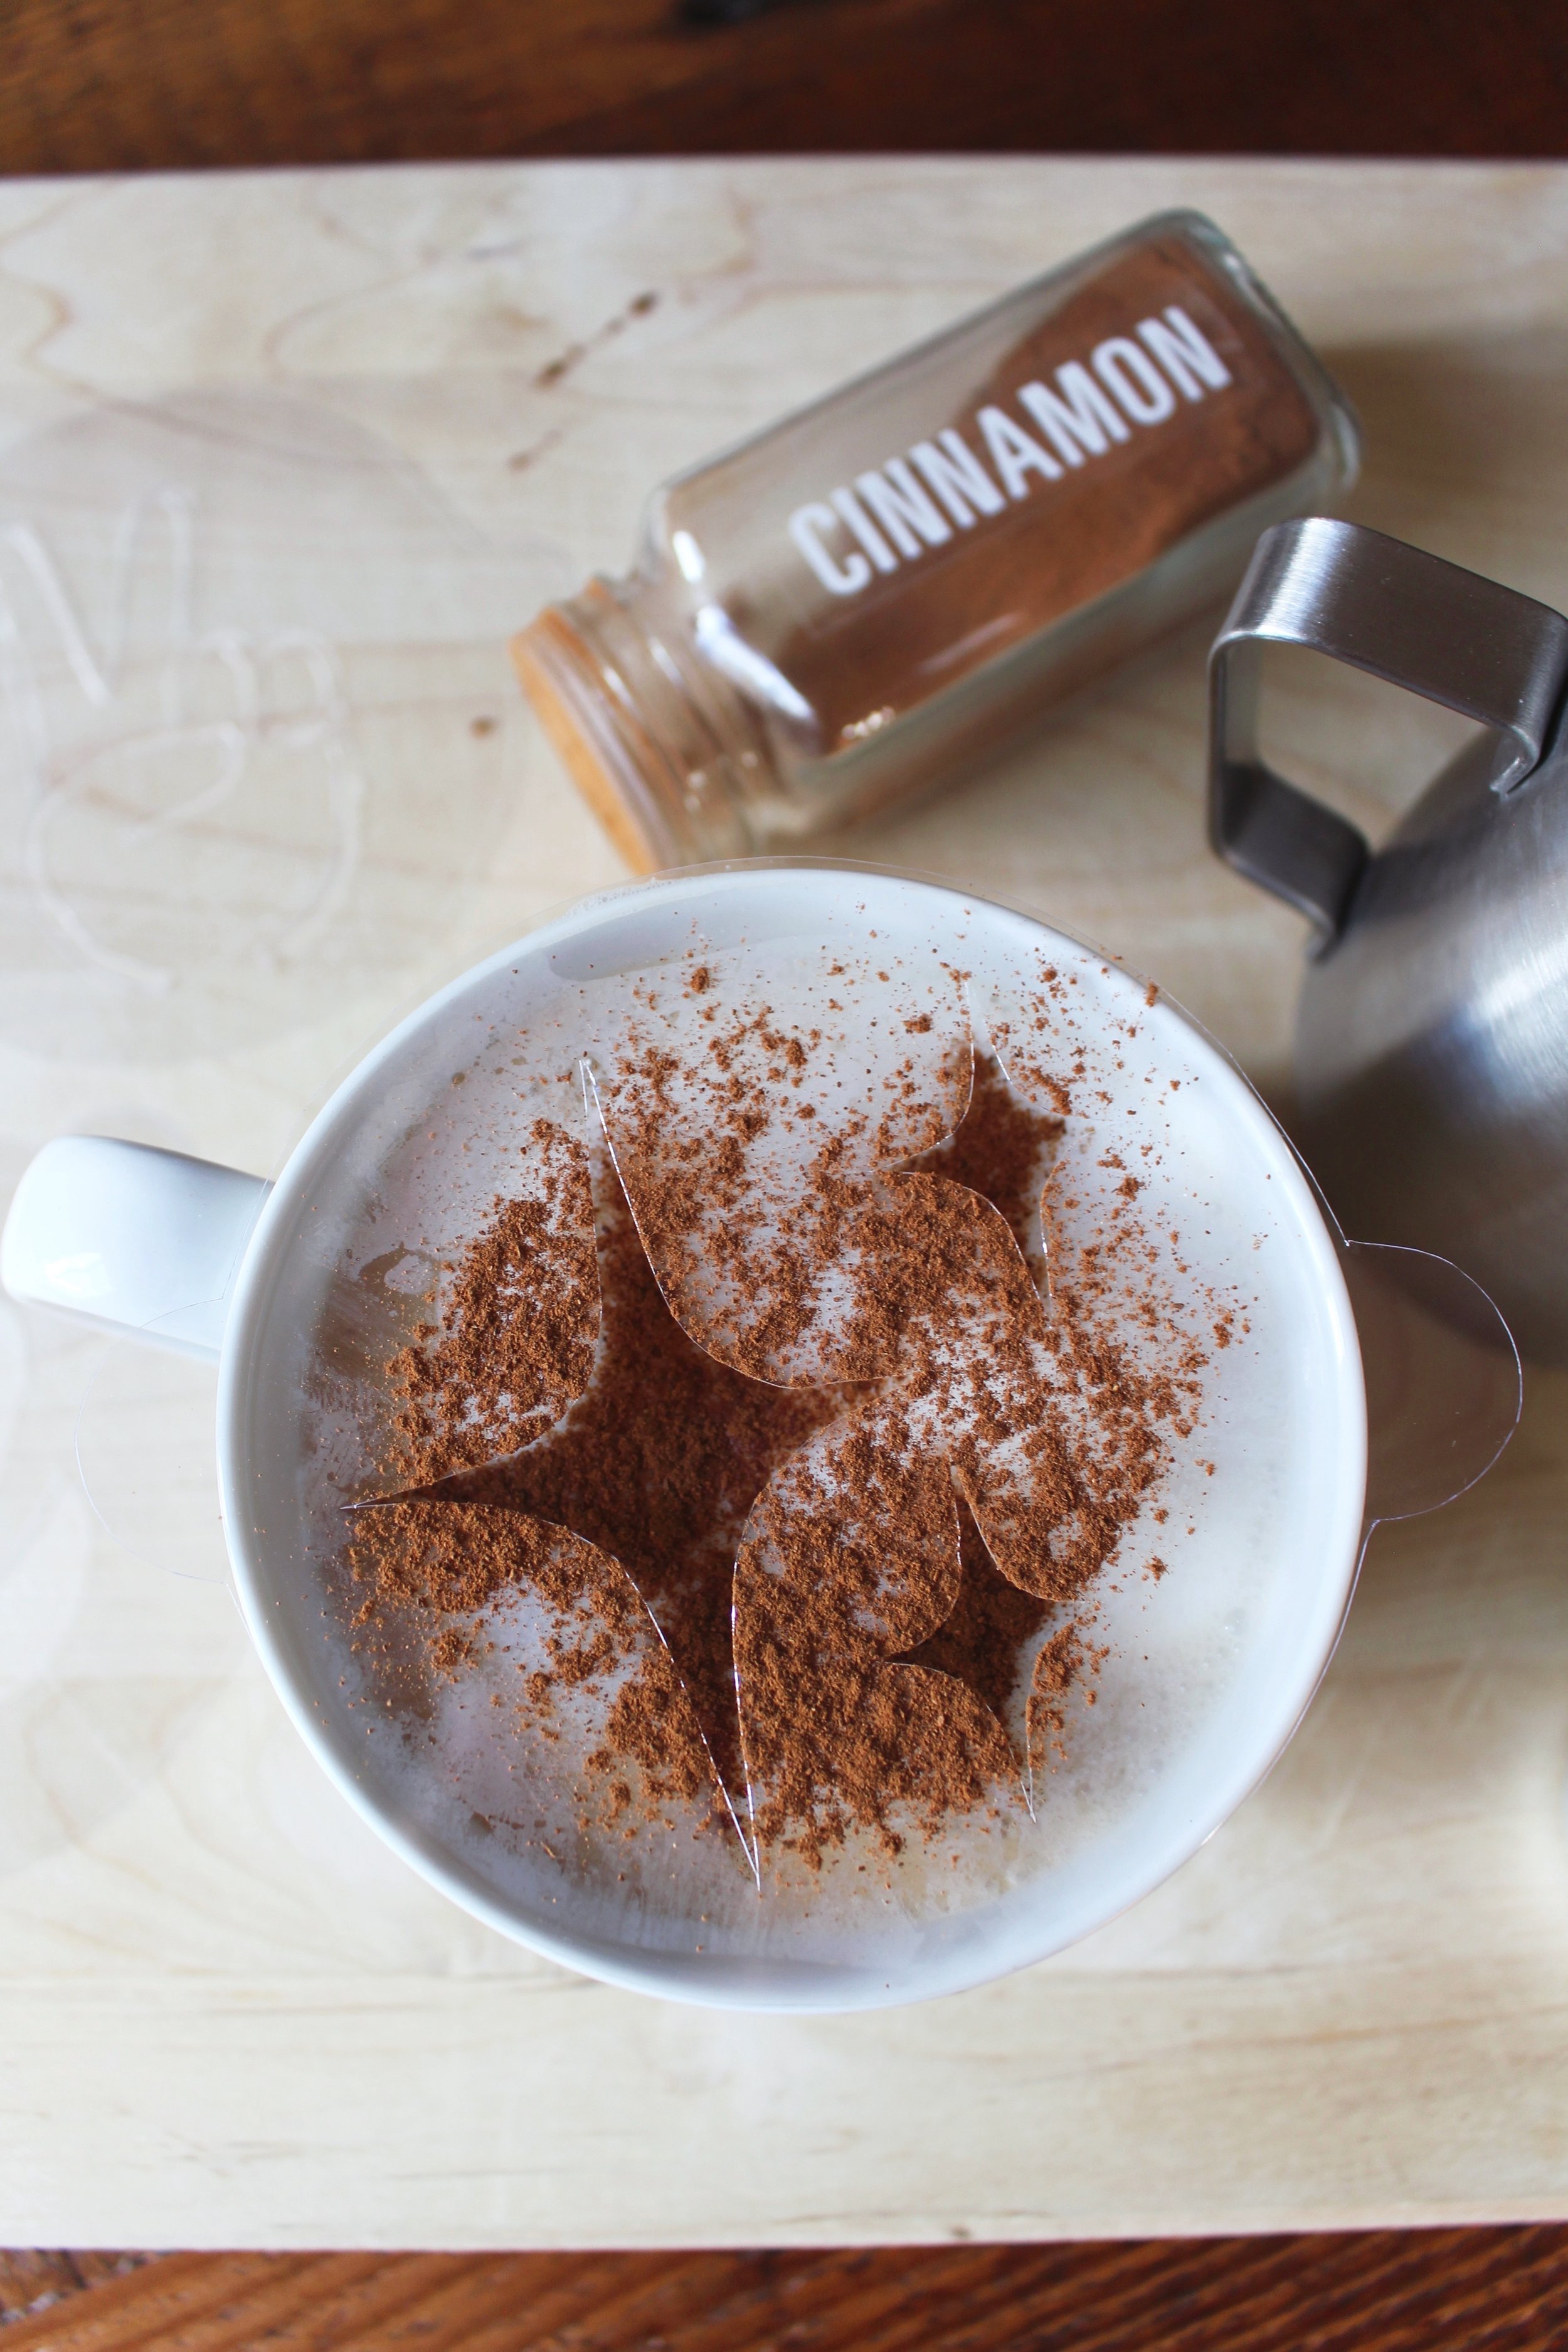
STEP 6: Now that your stencils are fully cut out, give the stencils a quick wash with dish soap just to make sure you get off any little extra slivers of acetate paper that they may be covered in. As your stencils are drying, it’s time to make your drink of choice! For this project, I used our Nespresso machine to make an Oat Milk Latte. I brewed the espresso and steamed & frothed the oat milk. Then I poured the oat milk into the coffee. You could totally use any type of drink as long as it has a frothy top — cappuccino, hot chocolate, etc.


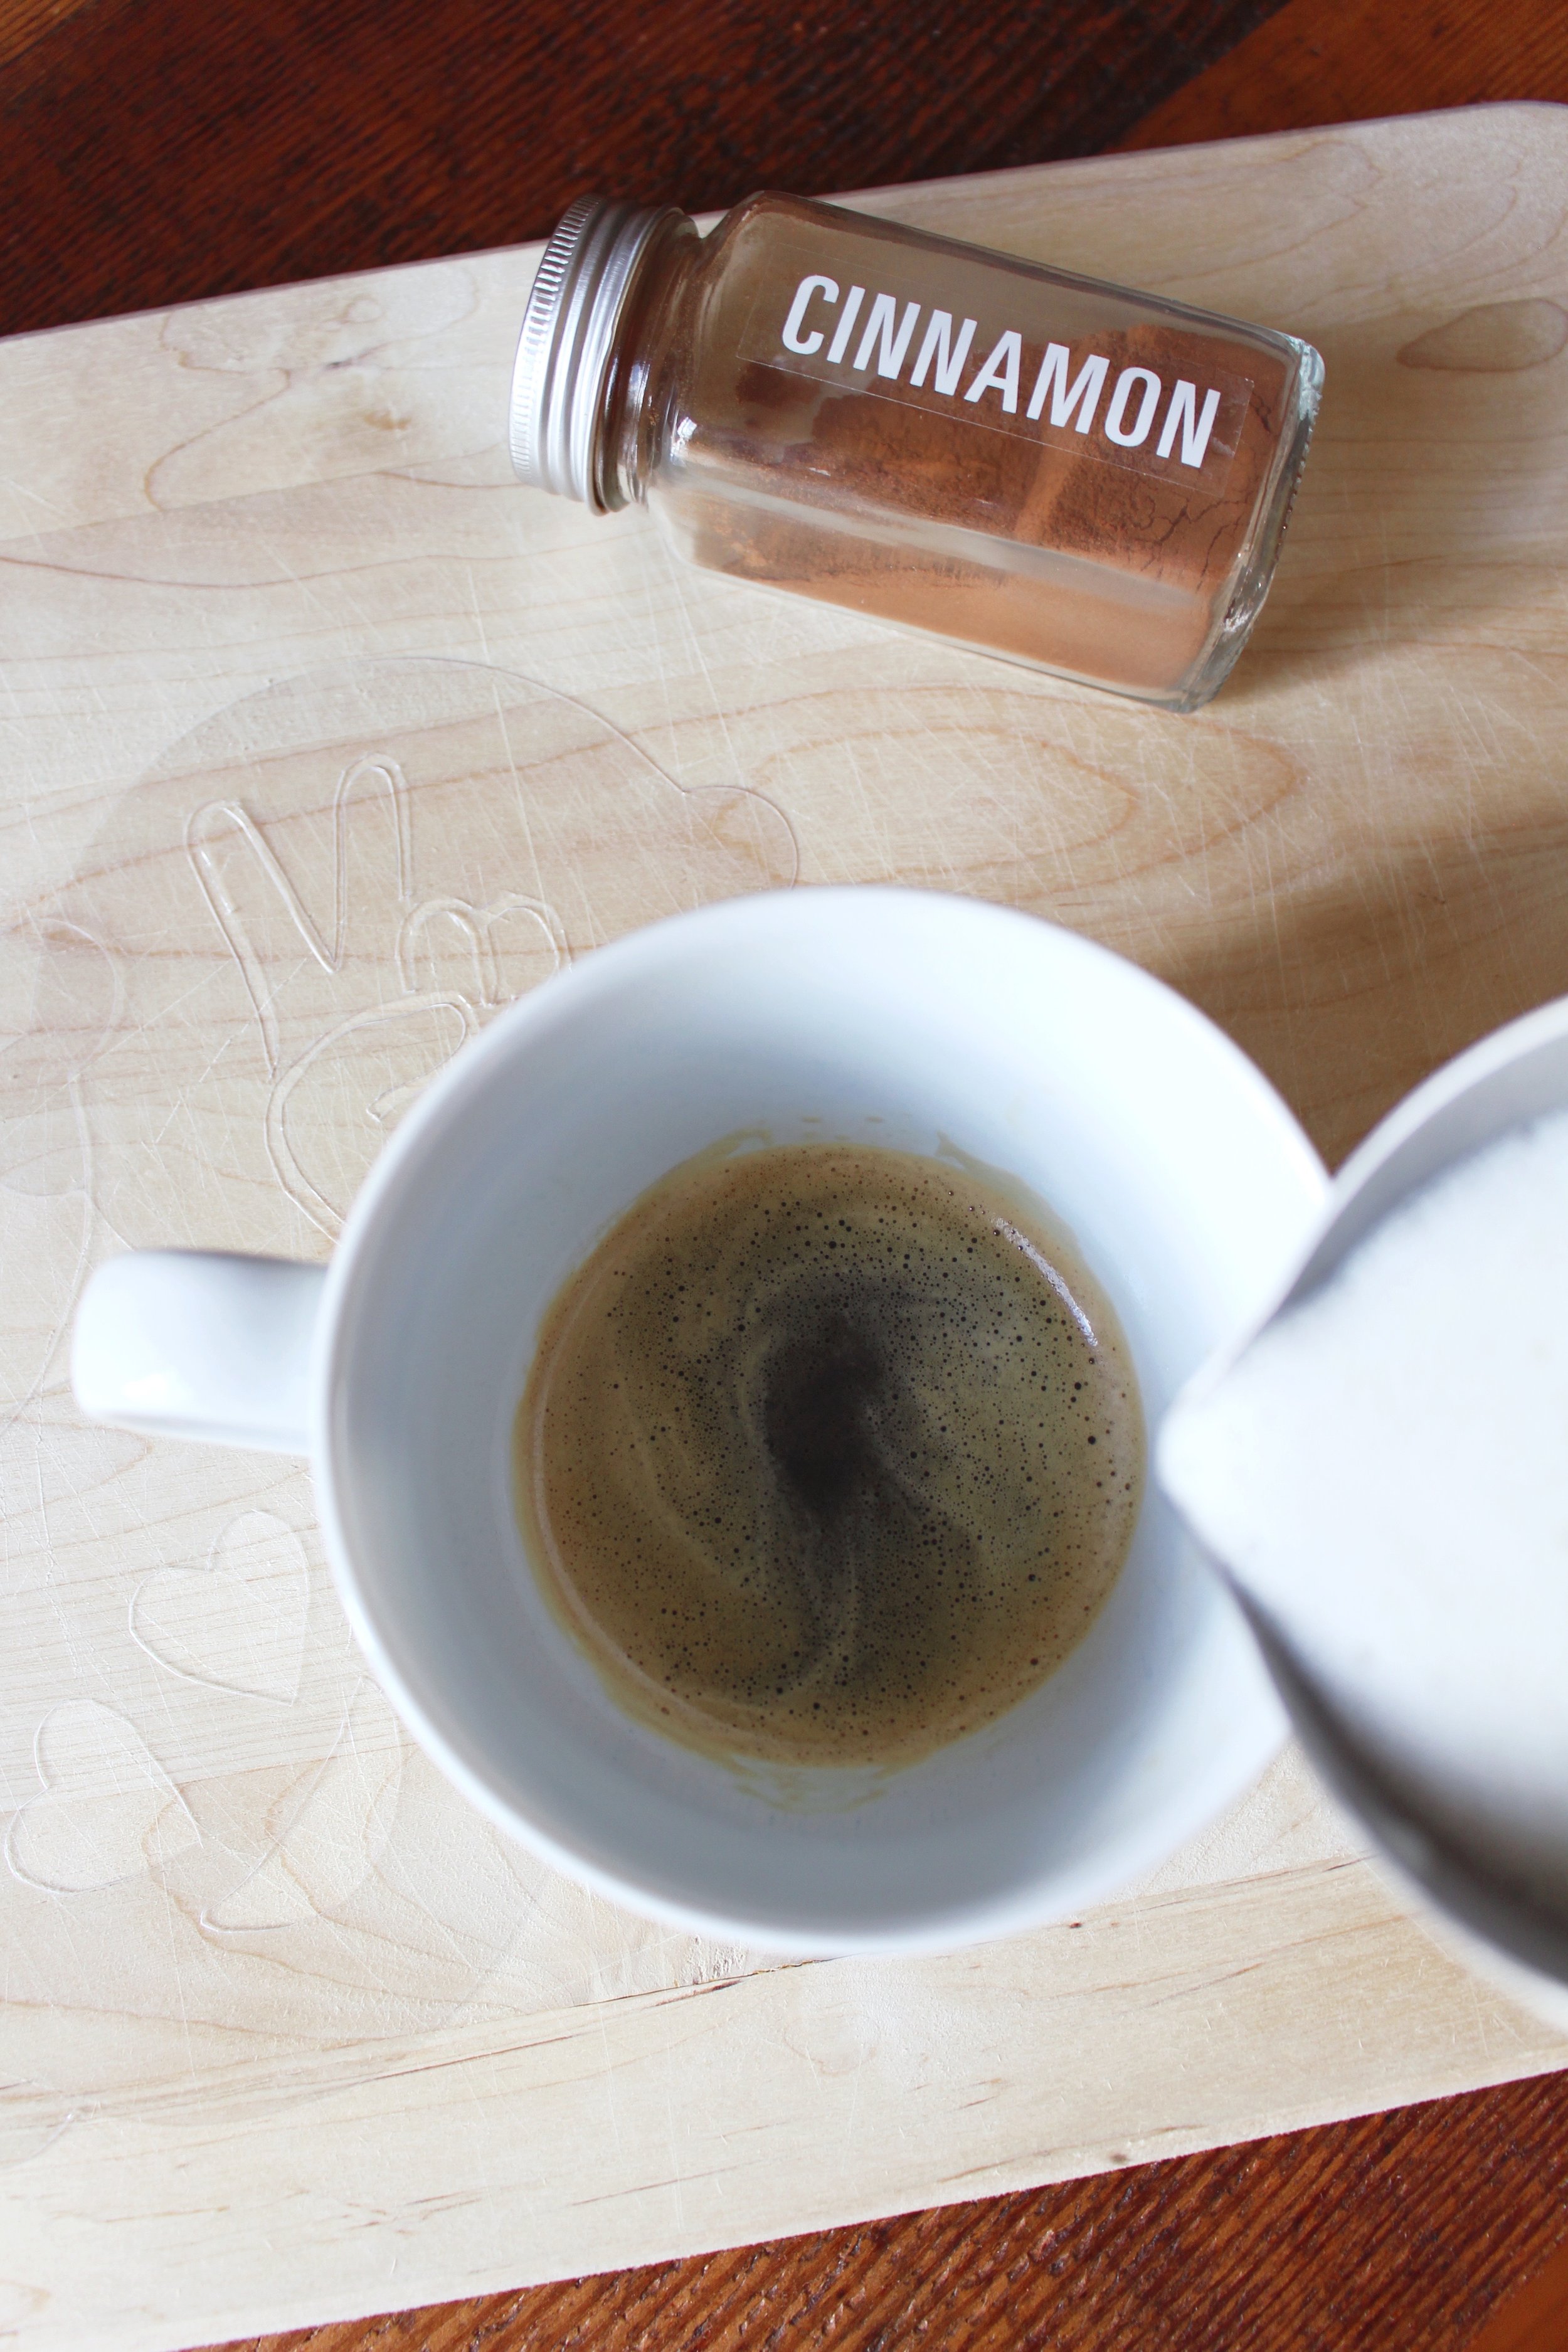
STEP 7: Place your emoji stencil over the top of your coffee mug, it should rest on the top because of the handles you created. Hold the stencil in place. Now using ground cinnamon (you could also use cocoa powder, pumpkin spice, etc.) shake the spice over the stencil and try to cover the full top so that every part of your stencil is filled in. Gently remove the stencil in one swift motion so you don’t shake any of the access powder into the coffee.


And that’s all there is to it! I hope this fun addition to your morning coffee brings you some extra joy. Is it a completely unnecessary detail? Yes, yes it is. But sometimes a simple extra special step can brighten someone’s day! So I would recommend this DIY if you’re brewing up a special drink for a partner or friend. It would also be a cute gift to put together a set of these and package them up to gift to a friend! What are your fav emojis that you would use for this project??
xo Rachael

