
Holiday Recipe Book with the Glowforge Aura (DIY Gift Idea!)
Even though Christmas is already practically here, I have one more DIY gift idea that I want to share with you. And if you don’t have time to put this together this season, you can definitely save it to do next year as a special DIY gift for a loved one!
I’m so excited to be working with Glowforge® again for this holiday post. Have I mentioned how much I love the Glowforge Aura™ machine? Because I love it! You can do so many things with this compact desktop Craft Laser and create some really beautiful and professional looking DIY pieces. And if you are interested in adding this tool to your craft supply this holiday season, Glowforge is sharing some amazing Holiday Magic offers — like $200 off the Glowforge Aura (in-stores at Best Buy, JOANN, Michaels, and on Glowforge.com) and flexible monthly payment options.

I will be the first to admit that I’m not the best cook or baker. My creativity is reserved mostly for crafting and decorating despite my best attemps at trying to be a good baker. But there is one time of year that I think just about everyone becomes a baker extraordinaire…and that is the holidays!
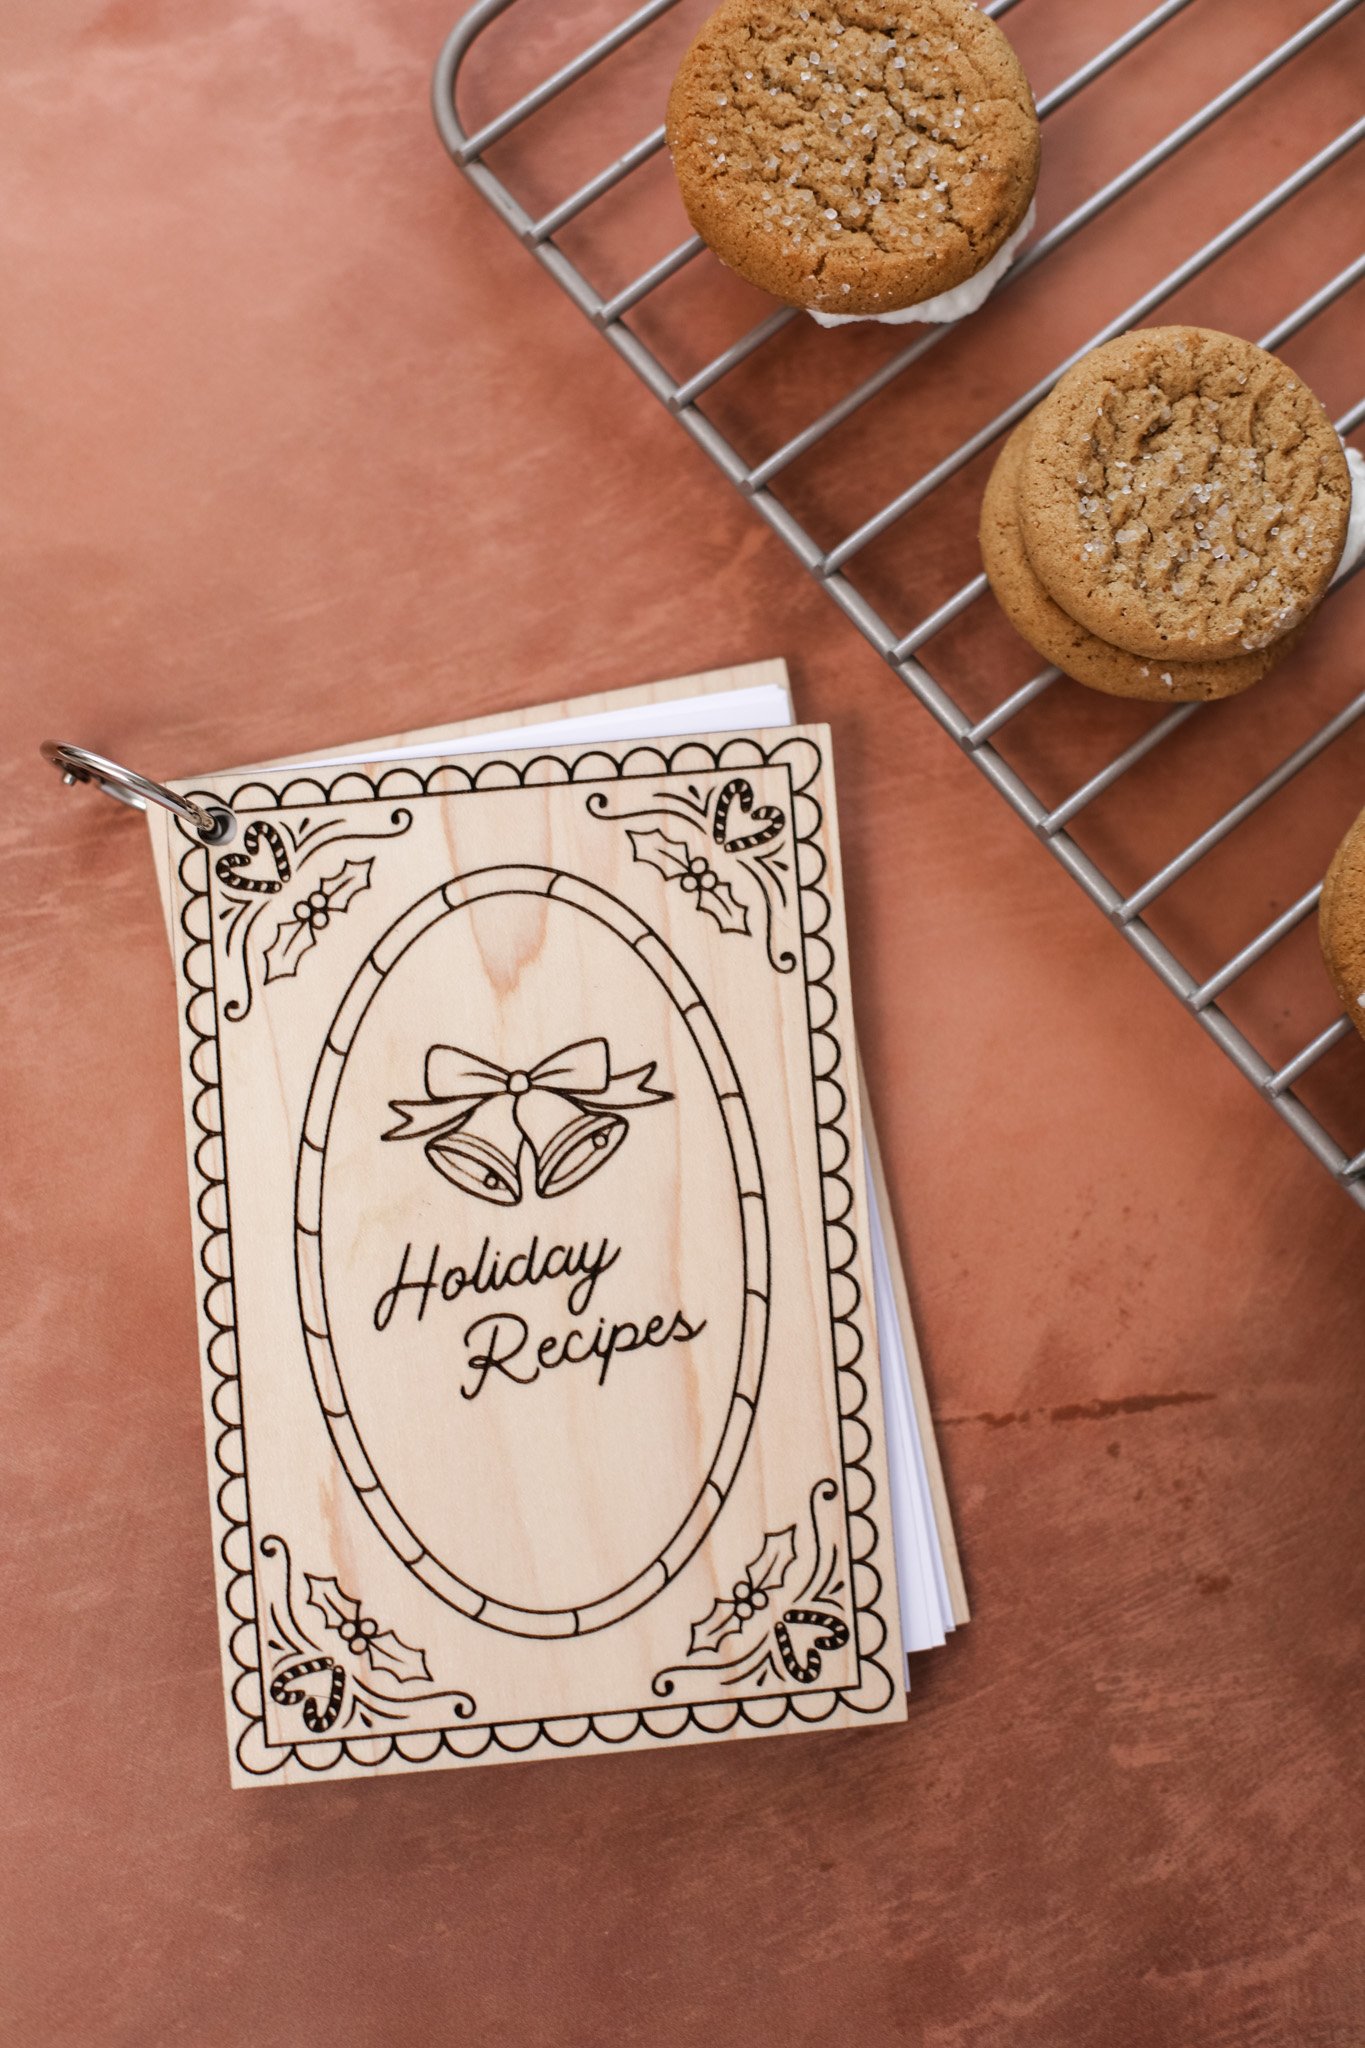
And okay, these recipes that I’m making are not revolutionary by any means but they are certainly nostalgic. I have acquired a handful of yummy holiday recipes throughout the years from my family and friends so I thought it would be fun to put together a “Holiday Recipe Book” to pull out every year to be reminded of some classic dishes that I want to make. So follow along below to see how I put together this simple wooden DIY holiday recipe book with the Glowforge Aura!

Affiliate disclosure: This post may contain affiliate links. When you buy from these links, I may earn a small commission, at no additional cost to you. As an Amazon Associate, I may earn commissions from qualifying purchases from Amazon.com. Thank you for your support!
HOW TO MAKE A HOLIDAY RECIPE BOOK WITH THE GLOWFORGE AURA
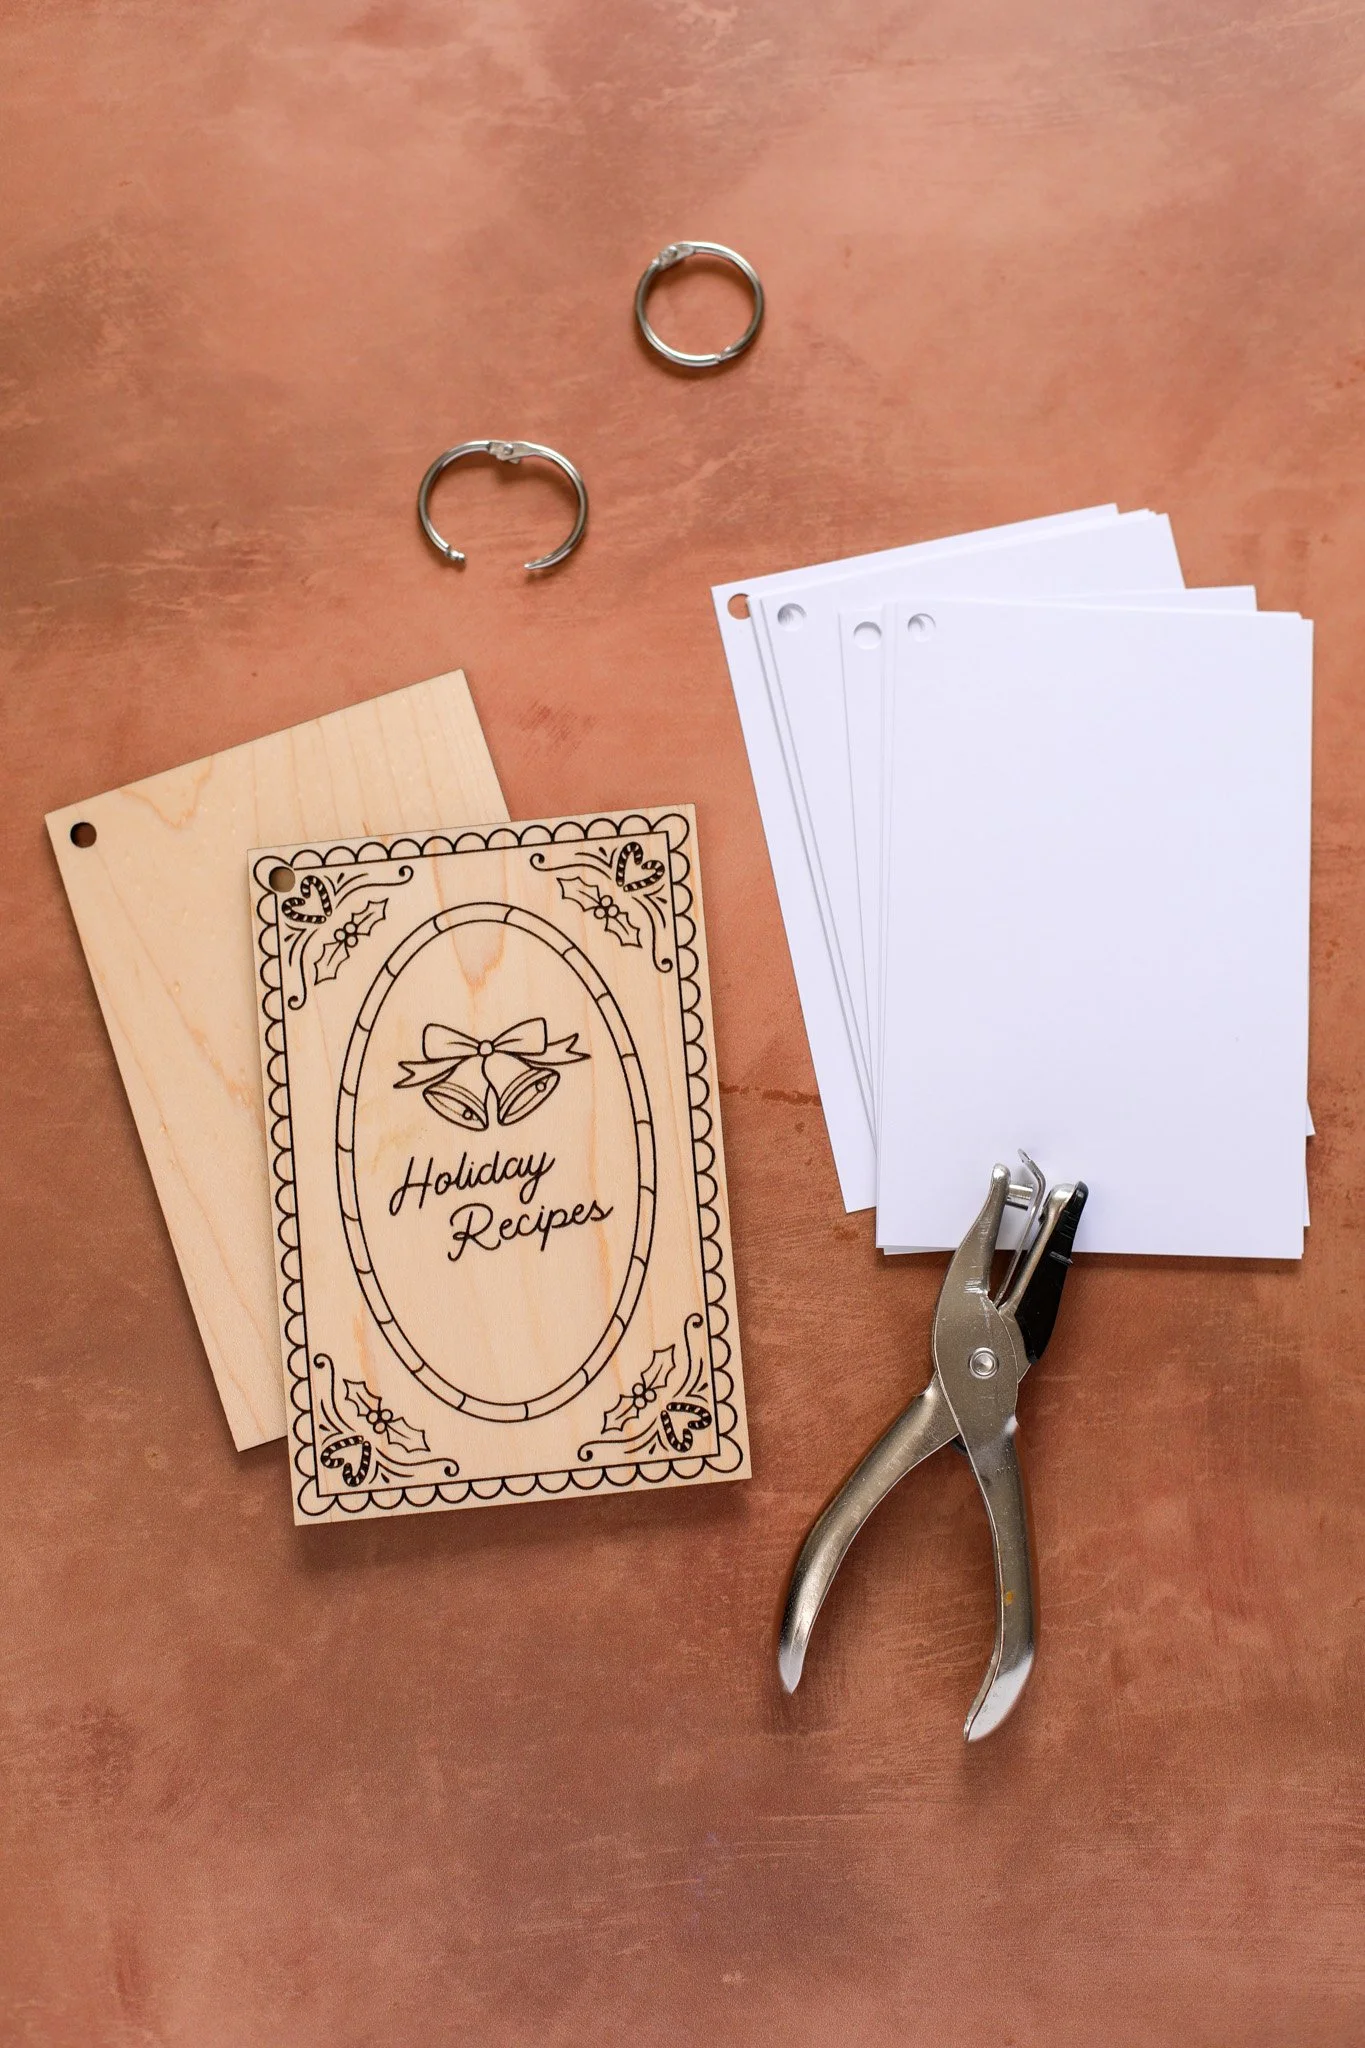
Supplies:
Glowforge Personal Filter™ (or vent your Glowforge Aura through a window with the included hose!)
Proofgrade® Medium Maple Hardwood (I used two 6”x12” sheets)
White cardstock paper
Scissors
Hole punch
Pens/markers/colored pencils
Weeding tool (optional)
ETI’s Holiday Recipe Book PDF files (download below!)

STEP 1: Download the Holiday Recipe Book PDF files above (there will be two different images).
STEP 2: Place your first piece of Medium Maple Hardwood into the Glowforge Aura machine. Go into the Glowforge app at app.glowforge.com and upload the first Holiday Recipe Book PDF file. This is going to be the front cover of your recipe book. The image should have blue interior artwork with a red outline and a red circle in the bottom left corner. Move the image around if needed to place it on the image of the hardwood.
Since we are working with Proofgrade material for this project, the machine should automatically be able to identify the correct settings from the attached QR code. But make sure that the top left corner of the app says “Medium Maple Hardwood.” You will also want to double check that the correct pieces are being engraved vs cut out. So look on the left side of the screen to be sure the interior (blue) artwork says “engrave” and the outline & circle (red) both say “cut”.
If all of this is correct, go ahead and click print in the top right corner. It may take a few minutes for the machine to get ready to print, and be prepared for the etching time to estimate about 2.5 hours.
Once it’s ready, click the big blinking button on the Glowforge Aura machine and it will begin to slowly etch the surface of the hardwood.


The project will look something like this once it is done etching & cutting! Remove the pieces of wood from the machine and set aside while you cut out the book’s back cover.
STEP 3: Place your second piece of Medium Maple Hardwood into the machine and head back to the Glowforge App. This time create a new design and upload the second Holiday Recipe Book PDF file. This will be the back cover of your recipe book. There will just be a red outline and a red circle that should both be labeled as “cut.”
Click print in the top right corner again and then click the blinking button on the Glowforge. Since this piece is only being cut out and not engraved it should only take about 10-15 minutes for this step.

The back cover will look like this once the Glowforge is done cutting it out.
STEP 4: The Proofgrade maple hardwood has a layer of protective masking tape over both sides of the wood. Use your fingernail or a weeding tool to gently lift the corner of the protective tape and peel off both sides of the wood pieces. For the front cover, you will have to individually peel off every little space around the artwork so be prepared with a good audiobook or TV show on in the background :) it takes a while, but it is very satisfying!
STEP 5: Next, you are going to cut your cardstock to create your recipe book pages. Cut the cardstock to just a bit smaller than the cover and backing of the book, I did about 3.75” x 5.75”. Then punch a hole into the top right corner of each book page.
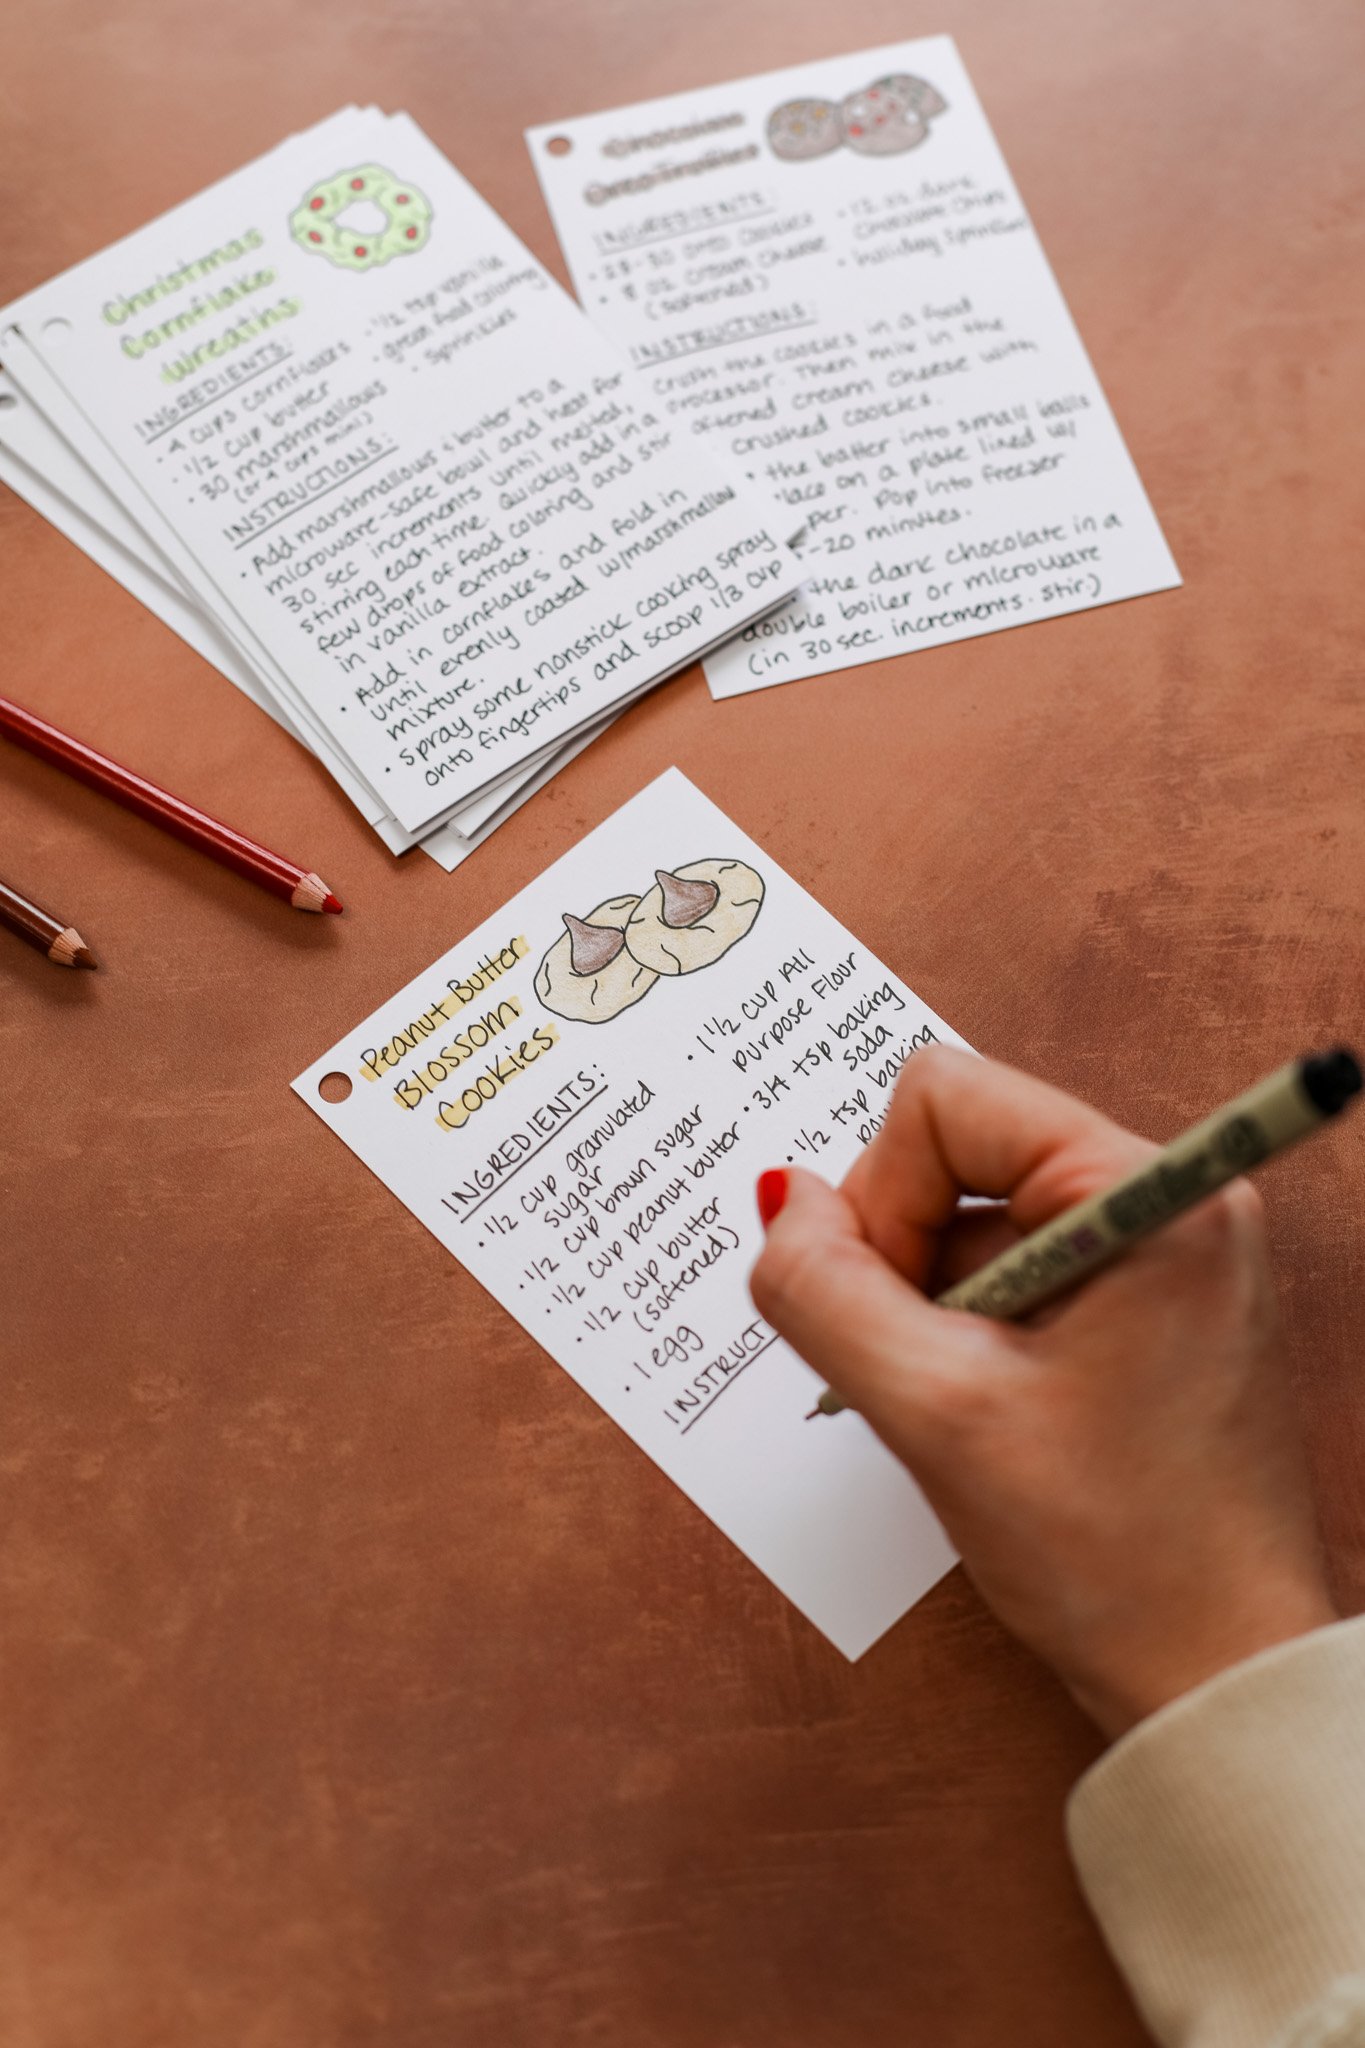
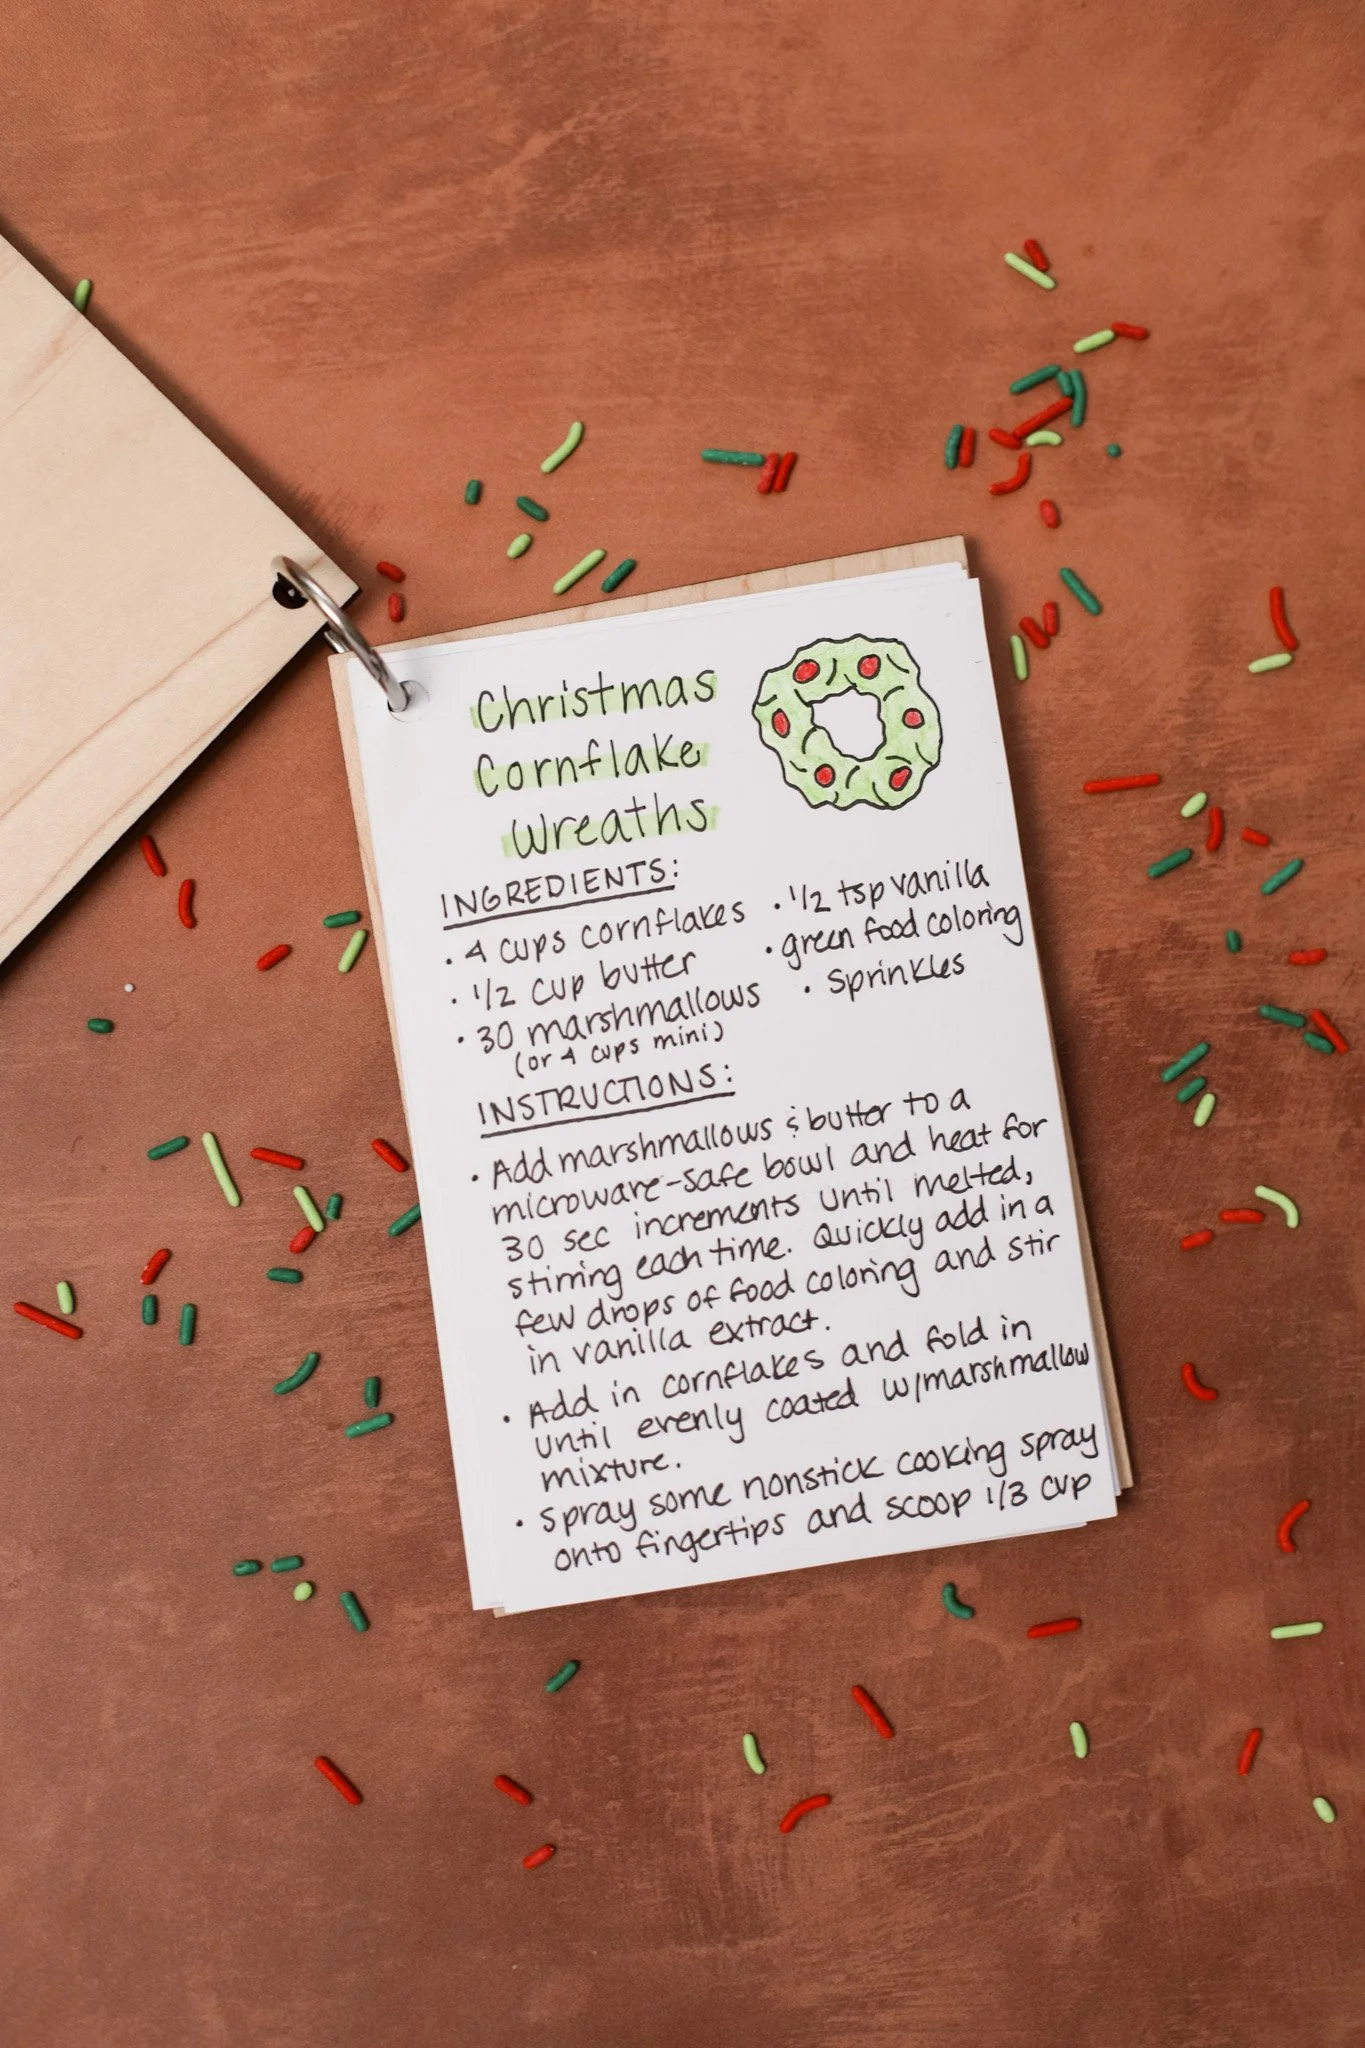
STEP 6: Now it is time to fill your recipe book with some of your favorite holiday snacks or treats. I got out my colored pencils and sketched some little pictures of each treat just to add an extra cute touch.
Collect all your recipe pages (and maybe add some extra blank ones for future recipes or if you are gifting this to a friend to add their own) and place them between the front and back cover of the book. Add your binder ring to the hole in the corner to hold everything together.
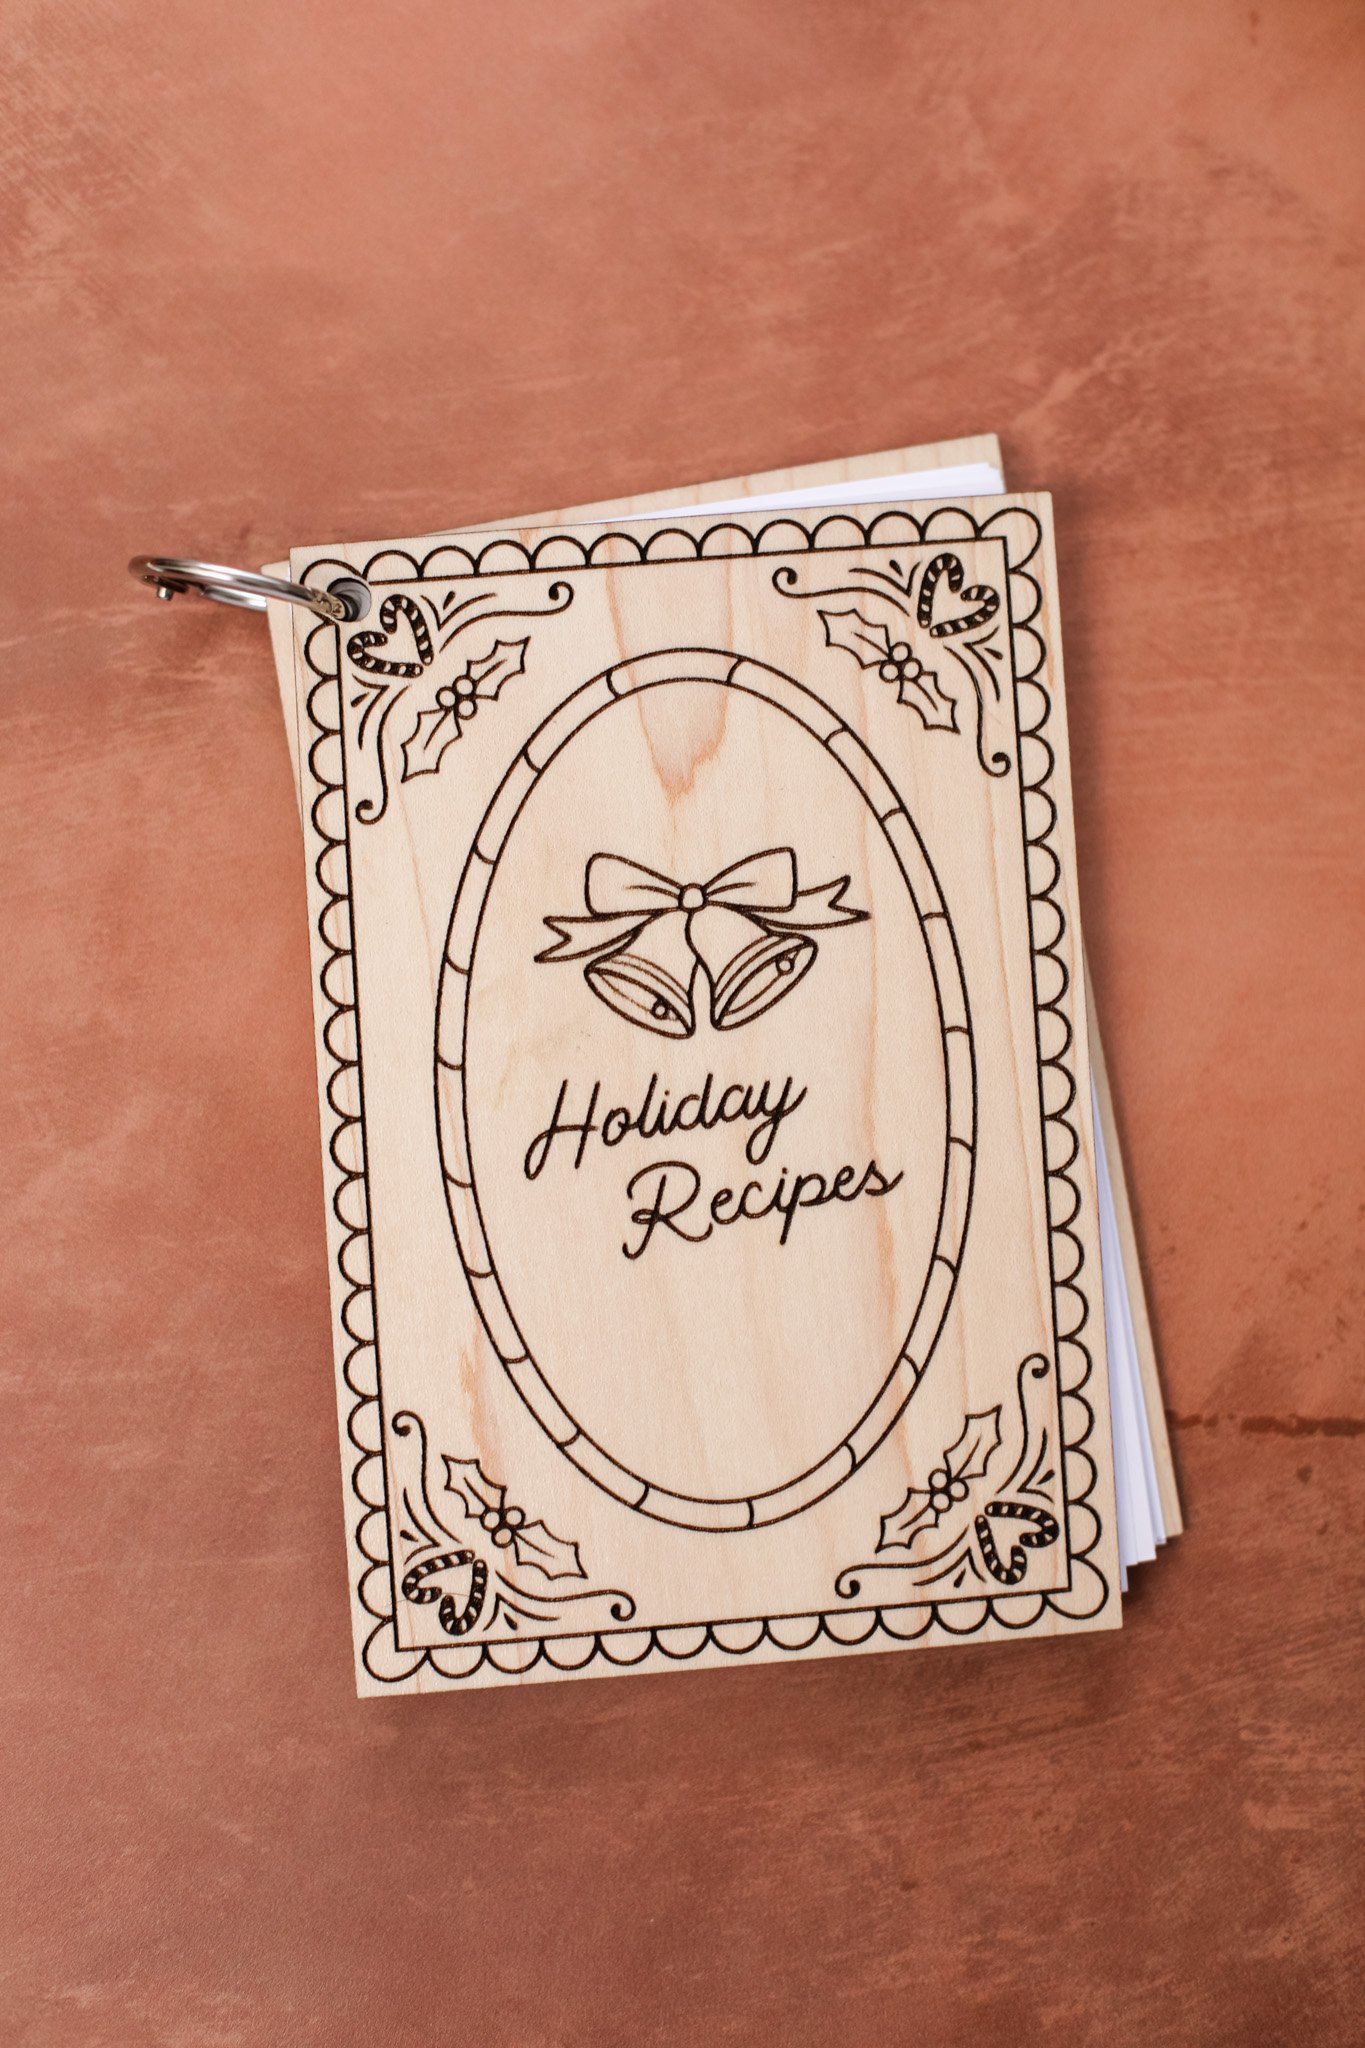
I’m so happy with how this sweet little book turned out! And it would make such a thoughtful and special gift to give with some of your personal favorite recipes written in the first few pages.
This is totally something that could one day get passed on to my future children and become a family heirloom! I might work on figuring out how to laminate the pages after I write them to keep them safe around all the cooking/baking mess. I might even consider spraying the wood cover and back with some kind of sealer to keep it protected too from any damage. Let me know if you have any ideas/tips in the comments below!

Thanks again to Glowforge for working with me on this project. I’m so excited to dream up some new projects in the new year with my Glowforge Aura.
Wishing you all a joyful holiday season!
xo Rachael

