
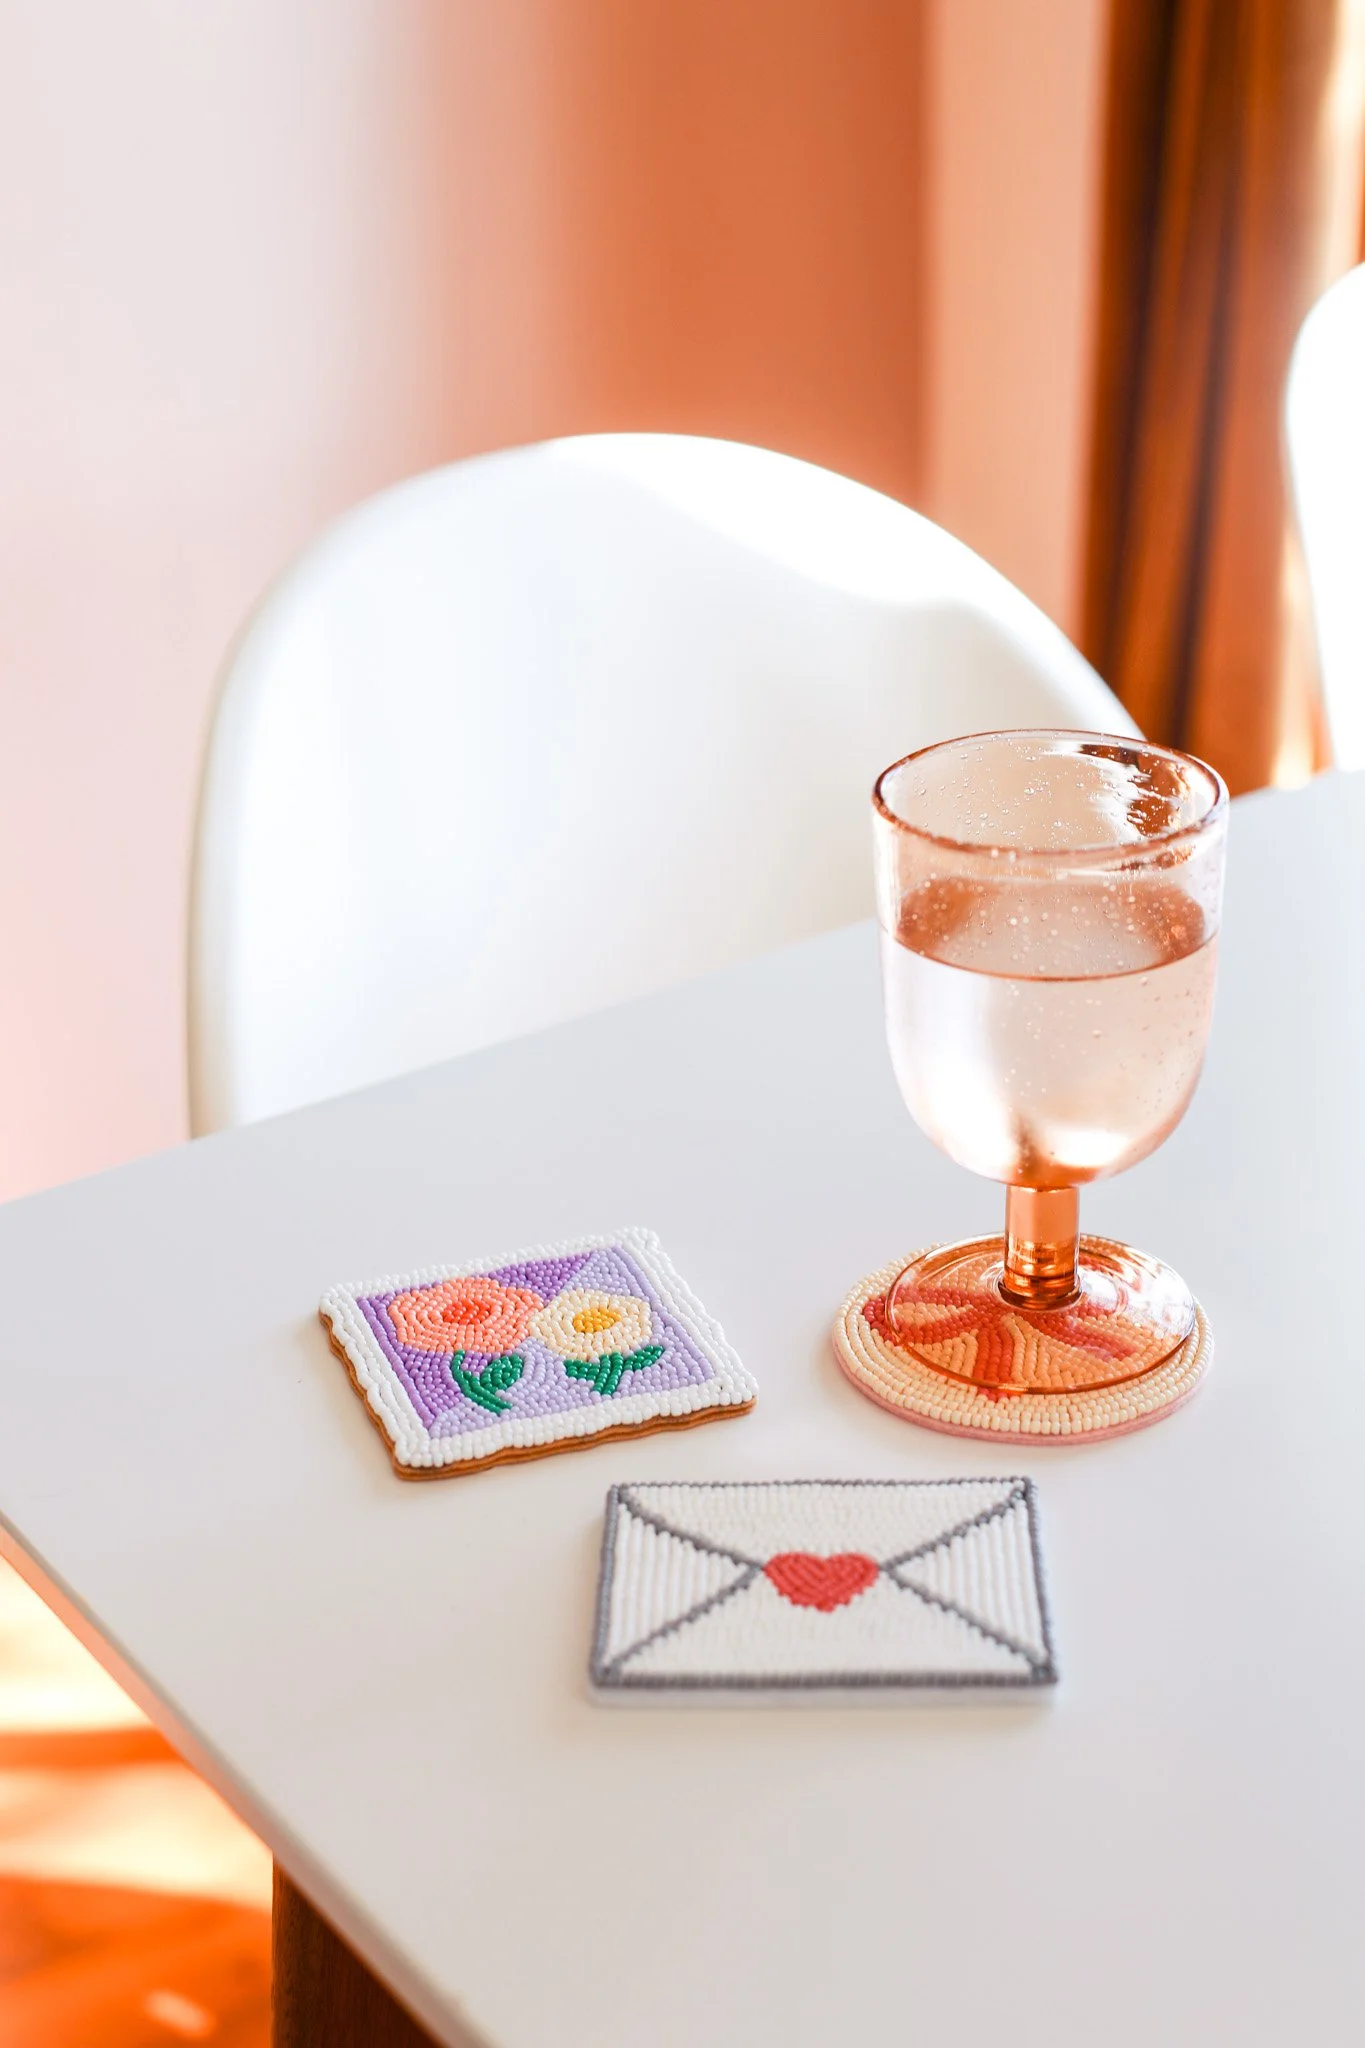
Beaded Valentine's Day Coasters
Happy Valentine’s Day! I had really great plans to have this post out wayyy before Valentine’s Day so that you all could try making these Valentine-themed coasters this year, but lemme tell you… this is a labor-intensive craft! lol I know I say that with a lot of my more monotonous projects, but this one is on another level.
I’ve been seeing these trendy beaded coasters all around the internet lately (I love this sardine coaster set from Urban Outfitters and these beetles from Oliver Bonas). And I was inspired to try to make my own set to decorate my coffee table for Valentine’s Day! And after watching countless Youtube videos, I think I finally got the hang of it!
I don’t know about you, but I love a tedious crafts that is very satisfying. Which is why I have recently got really into embroidery. Well beading is very similar. It’s a great craft to do while listening to audio books or with the TV on in the background. And once you get the hang of the process, it’s very simple and mindless. I don’t even want to talk about how many audio books I listened to while creating these 3 coasters (HA!). But without further ado, here is my tutorial on how I made these sweet beaded coasters!
Affiliate disclosure: This post may contain affiliate links. When you buy from these links, I may earn a small commission, at no additional cost to you. As an Amazon Associate, I may earn commissions from qualifying purchases from Amazon.com. Thank you for your support!
HOW TO MAKE BEADED COASTERS

Supplies:
Stiffened felt sheets (it’s best to try to match the color with the majority of your background bead color)
Beading needles (I used this set which comes with threaders, scissors, etc.)
White nylon beading thread (I used this type)
Assorted seed beads (I used all 3mm or 8/0 size) - I got these big packs of beige and white and then I ordered a few little packs of beads from this Etsy Seller. I also had this pack for more color options!
Marker
Scissors
iPad or some way to trace your design through the felt
ETI’s Valentine’s Day Coaster Templates (download below!)

STEP 1: To begin, you will need to trace your design onto your felt. Cut a small piece of stiffened felt to about 5” x 5” in size so it is easier to work with. Lighter color felt will work best so that you can easily see through to trace your design.
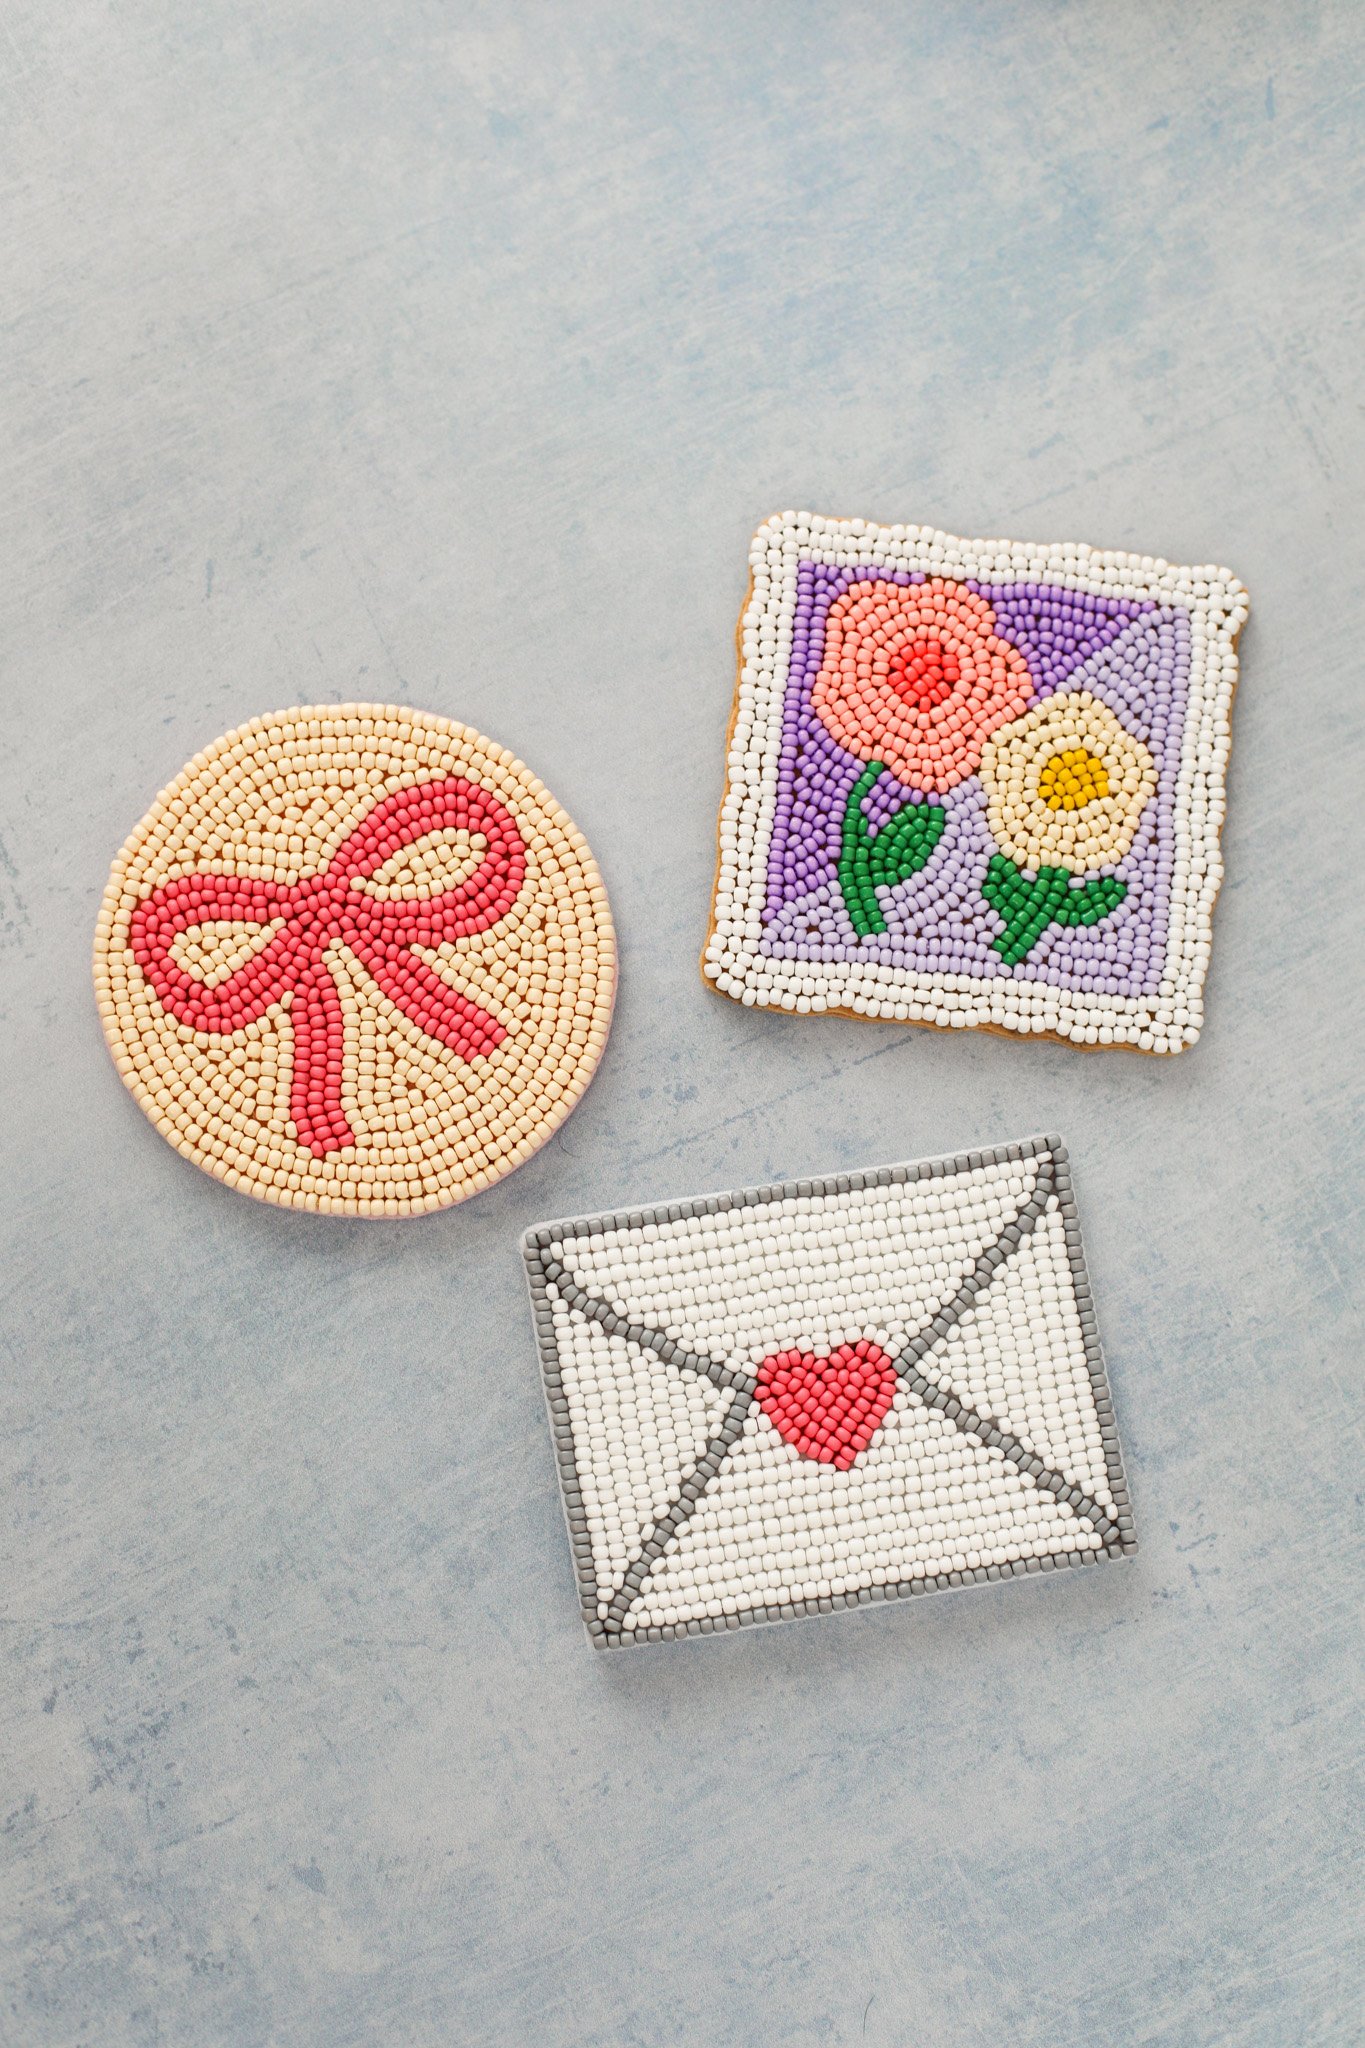
Open your design (the JPEG files above) on your iPad, preferably in an app like Photoshop where you can adjust the size you are viewing the image at. There may be a better/more accurate way to do this, but to adjust the size I literally just zoomed in and out of my image while holding an actual ruler up to the screen until the height of the design (from the top to the bottom of the envelope) was roughly 3” wide. For the bow coaster I just made sure the diameter was about 3.5” and for the stamp coaster I adjusted it to be about 3.5” x 3.5”.

Set your screen brightness all the way up to 100% and go to a dark location. Then set your piece of felt over the design and you should be able to see the lines through the felt. Carefully trace the lines with a marker on your felt.
TIP!: In some cases, I found it easier to see the lines if I inverted the design so the background was all black and the lines were all white, but whatever works best for you to trace the design.

STEP 2: Now your design is ready to bead. I will try to explain my method of beading below, but I would also highly recommend checking out this helpful Youtube video which gives you a really thorough explanation of how the beading process works.
Begin by threading your beading needle with a piece of Nylon beading thread that is about one arm span wide. Tie a double knot on the end of the thread.
Poke your needle through the back of your felt, starting at any of the lines. I found it easiest to work on the middle small details first and then work outwards. So start with the heart shape outline first.
Thread about 6 beads onto your needle and then lay them flat against your felt and try to shape them to follow the outline of the heart shape. Estimate about where this line of 6 beads will end and then stick your needle down through the felt at the end point. Pull the thread fully through the felt. At this point, the beads won’t follow the outline exactly, but don’t worry, you are going to tack them in place next.

STEP 3: Tacking your beads! This is the most important step of beading to get your beads to sit exactly where you want them. You are going to go back up through the felt with your needle but you are going to do it between each bead to create a small loop that holds the thread down. So I found the sweet spot was to start with the middle beads (so between beads 3 and 4). Thread your needle UP through the felt on the line where you want your bead line to sit between beads 3 and 4. Then thread back DOWN on the other side of the line and pull your thread tight. The bead line should now be starting to follow your outline. Repeat this tacking process between all 6 beads so the beads accurately line up along your marker line.
STEP 4: To continue with this outline, you need your thread to be sticking out of the last bead. So after your last tack, thread your needle up through the felt again at the start of your 6 beads and then thread the needle through the hole of all 6 beads and pull tight so that the end of your thread is now sticking out of bead #6. You can now continue with the next 6 beads.
Repeat this process of threading on 6 beads, tacking them in place along the marker line, and pulling your thread back through the section of 6 beads, until your heart outline is complete.


STEP 5: Now you can begin filling in the heart shape. You are going to use the same process, but because the area is a weird shape, you may have to use less than 6 beads. Start a line of beads following your outline on the inside of the shape. There may be spots where you can only do a few beads in a row or maybe only one bead. Seed beads are not always a consistent shape, so look out for larger or smaller beads to fill in tiny holes in your design. And you may need to get creative with the direction you place the beads. Some places it might be best to thread on a bead going a different direction. It is kind of like a puzzle at this point to try to fill the remaining space by threading on beads randomly.
Once you are in the “filling in portion” of beading, it is not as important to constantly bring your thread back through the hole of the beads since you don’t always need the end of your thread to be running in a certain direction.
If you are placing beads on individually you can simply thread up through the felt add your one bead then thread back down on the other side and pull tight. But if you thread on more than one bead, be sure to still do your tacking stitch between the beads to secure them in place.


STEP 6: Once your heart shape is complete and filled in, I would begin on the envelop outline next. I used a grey colored bead for this and I just beaded along the marker outline (as described in steps 2-4).

Then finally, I filled in the entire envelop section with white beads. This took a really long time, so again, a good project to work on while watching TV or listening to a good audio book lol.
NOTE: If you run out of thread any time throughout the process, just tie a double knot on the back of your thread as close to the felt backing as possible then trim off any extra. Start again with a new piece of thread, going up through the felt from the back and continue wherever you left off.


STEP 7: Your beaded design is now complete! Let’s turn it into a coaster. Carefully cut out your felt along the outline of your beaded shape. Be careful not to cut any of your thread on the back of the felt because that will cause beads to fall off of your design. Just get as close as possible to the edge without cutting your threads.

Use Tacky glue to now glue your completed project onto another piece of the same color of stiffened felt. This piece of felt will act as a backing to cover up all of your thread pieces. Let the glue dry for a while, then carefully cut your new piece of felt, following the same edge line. Add extra glue around the edges if needed. And your coaster is complete!


I’m so proud of my first attempt at beading coasters! They are not perfect by any means, but they look perfectly cute and handmade. Which is pretty much my whole aesthetic, let’s be honest.

Now that I’ve gotten a good amount of practice under my belt, I’m interested in making some other designs to have out any time of the year (not just Valentine’s Day!). You could totally use this same tutorial with any design you would like. Just look for something with limited shapes or small details, and make sure to size it around 3.5” in diameter to trace the shapes.
Hope you’re having a fun Valentine’s Day with the ones you love most.
What should I bead next?! xo Rachael

