
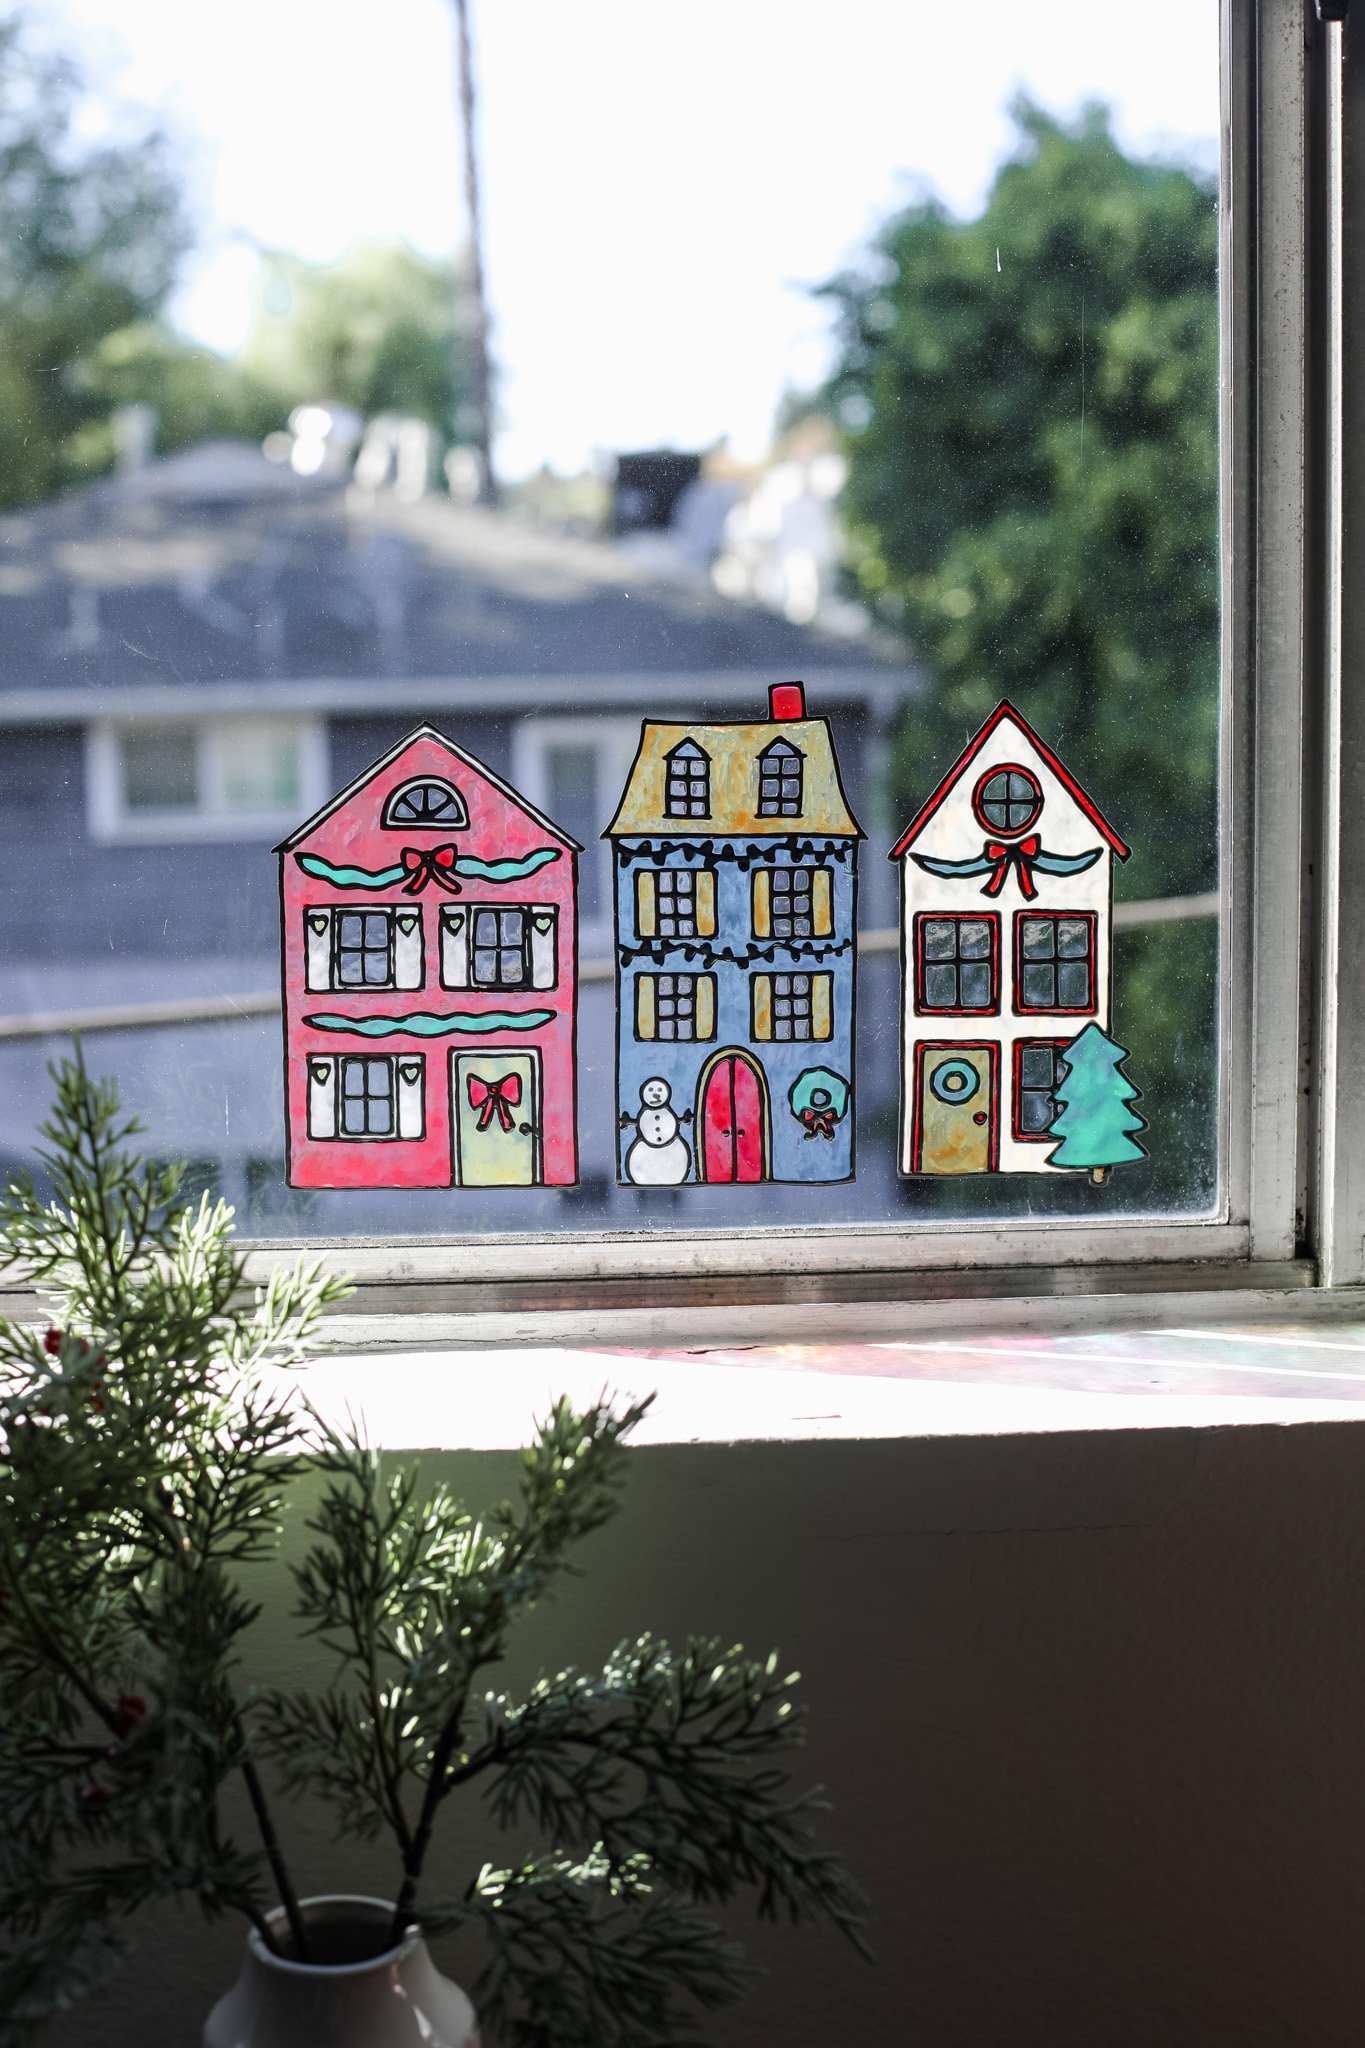
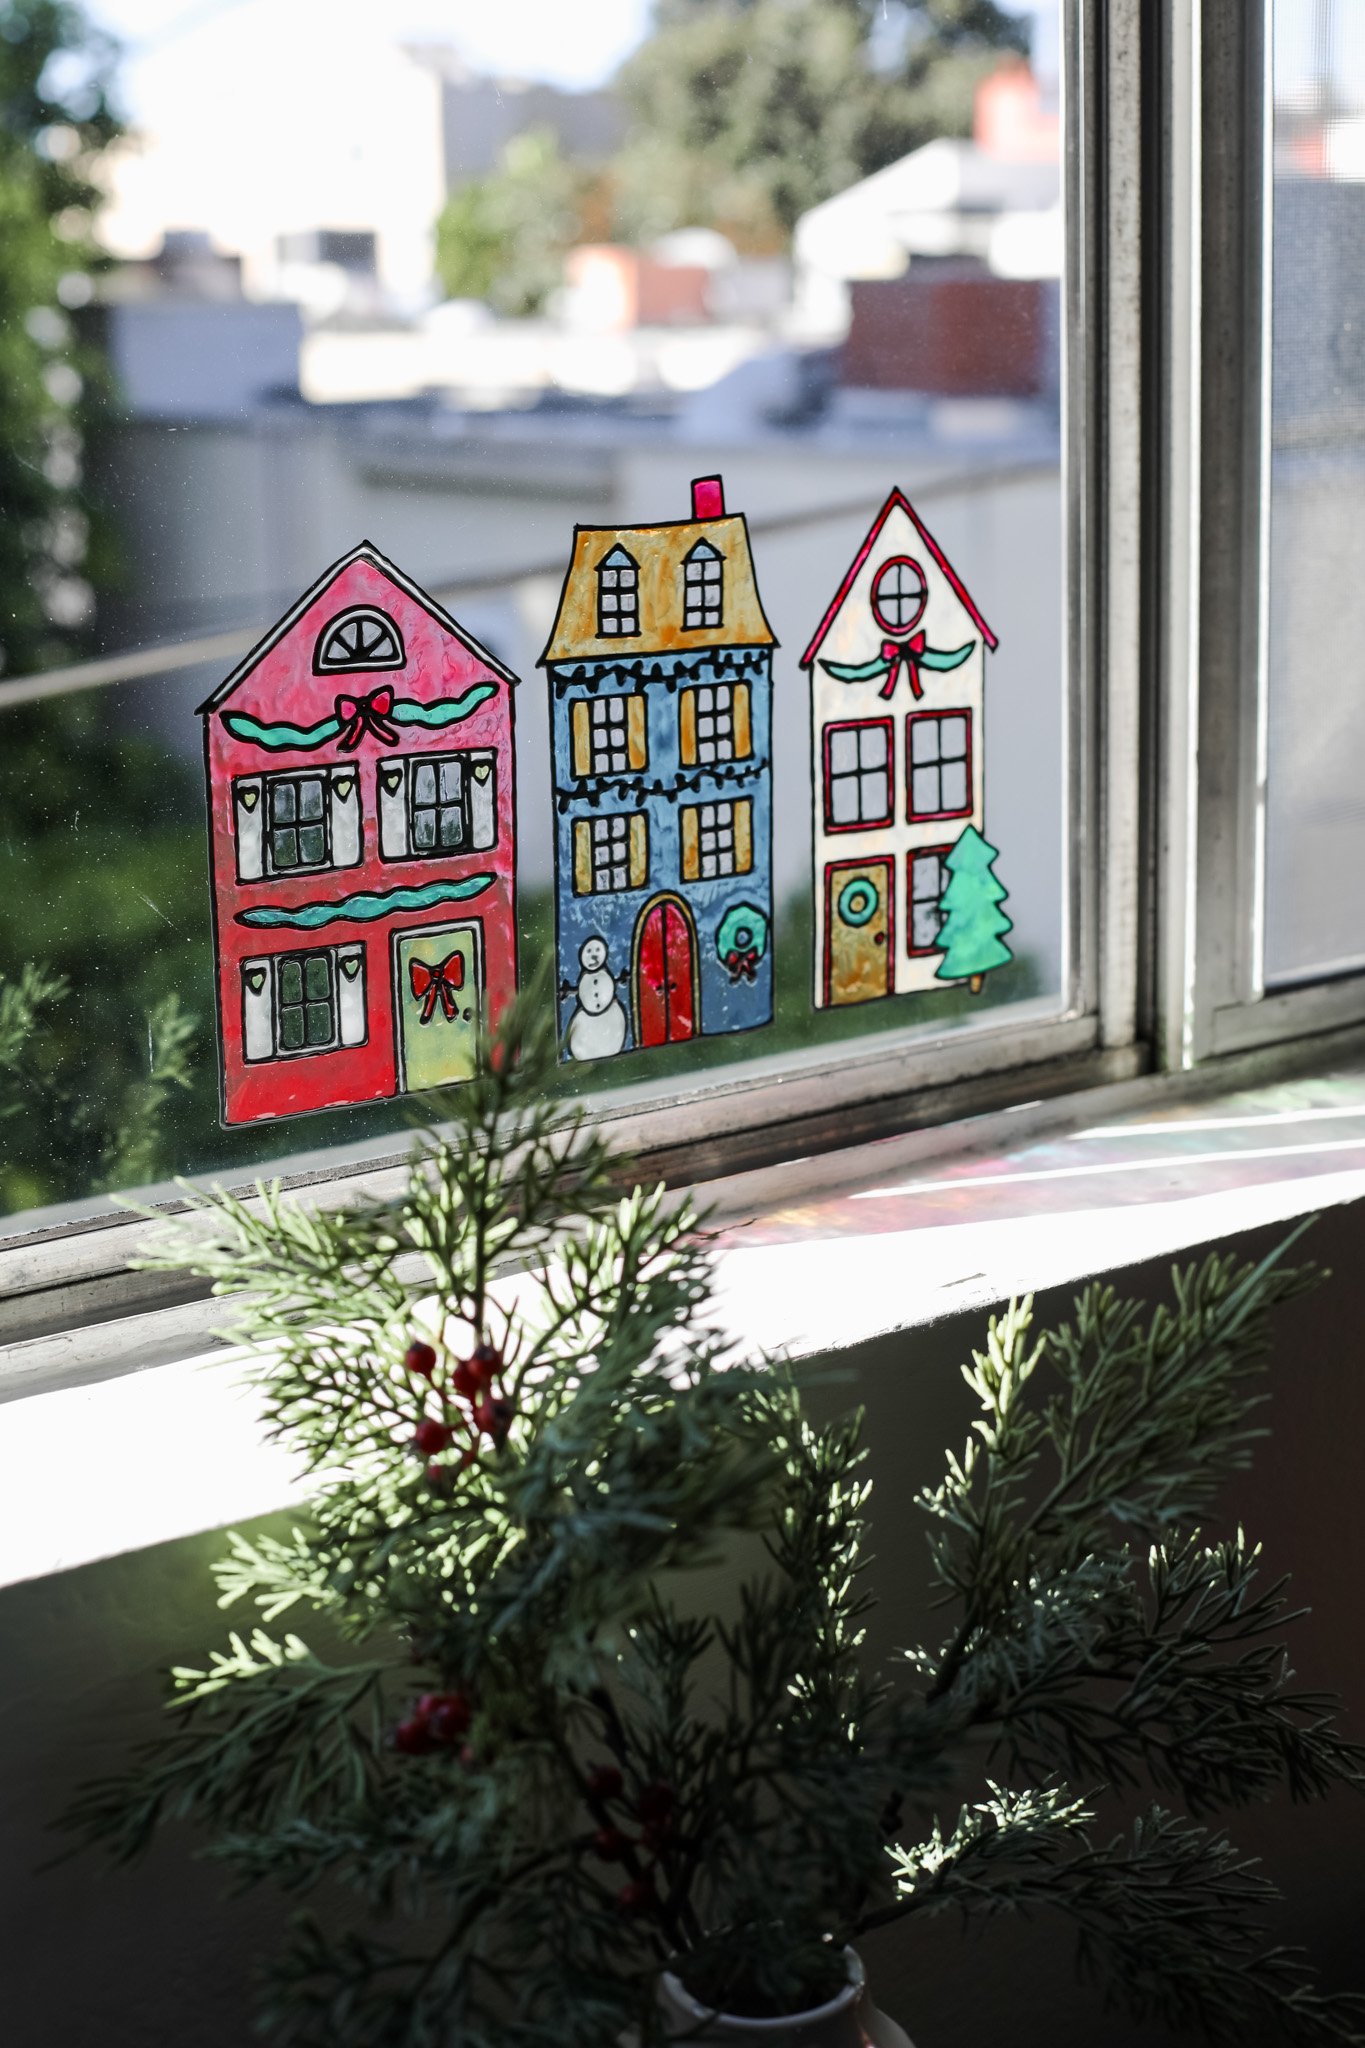
Make Your Own Christmas Village Window Clings
This holiday season has already been a crazy busy one for me! So I have not been able to put out as much Christmas content as I would like this year. But I do still have a few more fun projects up my sleeve in the coming weeks, like today’s DIY decor project idea, Christmas village window clings!
If you are anything like me, and you just don’t have the storage space for the epically extensive Christmas village collection you dream of having one day, then this craft project is for you! :) All the Christmas cuteness with a very little footprint.
This is the perfect project to work on this season if you tried out my Stained Glass Greenhouse earlier this year and want to use up more of your leftover supplies. Follow along below to see how I used my Gallery Glass paints to create my own window clings that can be easily moved around and stuck onto any glass surface.
Affiliate disclosure: This post may contain affiliate links. When you buy from these links, I may earn a small commission, at no additional cost to you. As an Amazon Associate, I may earn commissions from qualifying purchases from Amazon.com. Thank you for your support!
MAKE YOUR OWN CHRISTMAS VILLAGE WINDOW CLINGS
Supplies:
Gallery Glass paint in assorted colors (this link is for a set of all the colors but you can buy individual colors at Michael’s craft store for cheaper)
Gallery Glass crystal clear window color (I like this big bottle for larger projects but you can get away with the little 2 fl oz bottle for this project)
Glass surface — I used an old picture frame that I had around the house and just removed the glass front
Toothpicks
ETI’s Christmas Village Window Clings Templates (download the printable PDF below!)


STEP 1: Begin by printing out the Christmas Village Window Clings Templates from the link above. Set the paper template on your work surface and cover with your piece of clean glass.
STEP 2: Now you will begin making your outline. Gently squeeze your bottle of black liquid leading and trace the detail lines of the template. I found that this bottle of paint is easiest to work with if you keep the tip of the bottle up in the air above the glass surface. Lightly squeeze the bottle to get the paint flowing and then pull the line of paint in the direction you want to go with your hand. So instead of dragging the paint tip on the surface you are guiding the stream of paint in the air.
**TIP: Keep a piece of paper towel nearby to wipe off the tip of the paint frequently throughout your tracing.
These Christmas village templates include a lot of little details so feel free to add as many or as little details as you would like. I know this part is the most challenging so just be patient and try to keep as steady of lines as possible. Don’t worry about it being perfect, looking handmade adds to their charm!
Allow the black leading paint to dry overnight before continuing with the colors.

STEP 3: Next comes the fun part — filling in the shapes with color! Using the Gallery Glass paint is a little different than regular acrylic paint because you do not need to paint it on with a brush. Instead you are just going to squeeze the bottle so the space you are coloring fills with a bit of paint. Then use a toothpick to push the paint around to fill in the space entirely to the leading lines. Make sure all spaces are fully filled in up until the outlines to be sure that you don’t have any holes when you pull up your window cling.
STEP 4: Repeat this process with your crystal clear Gallery Glass paint in any places that you want to keep translucent — I did this for all the windows of the houses.
Allow the paint to fully dry for 24 hours.


STEP 5: Once your houses are fully dry, gently pull up the house (starting in one of the corners) to remove the window cling from the glass surface). The cool part about Gallery Glass paint is that it is permanent until you don’t want it to be. So go ahead and stick these little houses on any glass surface around your house and you can easily peel it right off and move them around. Or put them away for next year to bring out over and over again each holiday season!

This was my very first attempt at making my own window clings, and I think they turned out so fun! I love all the cute Christmas details and how you can really get creative with what colors of Gallery Glass paint you use. Maybe I will add on some more houses next year. Let me know what stores or establishments you would like to see added to this quaint little village.
Hope your December has been magical! xo Rachael

