
Make a Spiderweb Candle Holder with Gallery Glass
I’m so excited to start my first Halloween DIY project of the season today! After the success of my stained glass greenhouse post, I knew I needed to make another project with my leftover Gallery Glass paint. And what better time than the Halloween season! So I’m back today with another faux stained glass project, but this time we are creating a spooky spiderweb candle or votive holder, perfect to add some cozy candlelight ambiance to your home this Halloween.
This candle holder is a much more simple and beginner-friendly project if you are interested in working with the Gallery Glass paint on a much smaller scale to start. It is also a great way to repurpose some plain glasses from the thrift store or even empty candle jars you have leftover at home. Check out a tutorial for how I created this spooky Halloween candle holder below!
Affiliate disclosure: This post may contain affiliate links. When you buy from these links, I may earn a small commission, at no additional cost to you. As an Amazon Associate, I may earn commissions from qualifying purchases from Amazon.com. Thank you for your support!
HOW TO MAKE A SPIDERWEB CANDLE HOLDER WITH GALLERY GLASS

Supplies:
Glass cup or old candle jar
ETI’s spiderweb template (download below!)
Tape
Toothpicks
Small pillar candle or votive candle (that will fit in your candle jar)
STEP 1: First, you will want to prepare your glass cup or jar. For my candle holder I actually used an old glass candle jar and I cleaned out all the leftover wax. Be sure that your jar is thoroughly cleaned before beginning to paint.
STEP 2: Download & print the ETI’s spiderweb template (above). Carefully cut around the perimeter of the spiderweb shape. Position the paper template on the inside of your glass and tape it in place to use as a template for tracing the spiderweb shape.

STEP 3: Gently squeeze your bottle of black liquid leading until you have a steady stream of paint. Now carefully trace the lines of your spiderweb template with the leading paint.
This paint works best if you keep the tip of the bottle up in the air above the glass surface. Squeeze the bottle then pull the line of paint in the direction you want to go instead of dragging the paint tip on the surface. I also recommend having a scrap piece of paper or paper towel next to you to wipe off the tip of the paint frequently throughout your tracing.
Trace each line until you have a completed spiderweb shape. I found it easiest to make your diagonal lines first and then go back to connect with the curved lines.
STEP 4: Once you are happy with your first spiderweb, carefully peel off the taped template from the inside of the glass and move it to the next spot. You can either let your spiderweb fully dry for a few hours or you can just hold the glass very carefully as you move on to the next spiderweb, careful not to smudge your first design with your hand.
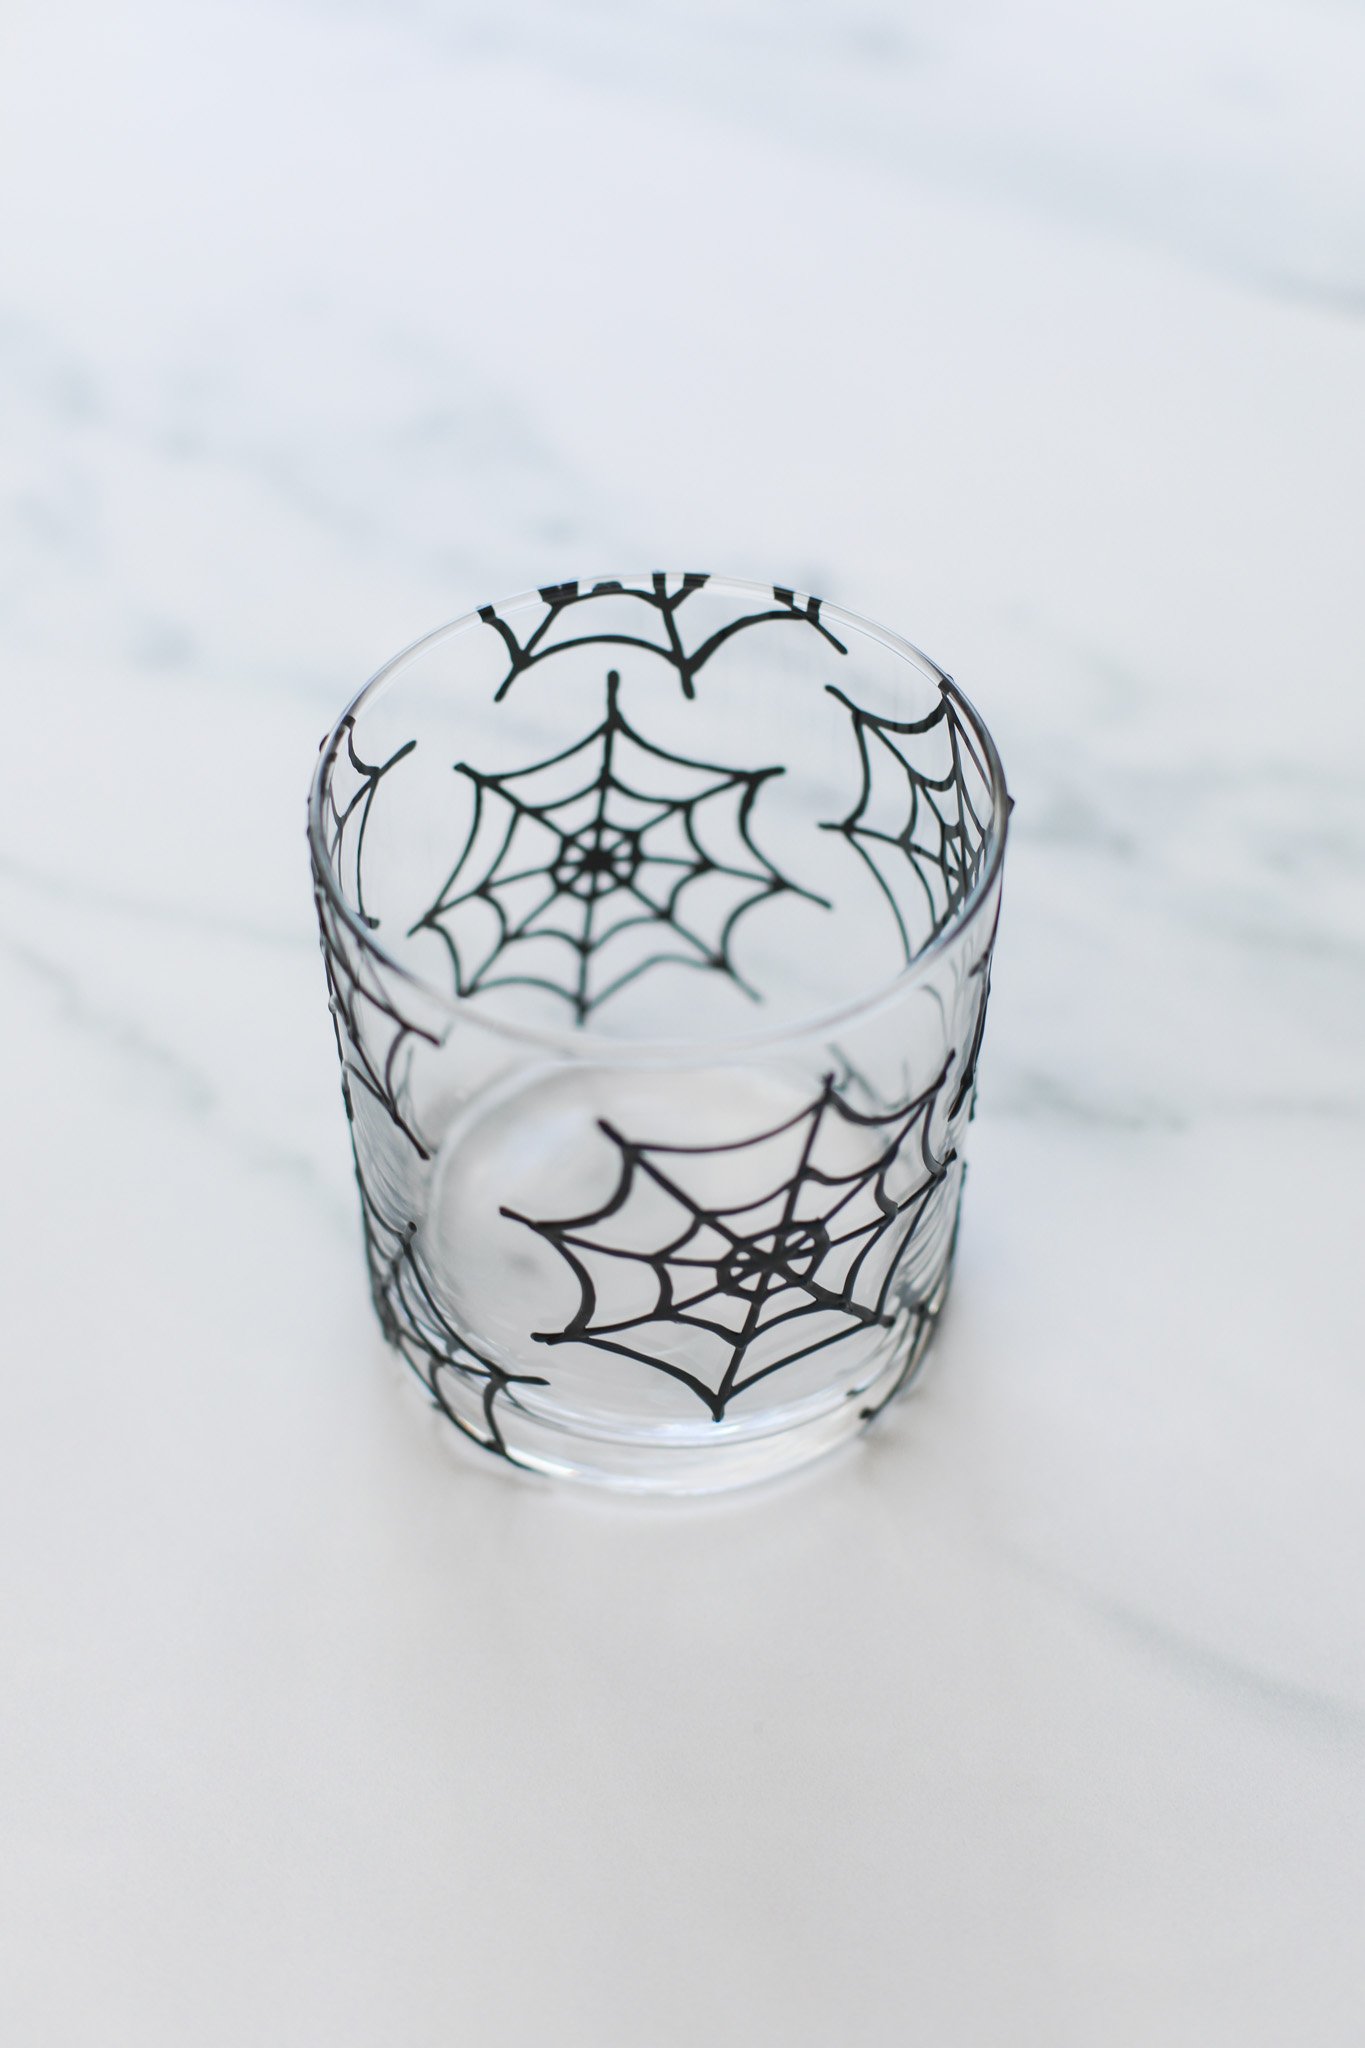
Randomly place the template along the inside of the glass, repeating the tracing step, until your glass is covered in as many spiderwebs as you would like. I did a mix of full spiderweb shapes and a few that I taped in place going off the edges of the glass to fill in those small spaces.
Allow all your black leading paint to fully dry overnight before beginning to fill the shapes.
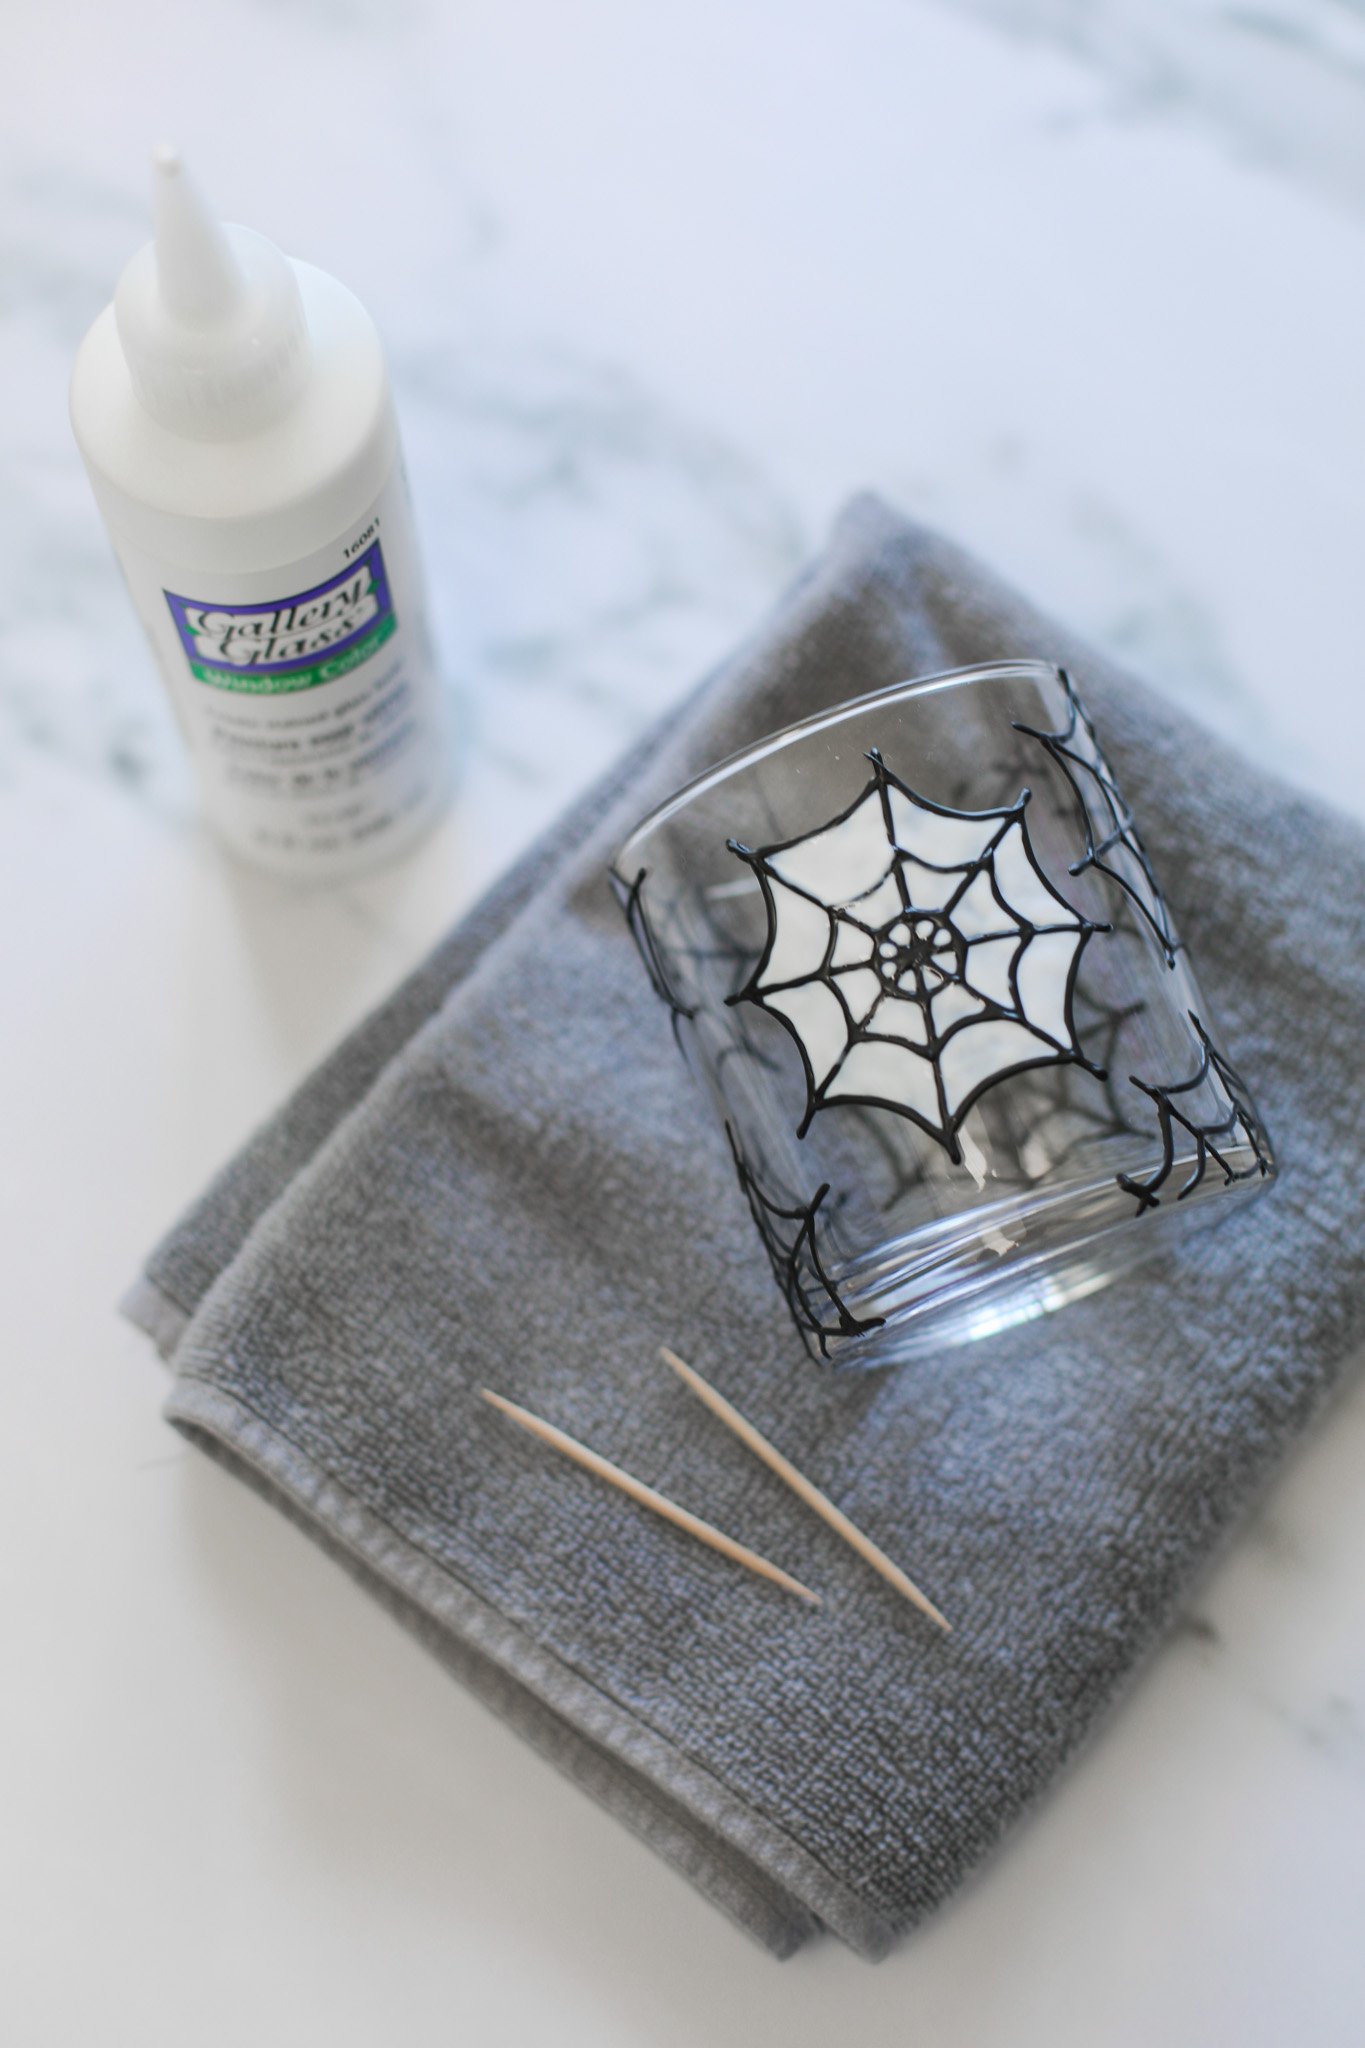
STEP 5: Next, you are going to fill in all the blank spaces of your glass with a crystal clear gallery glass paint to give the background of your glass that wavy textured stained glass look.
Squeeze the bottle of paint into the blank spaces of the spiderweb and the background to cover the full glass with this white paint that dries clear. Once you squeeze a glob of the paint into a space, you can use your toothpicks to “flood” the space, meaning you will move the paint around with your toothpick to fully cover the space from line to line.
If you see any large bubbles, you can pop them with the end of a clean toothpick. This is important, otherwise you will see a lot of bubbles in your design after the paint dries.
Allow the crystal clear paint to dry until it looks translucent. The paint should dry in about 8 hours but if it looks a little cloudy after drying, it may take up to 7 days for the paint to cure fully and will look much clearer then.

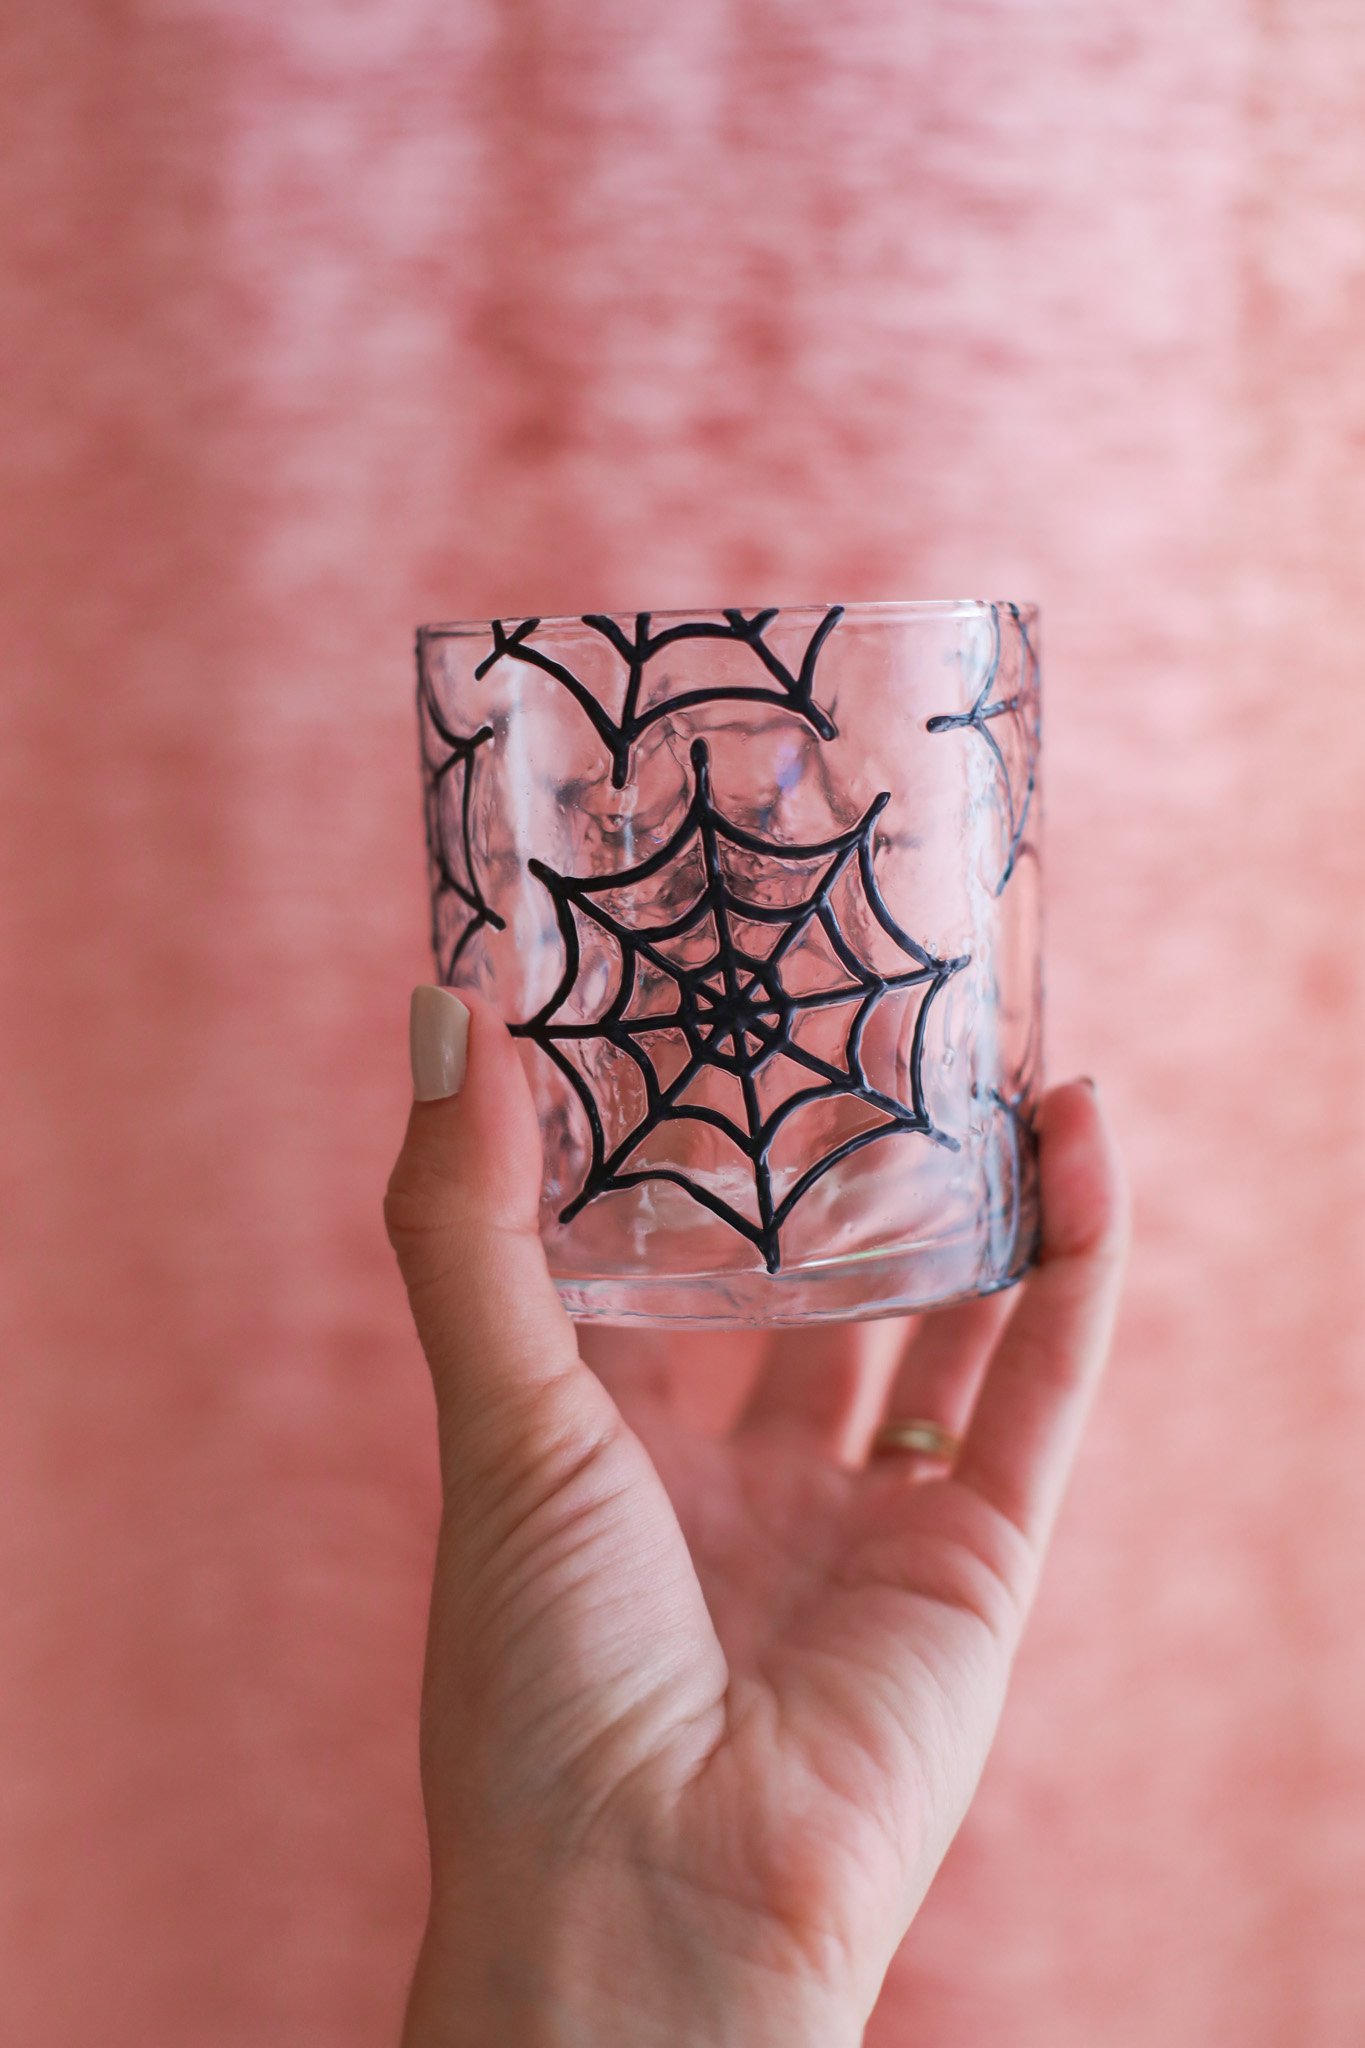
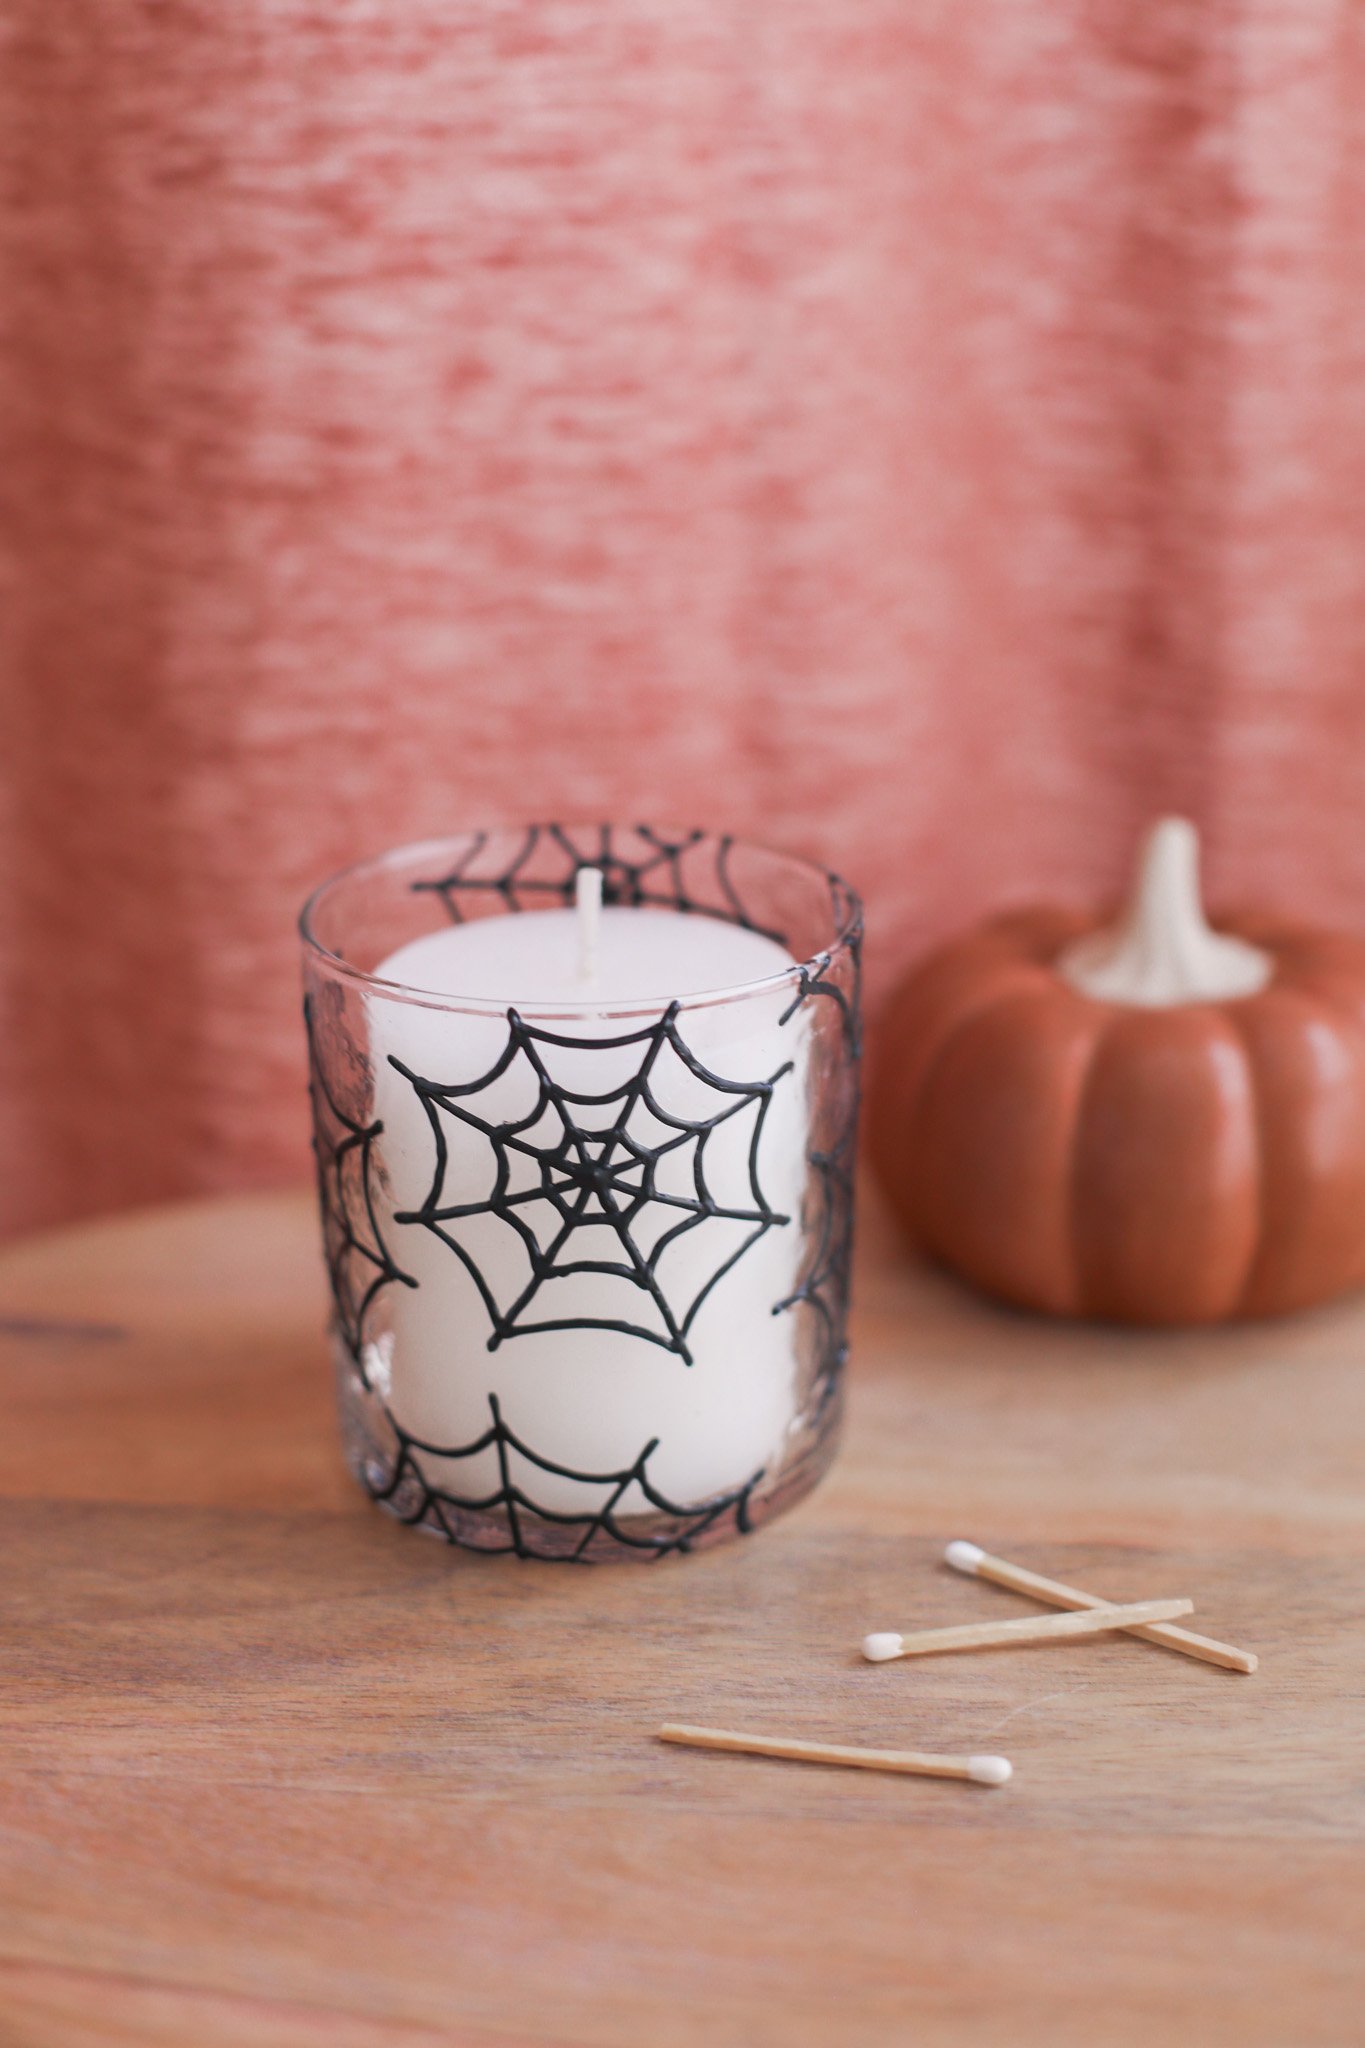
Set a small pillar candle or votive candle into your completed candle holder. And you will be left with this faux stained glass texture that your candlelight will glow through beautifully!
I love how this candle holder turned out! And it is so fun to have some handmade items in your Halloween decor collection.

You could totally customize this project with any template you would like! Draw out any kind of Halloween shapes (black cats, bats, spooky haunted house) on a piece of blank paper and tape it on the inside of your glass to trace over with your liquid leading paint. Fill it in with clear Gallery Glass paint for an all black design or fill in with some autumnal Gallery Glass paint colors for a colored stained glass look!
I think this project would make a fun Halloween craft to do at an upcoming Girls Night or Halloween party you are hosting :) You could even pre-trace the liquid leading lines ahead of time so guests could just fill in with the clear or colored paints of their choice during the party.
Let me know if you try out this project. And it is already mid-September so I think it is safe to say Happy Halloween season!!
xo Rachael

