
How to Decorate Your Christmas Card Envelopes (DIY Foam Stamps)
One of my all time favorite holiday traditions is sending and receiving Christmas cards! I love that it is an easy way to keep in touch with family and friends near and far, to find out about their year, to see how their family has grown, and just to spread a little holiday cheer!
But it is no secret that sending holiday cards can be EXPENSIVE. If you’re ordering from a printing company, you typically have to pay for the card design, you have to pay for any extra photos you want printed on the card, you have to pay for an upgraded paper quality, and then don’t even get me started on the endless list of optional ad ons like gold foil, return addresses, colored envelopes, envelope liners, etc. etc. And that does not even include the price of postage!!

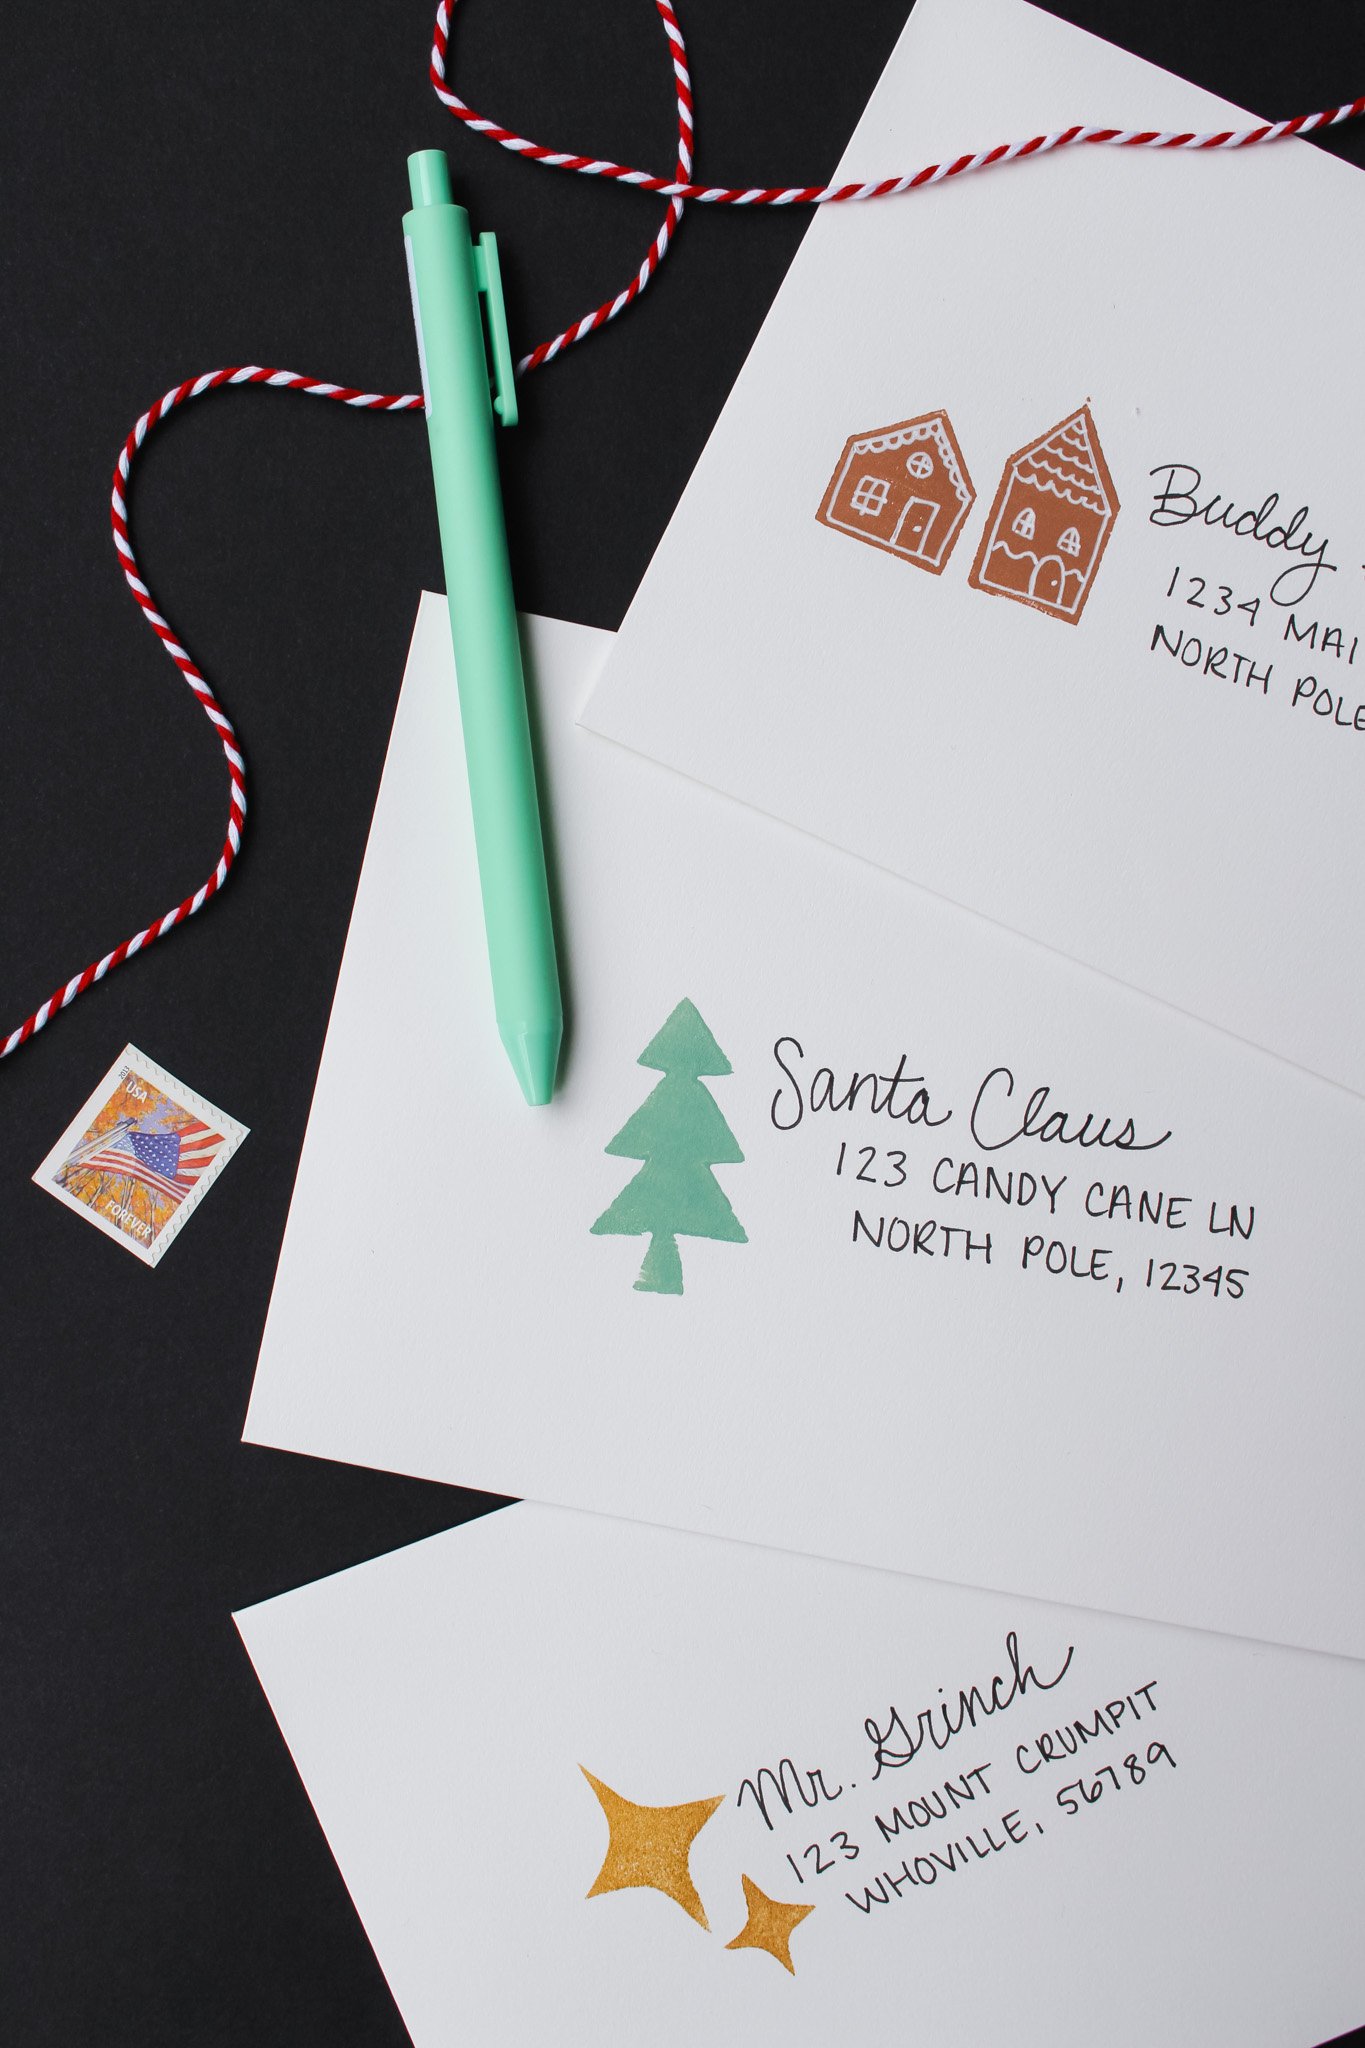
Well this year I decided to scale back and just order the very basic white envelopes that came with our Christmas cards and hand address them all myself. But the white envelope felt so boring and plain to me. Definitely not the holiday vibe that I was going for. So to give each envelope an extra special touch, I made these sweet little homemade foam stamps to add a pop of color and a festive touch. Find out how I made my own foam stamps below!
HOW TO MAKE YOUR OWN STAMPS
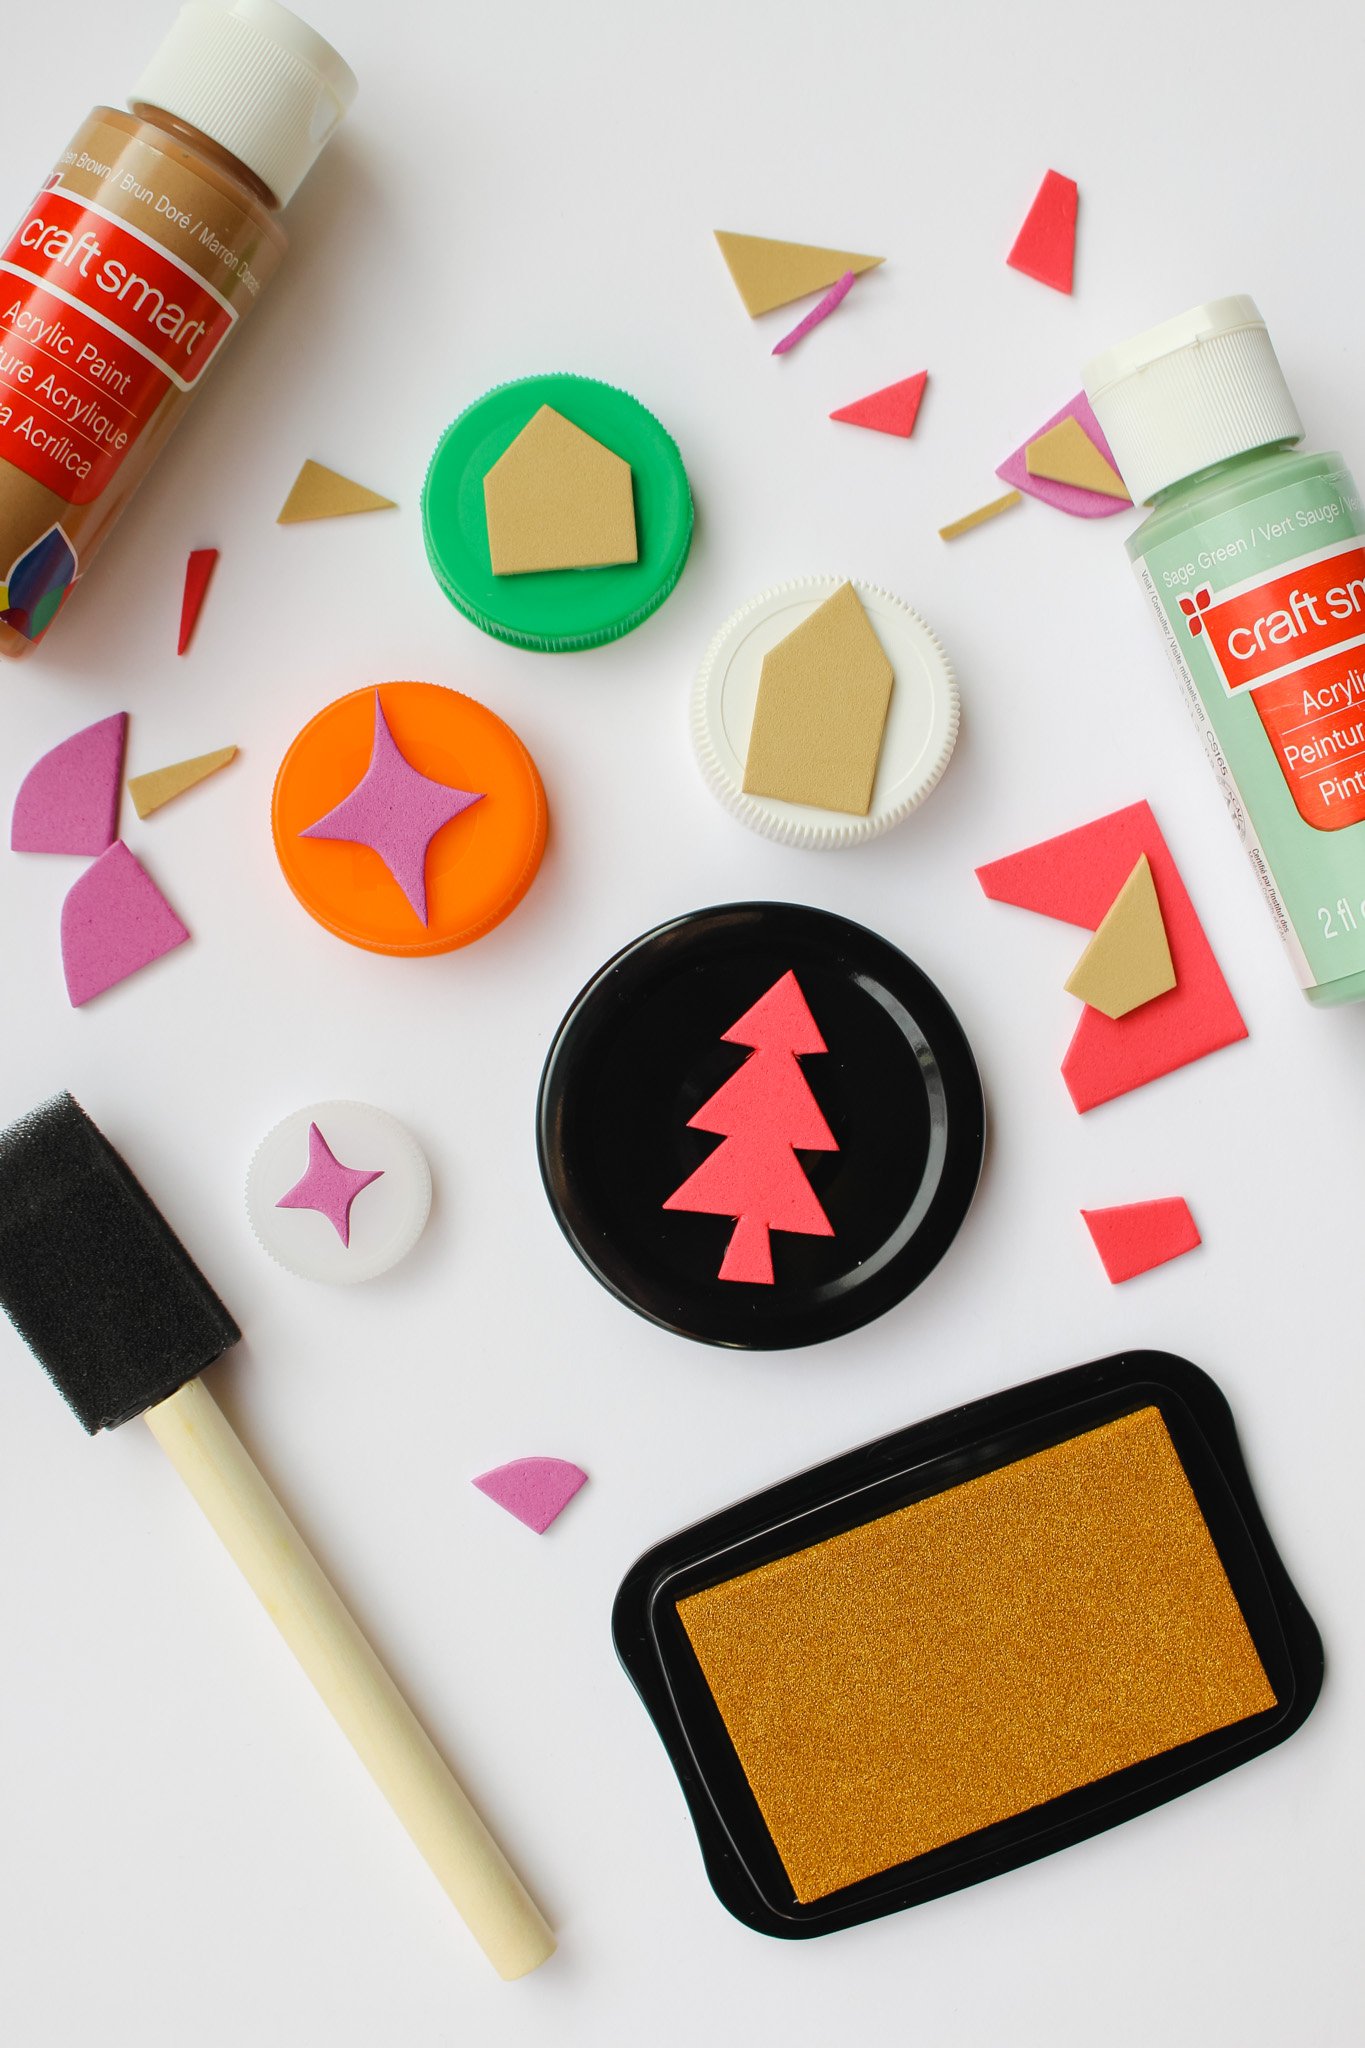
You will need:
Craft foam sheets (any color — if you can find the adhesive backed ones that makes the process even easier!)
Scissors
Miscellaneous bottle caps (I just found these in my recycling bin from old water bottles and jars)
Craft glue
Acrylic paint or ink stamp pads
White gel pen


STEP 1: First you will want to cut out some small holiday shapes from your foam sheet. I made a few gingerbread houses, some festive stars, and a Christmas tree. Some other cute shapes would be a gingerbread man, a snowman, a gift tag shape, or an ornament!
You can draw the shape on the foam first if that is easier before you begin cutting it out. Make sure your objects are the same size or smaller than the bottle caps or jar lids that you will be using.
STEP 2: Next glue the back side of your foam shapes to the flat top of your bottle caps to make the stamps easier to hold. Allow the glue to dry completely.

STEP 3: I found it helpful to add a small line or dot with a sharpie on the side of the cap at the bottom center of your stamp design. This way, when the stamp is upside down you have a guide for lining up the design how you want it.

STEP 4: Now it’s time to stamp away! Press your stamp firmly into your ink pad or cover the stamp’s surface with an even coat of acrylic paint using a foam brush. Carefully place the stamp onto your envelop wherever you would like it and press down firmly and evenly. Lift it back up carefully and you should be left with a beautiful stamped shape!
STEP 5: This final step is optional, but I thought it looked super cute to add some simple gingerbread house embellishments to my house-shaped stamps using a white gel pen. Make sure the stamp paint has completely dried first, but then you can add things little shingles, door frames, and windows and I think they turned out so fun :)
This is such a simple but fun way to personalize your Christmas card envelopes this year — or really any time of the year. You could make some heart shaped stamps at Valentine’s Day or some flowers for Mother’s Day or Easter!
Are you sending out holiday cards this year?
xo Rachael

