
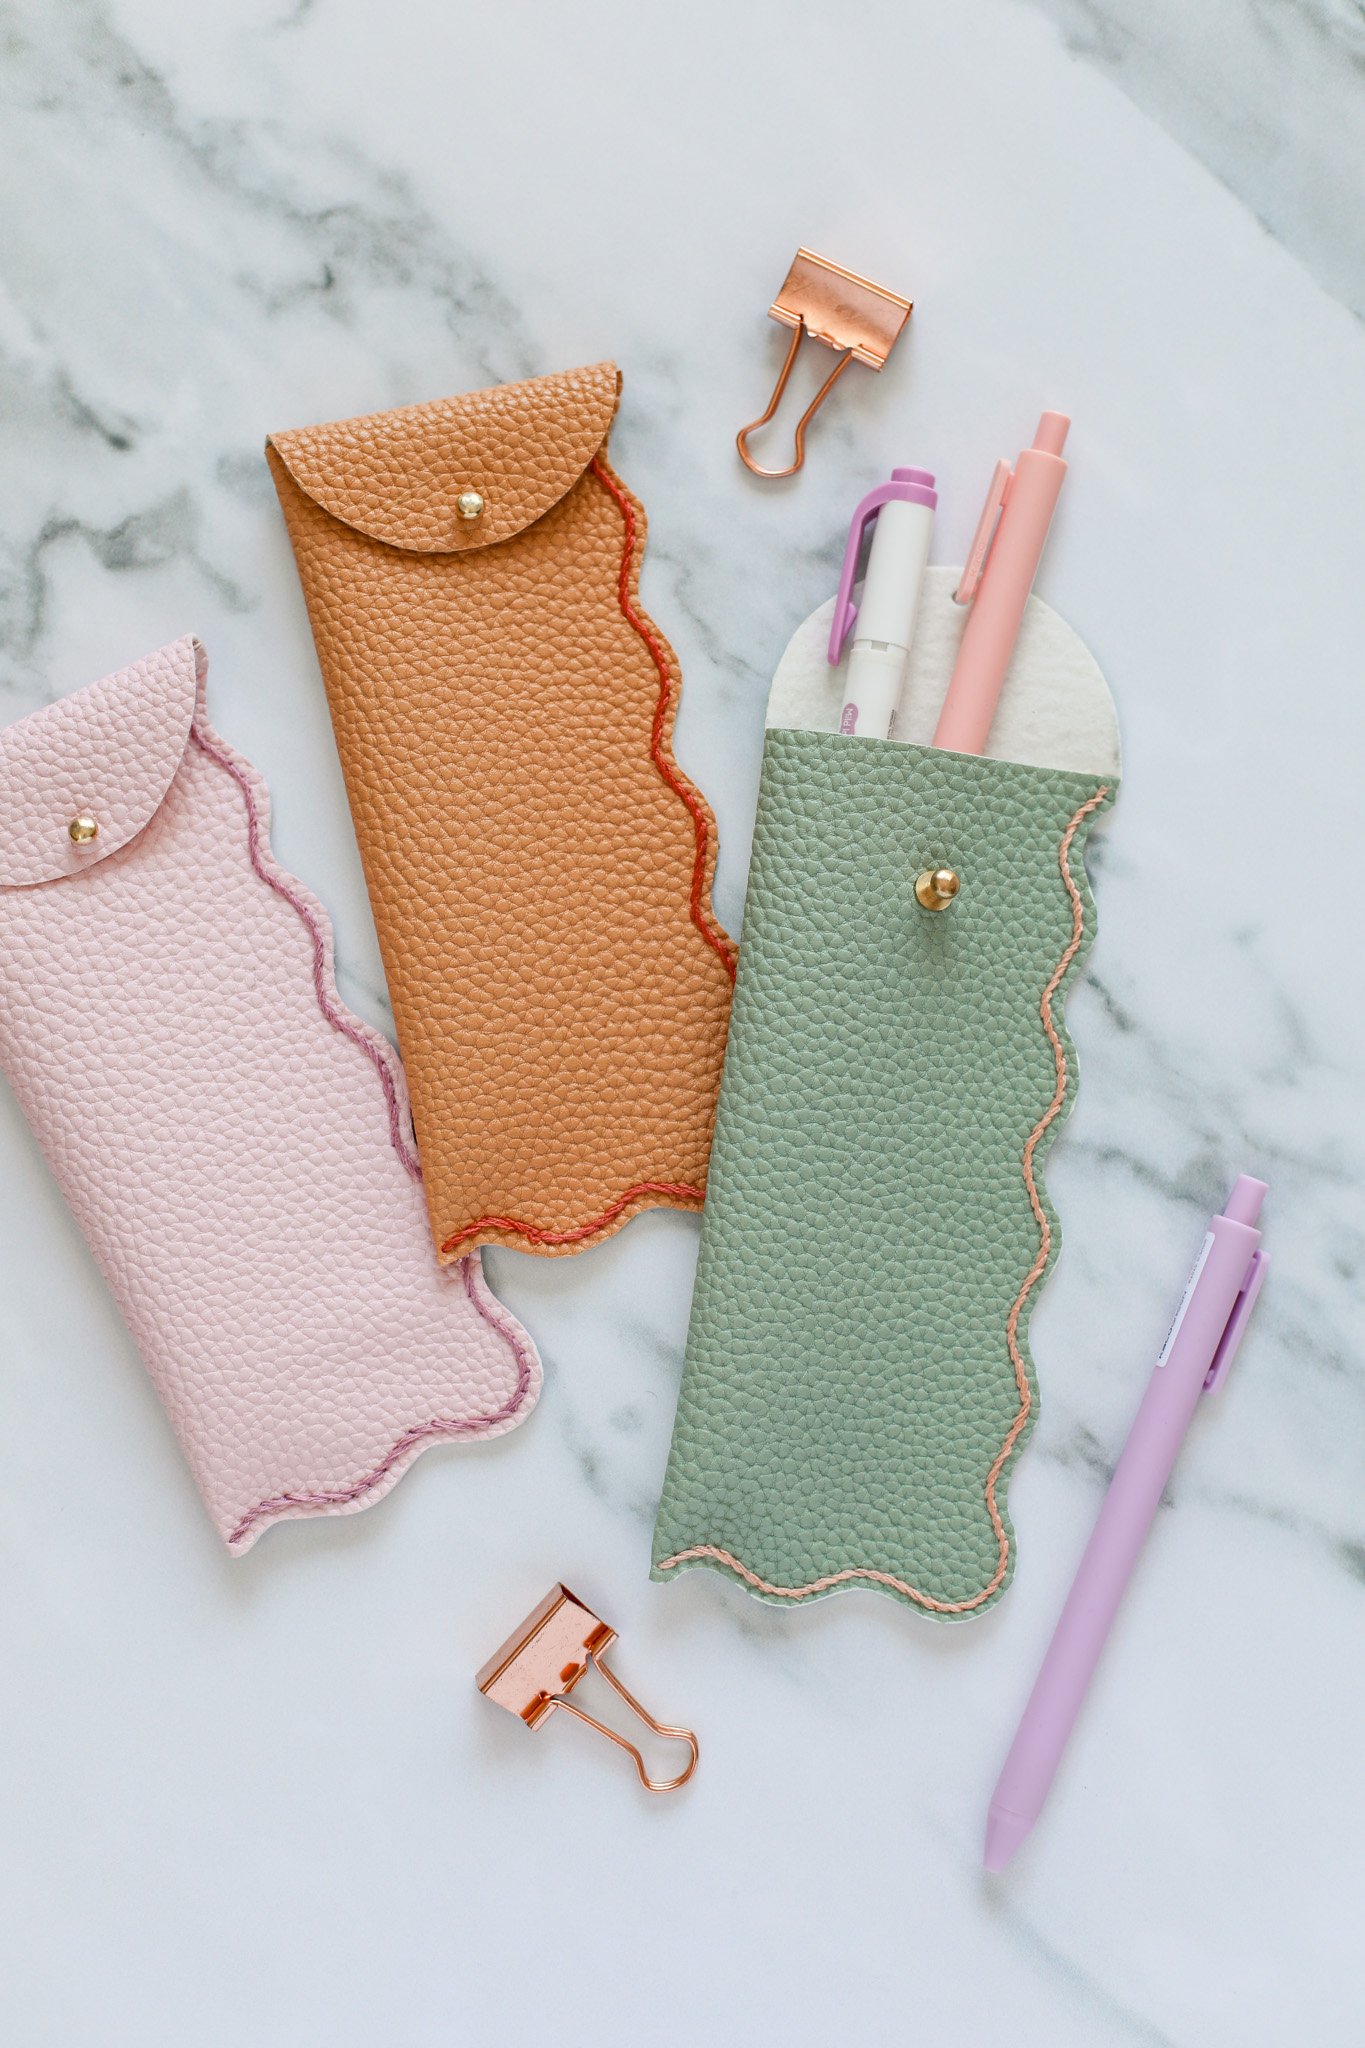
DIY Faux Leather Pencil Pouch
Before fully embracing the fall season, I decided I had to make at least one “back to school” themed project for the blog. And although I’m not going back to school this semester, I think this DIY faux leather pencil pouch is a perfect project for any stationary lovers (like myself) out there.
This project does involve a bit of embroidering, but I promise it is a very simple stitch that you will get the hang of super quick. Let’s get started!
Affiliate disclosure: This post may contain affiliate links. When you buy from these links, I may earn a small commission, at no additional cost to you. As an Amazon Associate, I may earn commissions from qualifying purchases from Amazon.com. Thank you for your support!
BACK TO SCHOOL DIY! HOW TO MAKE A FAUX LEATHER PENCIL POUCH
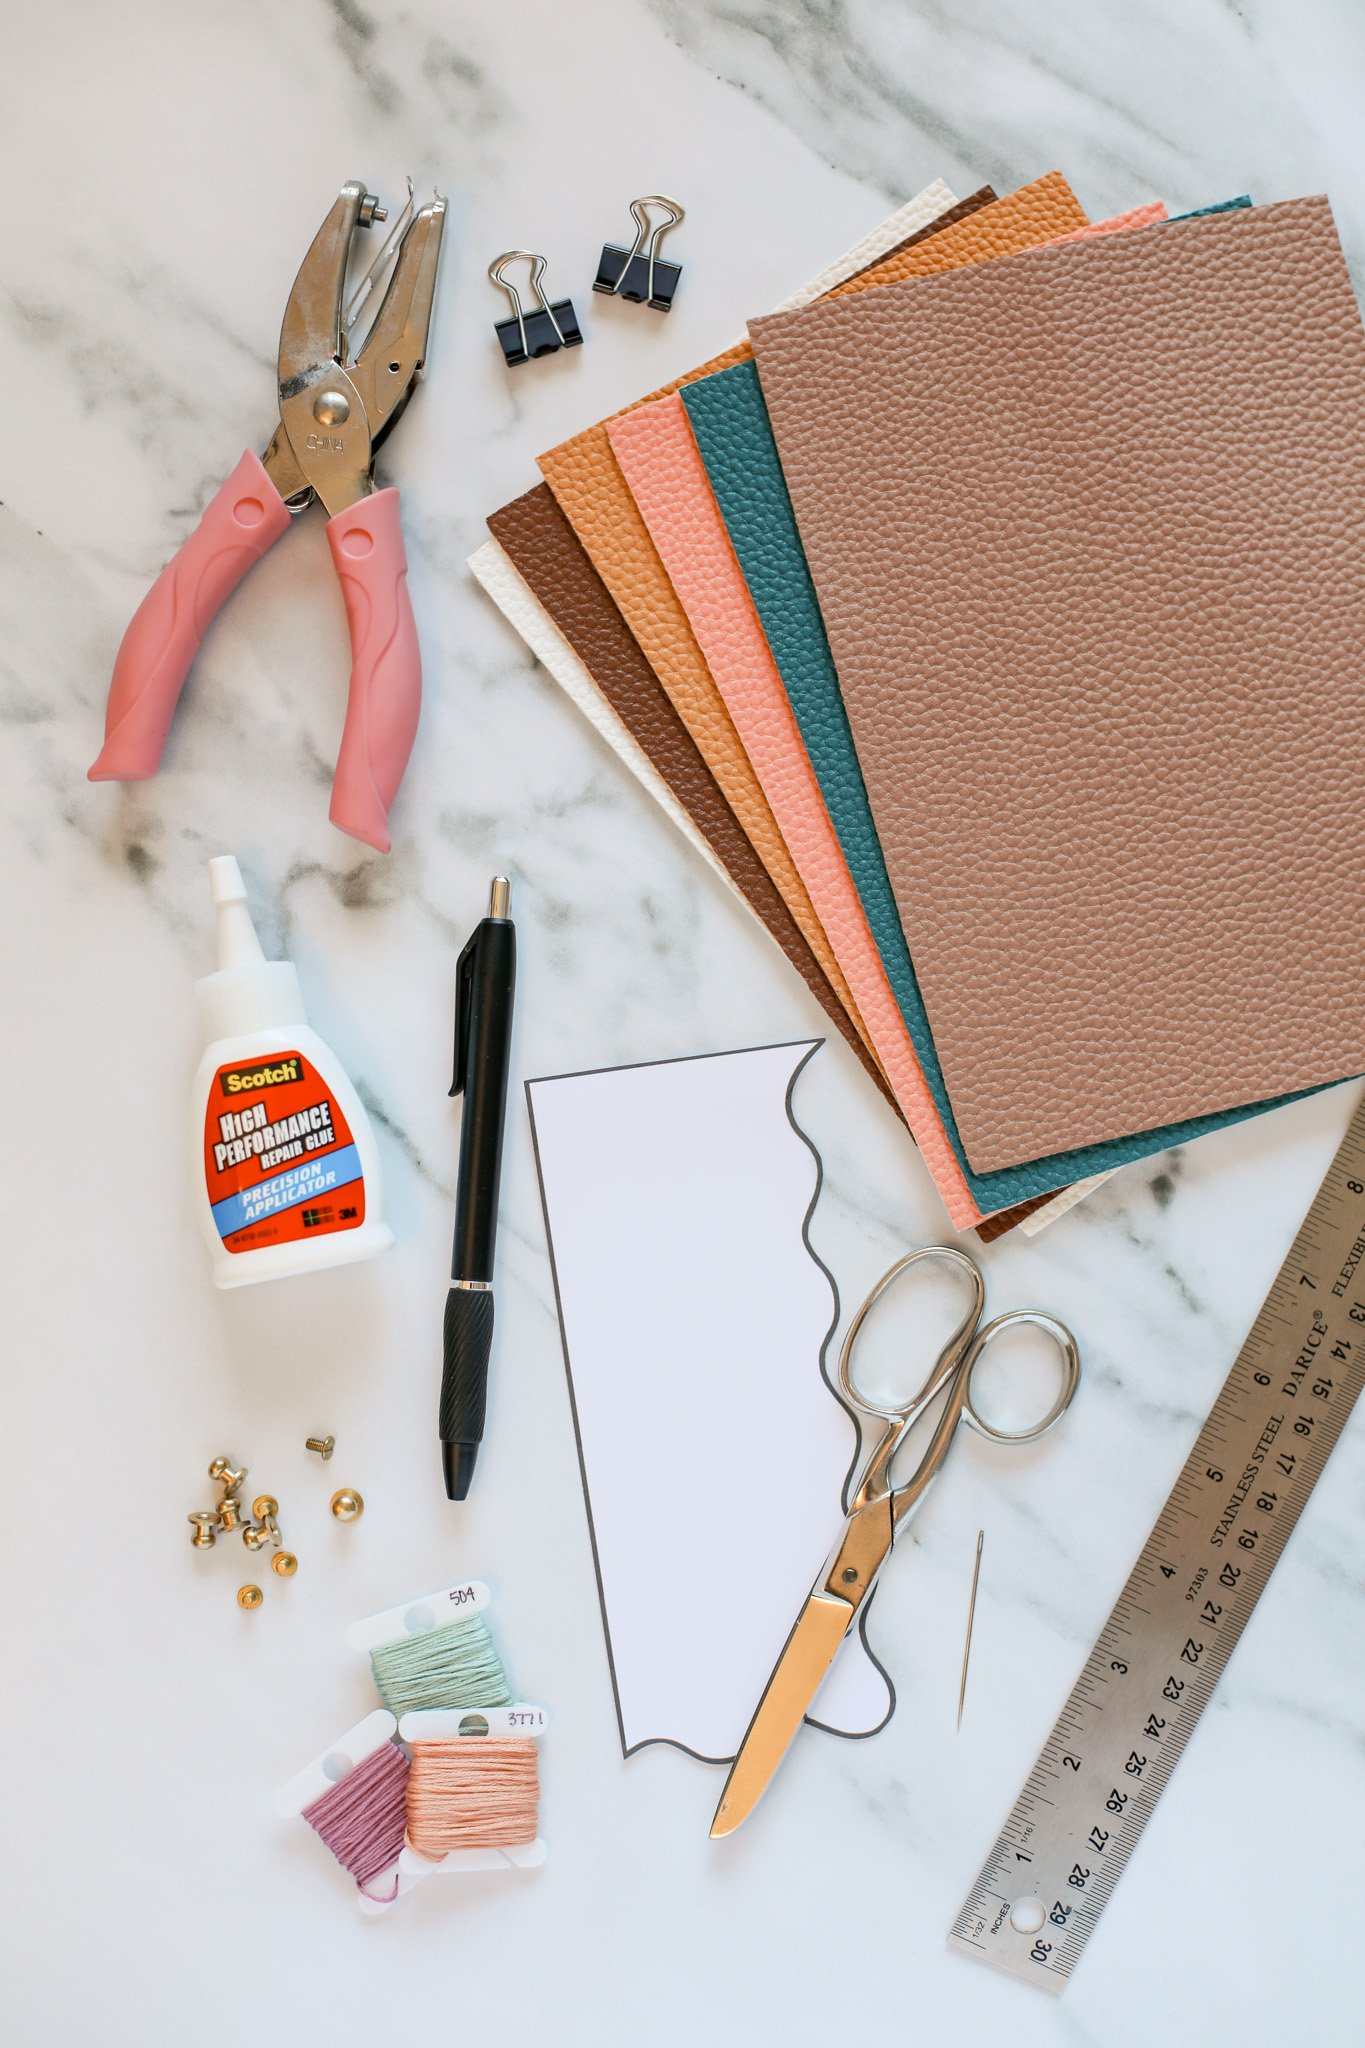
Supplies:
Card stock paper
Printer
ETI’s Pencil Pouch Template (download below!)
Scissors (& fabric scissors would be helpful too)
Ruler
Pen
Faux leather (this is my favorite Etsy shop to buy faux leather! I used one A5 size sheet (8.27in x 5.83in) per pencil pouch)
Craft glue/adhesive
Embroidery floss (in whatever corresponding color you would like)
Embroidery needle
Brass studs with screwbacks (I used the 6mm size)

STEP 1: Print the ETI Pencil Pouch Template on white cardstock paper. Carefully cut out the squiggle pattern. Set aside to be used later.
STEP 2: Lay out your A5 size sheet of leather — or cut to A5 size (8.27in x 5.83in) if using a larger piece. Use your ruler to find the center of the top of your leather sheet. Draw a line from the center point down 1.5 inches. Next, draw a line from that point across to the right side, completing a small rectangle shape. Cut out this rectangle with your fabric scissors.
Now the left half of your leather sheet should be taller than the right. Find something round that is about 3 inches in diameter. Set this round shape on the leather and draw around the top edge, creating a half circle on your leather sheet. Cut out this half circle shape and you will be left with a leather sheet shaped like the pink piece above.
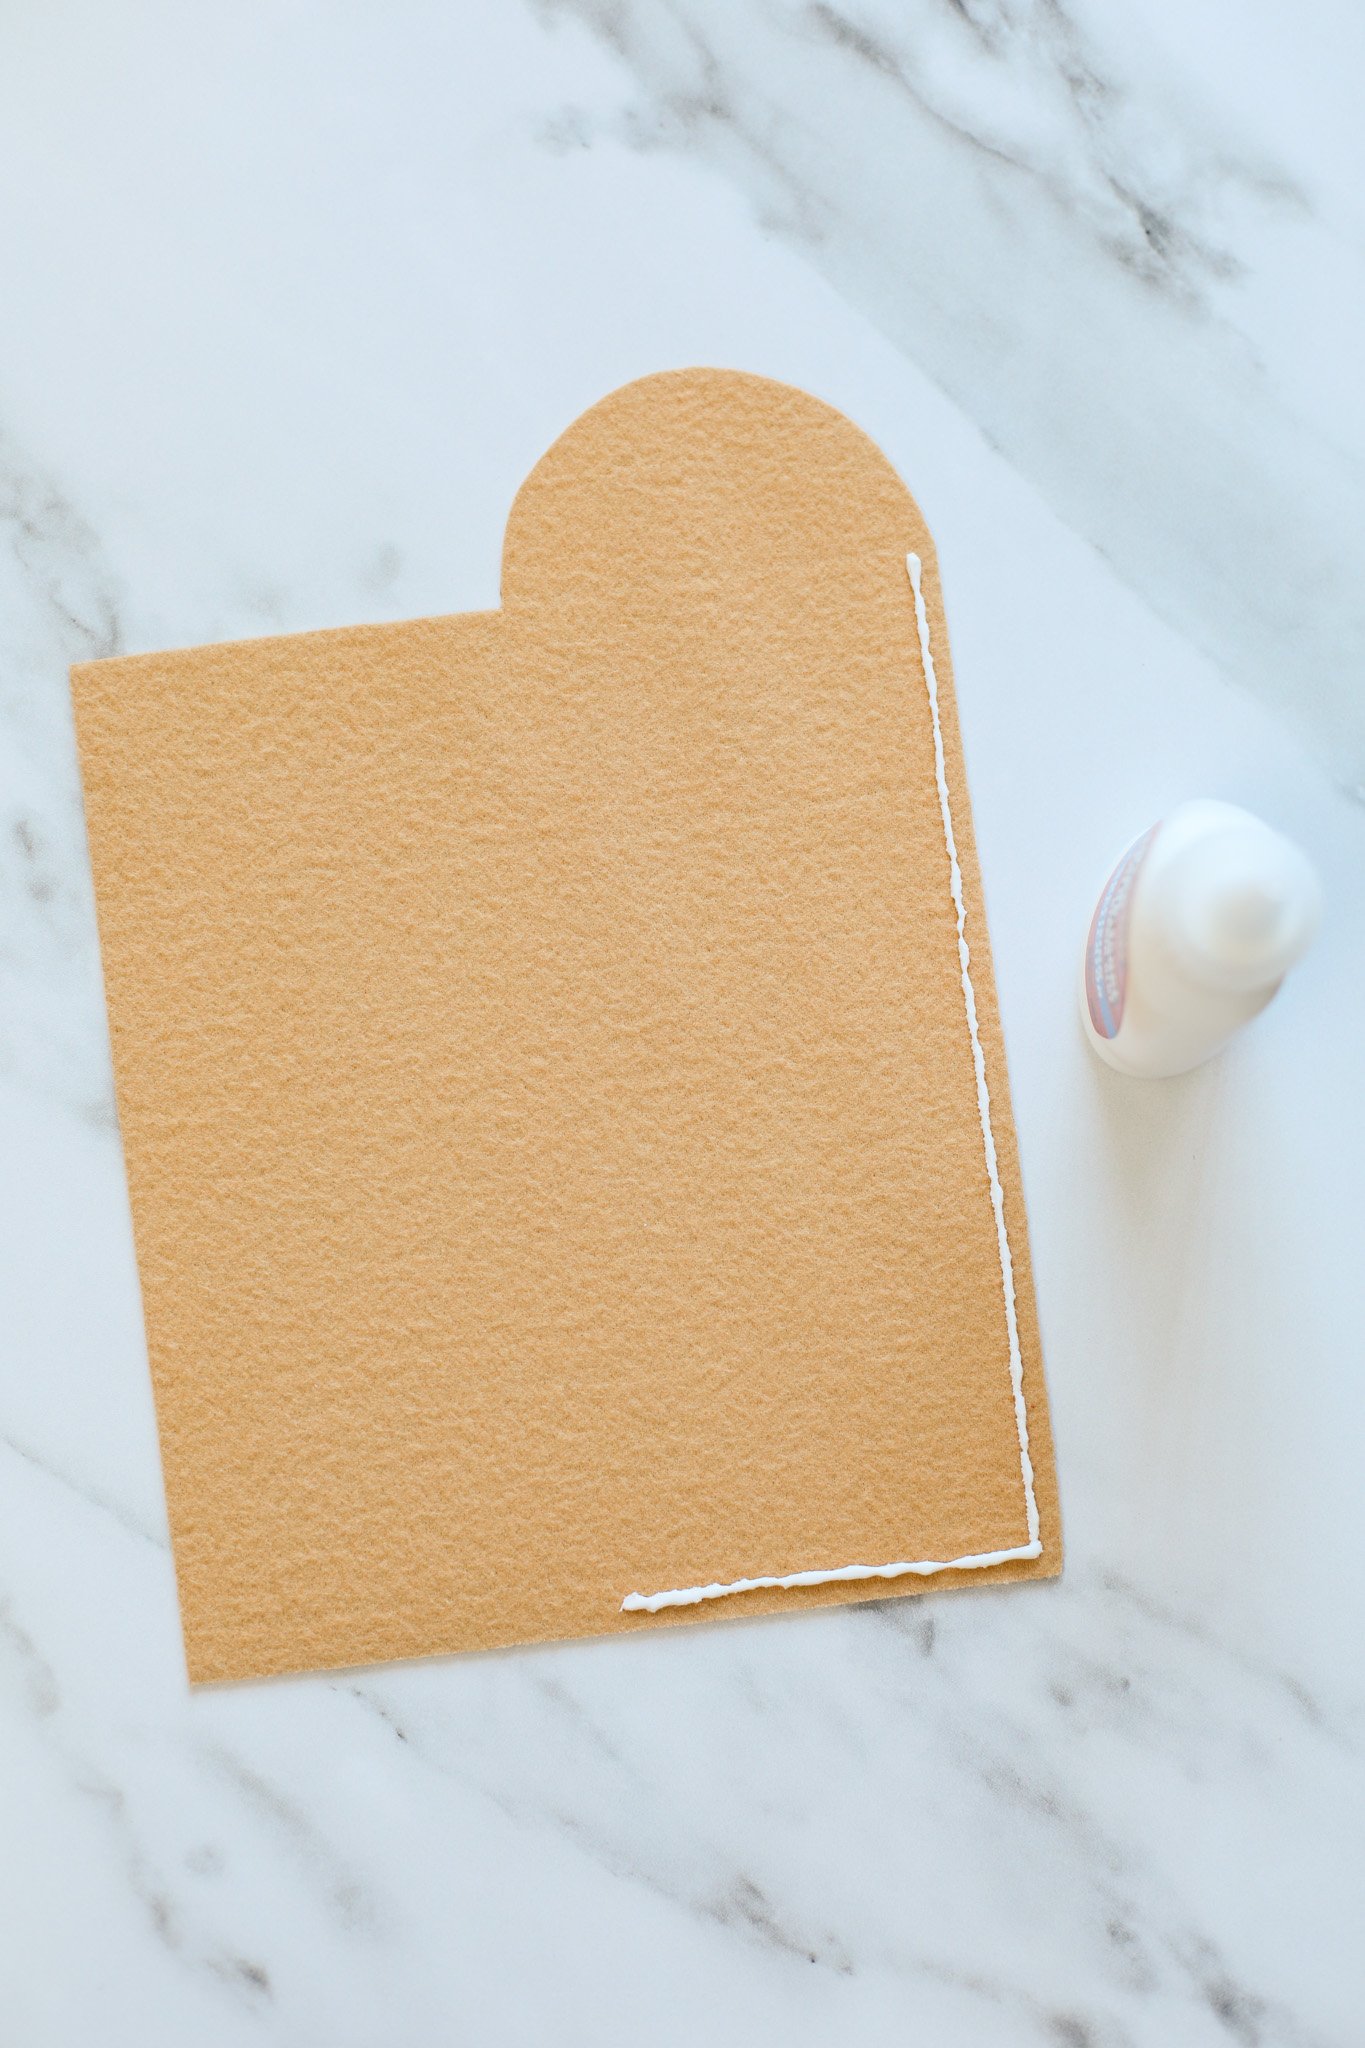
STEP 3: Next, we are going to glue the pencil pouch just to hold it in place while we do our embroidering. Turn your leather sheet upside down and draw on a thin line of craft glue on the right and bottom sides. Fold the leather sheet in half and line up the edges.
Place a book or something heavy on top of your folded leather and leave the glue to dry overnight.

STEP 4: Place your cut out pencil pouch template on top of your folded leather so that the top right corner is touching the edge of your leather. Use a pen or thin marker to trace the squiggle edge on the right and bottom side. This is going to be your embroidery line.

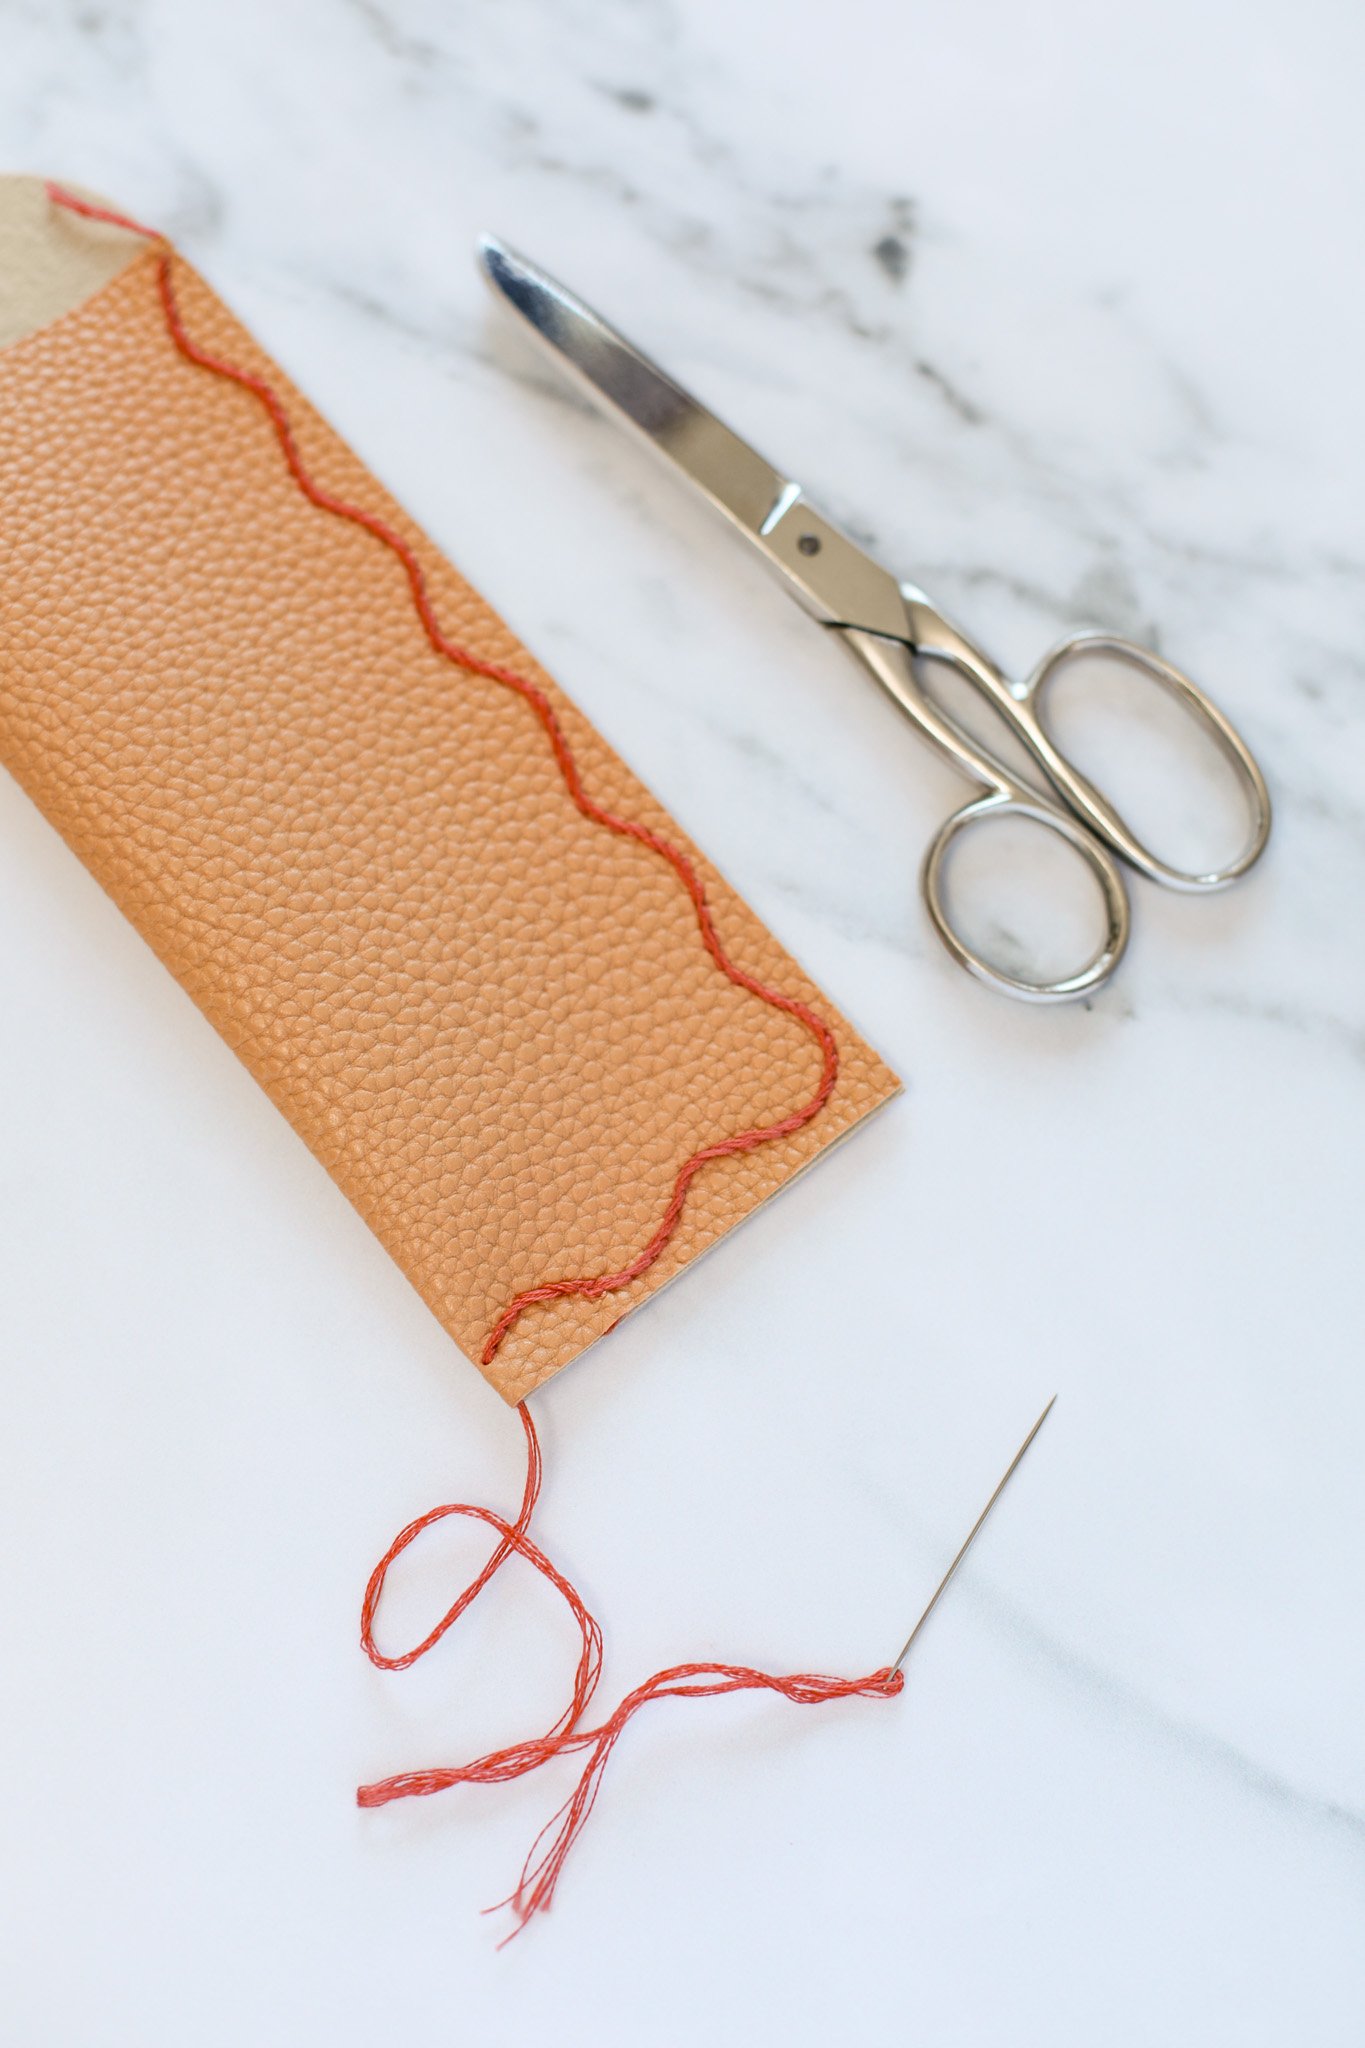
STEP 5: Cut a piece of embroidery floss about 45” in length. Then tie a double knot at the end. Thread the floss onto your embroidery needle. You are going to start your first stitch from inside the pencil pouch so that the knot is not visible on the back. Pull your needle through from inside the pouch to the front at the start of your squiggle line. Your knot should now be secured on the inside edge of the pouch.
You are now going to begin sewing the two pieces of leather together using an embroidery stem stitch following the squiggle line that you have drawn. This video is helpful in teaching you the stem stitch if you have never done it before. It is a very simple embroidery stitch, but it might be a bit difficult to punch through both layers of leather with your embroidery floss, so be patient.
TIP! Each time you pull your embroidery needle through the leather, make sure that all the threads of the floss are pulled through evenly. If you have any threads sticking out, just pull on the ends of the threads to find the one that is stuck. And pull until your stitch looks smooth again.
STEP 6: Continue the stem stitch around the entire squiggle border on the right and bottom side of your pouch. Once you reach the bottom left corner, you should end your last stitch pulling the needle only through the top piece of leather so that your end knot is, again, hidden inside the pouch seam. Tie a double knot at the end and pull so the knot disappears under the edge of the seam.

STEP 7: Now that the two sides of your pencil pouch are secured together with your embroidery stitching, you are going to trim the edge of the leather to give it that squiggle shape. Here’s where sharp fabric scissors will come in hand since you are going to be cutting through two pieces of faux leather at the same time. Carefully follow the embroidered edge of the squiggle with your scissors trimming the leather. I left about 1/8” between the embroidery floss and the trimmed edge all the way around.
This is an optional step, but I put some craft glue at the start and the end of the embroidery edge to make sure the ends of the thread are secured in place. Then I added some binder clips in these spots to hold them shut and let the glue dry overnight.

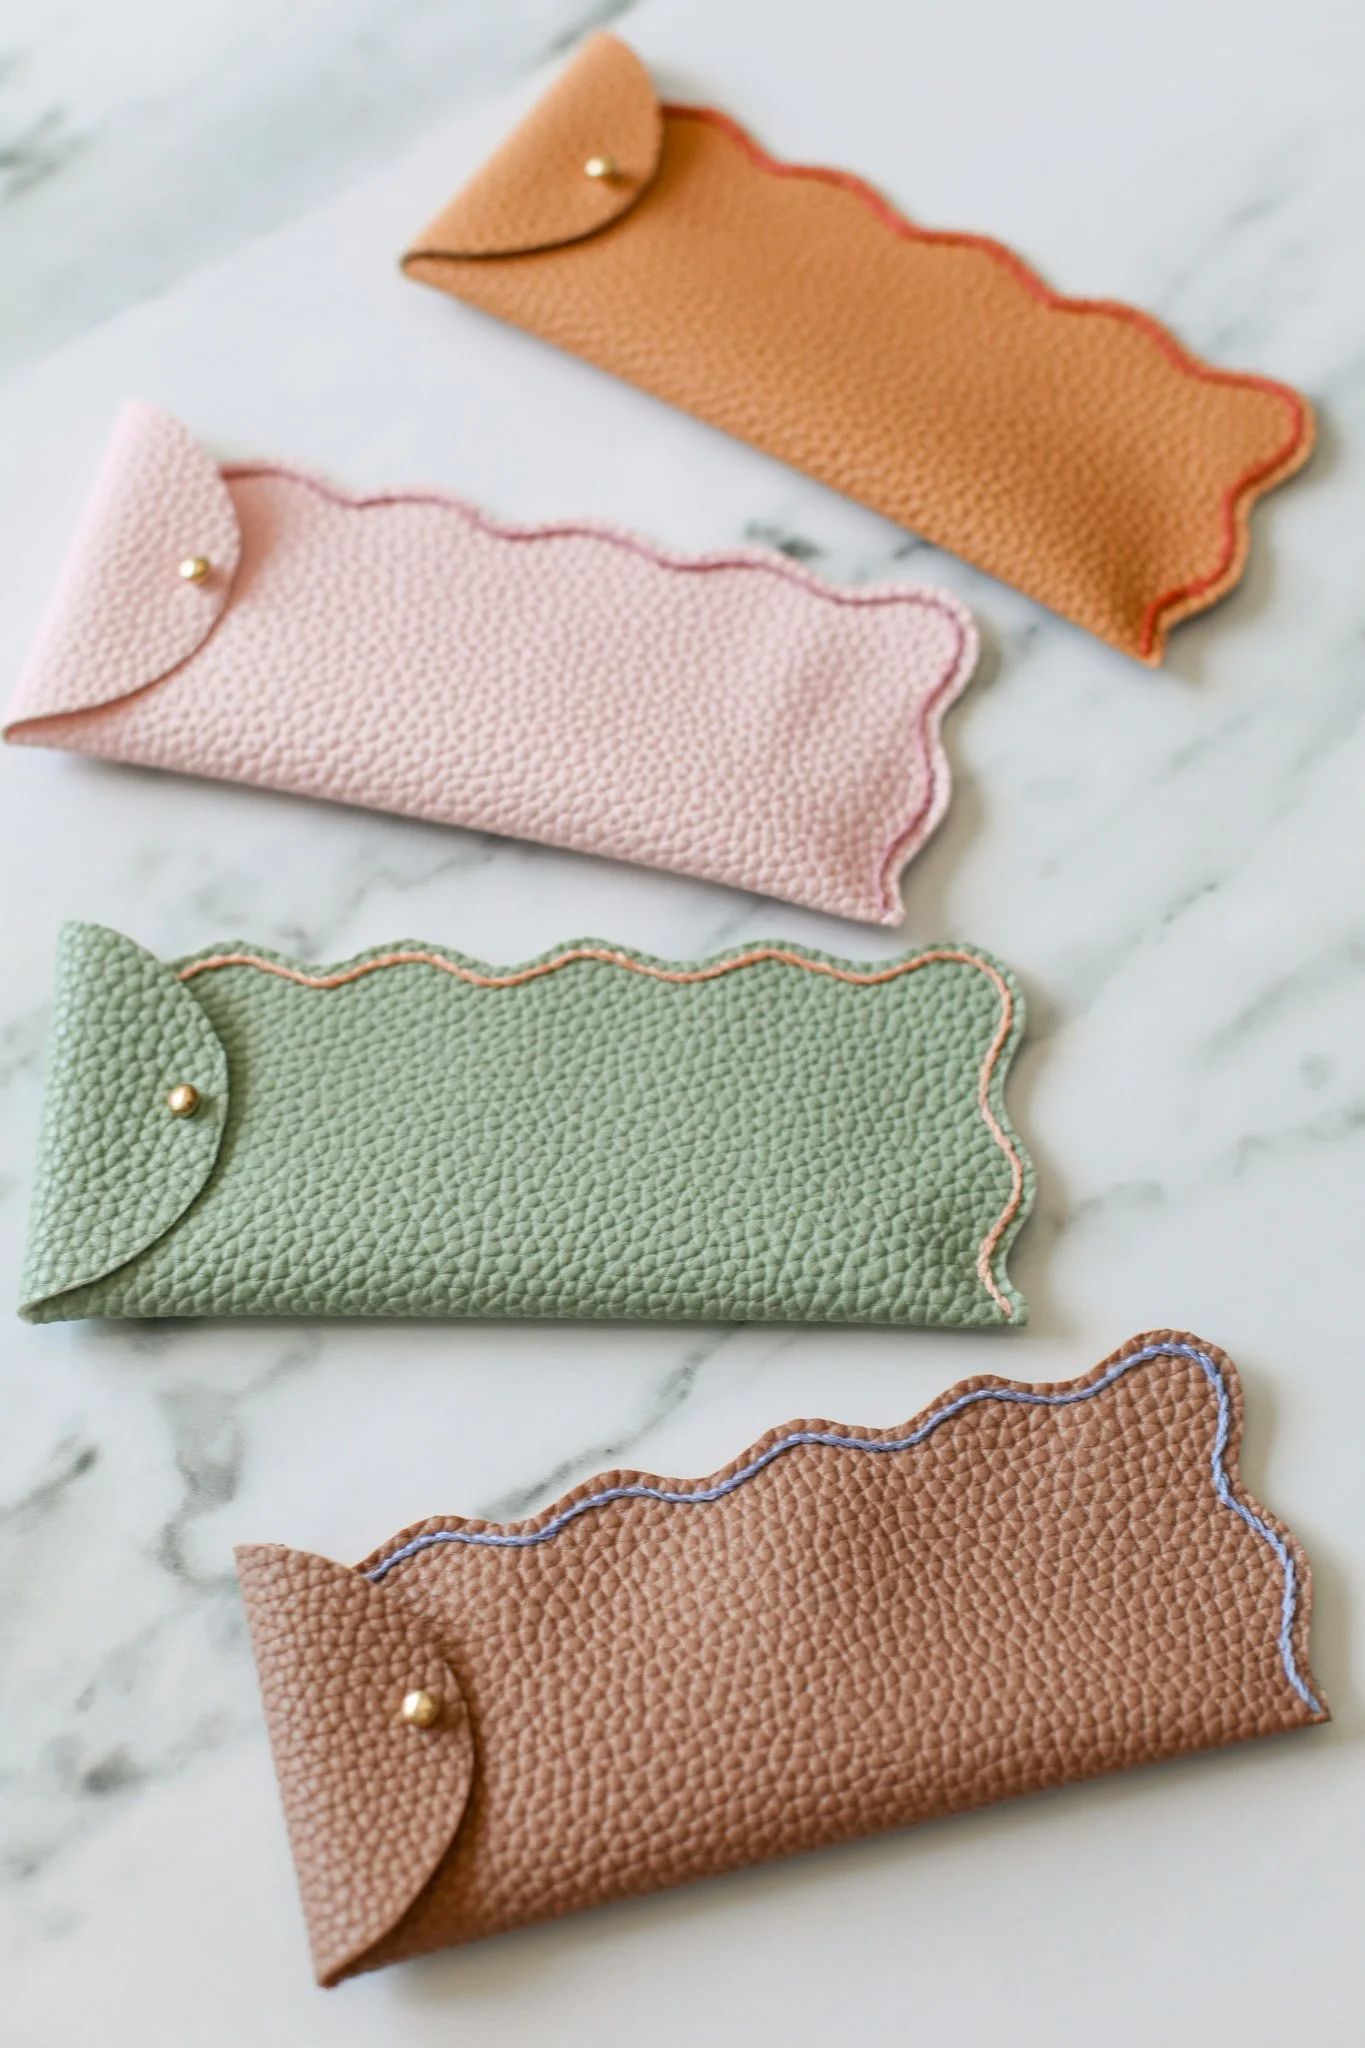
STEP 8: All that is left now is to add your hardware to secure the pencil pouch shut. Punch a hole with your 1/8” hole punch in the center of the semi circle, about 1/4” from the edge. Fold the semi circle down, closing the pencil pouch, then mark a dot with your pen inside the punched hole.
Now you are going to punch another hole on the leather pouch where you just marked the dot. Be sure to only punch through the top layer of the pouch. Your brass studs should include two pieces each, a round brass stud and a backing that looks like a screw. Push a screwback from inside your pouch up through that hole. Then screw on the round brass stud from the front until it is tight. You should now be able to fold down the semi circle and push the brass stud through the hole to secure the pencil pouch.
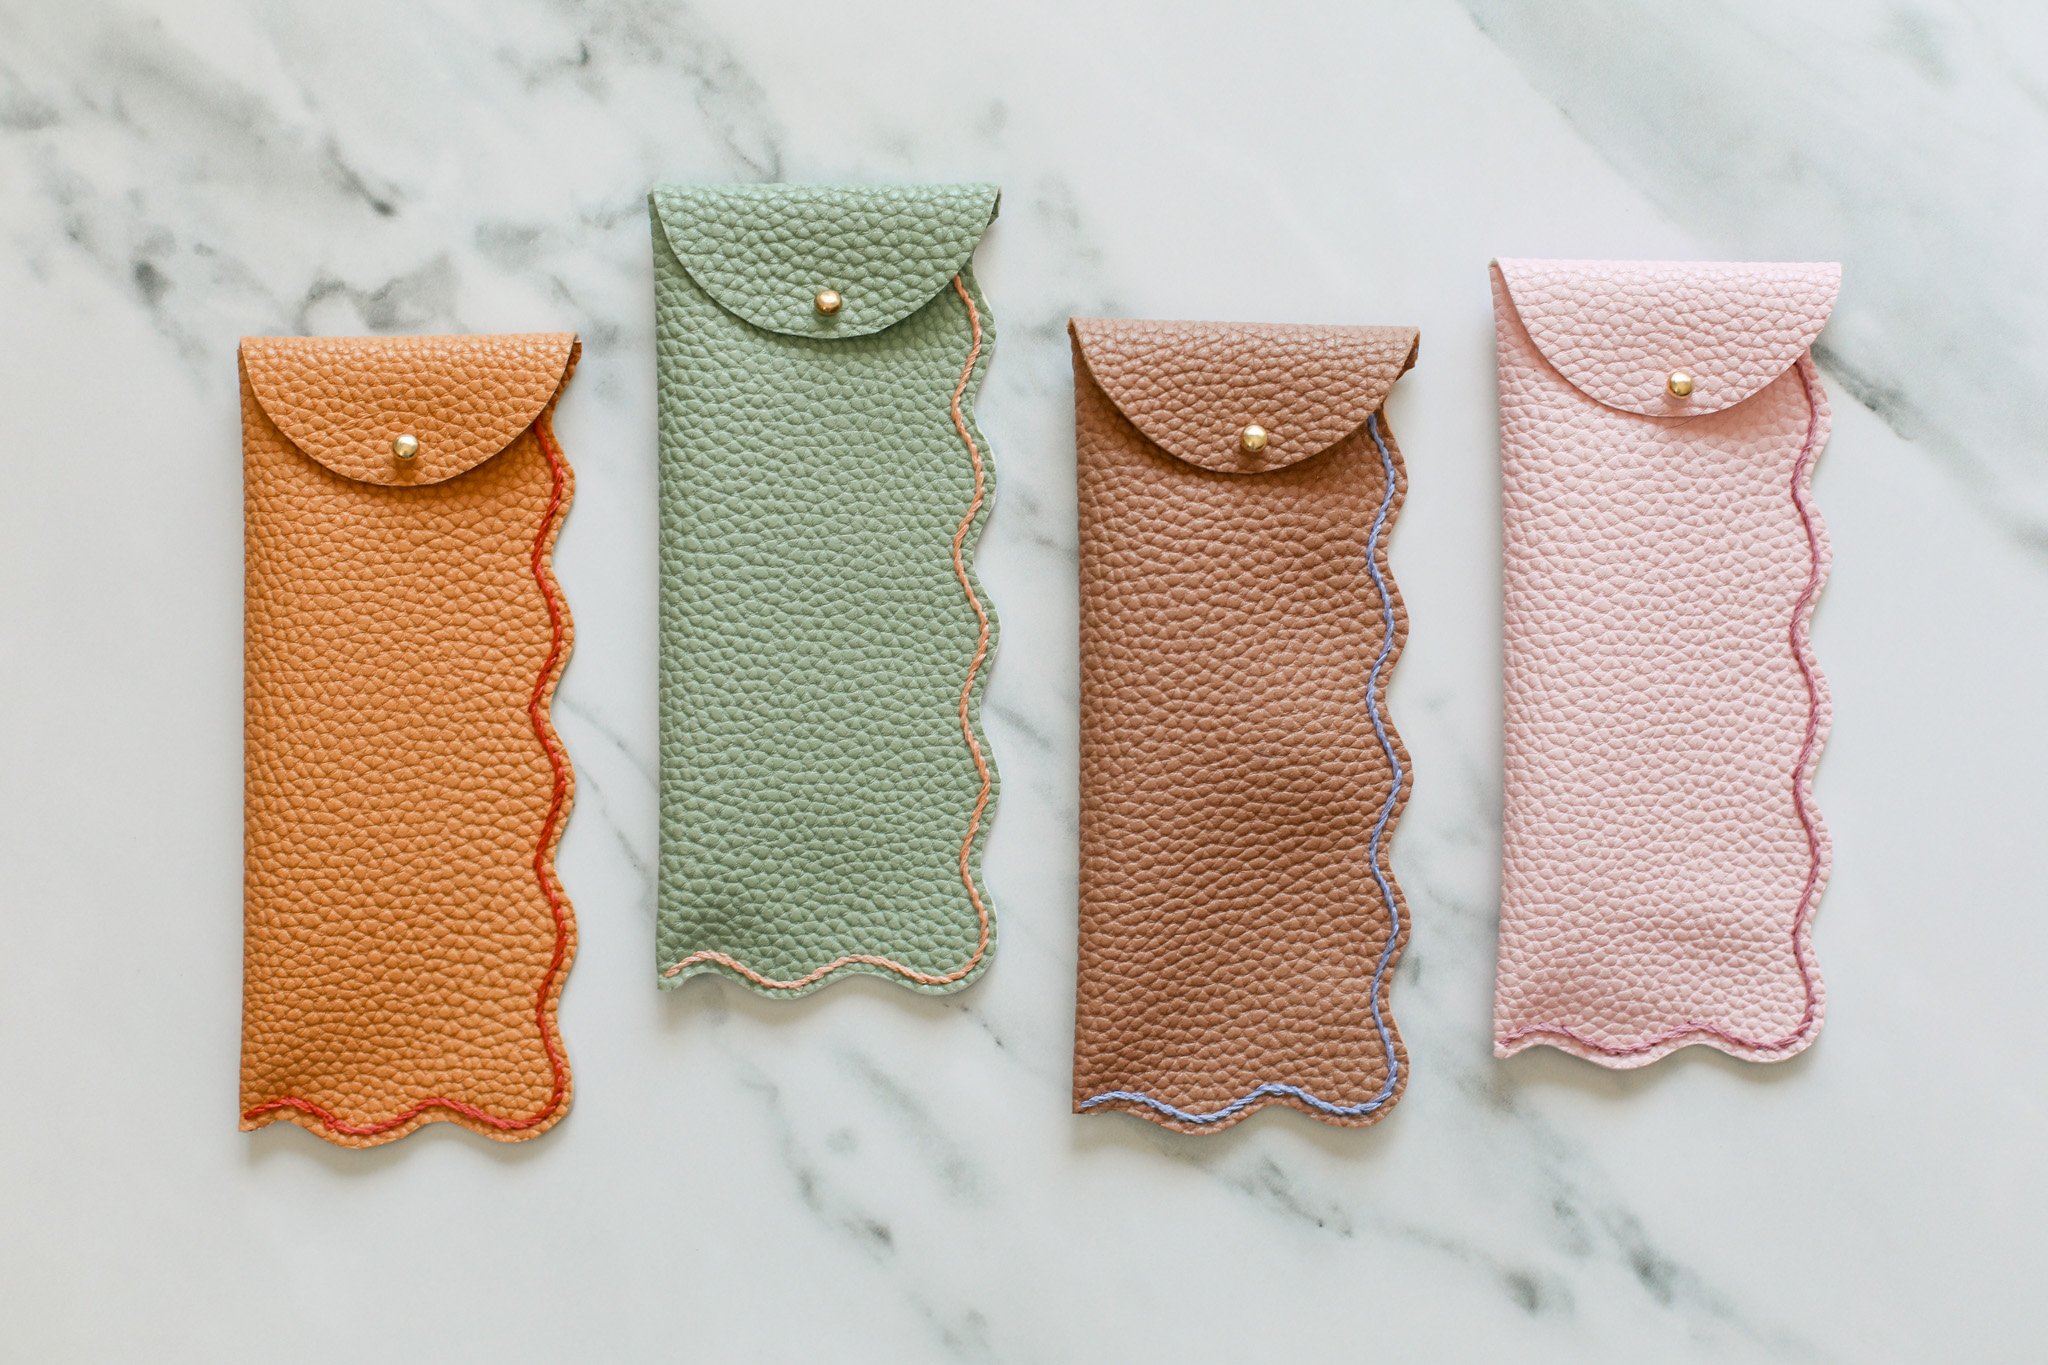
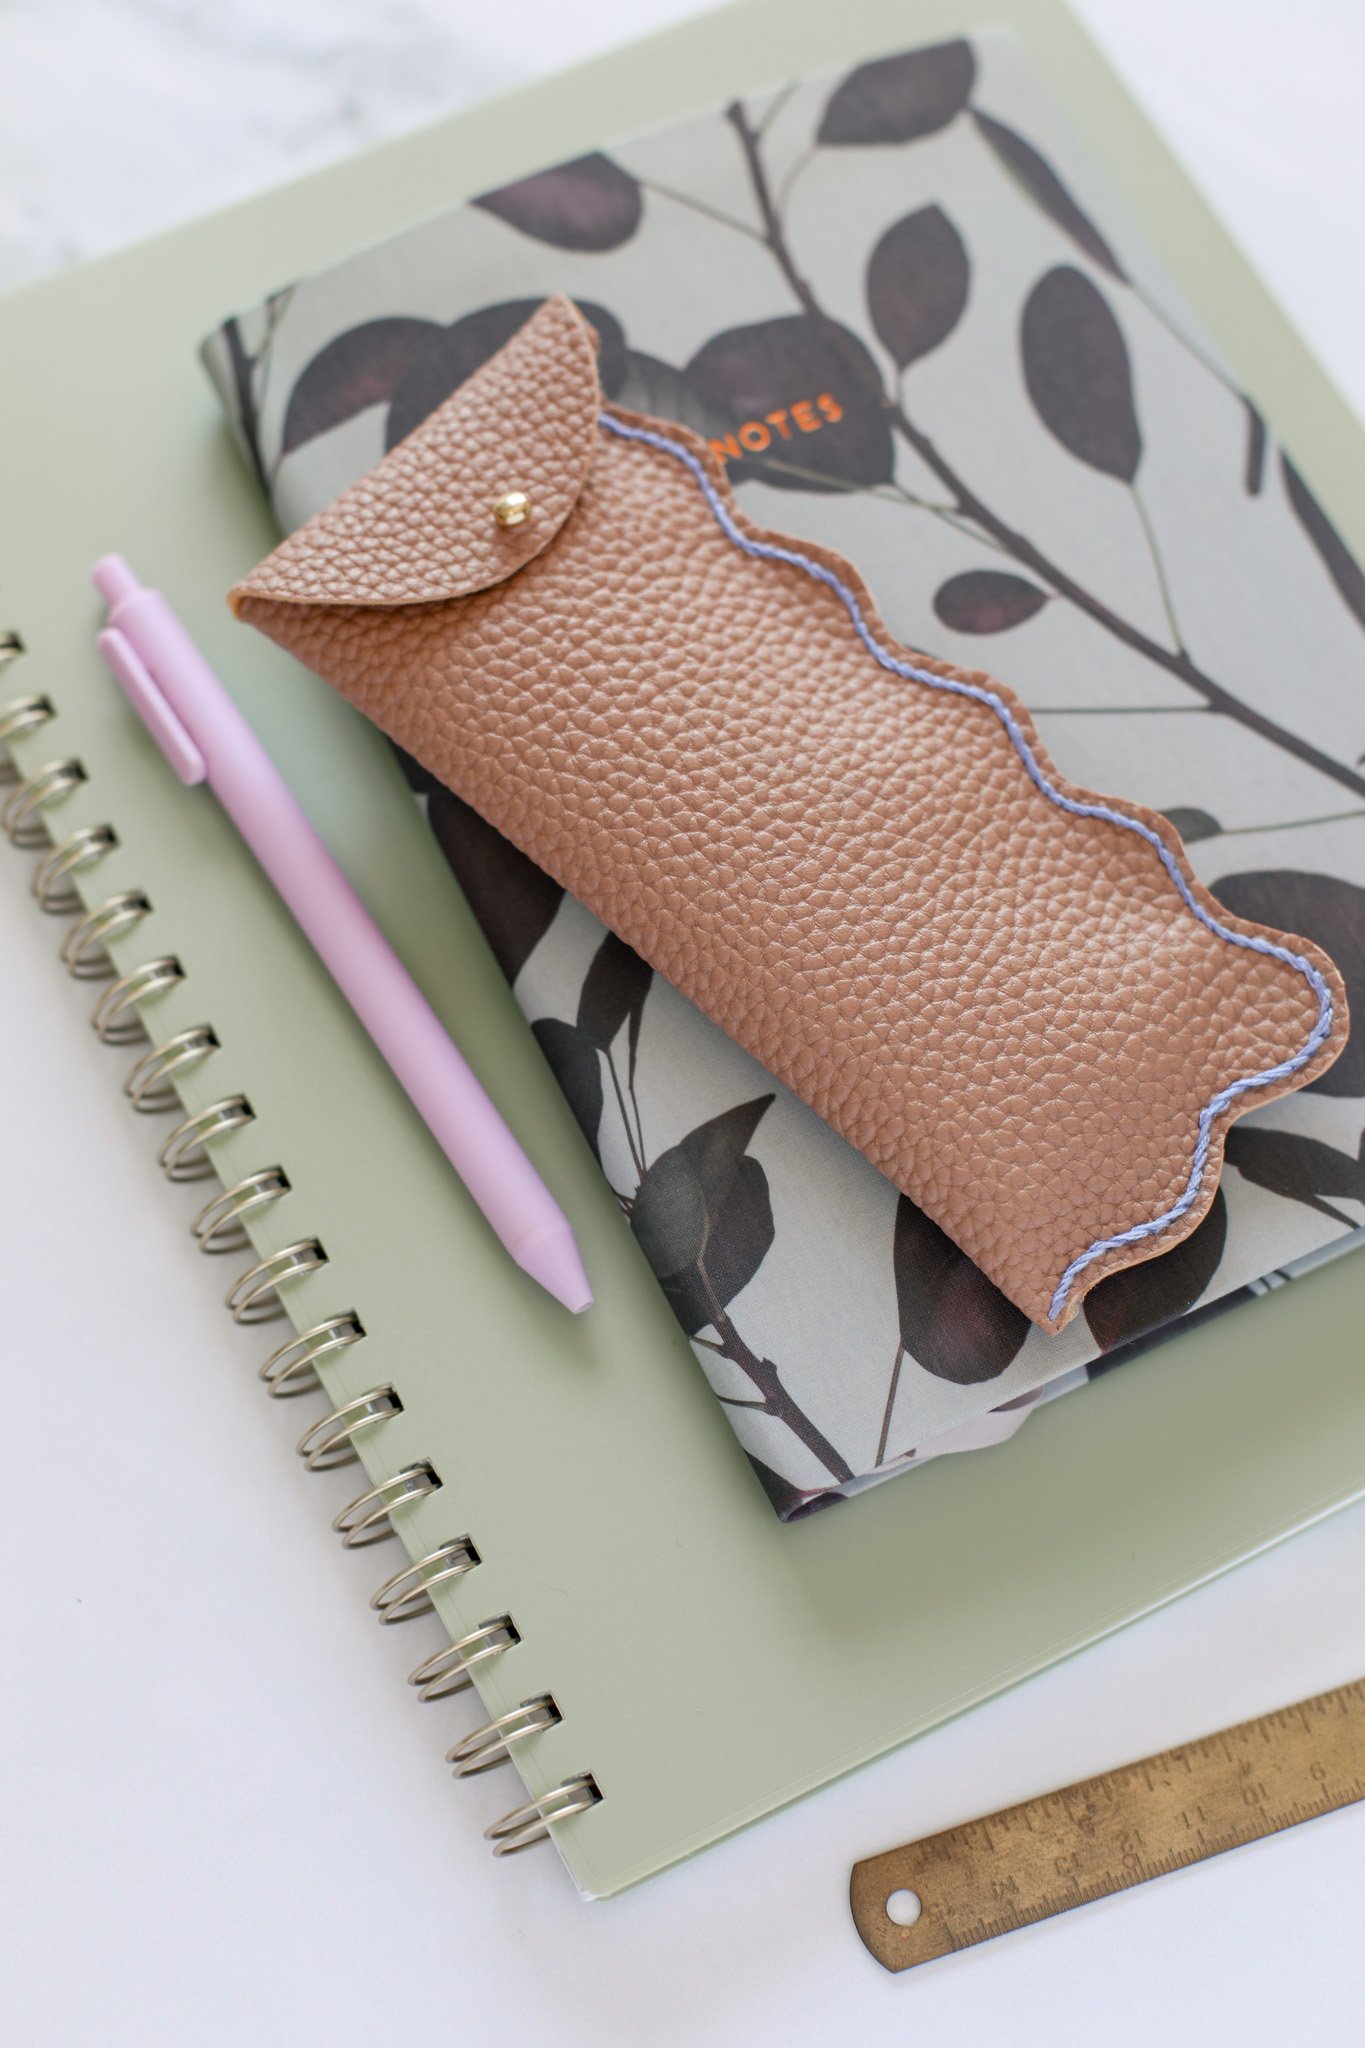
And now your pencil pouch is complete! Fill it with your favorite pens, pencils, and highlighters. Or use it for small makeup brushes, mascara, eye liners, etc. If you know someone going back to school or have a teacher in your life, I think this would make a great homemade gift!


You are going to be styling with your new handmade pencil pouch whether you are going back to school this year or just from room to room while working remote :P
Hope you enjoyed today’s back to school inspired project! Let me know if you try it out yourself. And to everyone headed back to school, have a great fall semester.
xo Rachael

