
DIY Dorm Decor: A Tabletop Makeup Mirror (IKEA SMARRA Hack)
I loved the whole process of planning, packing, and moving into my dorm room freshman year of college! I remember it well. As someone who used to LOVE back to school shopping, dorm room shopping was like the ULTIMATE back to school shopping — where instead of buying pencil cases and locker shelves, you’re buying your very first pots & pans, laundry hamper, and desk lamp. So many decisions and so much decorating potential!

Well this year, even though I’m not headed back to school, I thought it would be fun to try to create DIY dorm room decor that will make a fun & unique statement in your new space this semester!

And we all know, if you’re headed to the dorms this year, you will definitely be making a big trip to IKEA for all your “first home away from home” essentials. While you’re there, be sure to grab one of these woven bamboo SMARRA boxes, and follow along below to see how I transformed this basic box into a trendy & functional tabletop makeup mirror with built in storage. Here we go!
Affiliate disclosure: This post contains several affiliate links. As an Amazon Associate, I may earn commissions from qualifying purchases from Amazon.com. Thank you for your support!
HOW TO HACK AN IKEA SMARRA BOX INTO A TABLETOP MAKEUP MIRROR

You will need:
IKEA SMARRA box (11.75” x 11.75” x 4” size)
Mirror (I got a 10” round mirror from my local craft store)
Hot glue gun (I would also recommend using a stronger adhesive like E6000 if you want to be sure the vanity mirror is strong & secure!)
Mini half wooden beads (I used these 12mm)
Small cabinet hinges
Organizing bins (I used some old target organizers that I had but you could use any type, the heavier the better to weigh down the box when open)

STEP 1: Remove the bottom half of the SMARRA box (the side with the extra lip) and set aside. You will be gluing your mirror to the inside of the top half.
Add hot glue to the four edges of the backside of your mirror (top, bottom, left, and right). Quickly flip the mirror over and press into the center of the box lid. Since the box is slightly rounded, the center of the mirror will not actually touch the back of the box lid. This is why it’s important to adhere your glue to the edges which will come into contact with the backing.
**TIP: I would recommend using a stronger adhesive like E6000 — I just used whatever glue I had on hand at the time, and I ended up needing to add more glue to securely keep the mirror & hinges attached.

STEP 2: To give your mirror a more finished look, line the rounded edge with these mini half wooden beads. These wood beads match well with the woven bamboo material of the SMARRA box. Attach each bead with hot glue and be careful to plan out your last few beads in case you need to leave some spacing between. You don’t want to end up with a large blank space where you can’t fit another bead.

STEP 3: Now it is time to add the hinges to your box. Begin by attaching two hinges to the bottom portion of the SMARRA box. You will want the rounded hinge part of the bracket to be sitting on the lip of the box facing toward the inside of the box (as shown in the photo above).
The flat side of the hinge should be on the outside. Use a good glob of hot glue for these hinges to make sure they are secure.

STEP 4: Place your SMARRA box lid (with the mirror) back on top of the bottom portion so that it is sitting on the rounded hinge. Add another generous glob of hot glue to the other side of the hinges, securing them both to the edge of the lid.

STEP 5: Allow your project to dry, hot glue should be set fairly quickly but if you’re using a stronger adhesive like E6000 you will want to wait 24 hours.
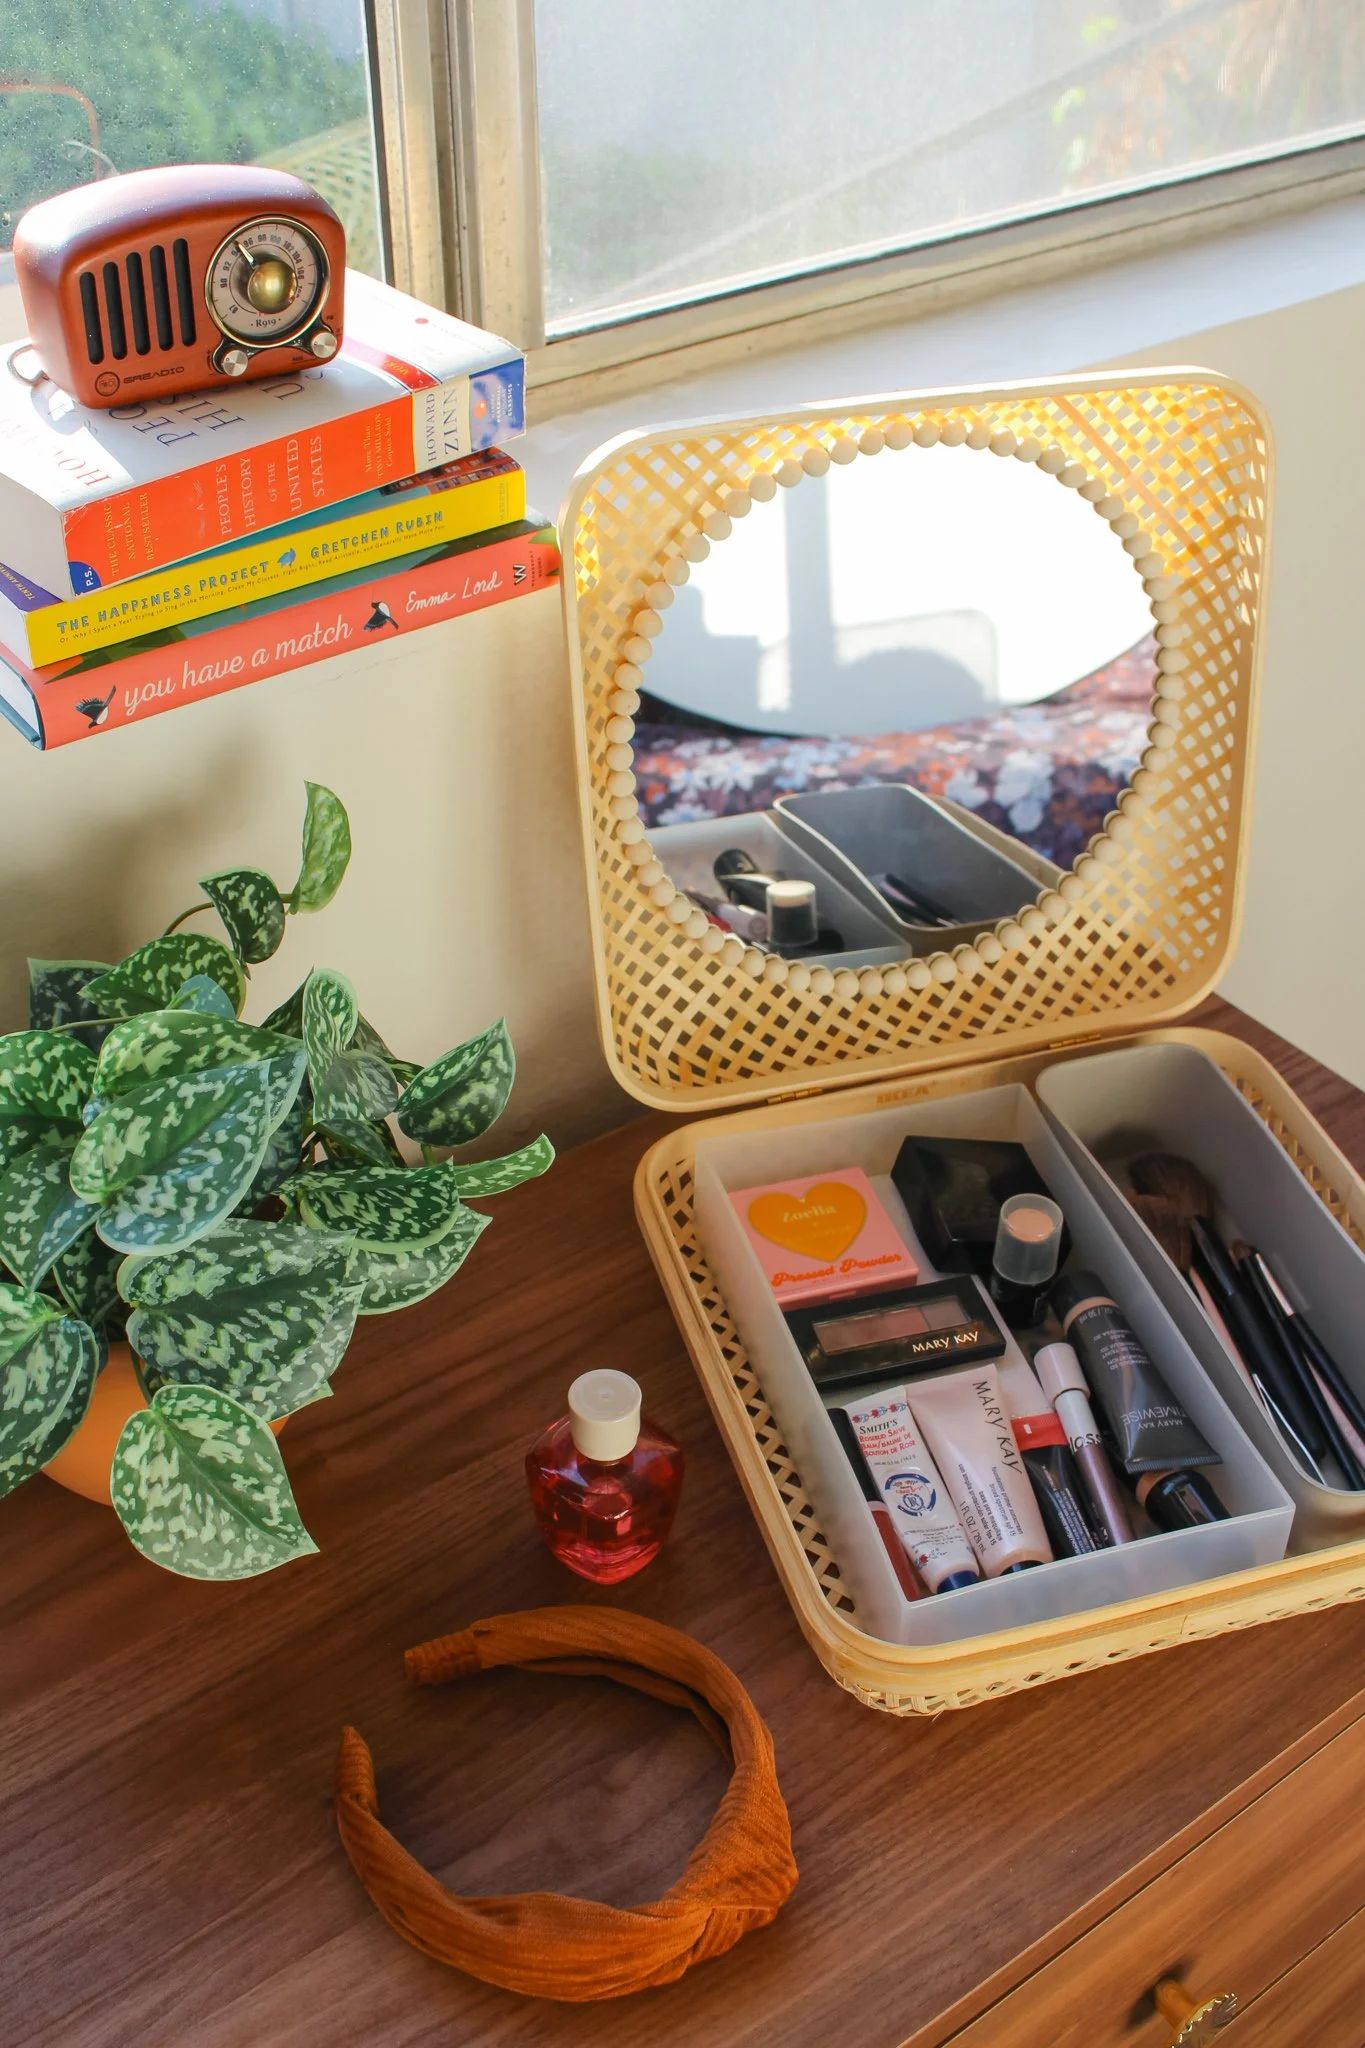
Your vanity mirror box will now be fairly top heavy when opened, so be sure to add a few organizing bins and fill it with your makeup products to weigh down the bottom half of the box before use!

And there you have it! I love that this box is functional and cute while open, but it can easily be closed up for a clean & tidy looking space in no time at all.
If you try out this easy IKEA hack, let us know how it looks in your dorm room! I hope you have a great fall semester! xo Rachael

