
DIY Checkered Beaded Hair Clips
I’m back today with another DIY project, this time to make your very own hair accessories using the square stitch method of beading. Attaching each bead one at a time can seem like a tedious process, but don’t let that discourage you. Once you find a rhythm you will be cranking out a bunch of these cute hair clips in no time at all!
And if hair clips aren’t your thing, you could totally use this process to make a choker necklace, a bracelet, or a ring. OR if you have a lot of patience, maybe even a bookmark or lanyard. So grab yourself a set of colorful seed beads, and let’s get started.


DIY CHECKERED BEADED HAIR CLIPS
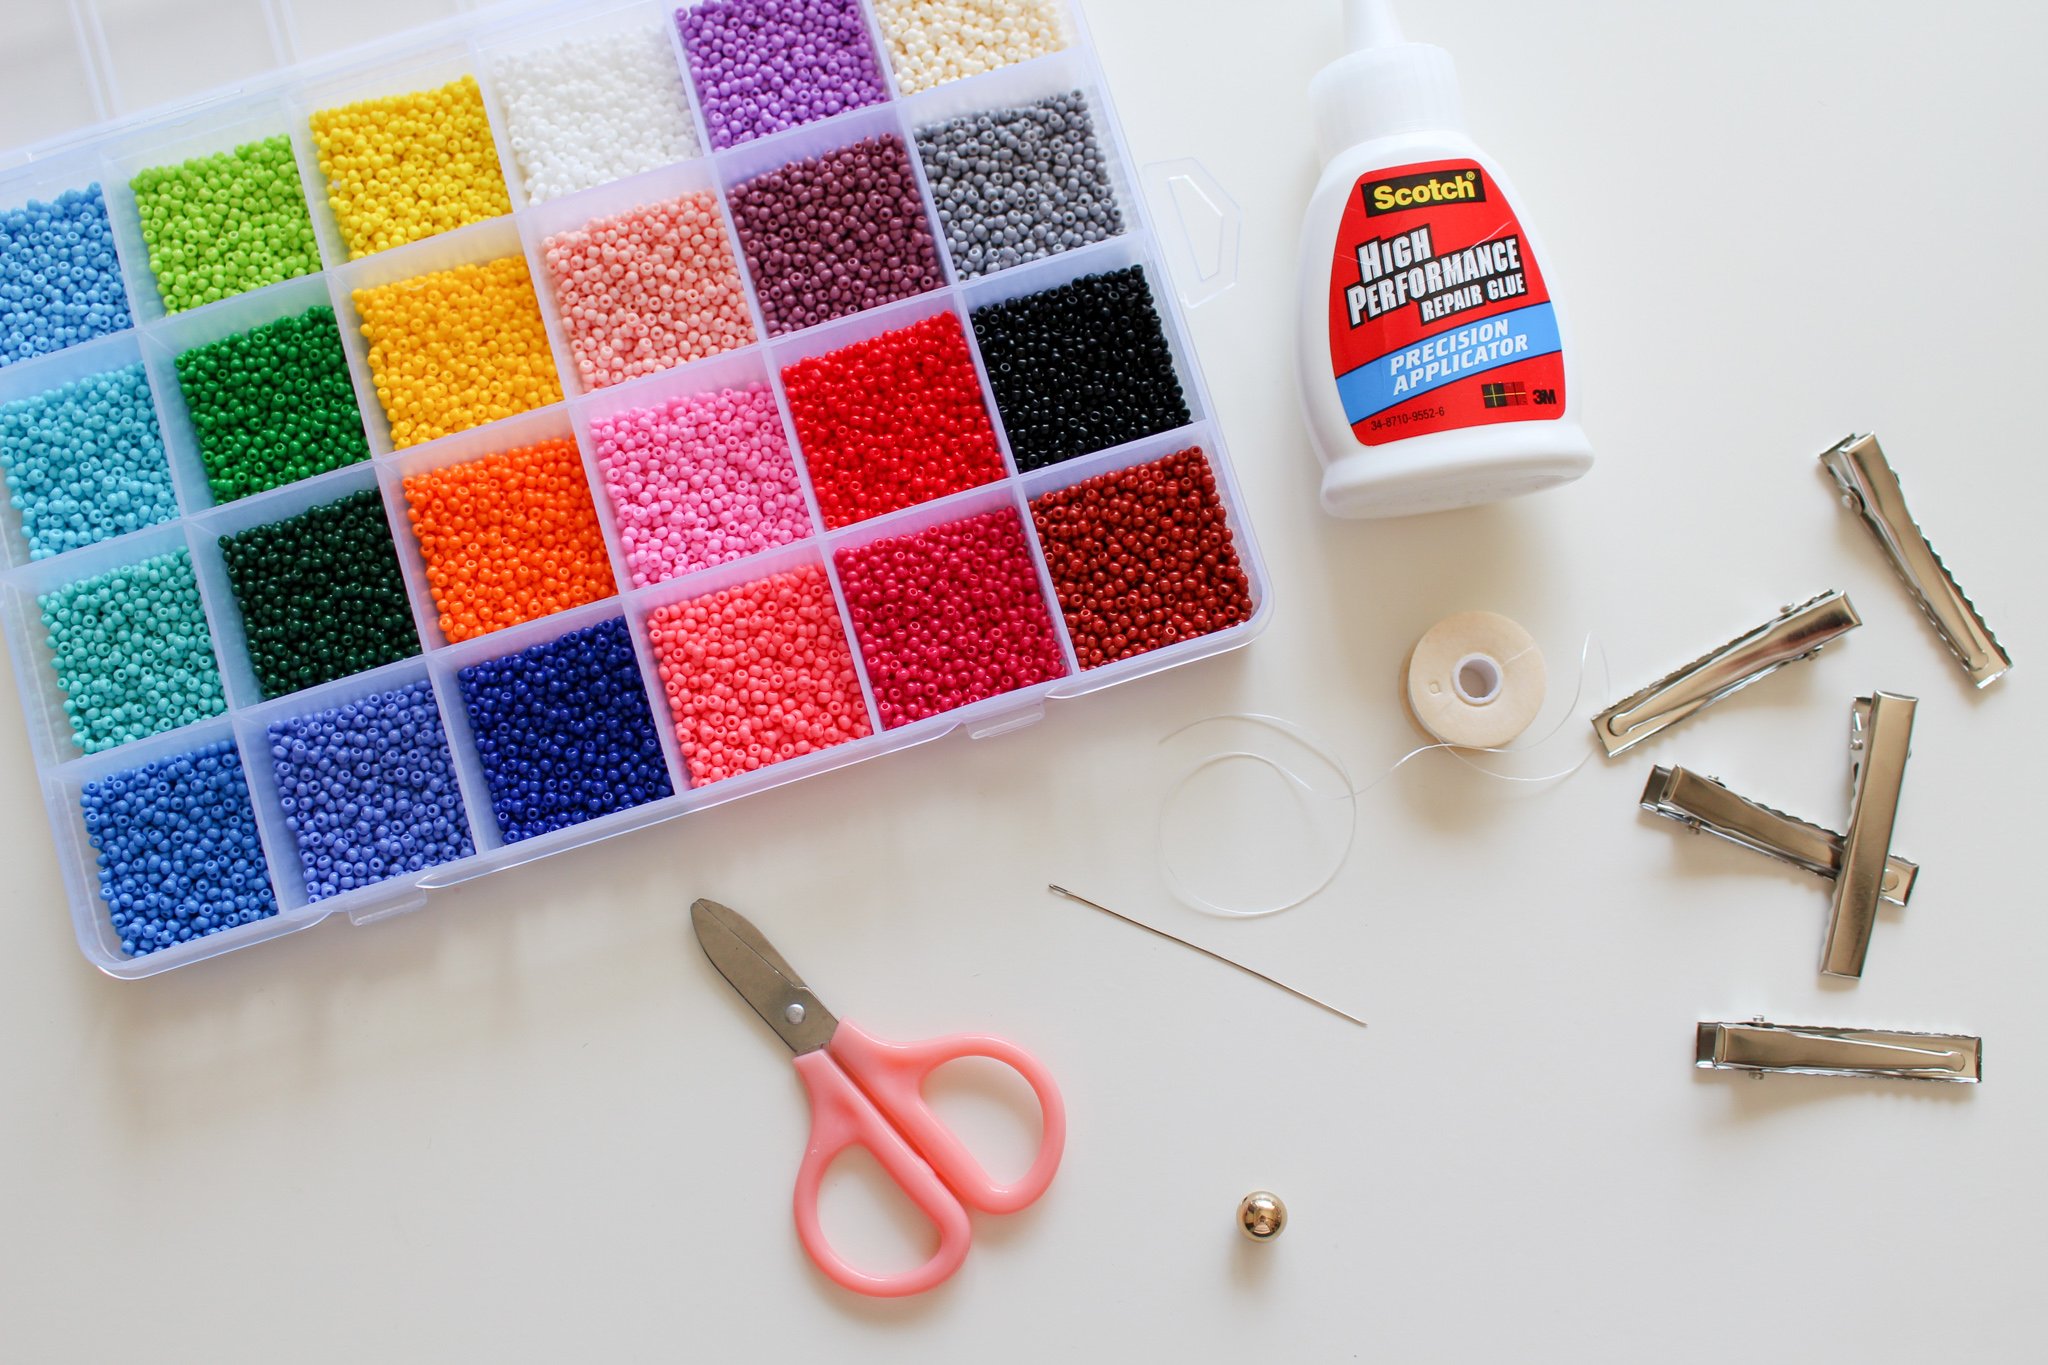
You will need:
2mm size seed beads (*if you buy this kit, it comes with the string and needle you will need too!) — to make this checkered pattern you will need two colors, we will refer to them as COLOR A and COLOR B
Thread (I used Nymo nylon thread)
Beading needle
1 larger bead
Glue or craft adhesive
Scissors
STEP 1: Cut a piece of thread about the length of your wingspan. Thread your needle, then add your larger bead to the thread (about 2 inches from the end). Then thread through the bead a second time to secure it in place. This bead will just be used as your “stopper bead” to make sure your tiny seed beads don’t immediately fall off.
STEP 2: Thread on four seed beads, two of COLOR A and two of COLOR B. We will now begin the process of square stitching on your beads.
**TIP! Try to pick beads that are around the same size and shape for a uniform looking pattern.


STEP 3: Thread on another COLOR B bead, so you now have 3 of this color in a row. Now thread the needle back through the second COLOR B bead and then back through the third COLOR B bead. You may have to play with the bead positioning a bit, but you want the third COLOR B bead to now be sitting side by side the second one.

STEP 4: Thread on a fourth COLOR B bead, this time you will then thread through the first COLOR B bead and then back through the forth (following the arrows as shown below). Now the fourth bead is sitting side by side the first COLOR B bead.

STEP 5: Continue this process of square stitching now two more times using COLOR A beads. So you should now have two rows of 4 beads each, all COLOR A at the top and all COLOR B at the bottom.
STEP 6: To secure this completed row in place, thread your needle back down your entire first row (making sure you don’t miss any of these four beads), and then immediately up your second row.
Be careful with this step to not miss threading through the middle of any of the beads, otherwise your thread will be visible in your design.
STEP 7: Your thread should now look like the image on the left below. Now turn your project upside down so that you thread is coming out of the bottom right row, as shown in the image on the right below.
At this point you can also remove the stopper bead at the end since your seed beads should be nice and secure.


STEP 8: Now that your thread is coming out the bottom, you are back to the same setup you began with. So you will now want to repeat steps 3-7 to create your next row. This time you will want to reverse your bead colors so that it looks like the image below.

STEP 9: Continue adding more rows, reversing the colors every two rows, until you have a total of 21 rows.
**NOTE: If you run out of string before completing all these rows, I will explain how to add more string below.
STEP 10: Once you have completed your rows, take the needle with the tail end and thread it back through the last few rows you made. I like to go through about 3 rows to make sure the thread is fastened tightly. Then trim off any extra.
This is the same process that you can do if you run of our string early. Just thread the tail through a few of the previous rows, then trim any extra. Cut a new piece of thread, and then thread through the last few rows leading up to the new row that you are starting and begin step 3 again.
You do not have to worry about any knots or anything because the square stitch is a very secure beading technique since you’re fastening every new bead onto a previous bead. You will not be able to easily pull off any newly added rows.

STEP 11: Next, you will want to get rid of the extra beginning tail of thread. Thread your needle on this side, and then thread through the first few rows. And trim any extra (just like you did to finish off the other side).
STEP 12: Use glue or craft adhesive to adhere your completed beading to the wider side of your alligator hair clip. Allow the glue to set before using your clip.


And you have completed your DIY checkered beaded hair clip!


Once I had made one, I just kept making more and more with different color combinations. I love how these clips turned out! I think these would make a super fun DIY gift idea too. You could make a set with a few different colors and attach them to a ribbon or cardstock with a sweet note.
The checkered pattern is so in style these days, in both fashion and home decor, so it was fun to create a new accessory with this bold pattern! Now that I have the square stitch down, I’m thinking about what other patterns I could make with different colors. Maybe daisy flowers next? What pattern would you attempt with this beading technique?
xo Rachael

