
Easter Bunny Pouch
I’m a sucker for all holidays and any type of reason to give a gift. It let’s me show off my “Martha” side without looking extremely nerdy. Plus it’s always fun to give/get something cute and thoughtful.
For halloween I made some candy pouches for my co-workers that I decorated with stamps and I thought with Easter just around the corner I could recreate them with a twist.
They are great to give to family, friends, co-workers, you name ‘em!
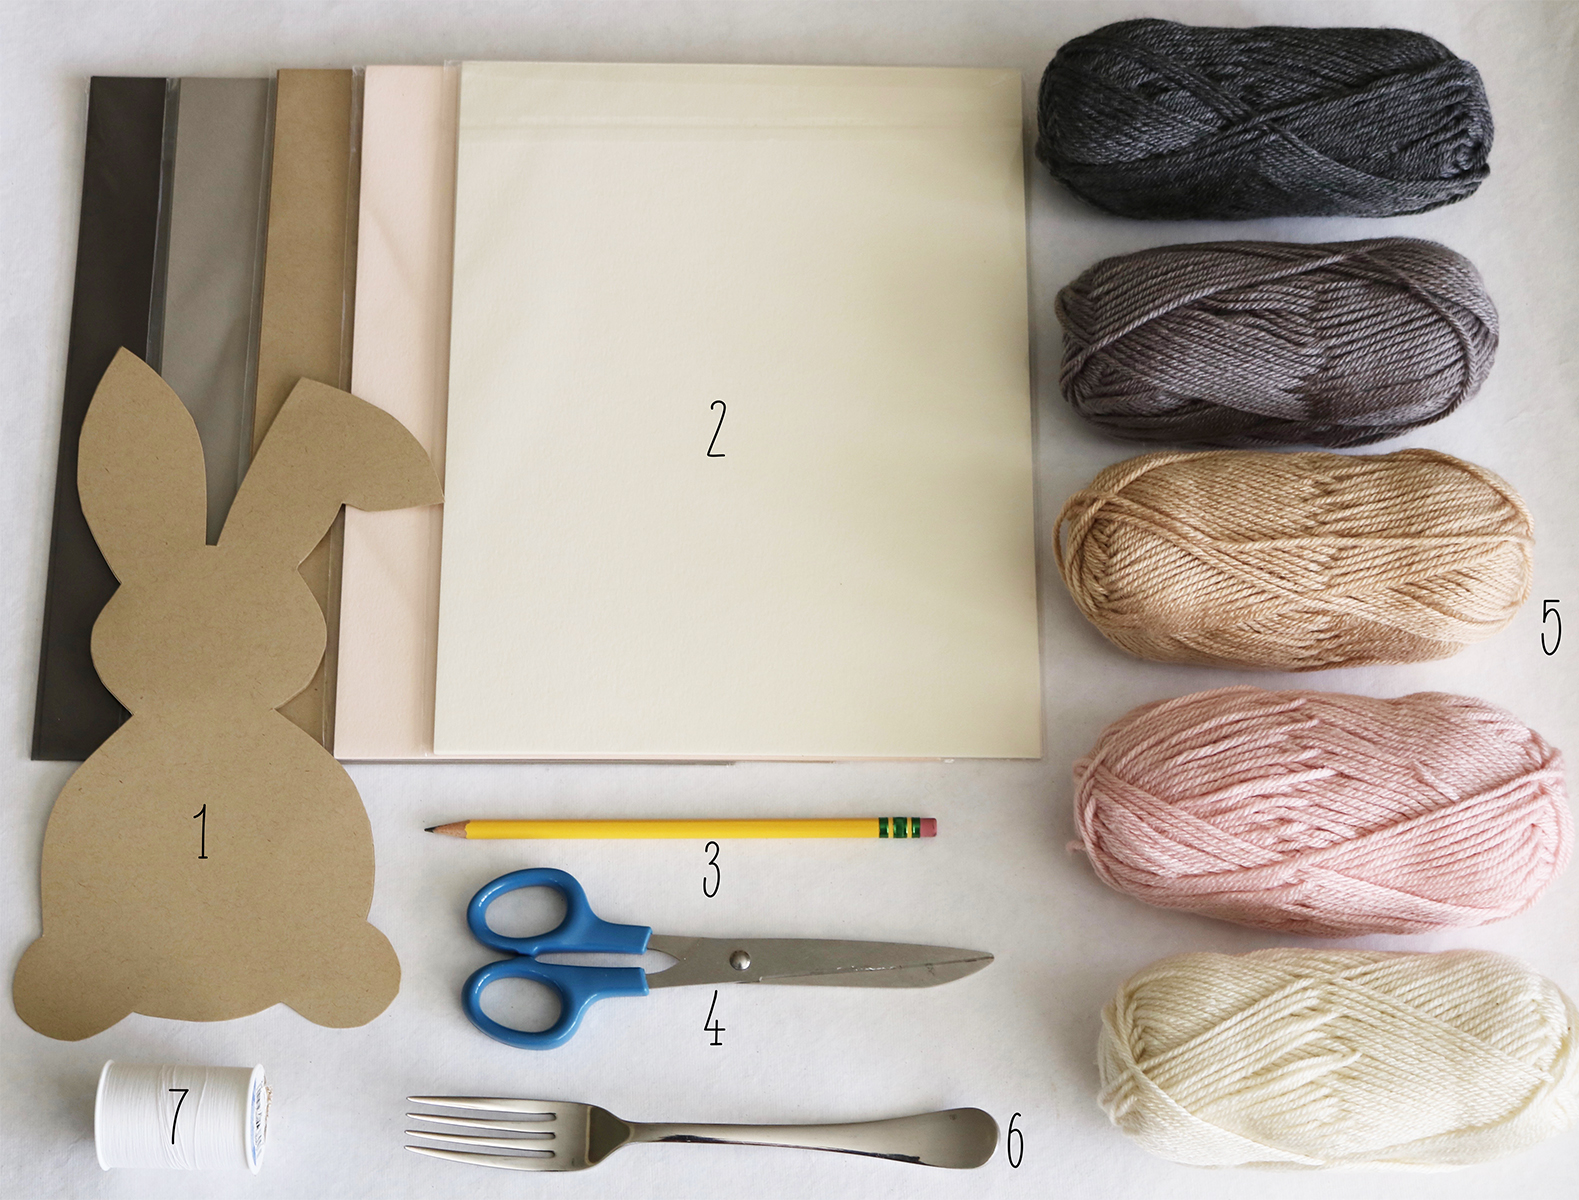
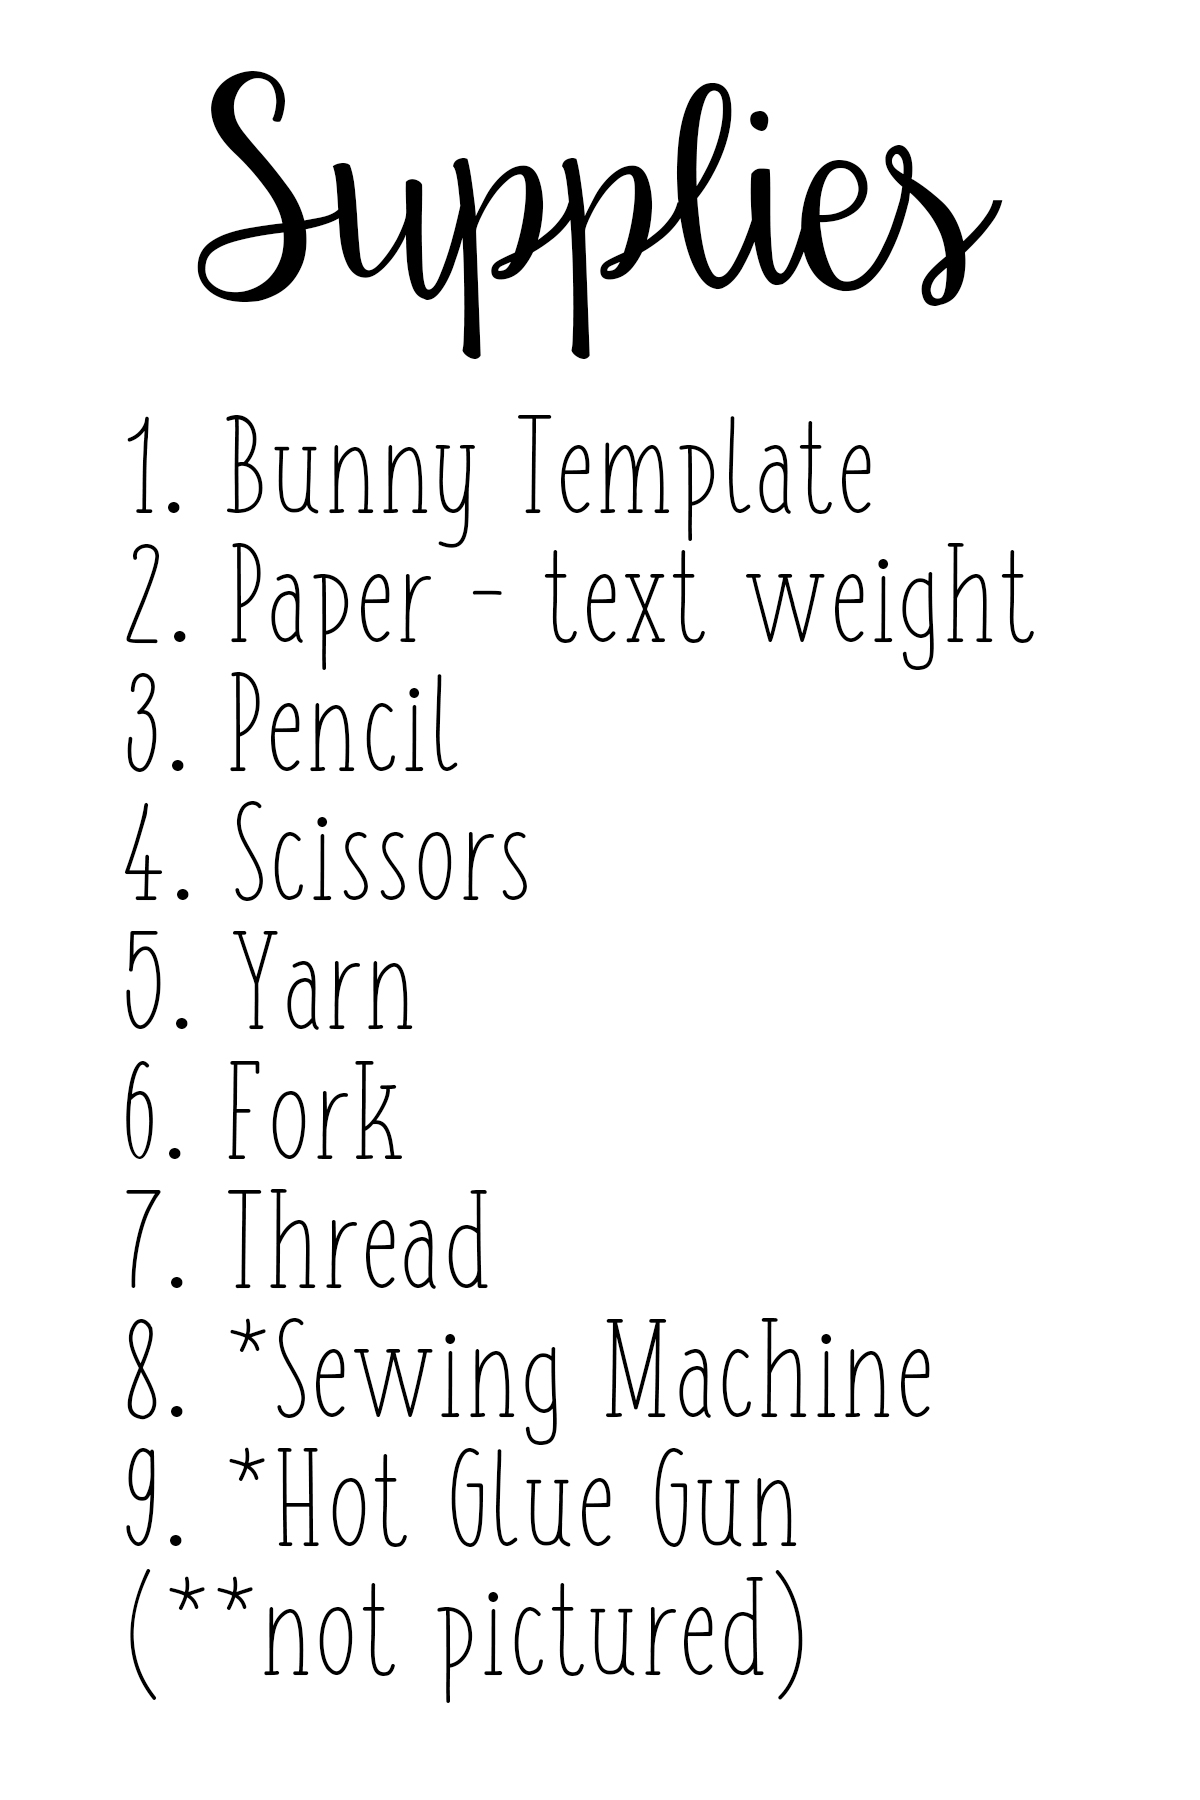
Step 1: Create a bunny template
Step 2: Trace bunny template onto paper
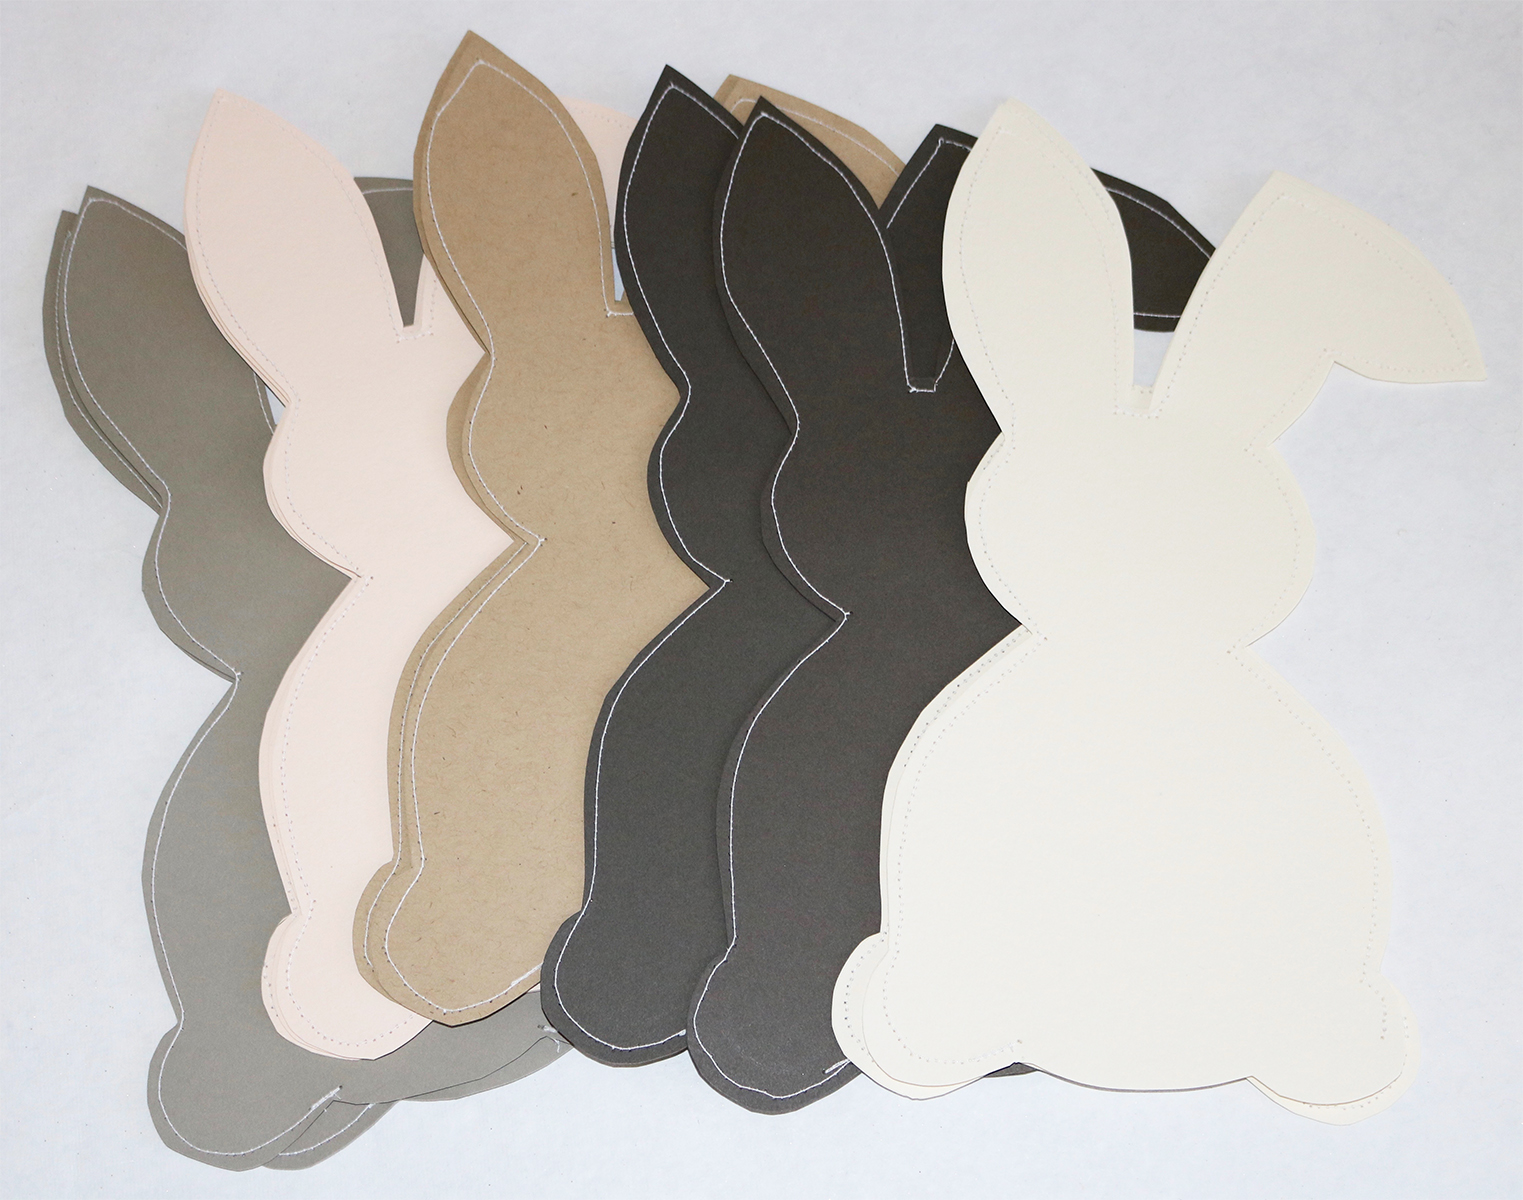
Step 3: Cut out the traced shapes (I chose to cut two sheets of paper at the same time)
Now that you have your bunnies created and cut on to sewing!
Step 4: Choose a thread color that best works with your paper
Step 5: Sew (duh) :)

Be sure that you reverse stitch when you begin, just like you would with fabric, in order to lock the thread in place. Also make sure to leave a large enough opening, I chose mine to be at the bottom, to stuff the different items through.
Paper Sewing Tips:
You will want to check your tension – too loose and the back of your paper will be a loopy mess. Too tight and you’ll tear your paper (trust me, I know this from experience!). I keep my machine set between 2 and 3, but the best way to find the right setting for yours is trial and error. Practice on a similar weight and textured scrap paper before sewing on your final piece.
When you’re stitching a shape, especially one with curves, you’ll want to go slow. The more intricate the shape, the slower you should go.
When sewing the bunny you will have to rotate the paper a few times, particularly around the ears. Lift the presser foot (definitely had to google the name), but make sure to leave the needle DOWN inside the machine. Carefully turn the paper to the desired direction and VOILA start sewing again.
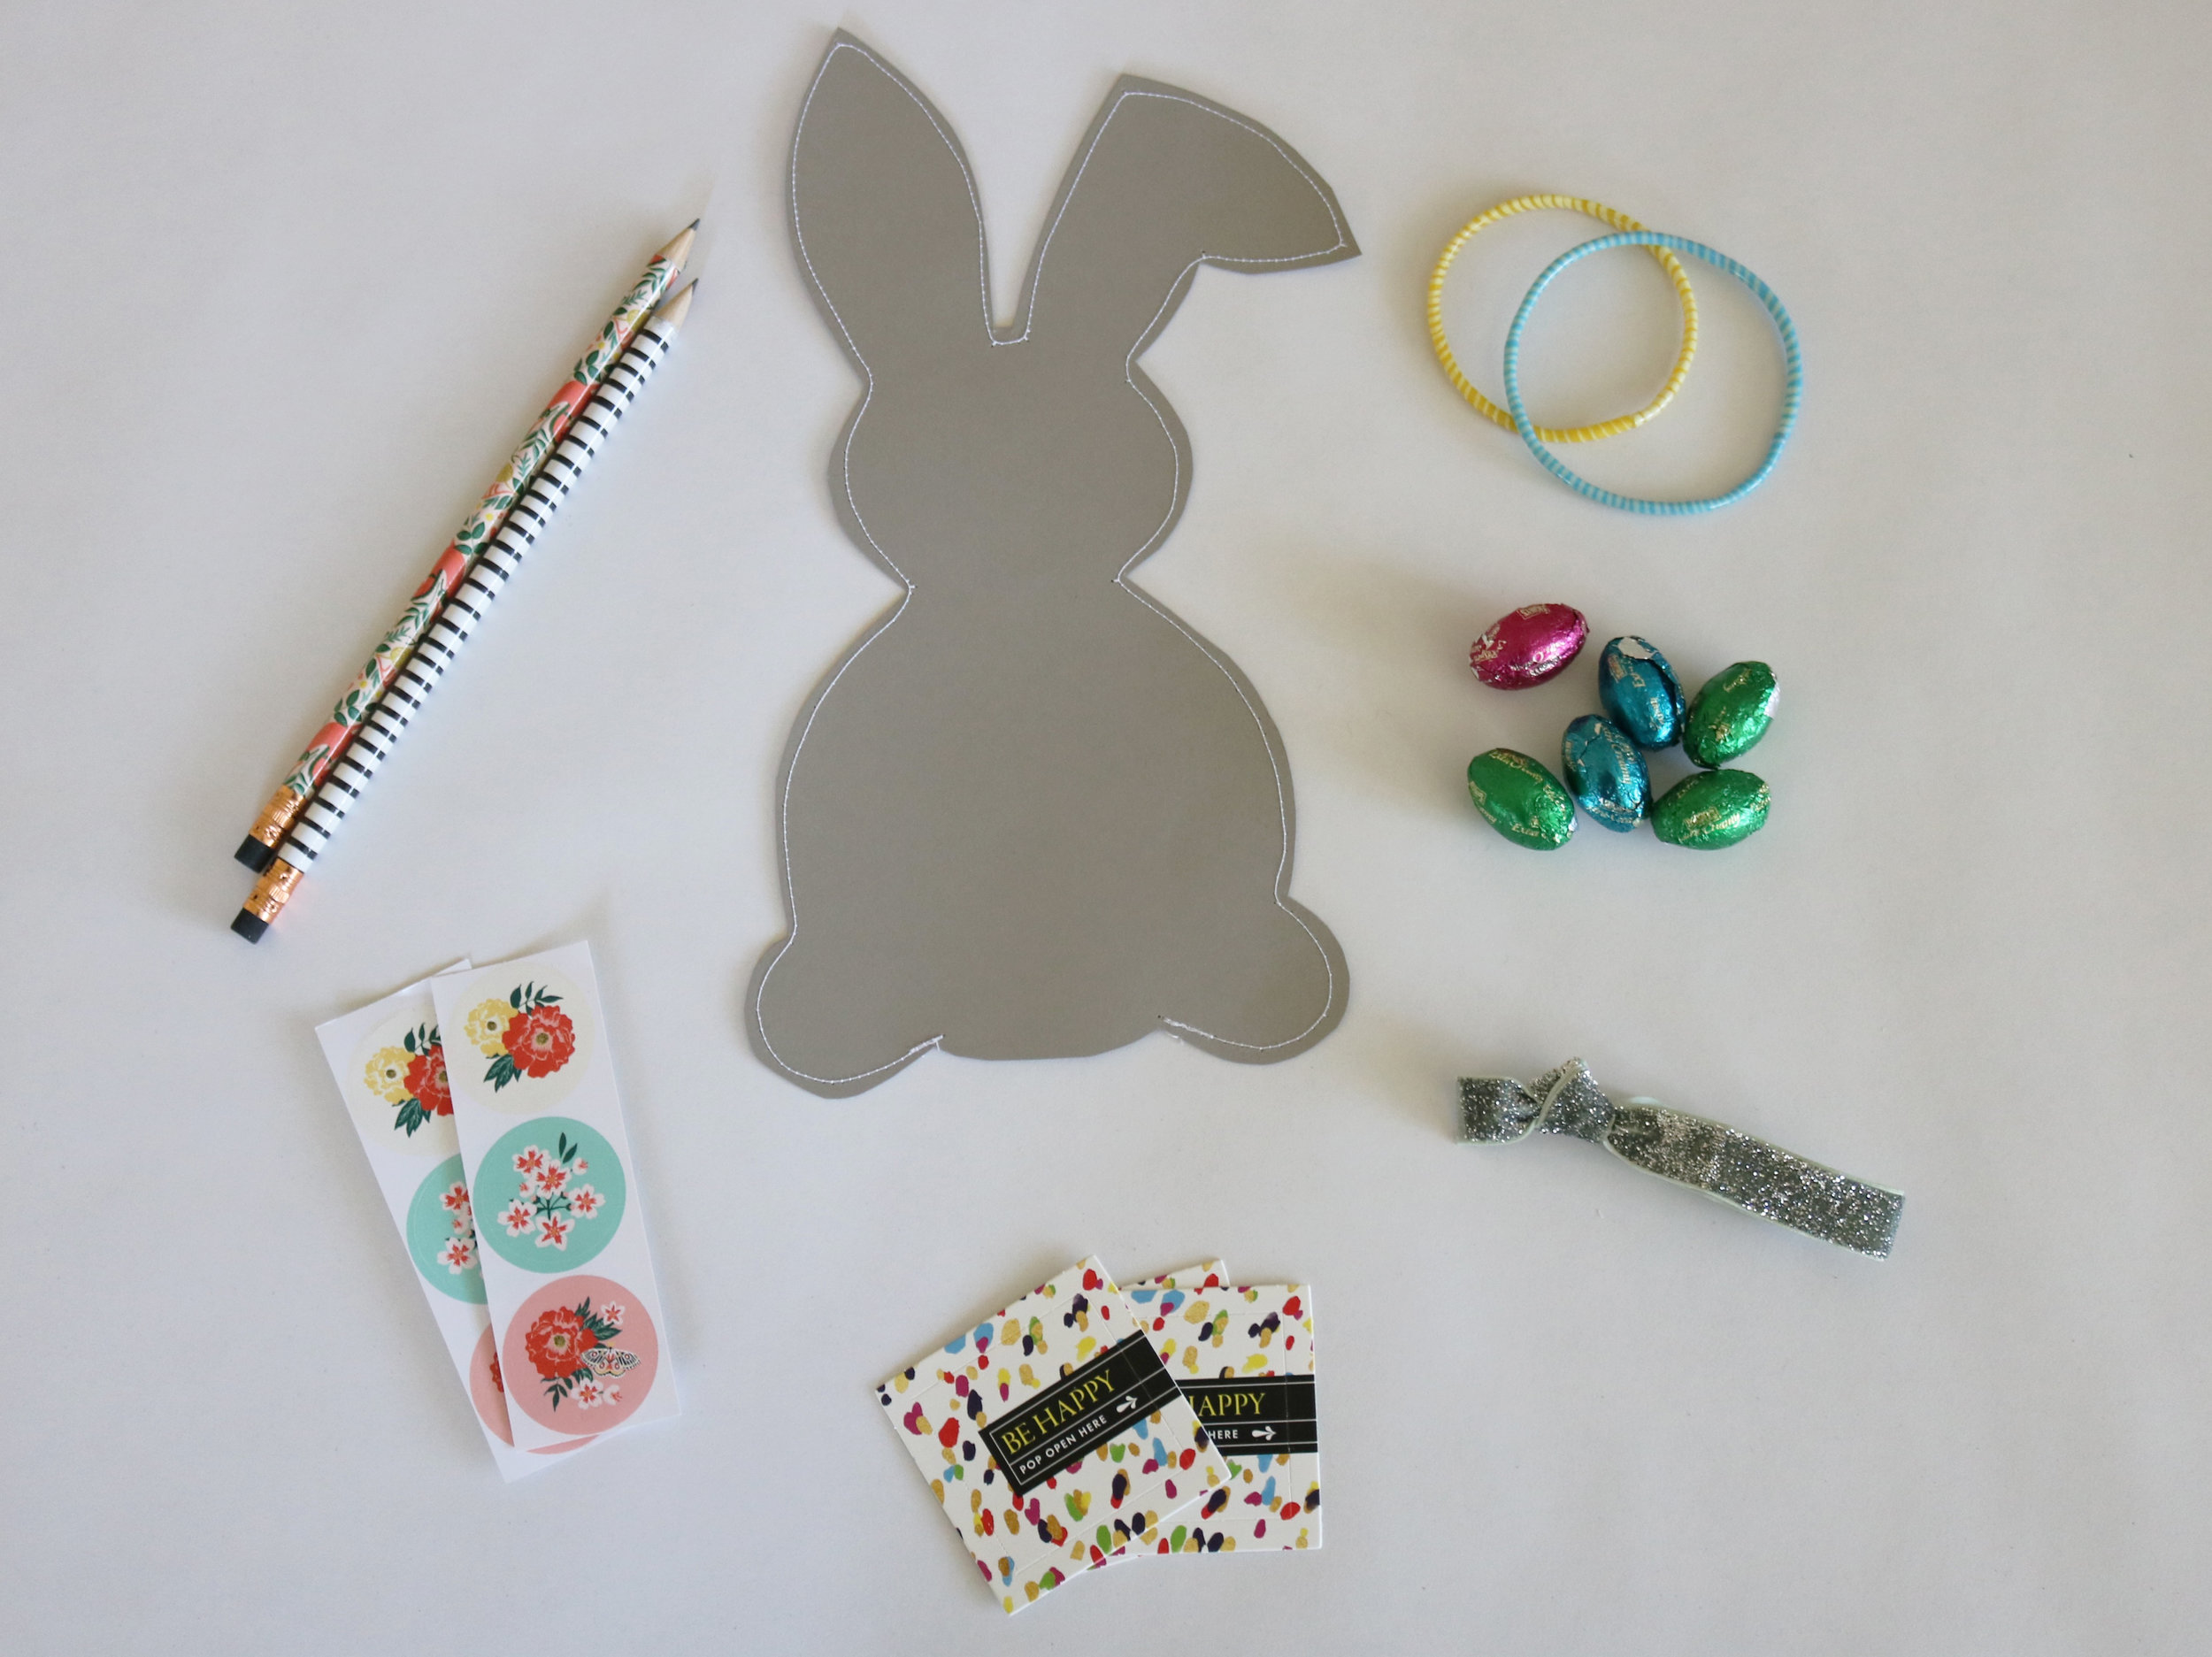
Step 6: Fill the bunny packets (don’t hold back!) with whatever treats and fun easter items you like. It could be jelly beans, bracelets, stickers, notes, tattoos, lottery scratchers… the possibilities are endless!
Step 7: Sew the packet closed
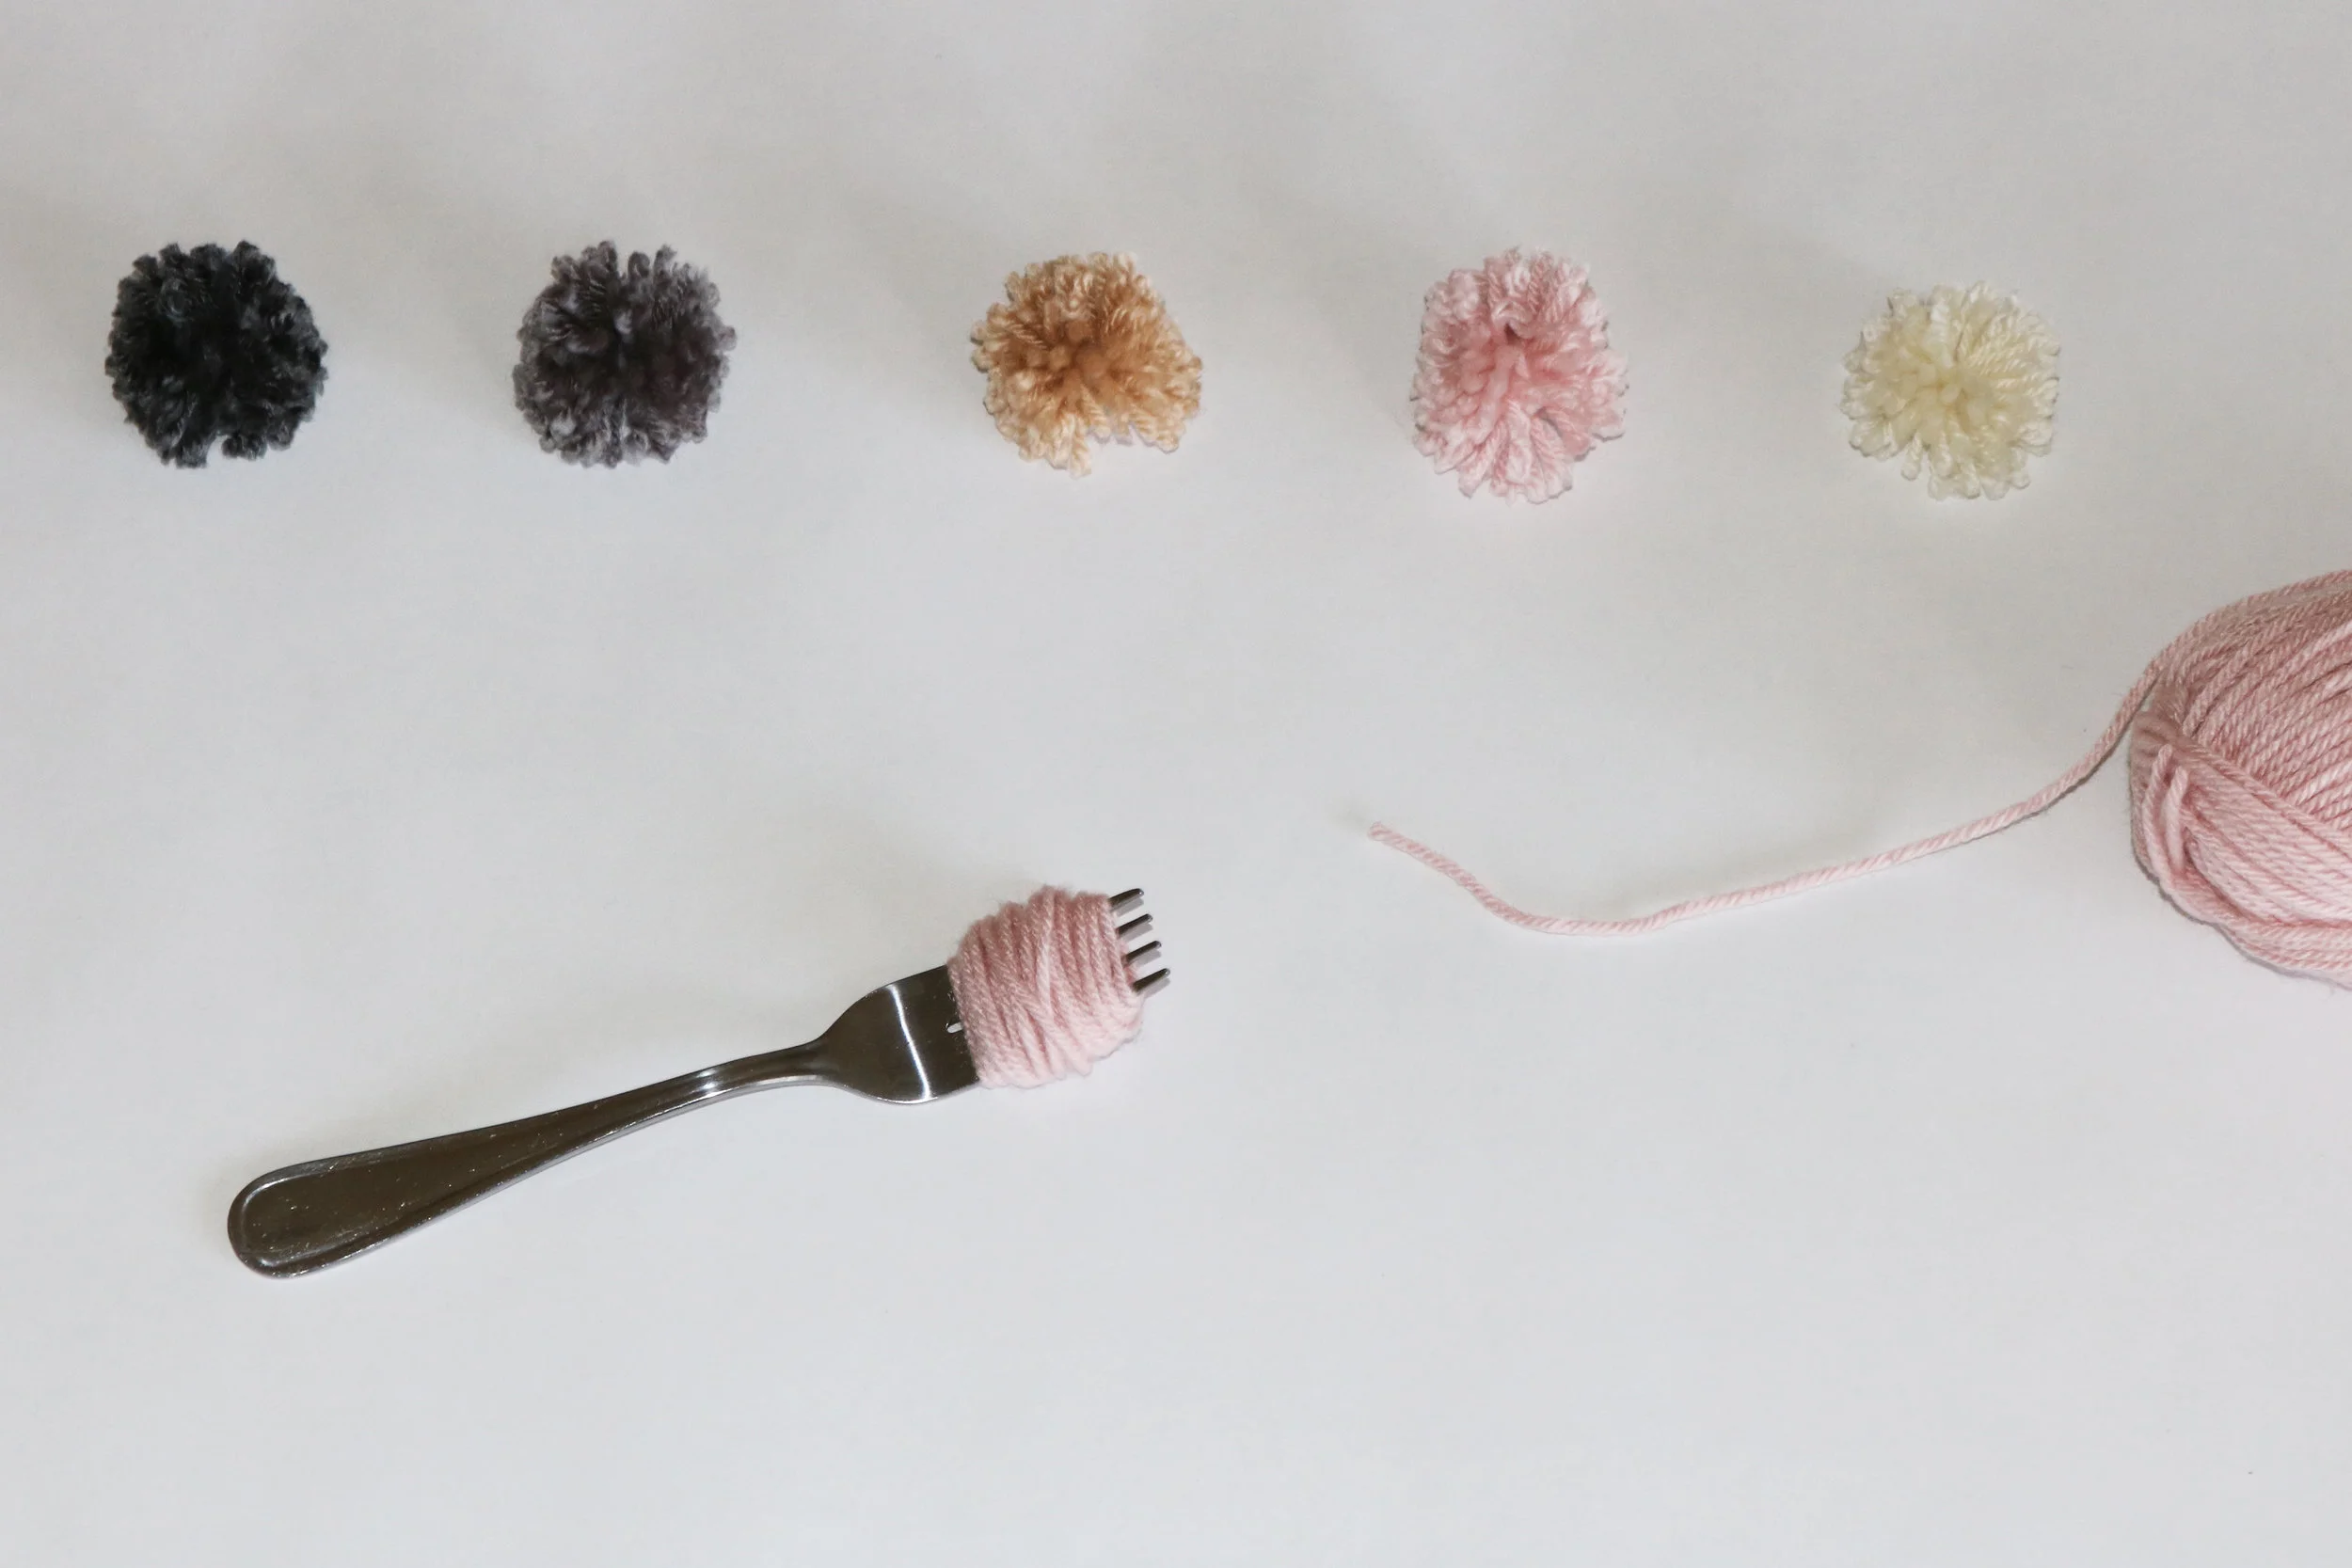
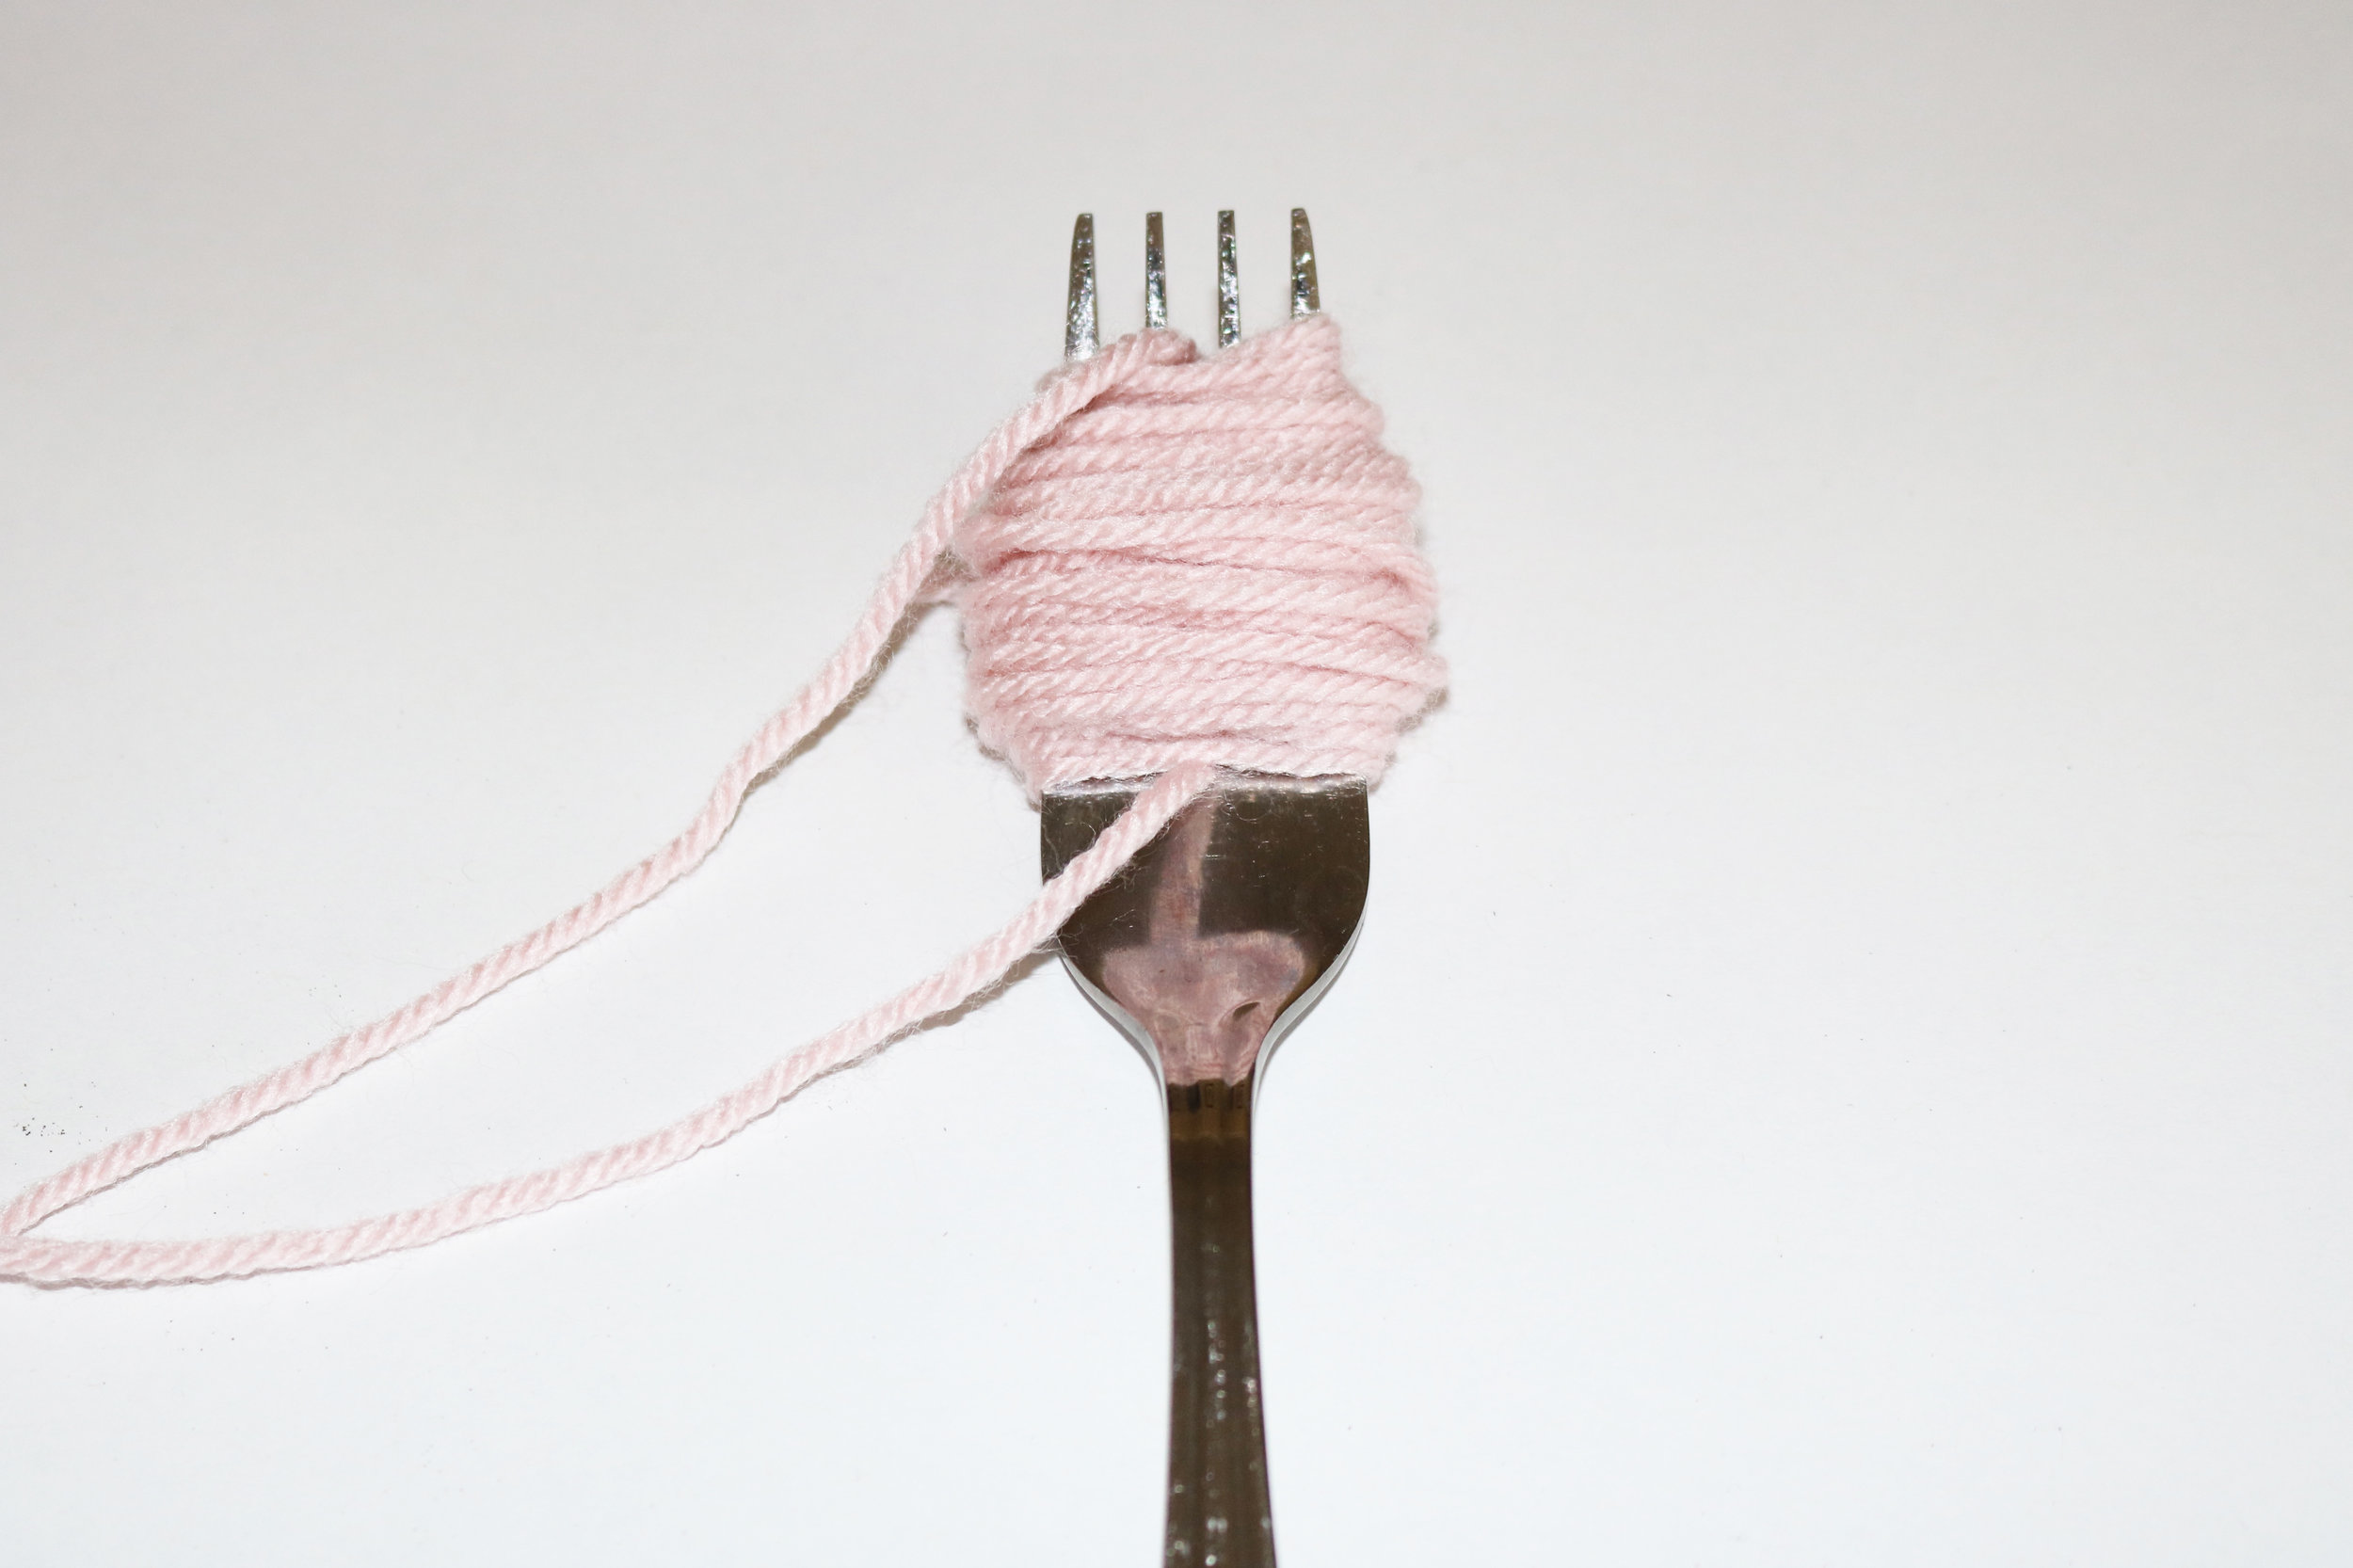
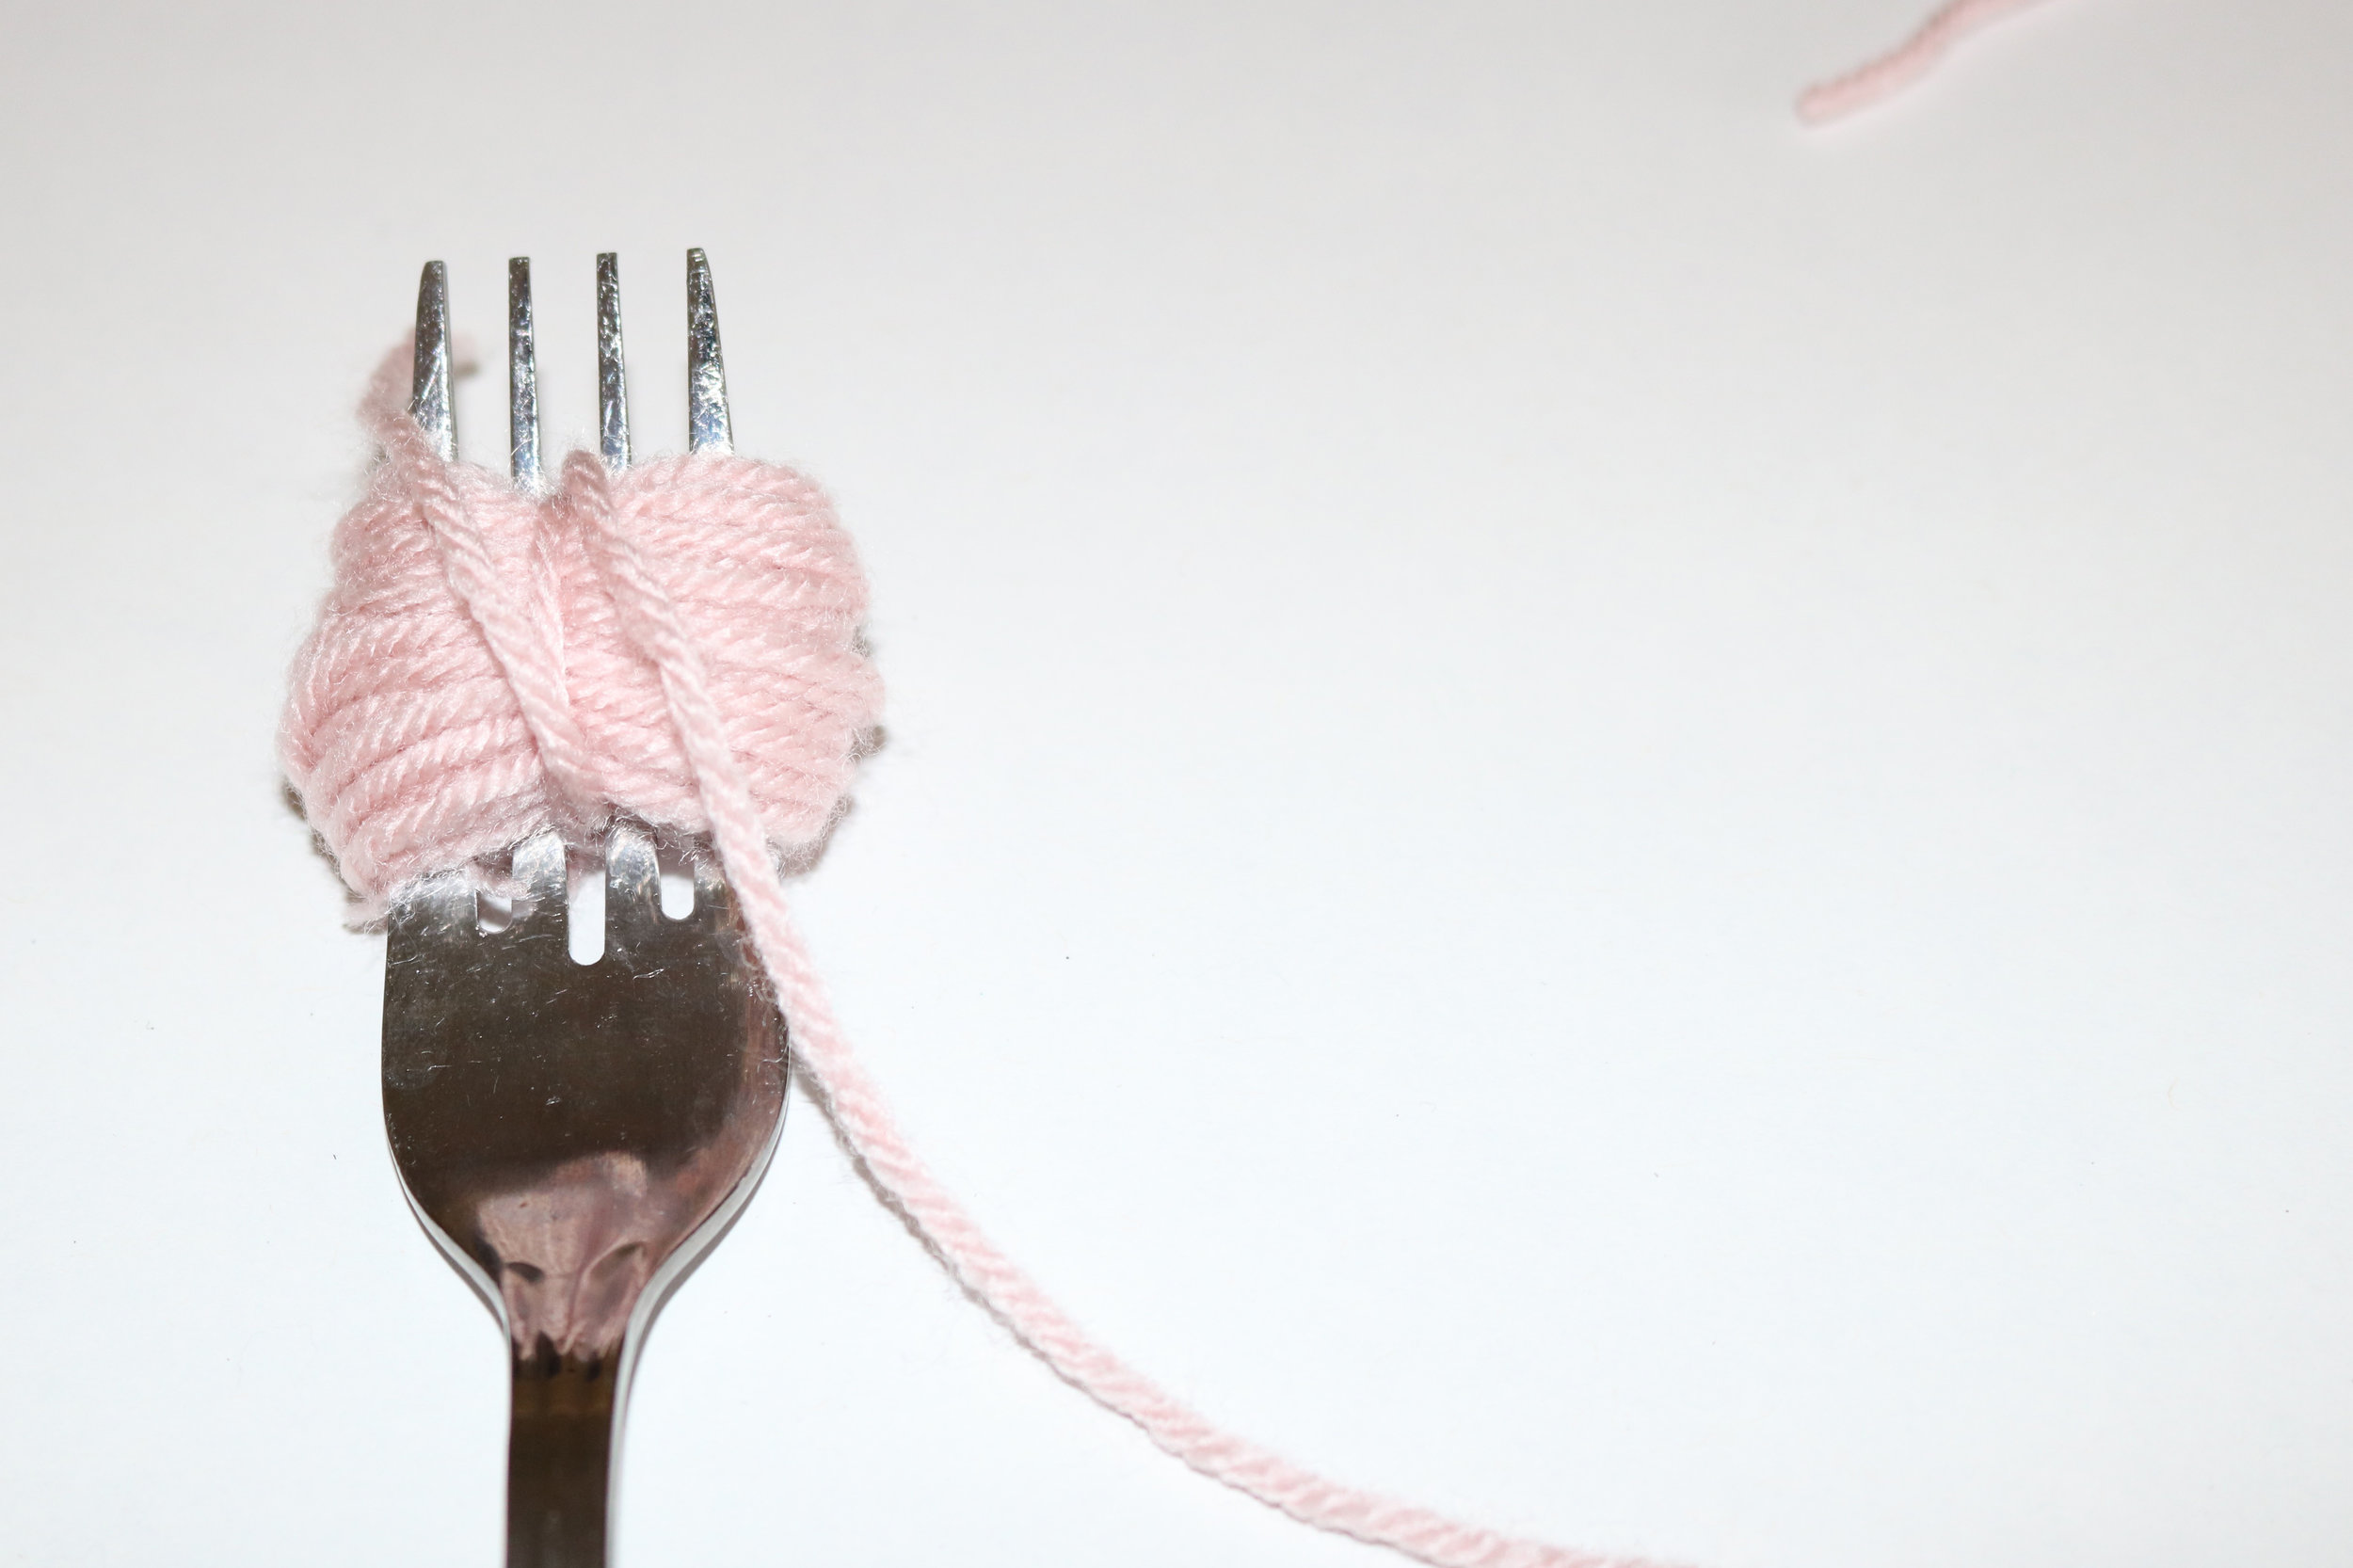
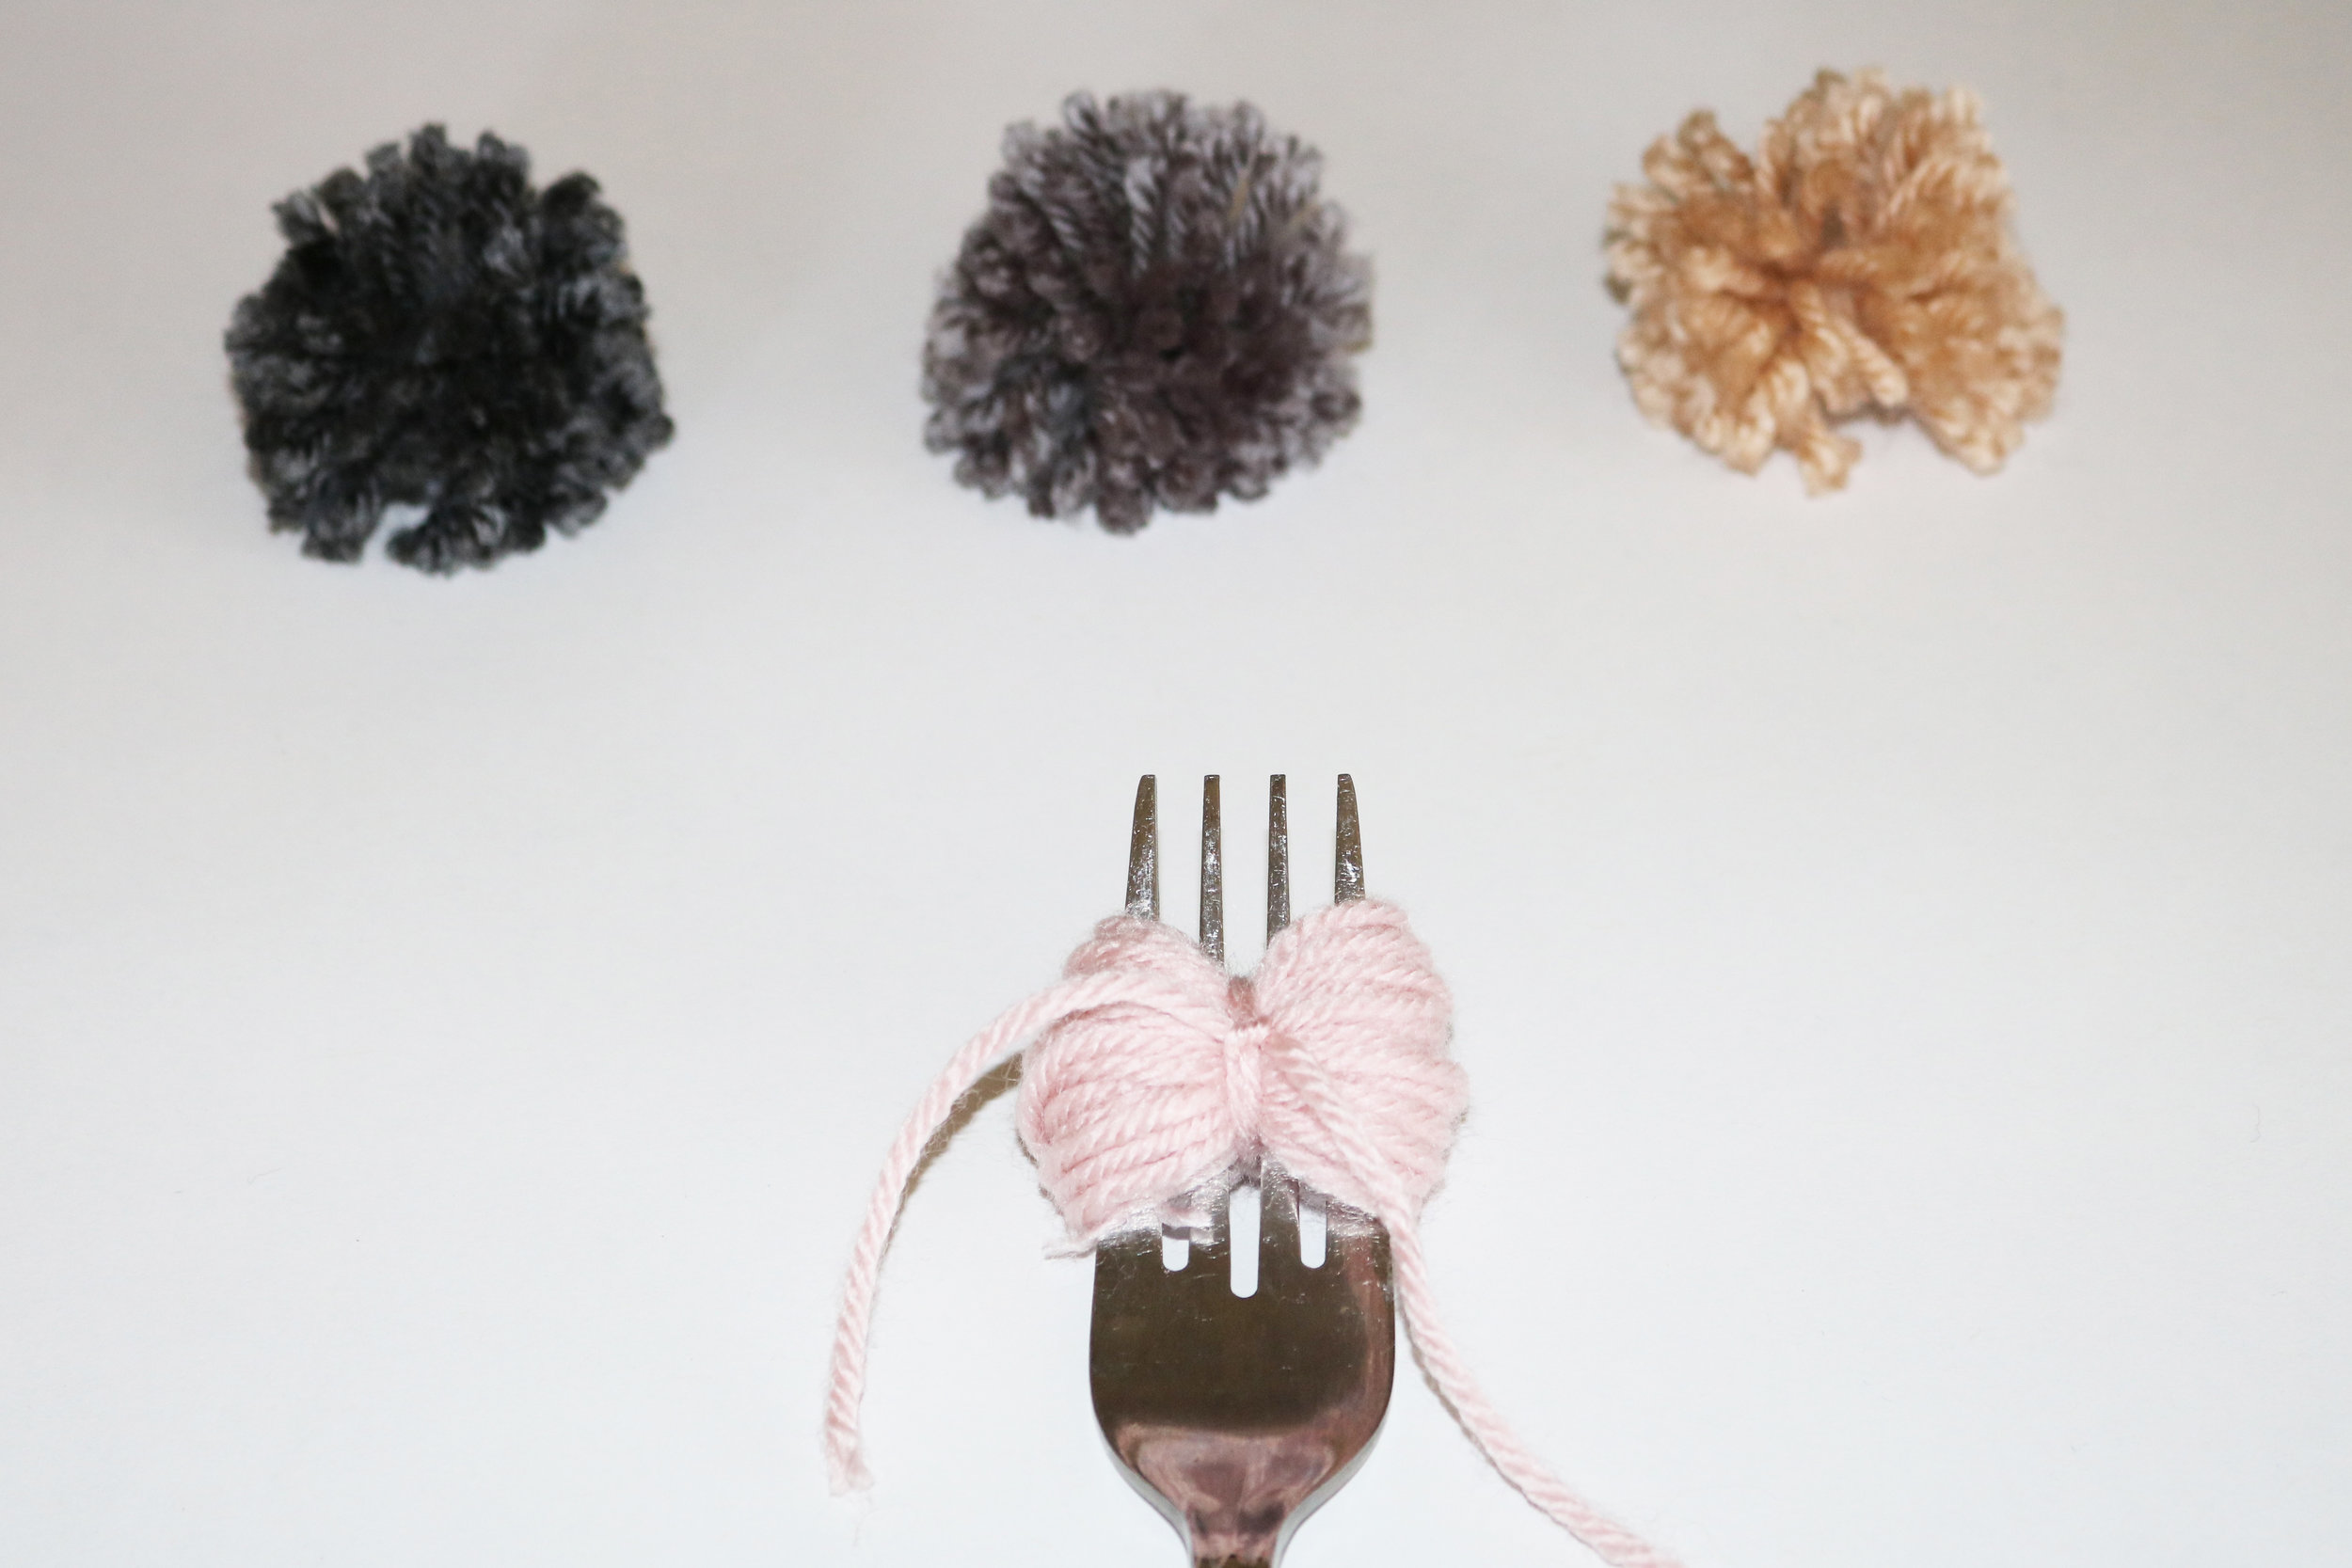
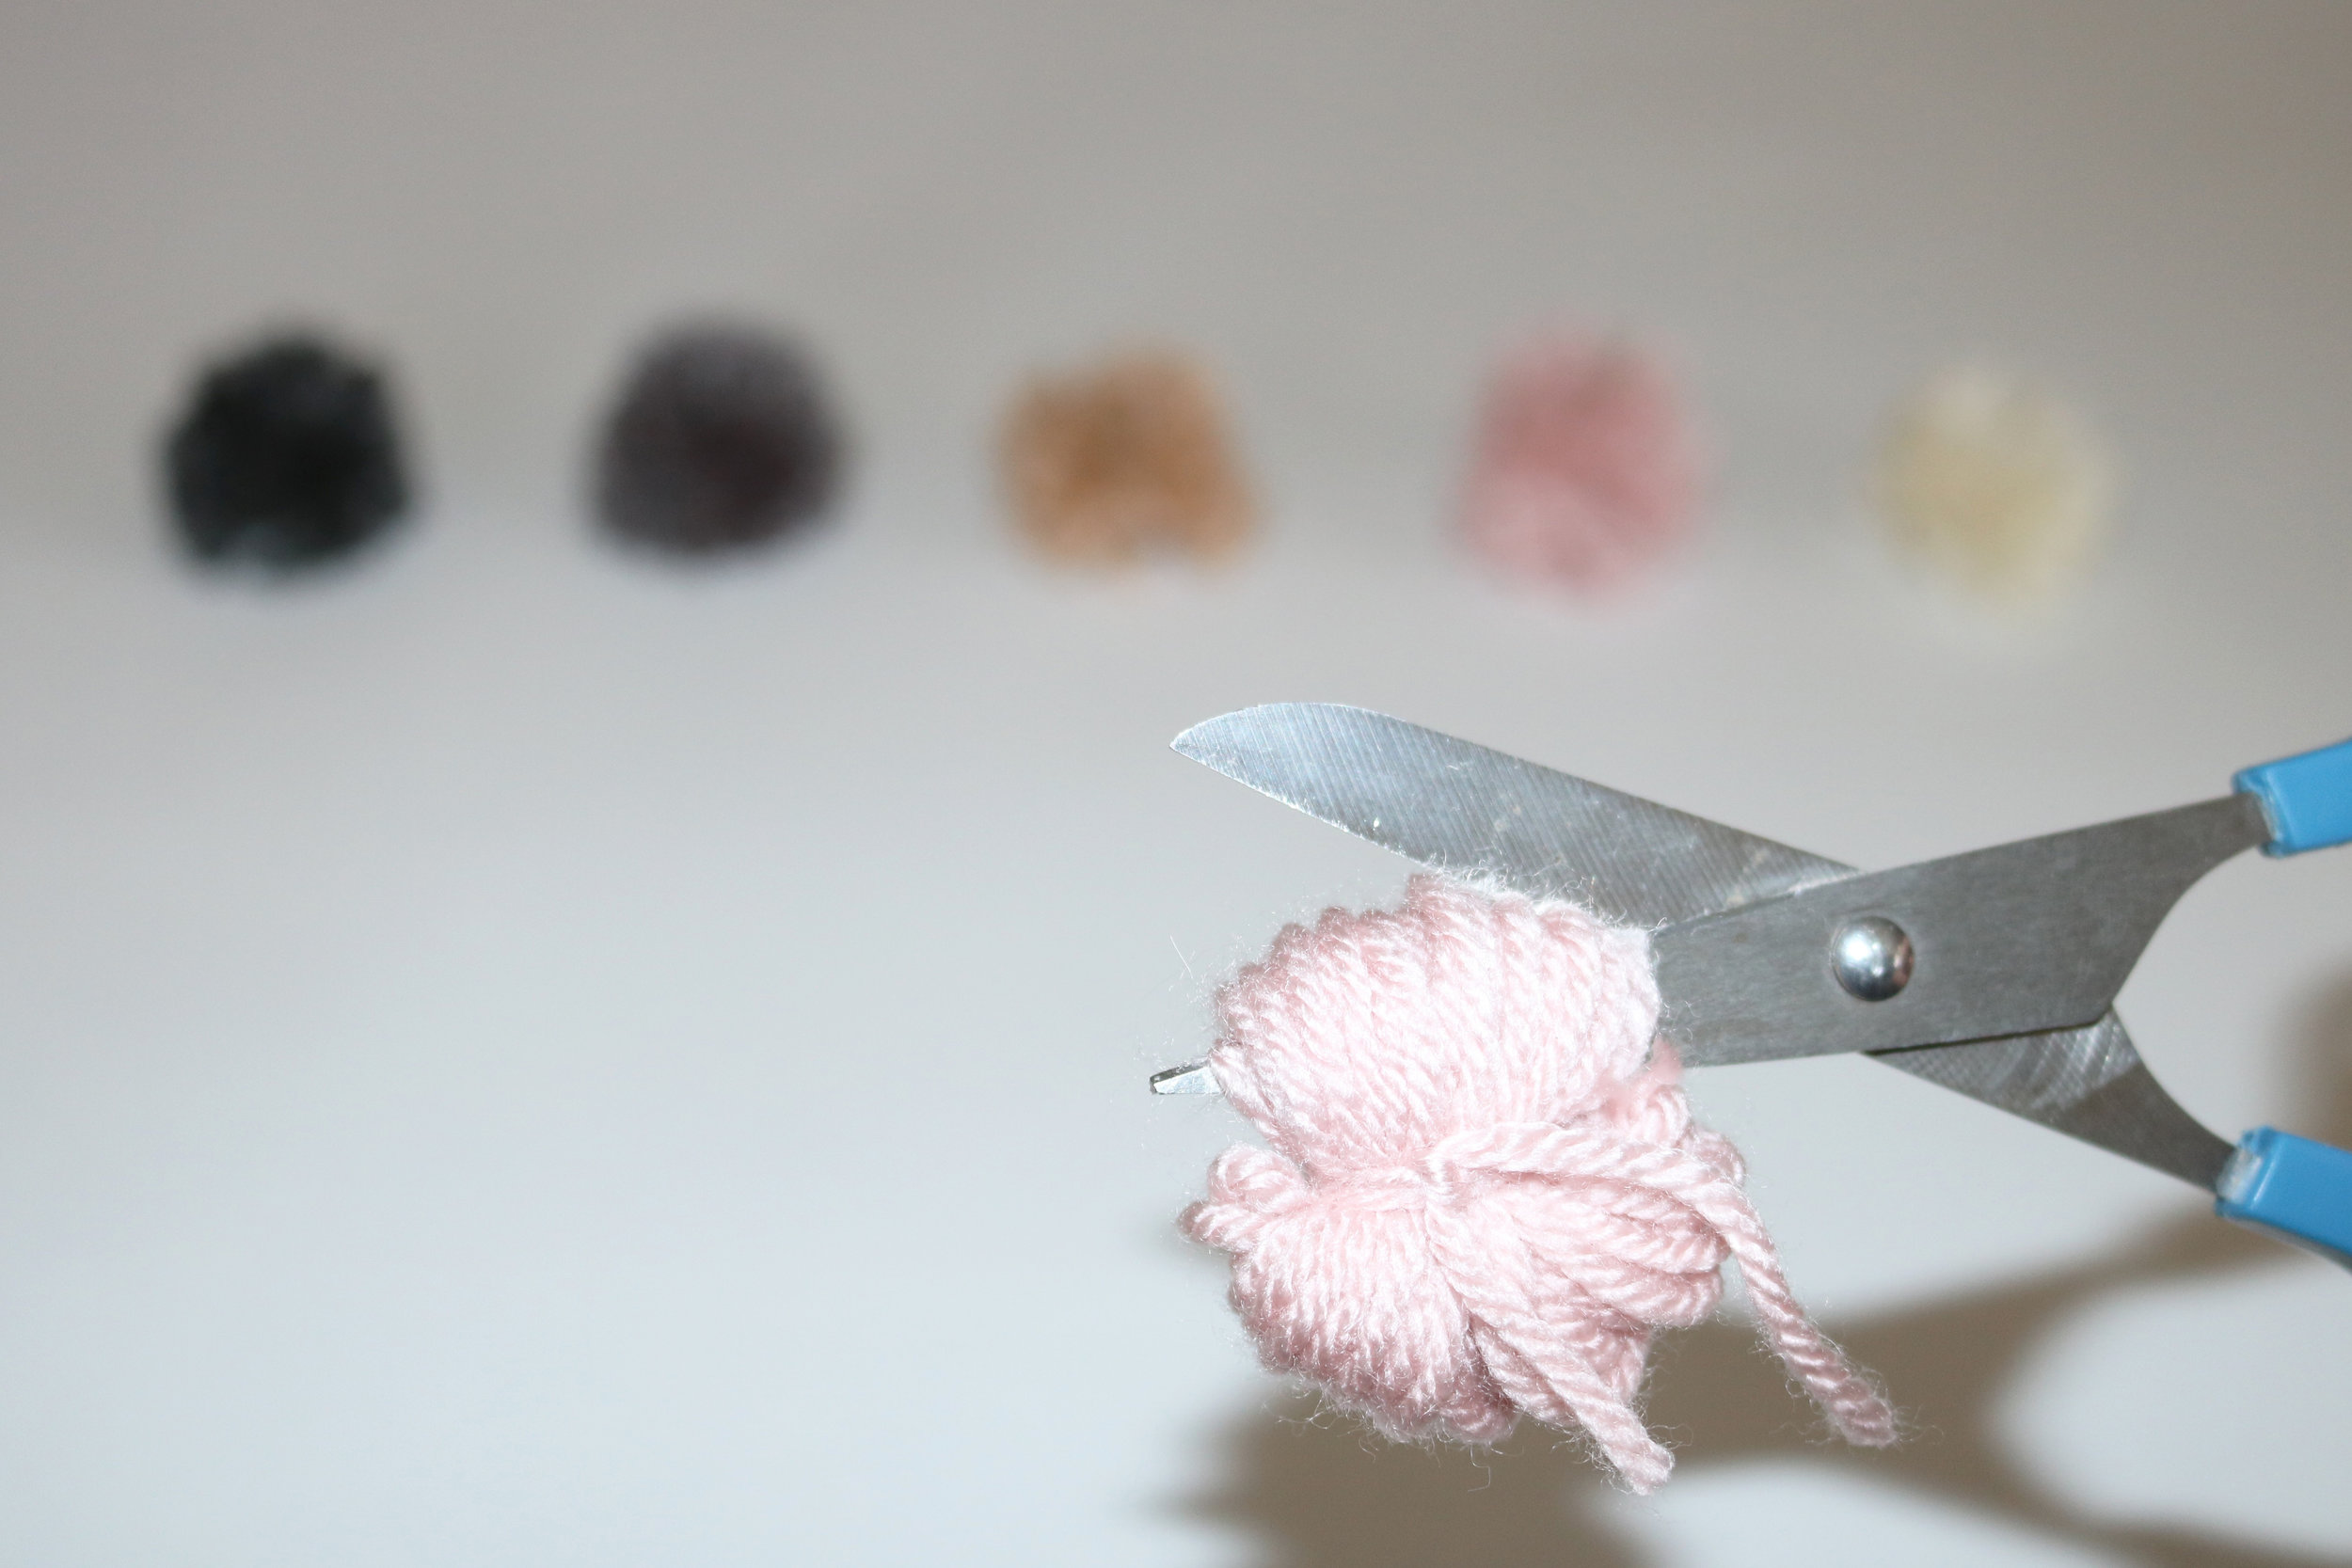
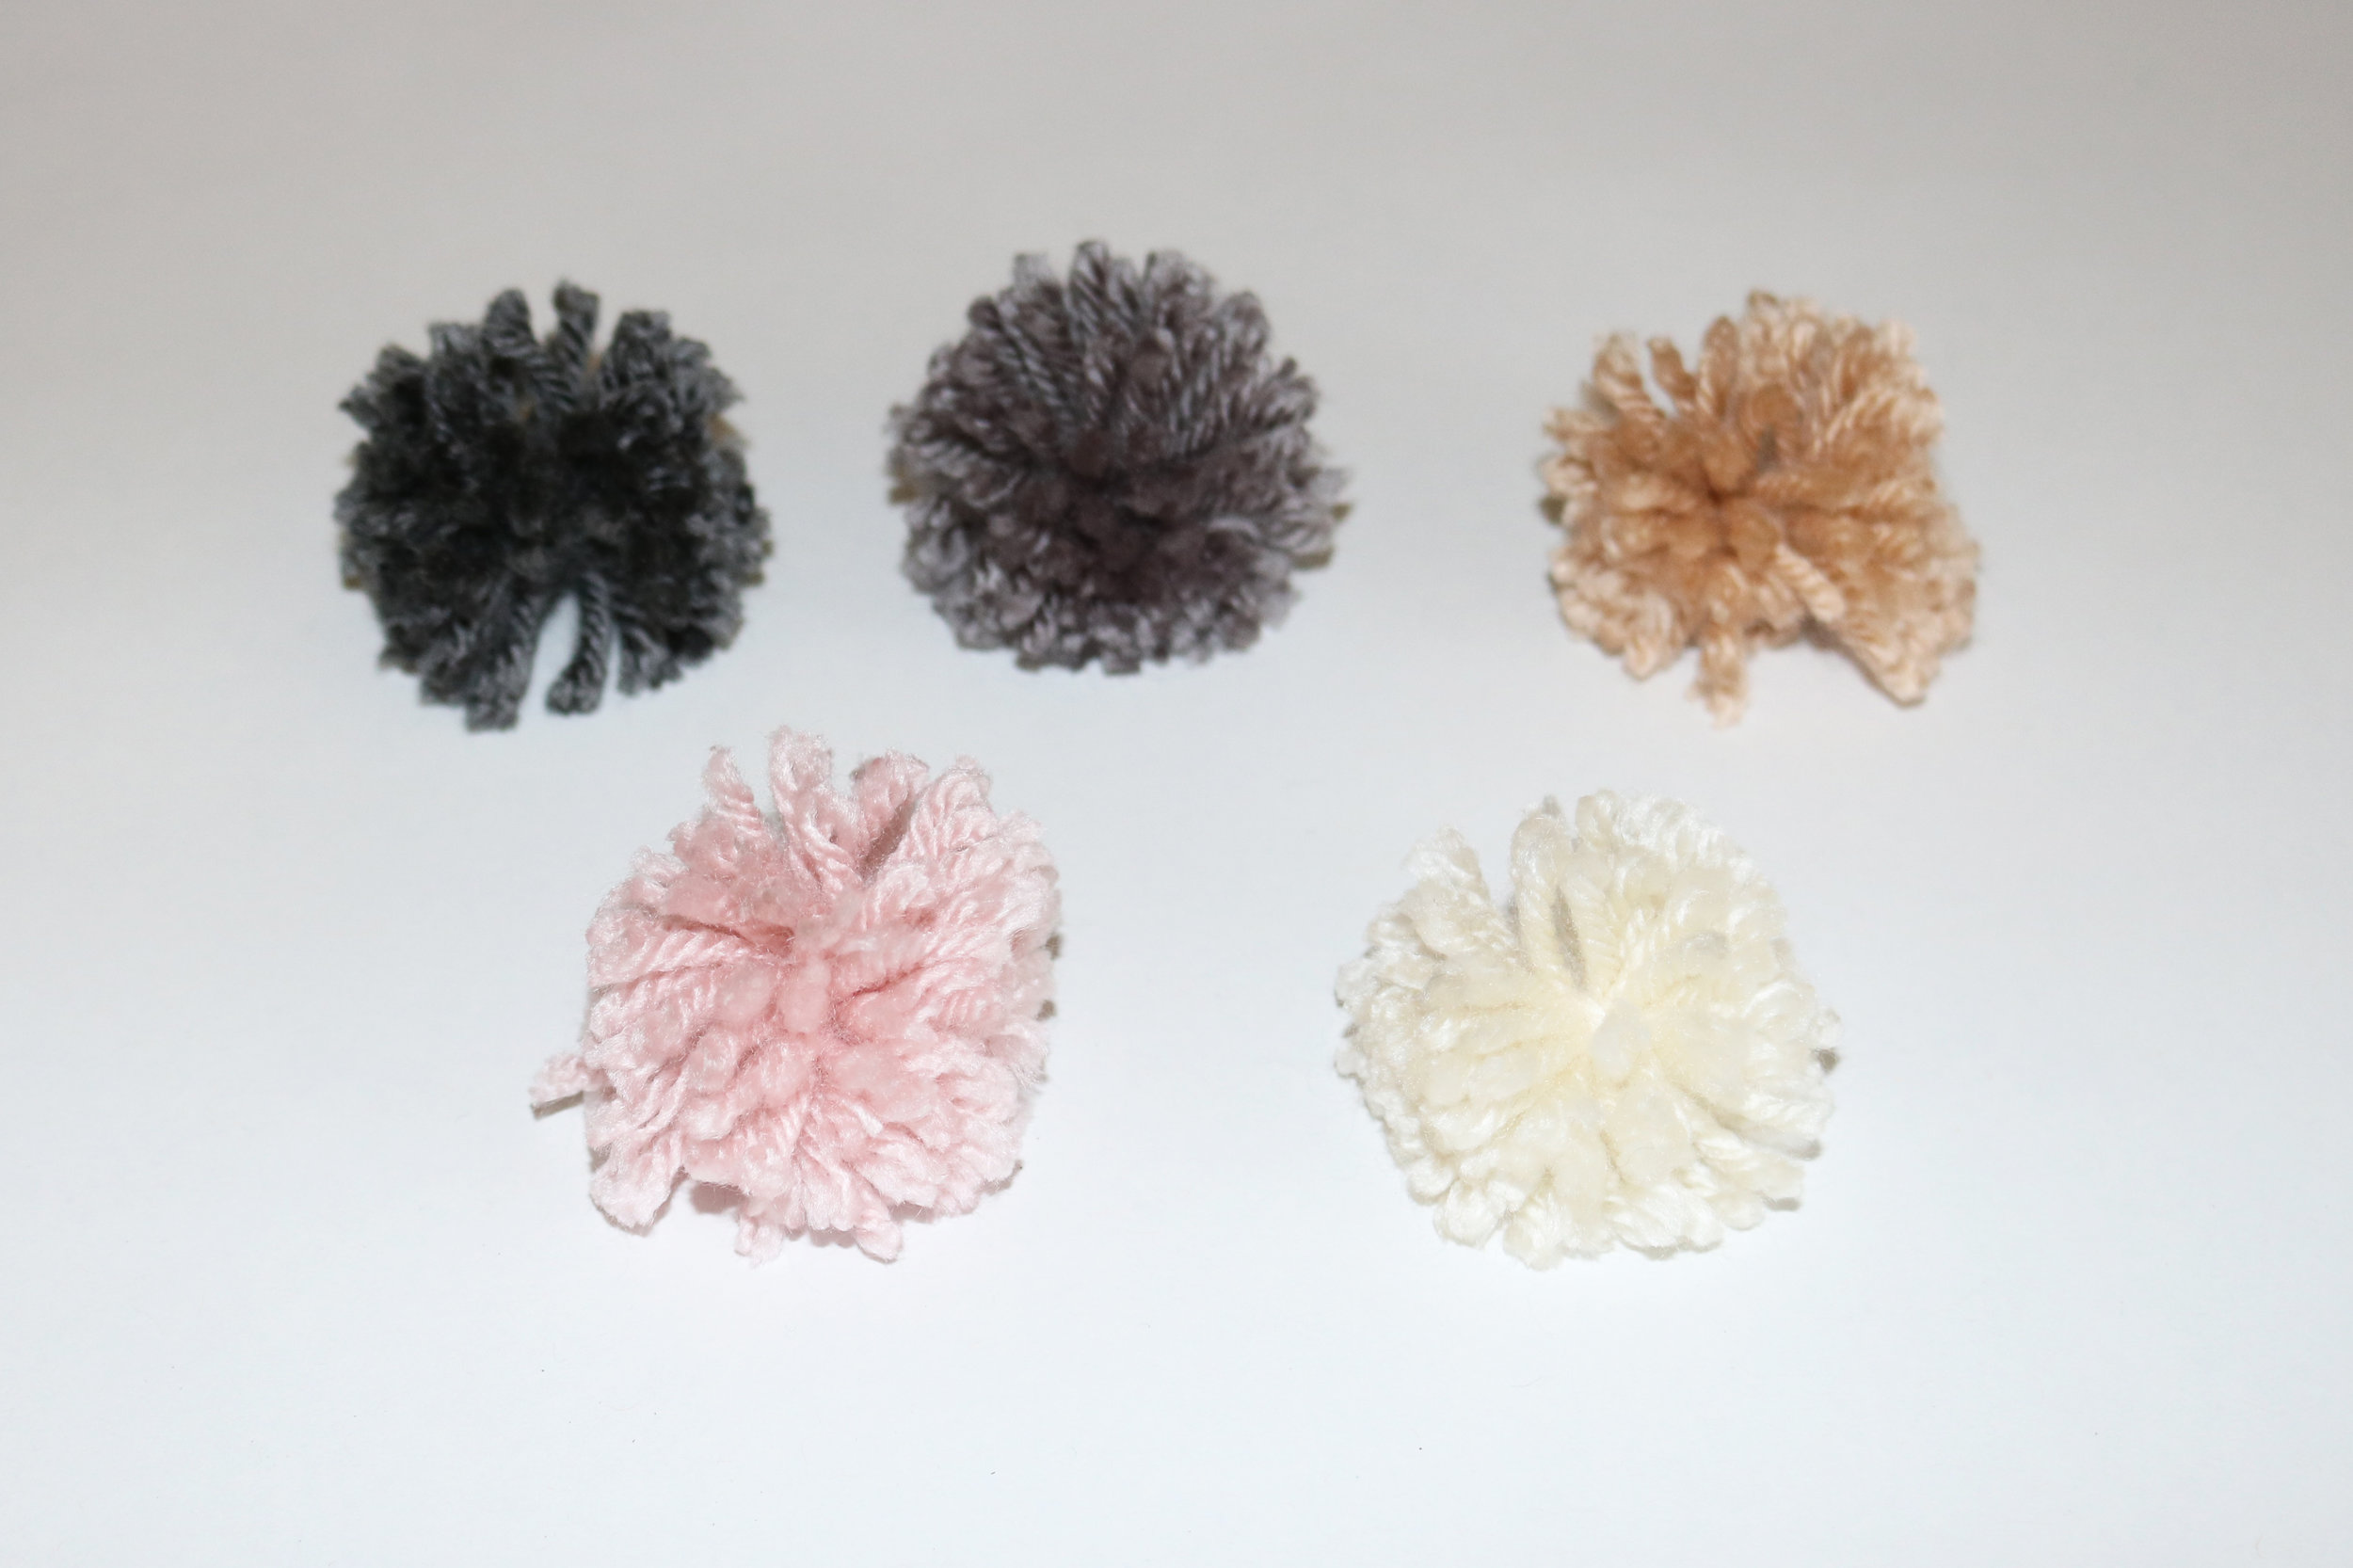
Step 8: Bunny Tails! I made my own yarn pom poms (you can buy them as well). I actually ended up using a serving size fork (not the dinner sized fork in the photo, you can also just use your fingers), because I wanted my “tails” to be a little bit bigger [cue Sir Mix - A - Lot]. Wrap your yarn around the fork, in my case about 30 times, cut a smaller string about 6” and pull it through the middle opening, bring it around twice, tie a knot and slide the yarn off of the fork. Next, stick your scissors through the loops and cut; repeating on the other side.
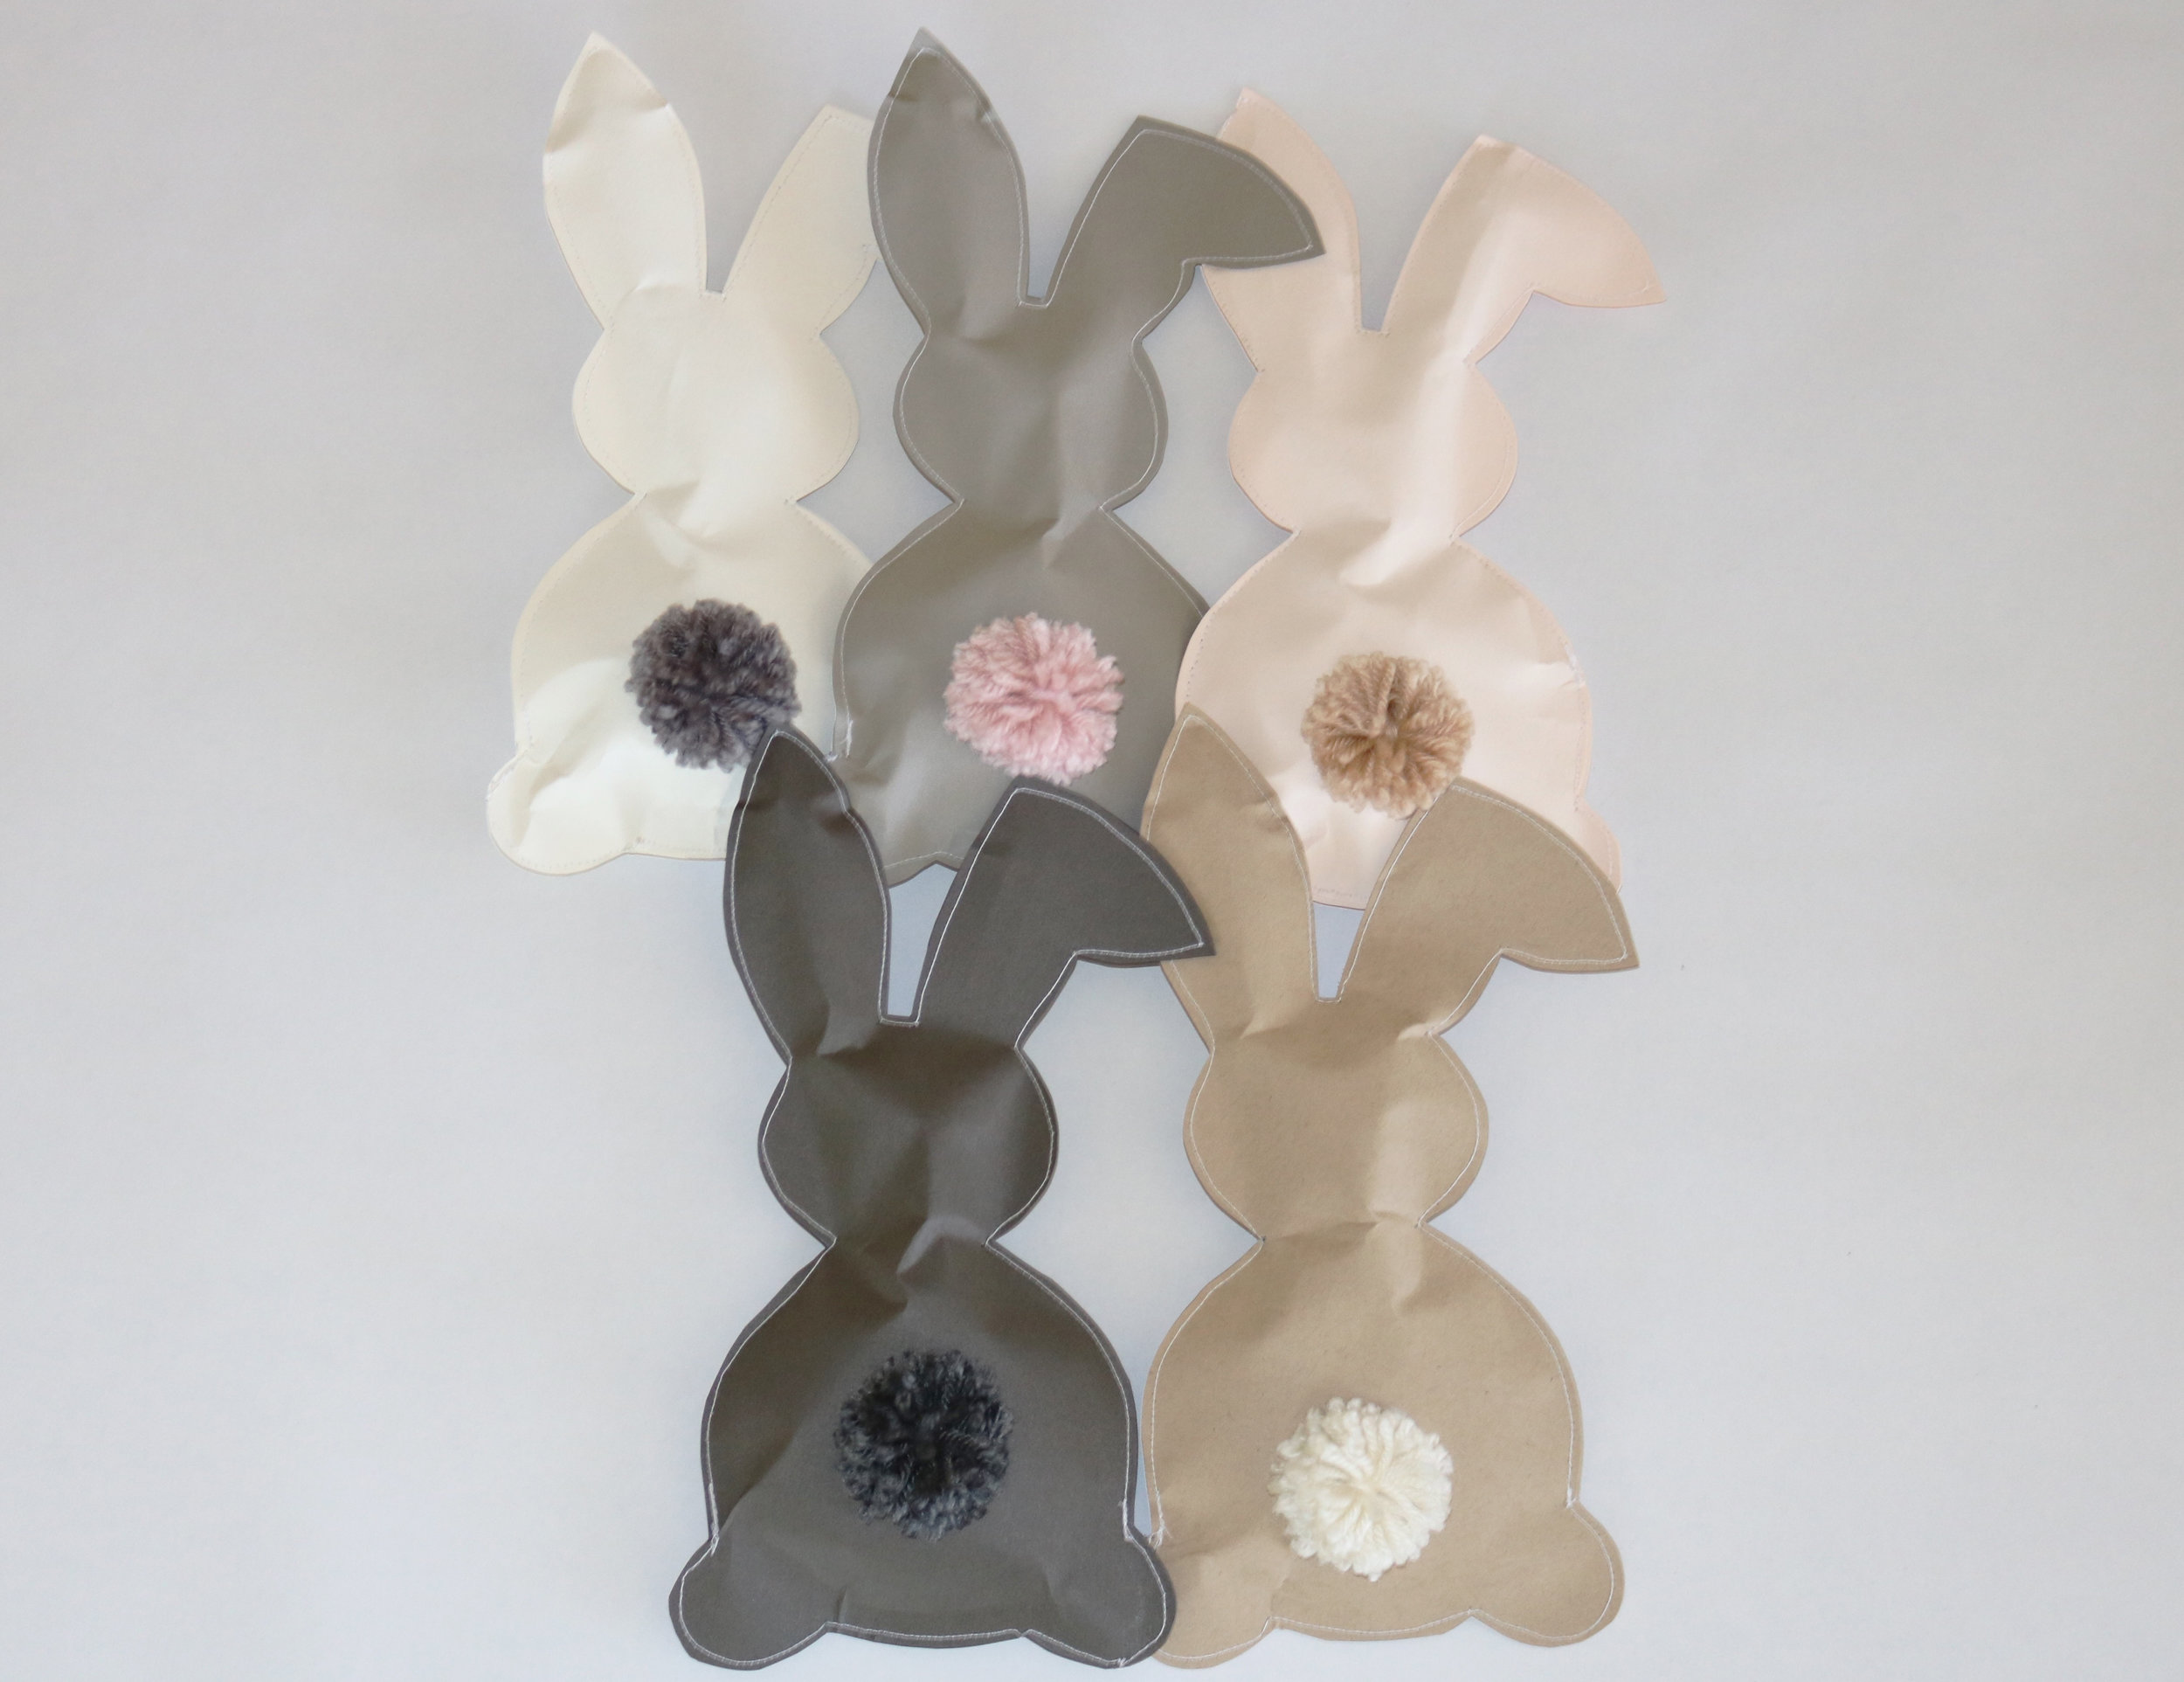
Step 9: Finally decorate those bunny butts… hot glue your tail on your bunny and Ta Daa you have a cute Easter Bunny Pouch :)
Now that you have your pouch complete, let Rachael and me know what fun things you’re going to fill yours with!!
Cheers!
Ash

