Christmas Card Garland
Happy December everyone! *cue all the “I can’t believe we made it through this crazy year” remarks* but I truly can’t believe it is already the holiday season! I am determined to fill my December with as much holiday cheer as possibly possible, so I started out this month making spirits bright with a cute, functional craft.
In case you’re wondering — Holiday movie of choice while working on this craft was Netflix’s Operation Christmas Drop. Very cheesy and cute, exactly what you’re looking for with a feel-good Christmas romance. Nothing more, but nothing less.

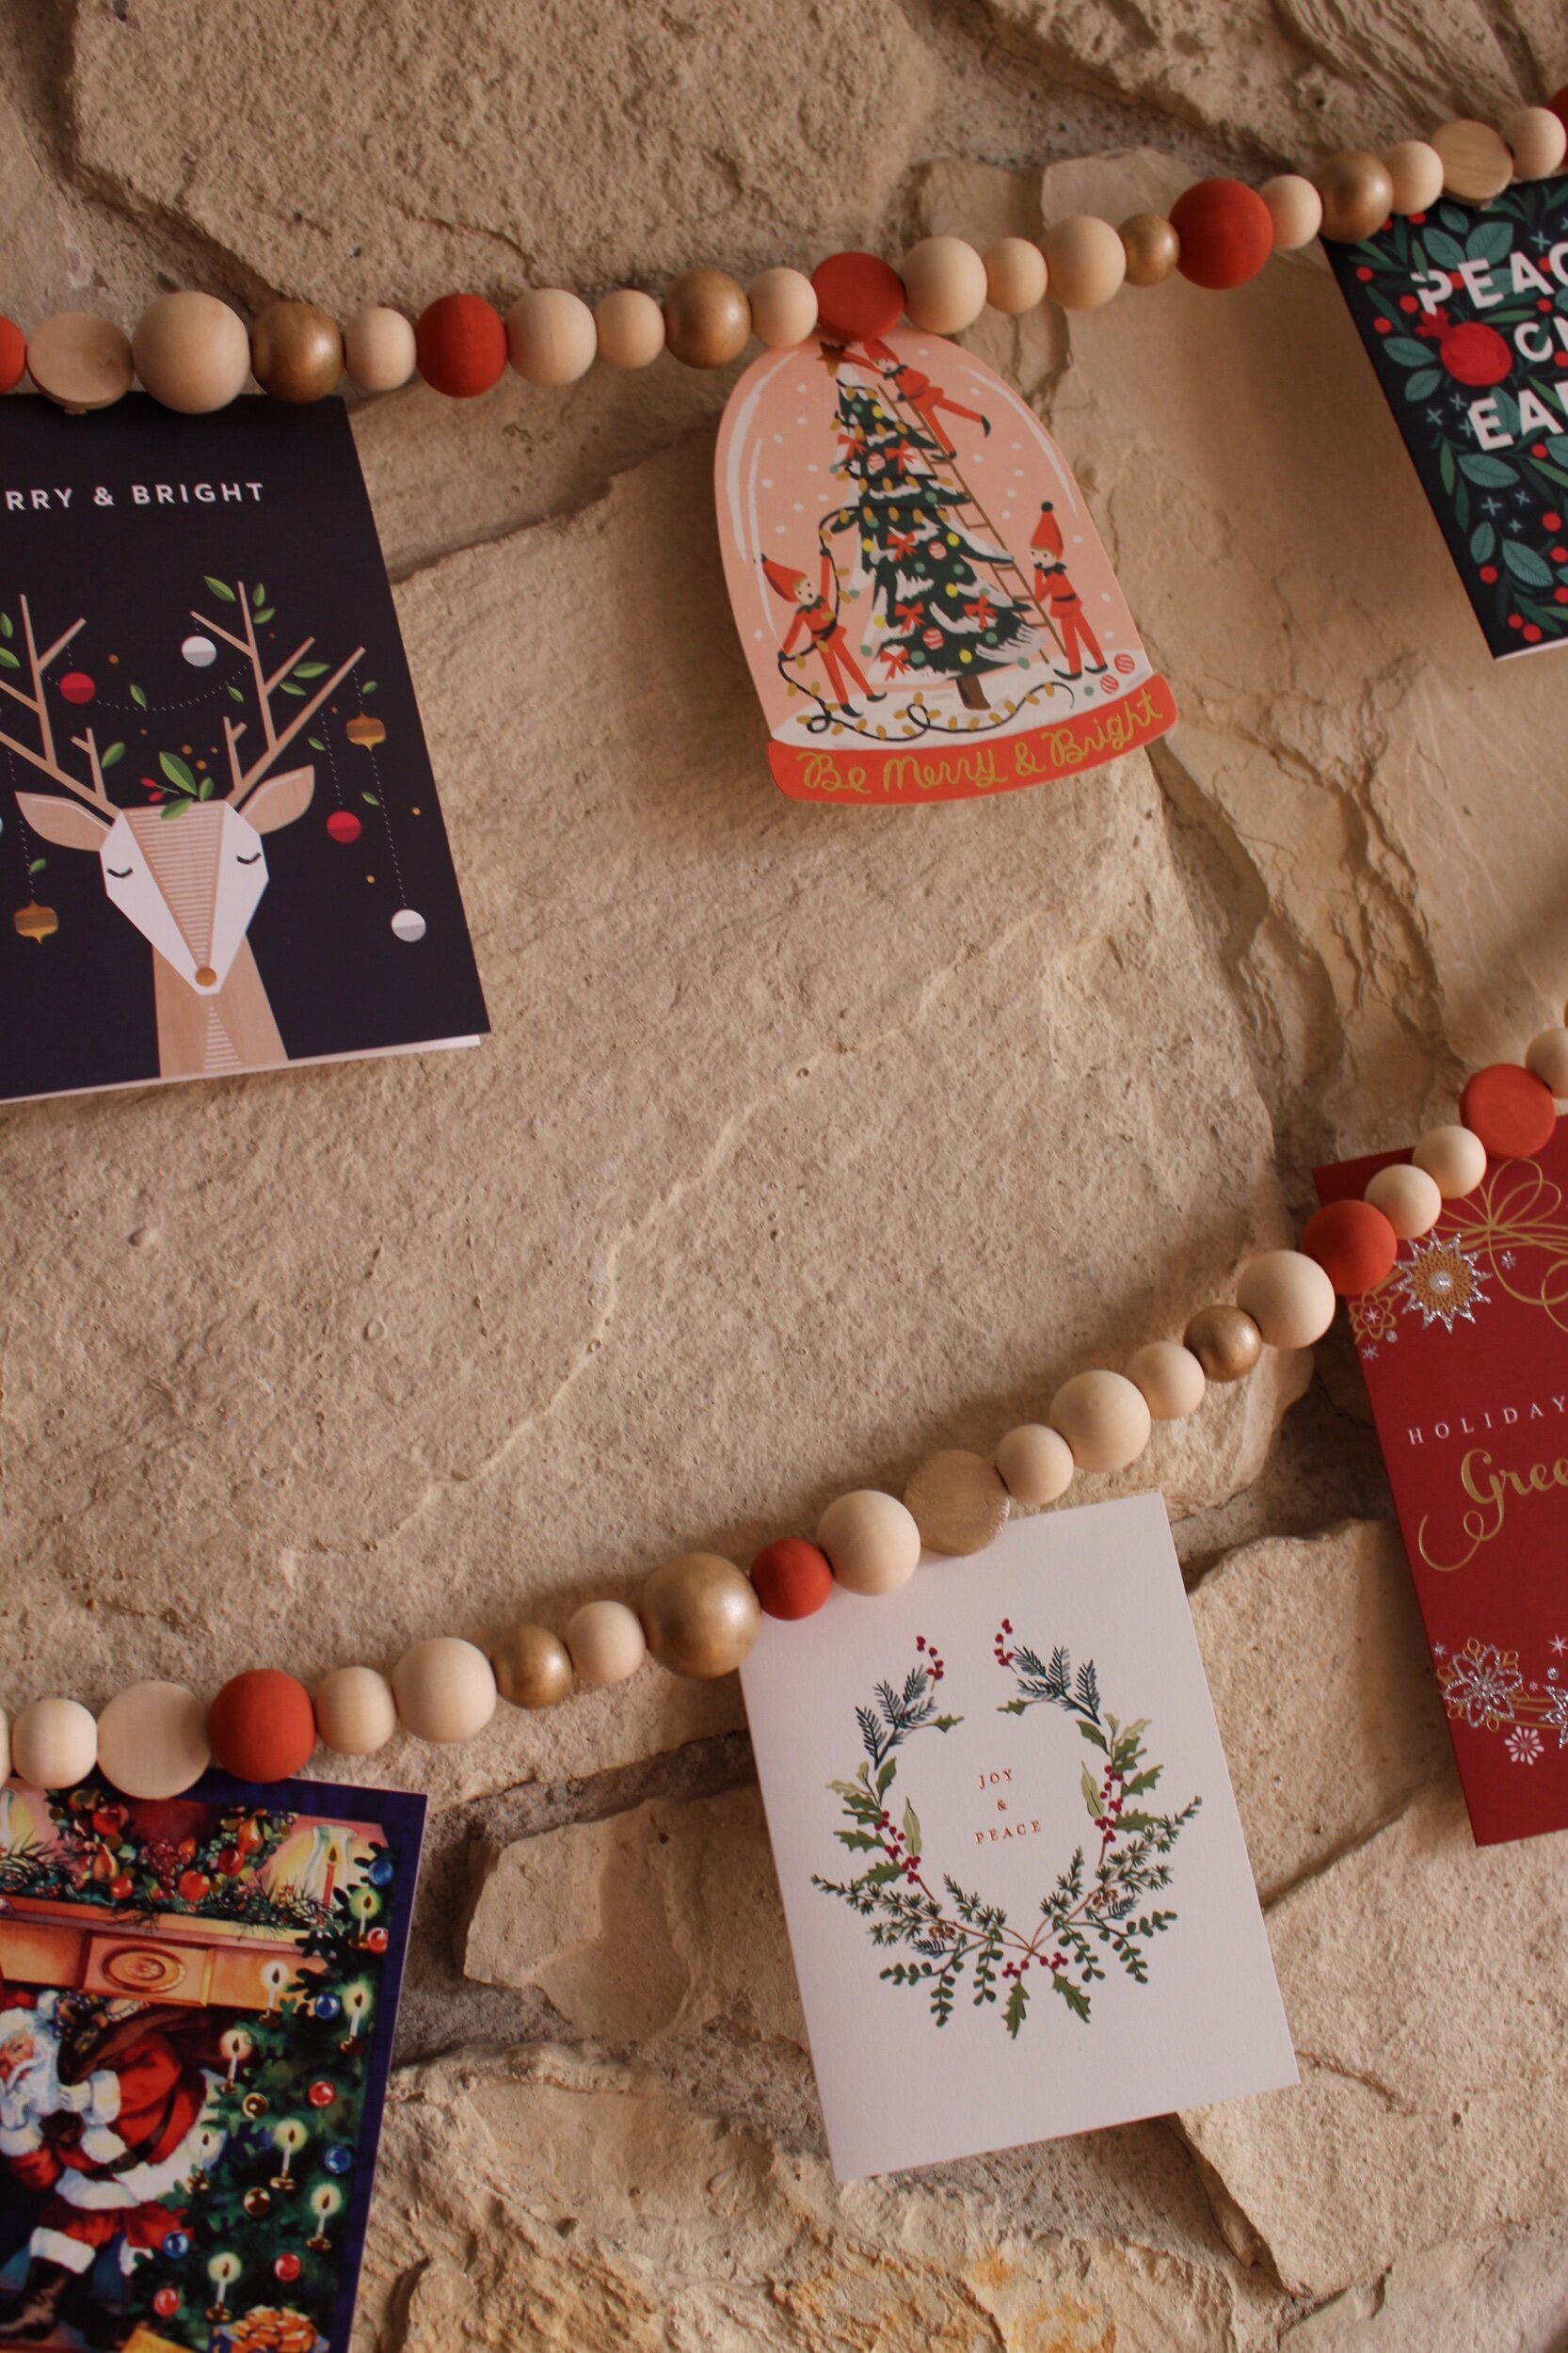
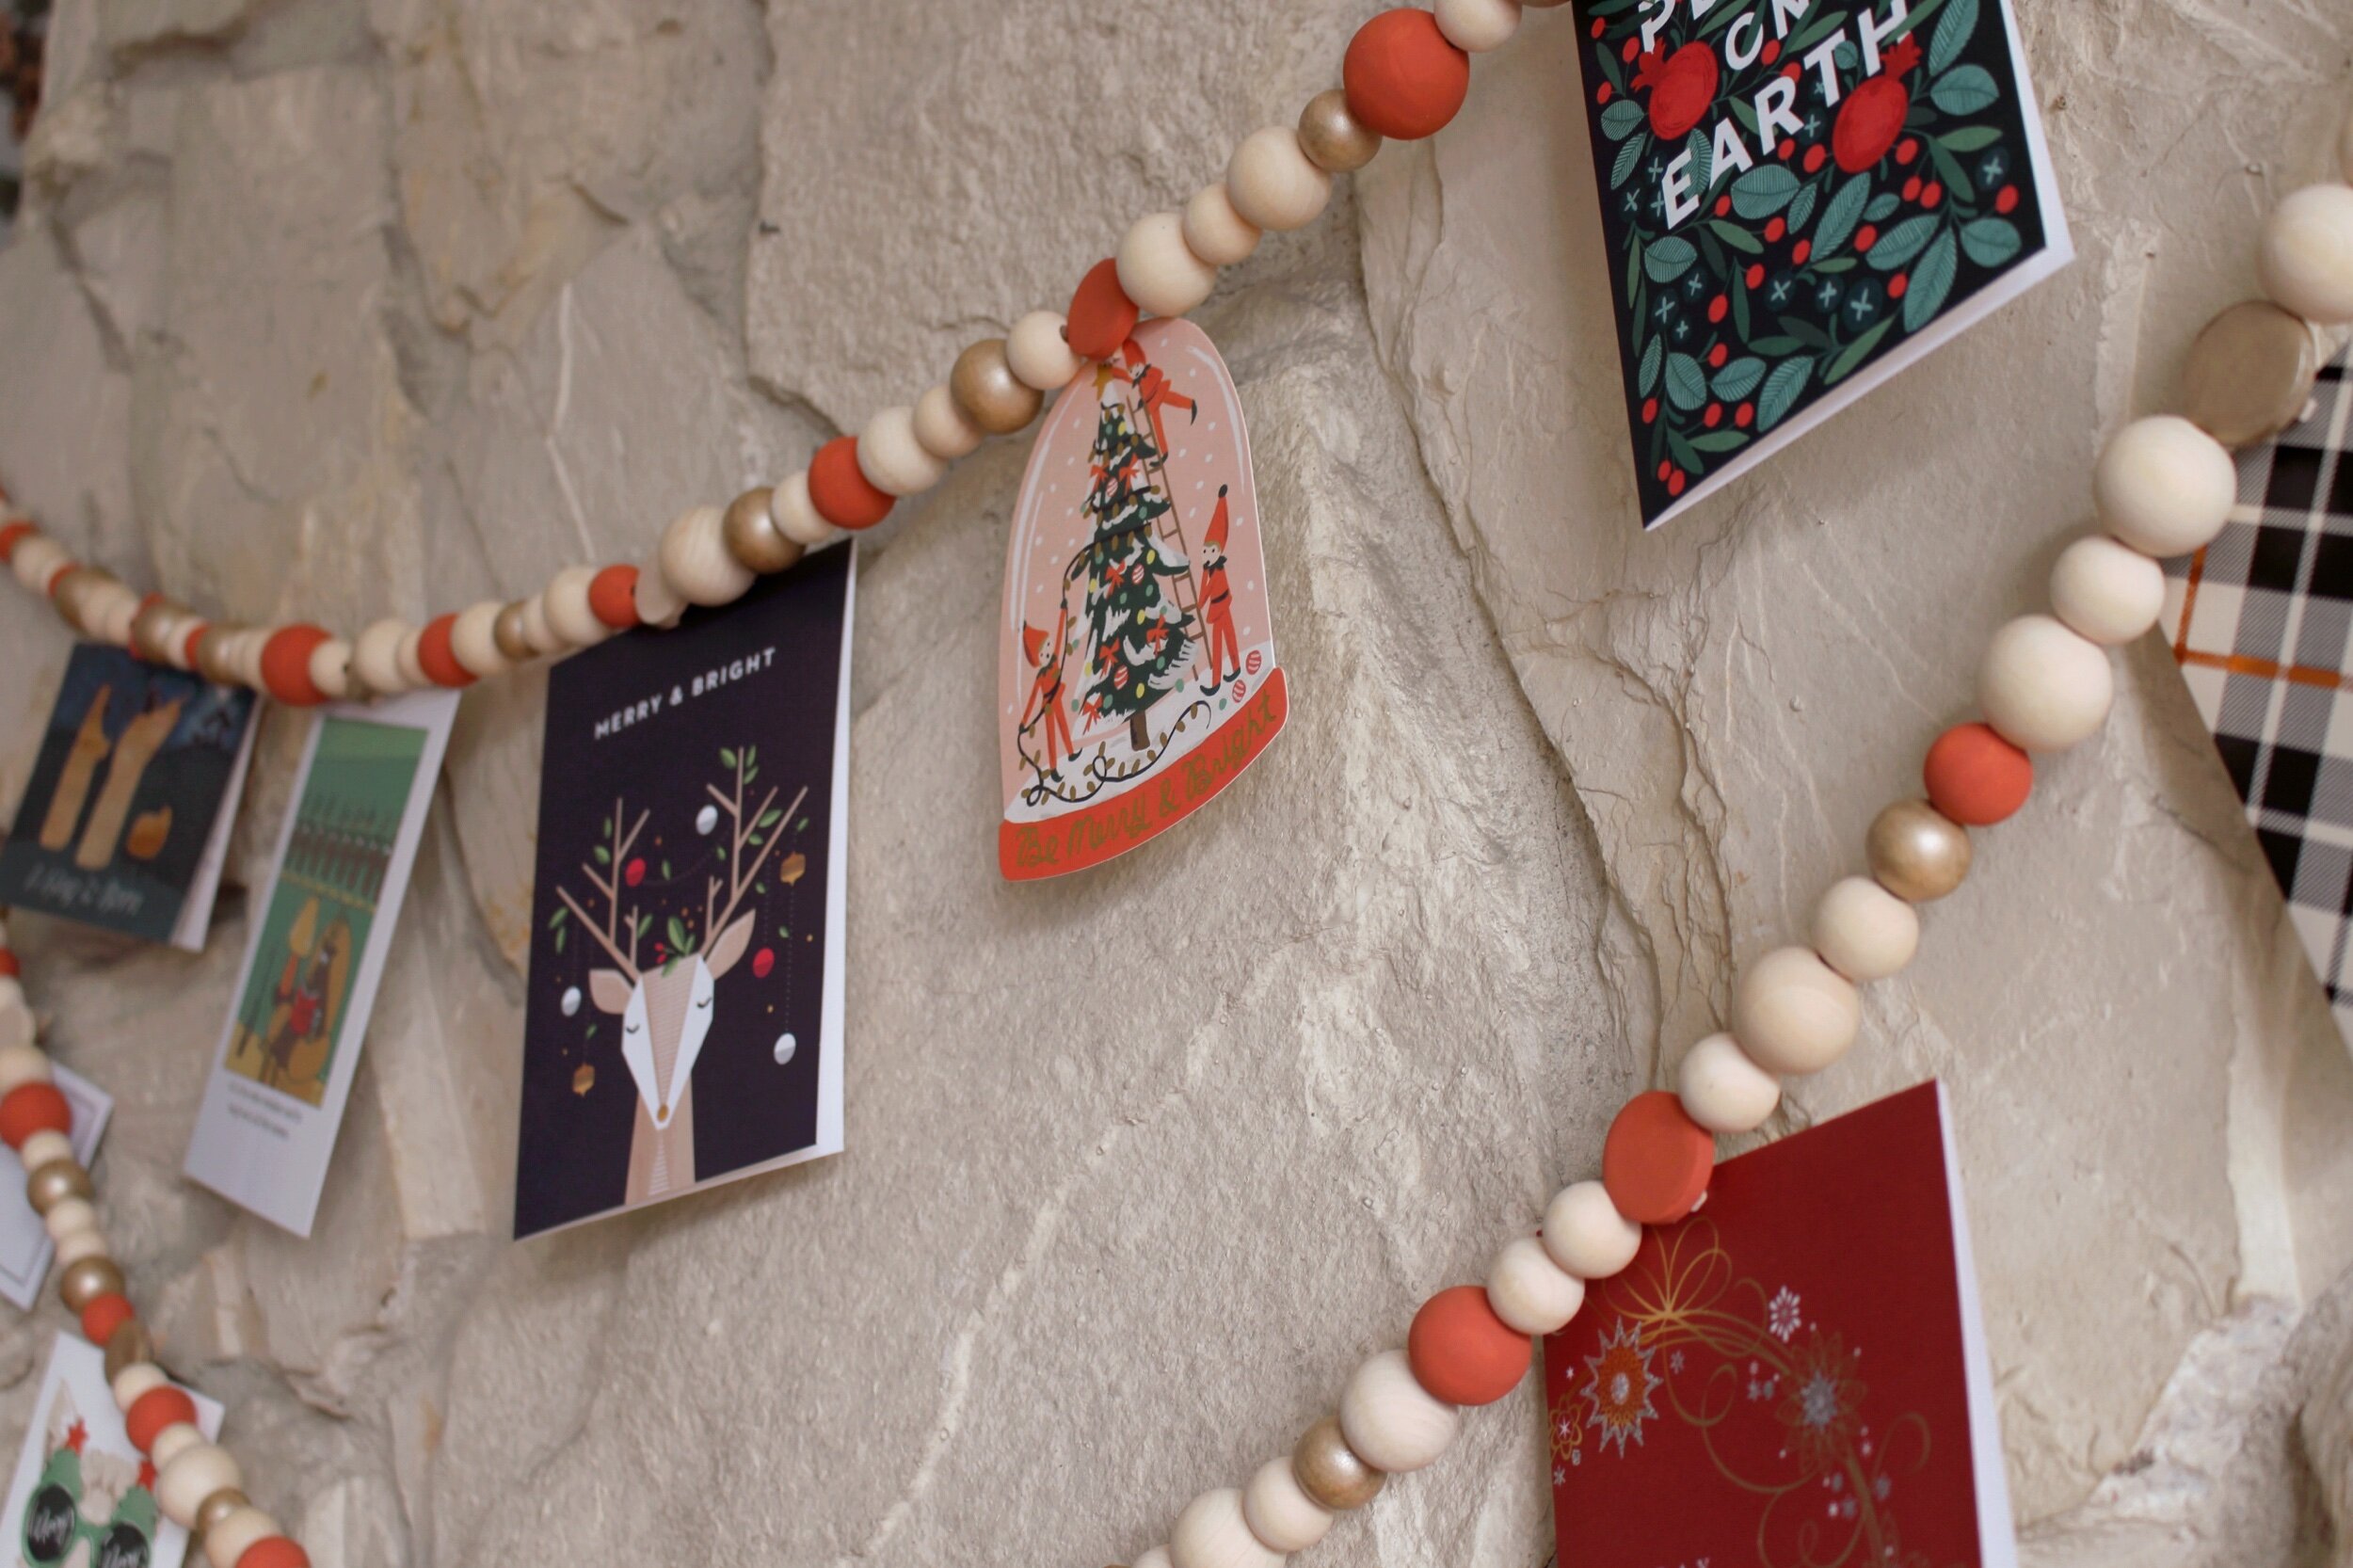
Now onto the crafting! It is no secret that the wood bead trend is REAL this year. People are draping these bad boys over coffee table books and insta flat lays galore. I love the look of the natural beads for a very simple Scandinavian decor piece but I knew I wanted to hang my beaded garland across my fireplace stone wall and I wasn’t sure if the natural color would just blend into the background too much. So I added a little color, twine rope, and some mini clothespins and I now have the perfect place to hang my incoming Christmas cards this year!

You will need:
Assorted sizes of round wood beads
Jute twine or string
Acrylic paints
Mini 1” clothespins
Hot glue

Begin by painting some of your beads with a few coats of acrylic paint. I chose a terra cotta red color and a champagne gold color to tie in with the Christmas cards that would be hanging from the garland. I painted roughly 1/3 of my total beads I planned to use because I liked the look of the natural colors between. But I also think it would look cute to paint them all — maybe a candy cane red and white garland?!

The length of your garland is entirely dependent on where you will be hanging it. Just take a measurement of where you are hanging it and be sure to add some extra length so it can drape down.
Then if you like the layered look that I went for, cut two pieces of twine. The second should be longer than the first so that there is plenty of room between the first row of cards and the second.

Create a loop on the end of the twine that you can use to hang the garland. — I don’t know about you but I just have permanent command hooks in a few places in my house where I rotate different garlands and holiday decor, and my fire place wall is one of those places. It is the perfect spot for hanging garland.
Now you will begin beading your string. I did a random assortment of colors and sizes but you could follow a pattern if you prefer a more uniform look.
Tip! My string was a bit frayed on the end so I found it really helpful to use this dental flosser (any other permanent retainer millennials out there with enough of these from your dentist to last four lifetimes?) and pull the string through the bead holes.


Make sure to string one of your flat wood beads about every 4” apart because the next step will be to add your mini clips. The clips are what will hold your cards along the garland but they should be glued to the back of the flat wood beads so that the clip is not visible from the front.
Make sure to use a big glob of hot glue or a stronger type of glue to make sure your clips stay put. I had a few eventually fall off with some heavier cards but I always have my glue gun handy and was easily able to fix these.

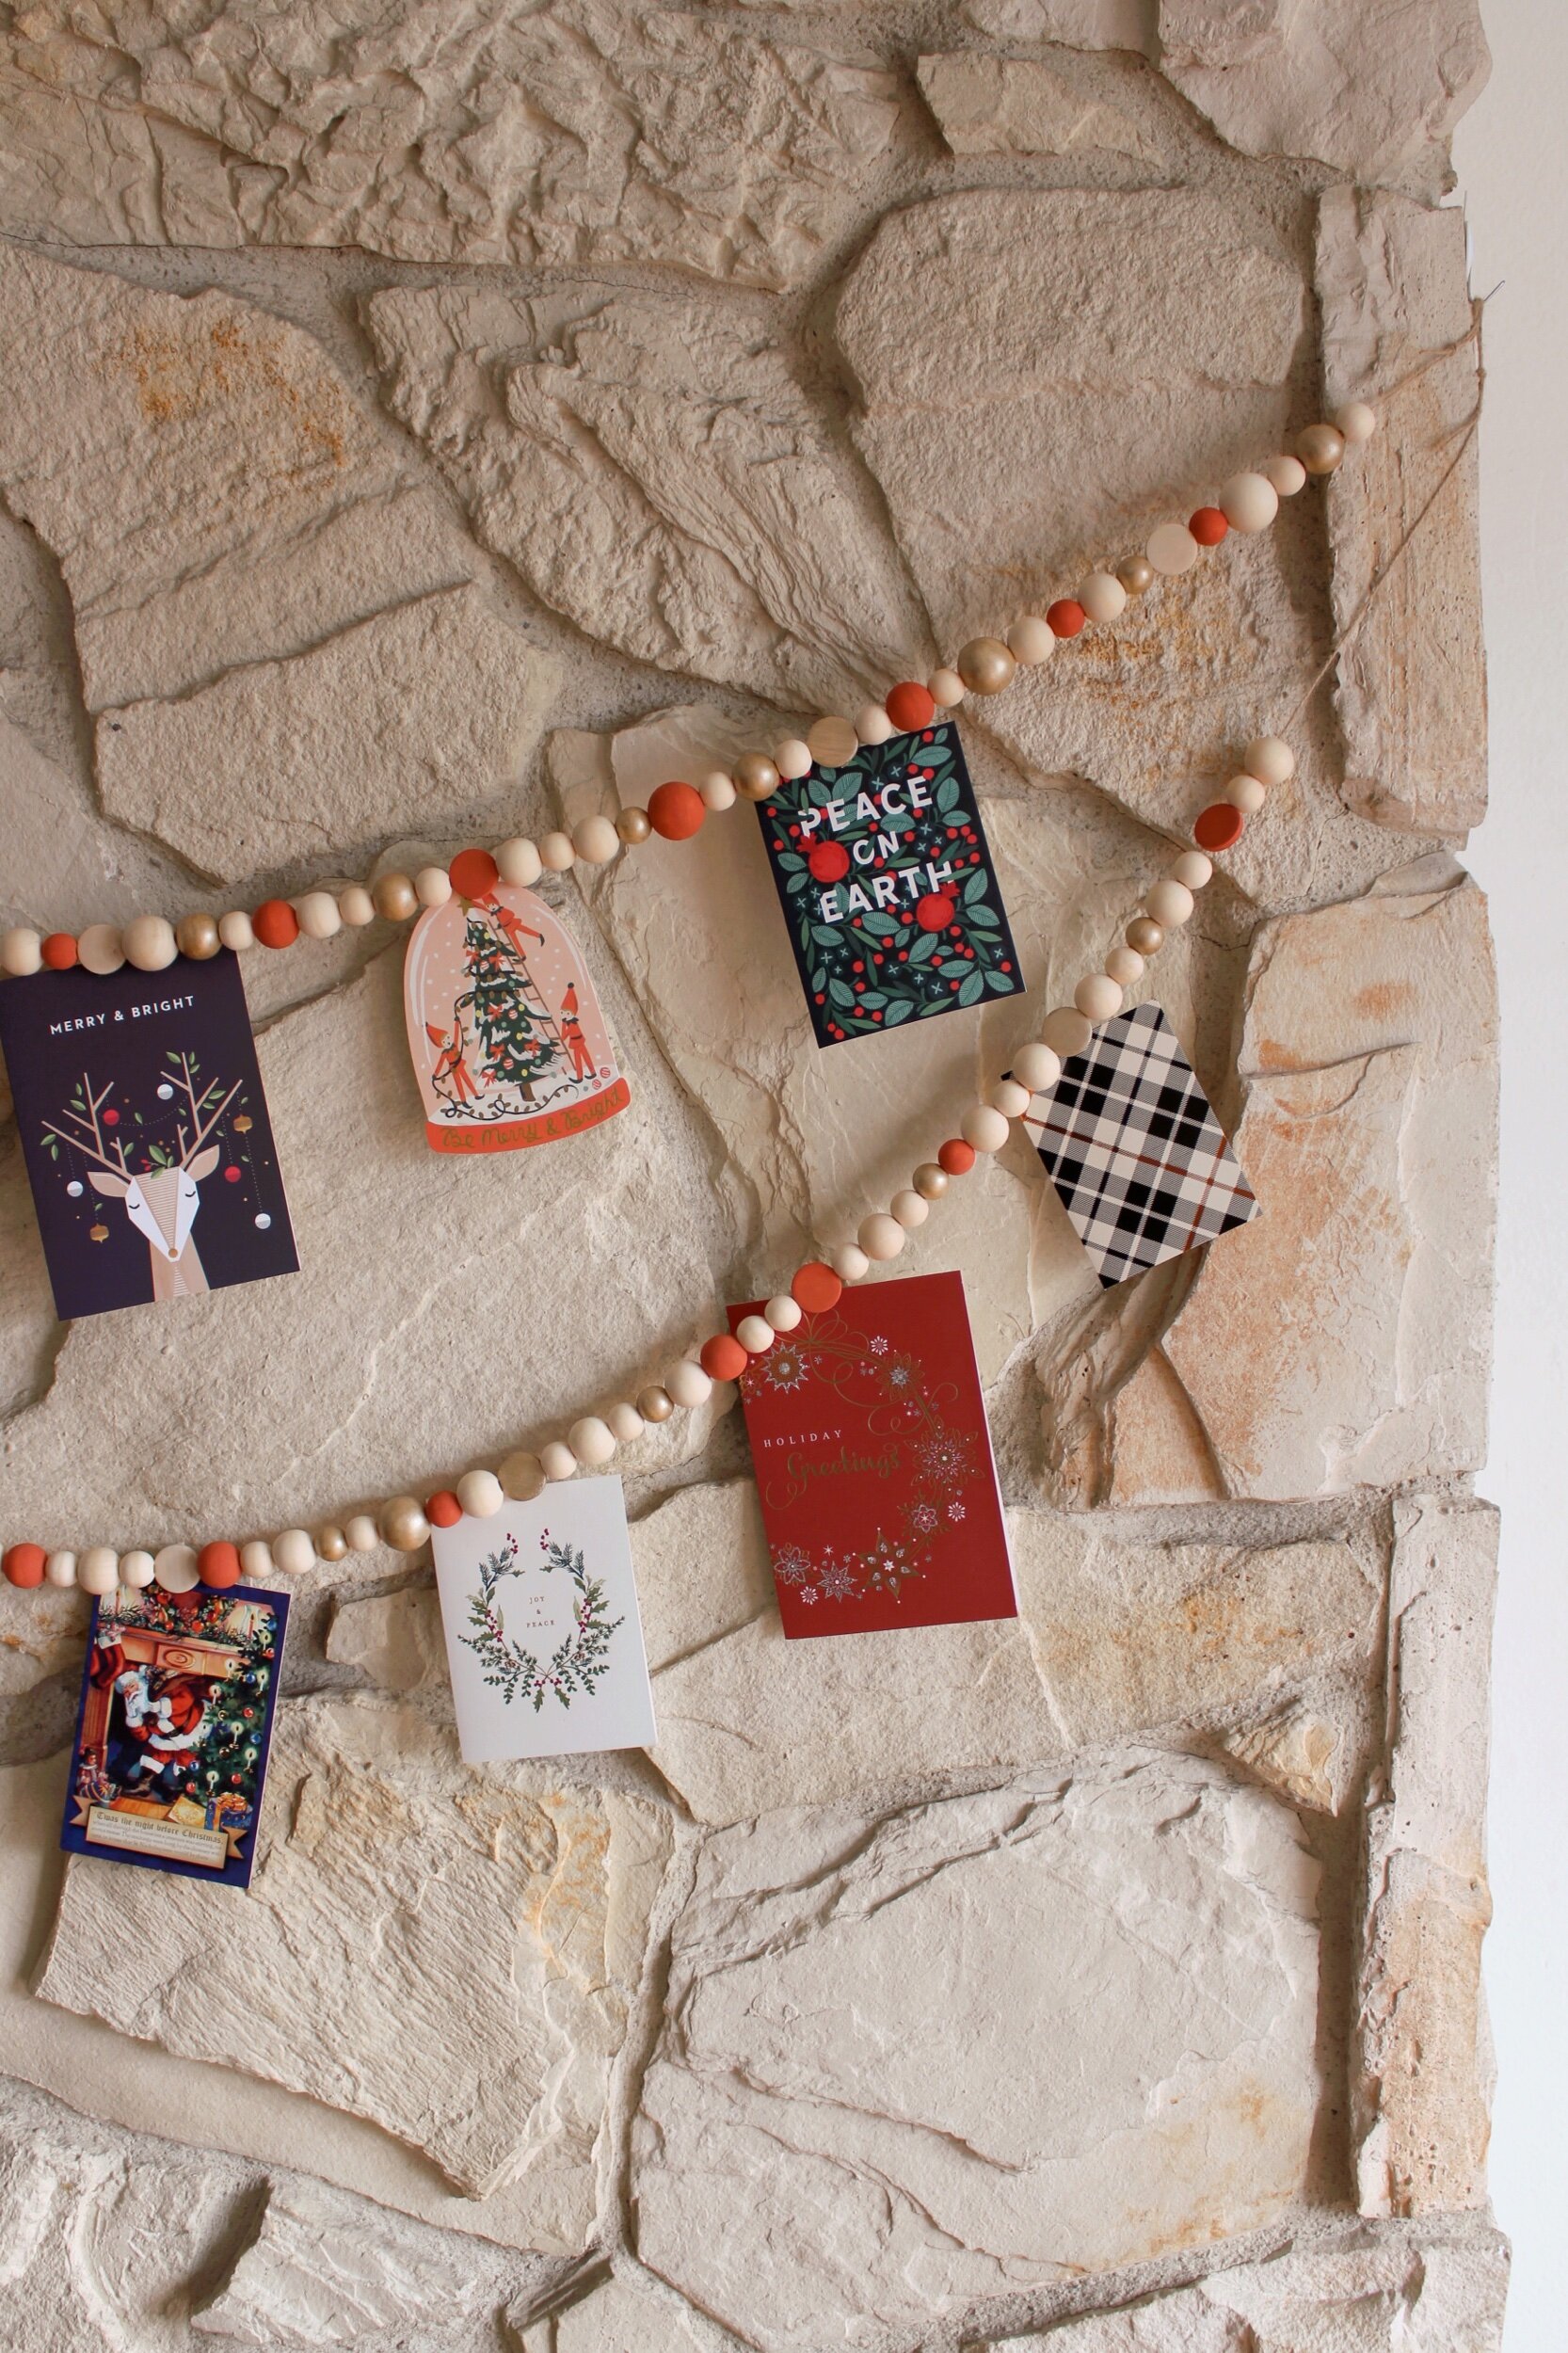

And here is the finished piece! I am such a huge fan of sending and receiving mail and Christmas cards are too cute to not be displayed. I’m loving this new piece of holiday decor in my home. The past few years I have been decorating my home a very similar way each year and this was a fun piece that totally transformed the room with a very easy and simple homemade touch.
I hope you all are having a wonderful, jolly start to the holiday season. And even though we can’t be with our loved ones this year, sending some love via holiday cards is just what we all need this season!
Xo Rachael